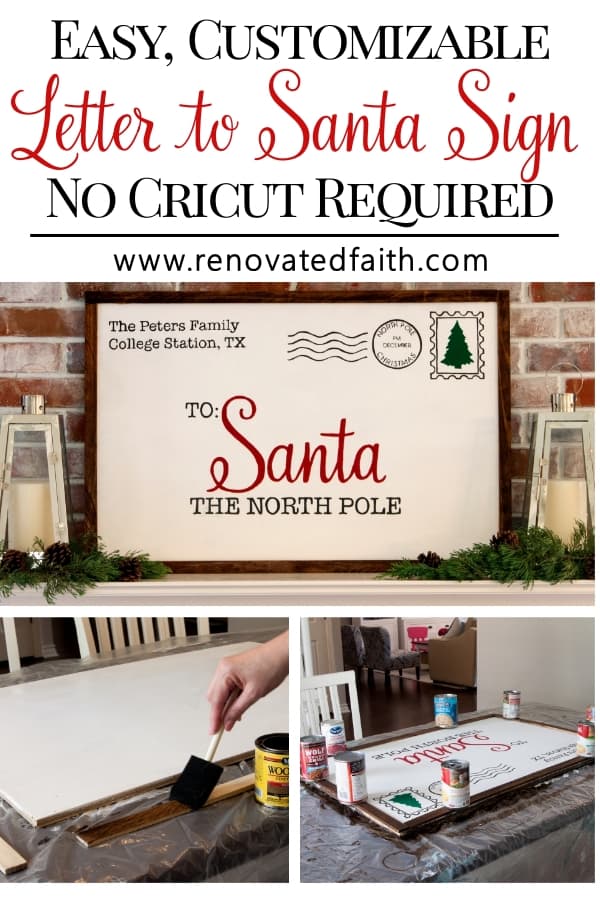
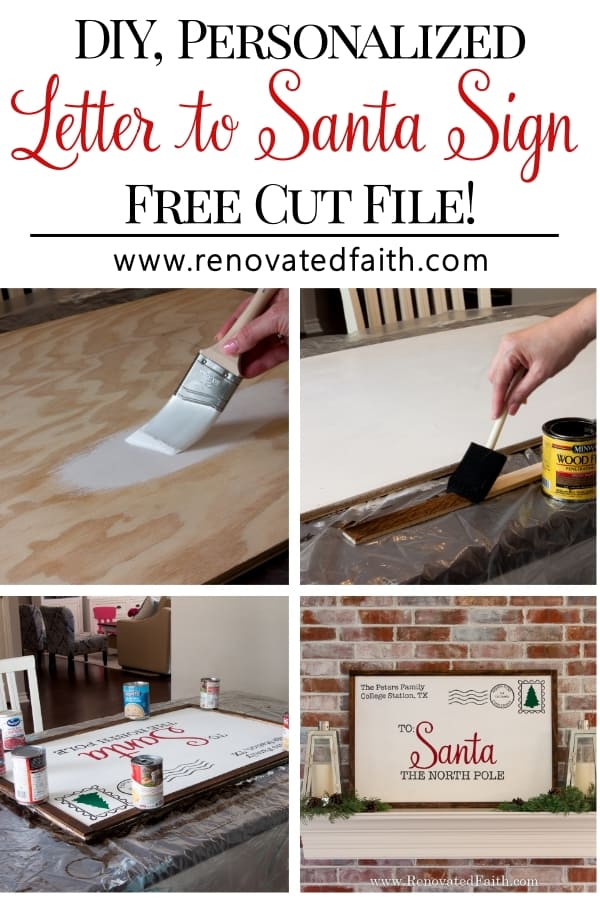
DIY Letter to Santa Sign Tutorial {No Cricut Required!}
Personalize your own DIY Letter to Santa Sign with this easy step-by-step tutorial. Included are the files to make this sign with a cricut or without any fancy equipment!
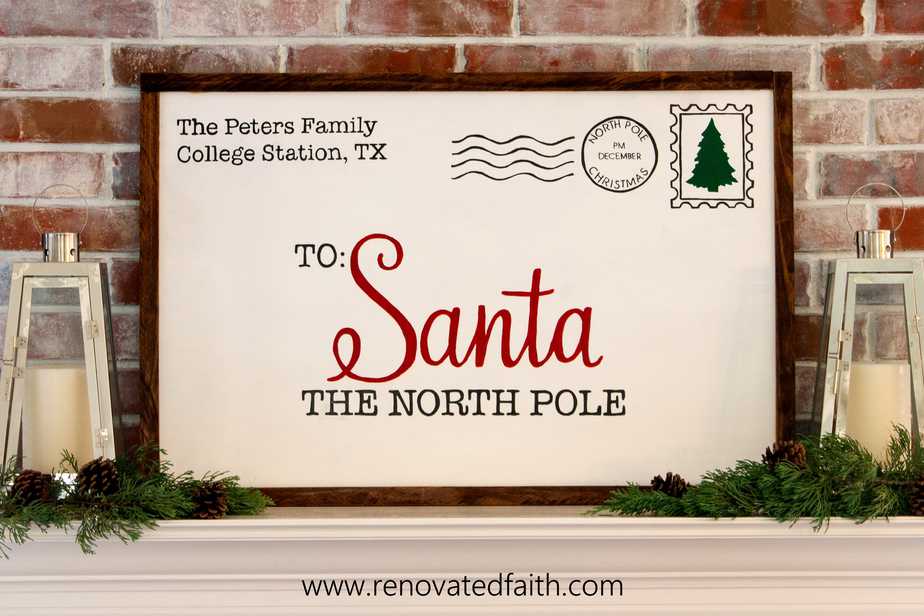
Christmas is just around the corner and this sign is such an simple project to add some holiday cheer to your mantel or front porch. This tutorial gives you easy instructions for making your own wooden sign whether you own a cricut or not! Below, I give you the free printable template file and also the SVG file!
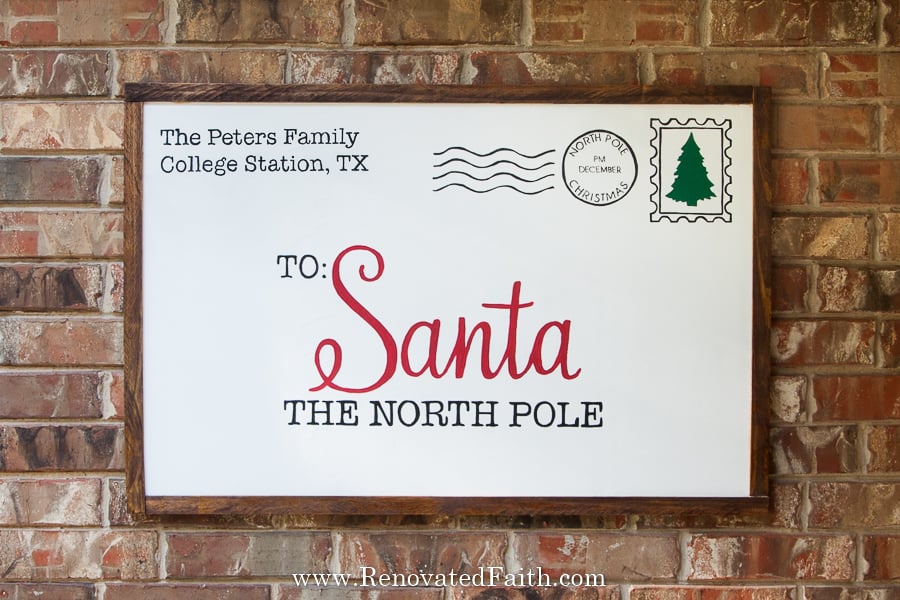
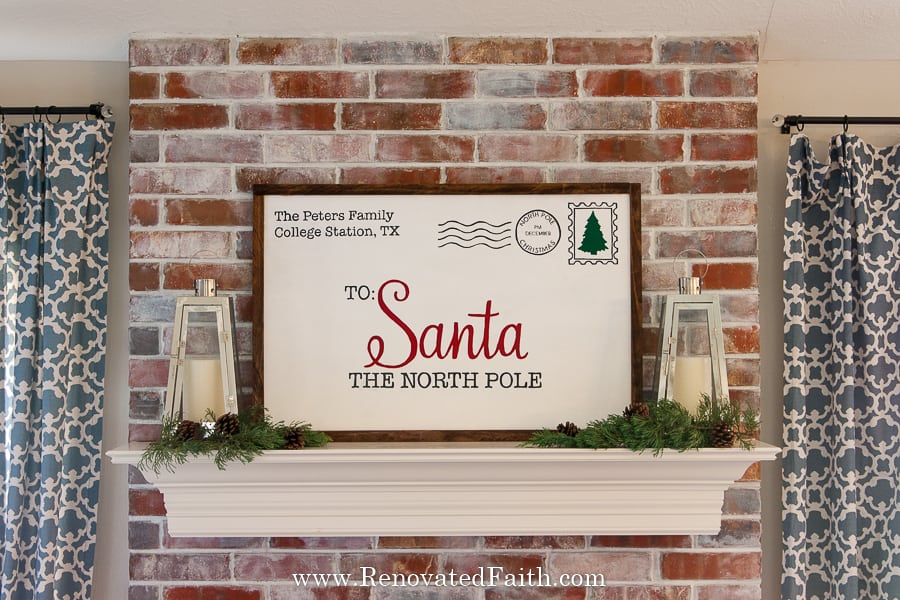
This is such a cute sign for any decor and looks great inside and outside on your porch. I also include details on the best way to weather-proof it so it lasts for many Christmases to come! (To get the rest of my porch ideas, click here: Easy DIY Christmas Front Porch Decor.)
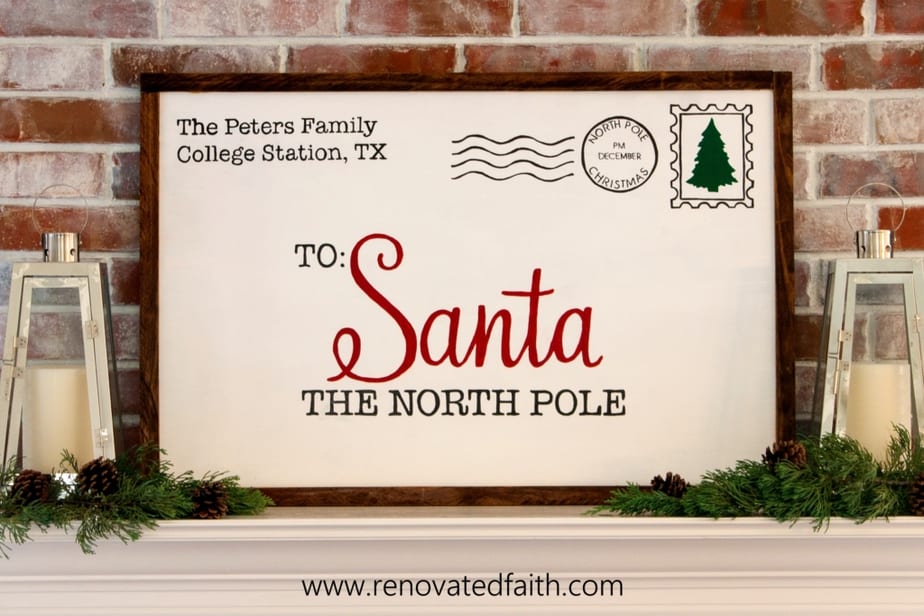
Customizable Letter to Santa Sign
The great thing about this sign is that you can customize it with your own address in the top left hand corner. You could order a sign like this on etsy but you will save a lot of money by making your own personalized Santa sign!
(As an Amazon affiliate I earn from qualifying purchases. Please see my full disclosure HERE).
Christmas Front Porch Ideas on a Budget
Check out the video below to see the Letter to Santa Sign, my delivery driver snacks, free printable and also the rest of my front porch decor!
DIY Letter to Santa Sign – Supplies Needed:
Personalized Letter to Santa Sign Tutorial
Step 1: Cut the Wood Sign to the Right Size
Most home improvement stores likes Lowe’s and Home Depot sell 2′ x 4′ pieces of plywood that are around 1/2 inch thick. All you will have to do is make one cut to make this sign 2′ x 3′. You can even ask someone at the home improvement store to do this for you!
If not, it’s super easy cut your sign to the right size with a jig saw. I have a full tutorial here if you aren’t quite familiar with how to use one: The Easy Way to Use a Jig Saw
While I have my jig saw out, I wanted to take the opportunity to cut my trim pieces too. Any trim pieces that are about 1 inch wide will do. Just line them up to the edge of your sign, mark them with a pencil and then cut them with your jig saw. Easy peasy!
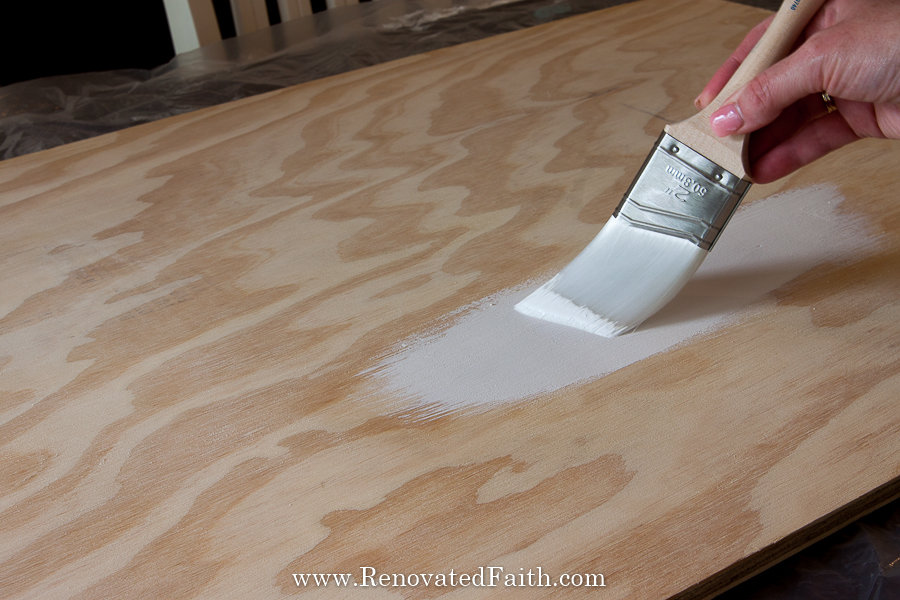
Step 2: Paint Your Santa Envelope Sign
I used a sample container of white satin paint. You can also use flat but most sample containers from the big box stores come in a satin sheen. Just brush on your paint lengthwise until the surface is covered.
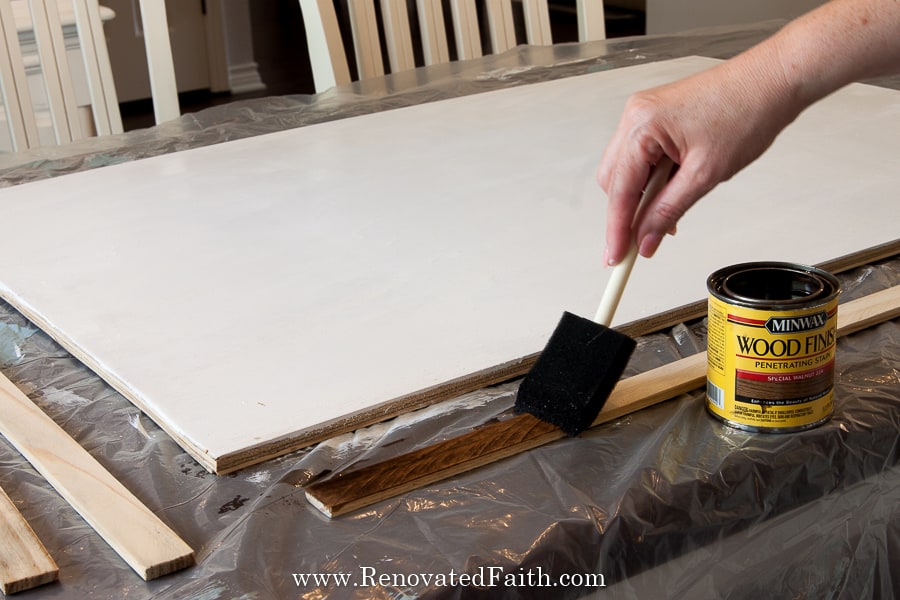
Step 3: Stain the Trim
While my sign was drying, I decided to stain the trim pieces. I used one of these foam brushes because they are so cheap that I just throw them away after each use as opposed to having to clean them with mineral spirits.
The stain I used was Minwax Provincial because it’s what I had on hand but any stain will work. Just brush the stain on lengthwise with your foam brush and be sure to get the ends since you don’t know exactly what ends will be showing when you add them to your DIY letter to santa sign.
Step 4: Print Your DIY Letter to Santa Sign Template
While your sign is drying, you can start to prep your template. I’m going to explain how to make this sign without a cricut by using my free template but if you do own a cricut, you can also download the svg file below.
If you aren’t a already subscribed to the email list, take a second to fill out form below and you will have access to my Free Printables Library including the template for this project and SVG file!
Now that you have access to the PDF template, you will need to open it up in Acrobat Adobe Reader in order to print it to the correct size. You can download it for free here: Acrobat Adobe Reader – FREE download
Click on the print menu and click on Poster under Page Sizing and Handling. This will allow you to print a poster by printing multiple 8.5 x 11 sheets of paper. Print your template.
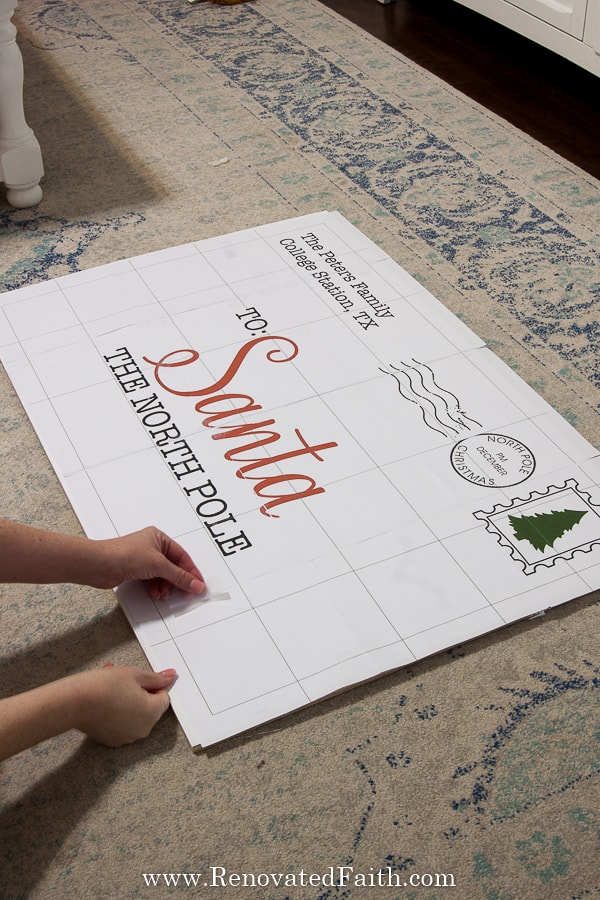
Now you are going to cut off the right and bottom edge of each sheet of paper – about 1/4 inch off each side. This is so that when you tape them together you have some overlap from once piece to another.
Lay out your sheets of paper and use those horizontal and verticle lines to help you line up your sheets of paper. (You will not trace these lines) Tape each sheet of paper together with scotch tape. Your DIY letter to santa sign will look something like this.
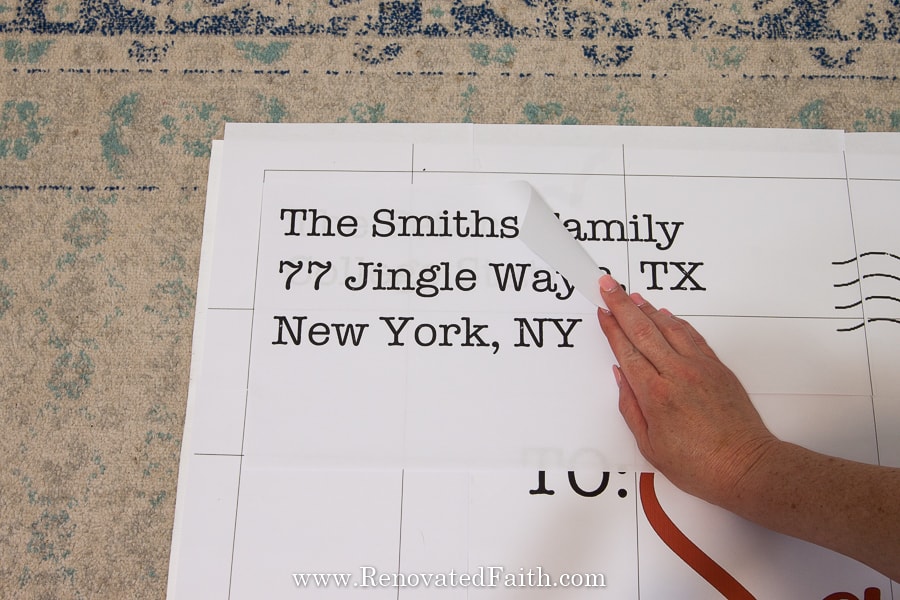
TO ADD YOUR OWN ADDRESS:
I know what you’re wondering. “How am I going to add my own address when your address is already on the template?”
Well, I left my address on the template to give you a reference to line up your address but you won’t actually trace it. You can add your own address info by putting it in Word and using a horizontal page layout. The font I use is Linowrite which you can download here and the size is 90. Print out this sheet of paper.
After you trace the main template (leaving out my address and the lines), you will lift the template and trace your own address.
Now, turn your main template over and sketch back and forth with a pencil like you see below.
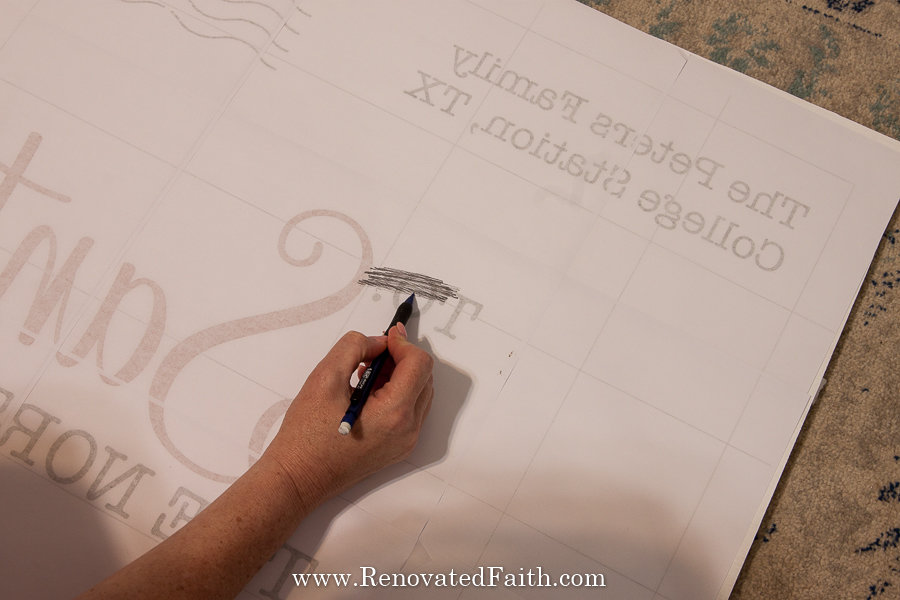
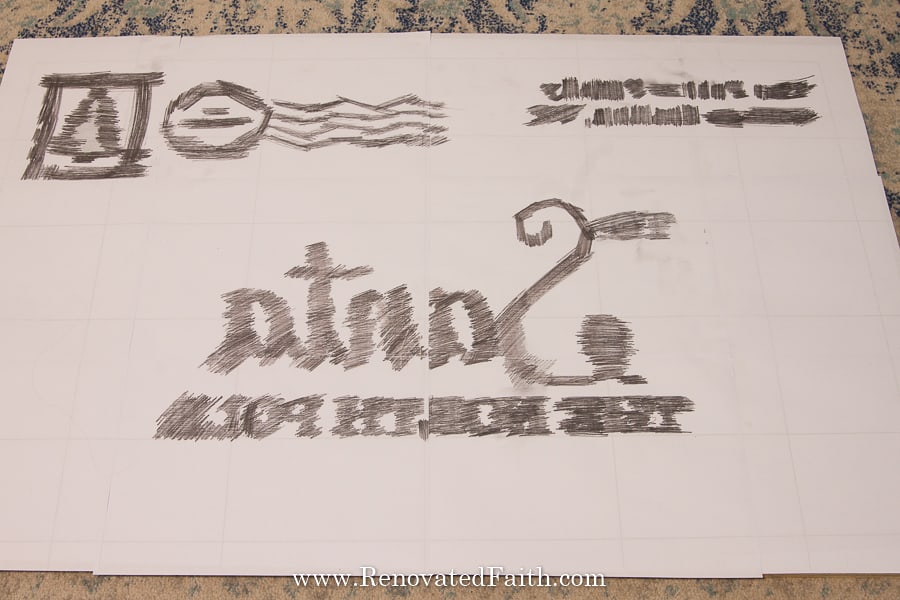
You just want to go over the areas that will be traced!
After sketching over the back of the sign, flip over the big sign and use scotch tape or painter’s tape to attach it to the board. Make sure it is centered and use a ruler if it helps!
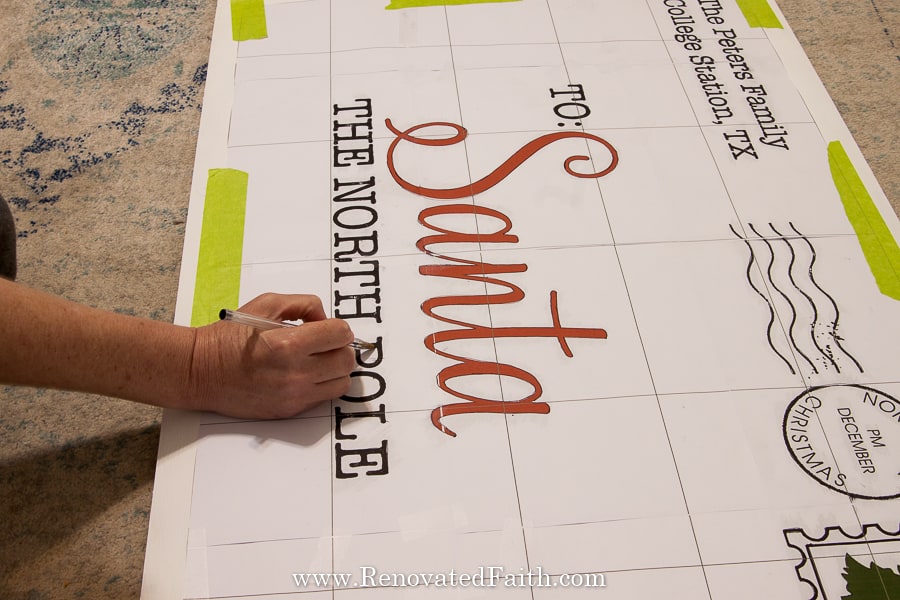
Trace over the letters with a ballpoint pen. Don’t trace over my address of course. When you done tracing everything on the big sign you will now trace the letters of your address sheet where my address would have gone!
Step 5: How to Paint Your DIY Letter to Santa Sign
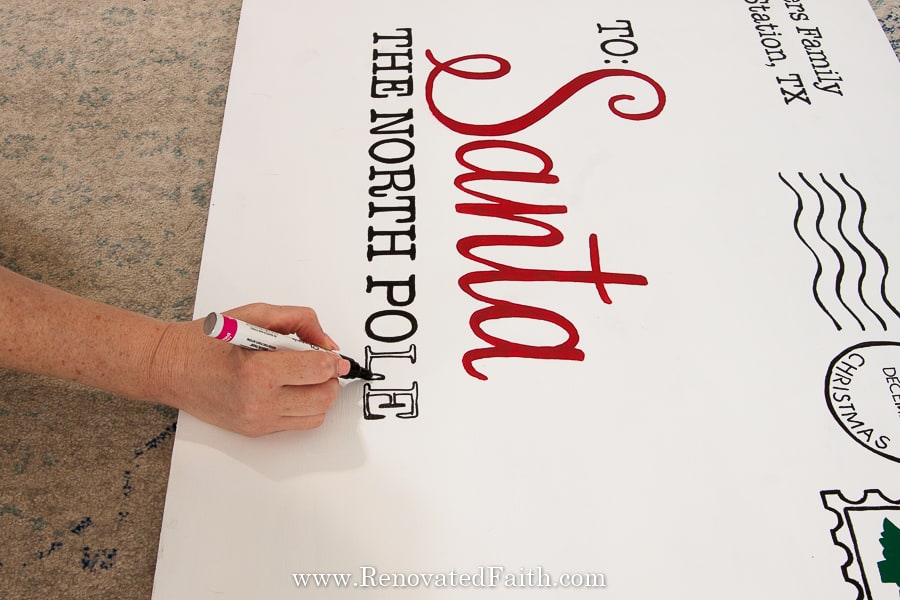
My favorite “paint” for signs isn’t actually paint at all but it’s an oil-based sharpie paint pen. I love this set in black for signs: Sharpie Black Paint Pens
For this sign I used the thin sharpie black paint pen the most but it is handy to have the different sizes in the set above to speed up the process. Don’t use regular sharpie markers because they will run out pretty fast and won’t be very dark.
You can also find paint pens in red and green but I already had red and green acrylic paint on hand so I just painted “Santa” and the tree with small brushes.
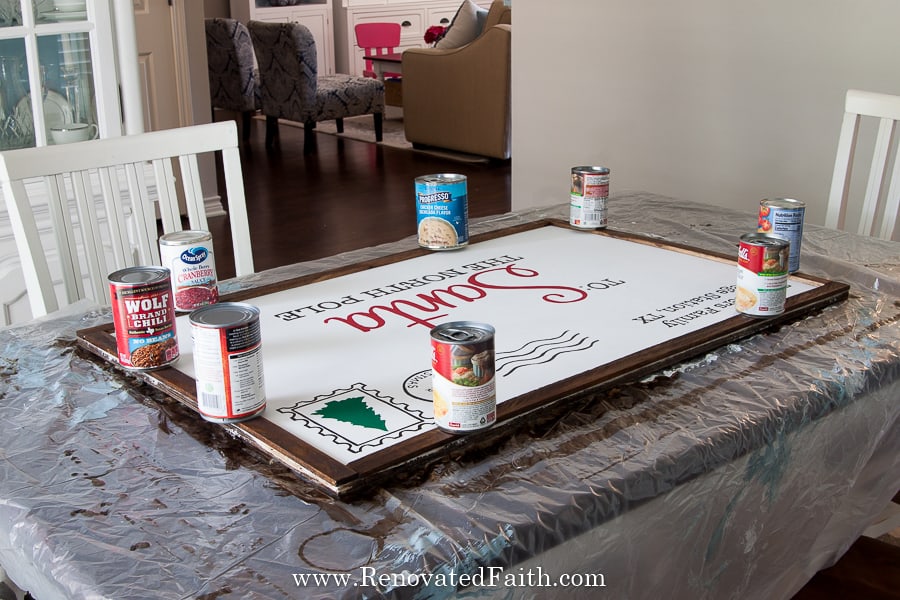
Step 6: Add the Trim to Your Wooden Santa Envelope Sign
Now you can use wood glue to glue on the trim and clamp the trim into place. You could also just add something heavy to the top of the trim (like soup cans) to hold them in place while the glue dries.
Step 7: Add a Clear Coat to Weather-proof Your Sign (OPTIONAL)
If you sign is going to be outside for any length of time, I’d recommend adding a clear coat to protect your hard work from the elements. In my post The Best Clear Coat for Furniture, I tested several different top coats and found that Varathane’s Waterproof Polyurethane was the absolute best. It also comes in a matte finish!
Just brush on the clear coat length-wise according to the directions on the can to ensure your DIY Letter to Santa Sign lasts for years to come!
DON’T FORGET TO TAKE A PICTURE!
Now that you are done, I’d love to see how it turned out! ❤️ Post your before and after photos here!
RENOVATE YOUR FAITH: A Letter of Love
Few Christmas traditions are more memorable to me than writing a letter to Santa. As a kid, my yearly Santa letter was always filled with excitement, expectation and requests the toys on my wish list!
But even more exciting than a letter to Santa is one of the many letters in God’s Word. The book of 1 John is basically a love letter written to God’s people authored by John the Evangelist somewhere between 95 and 110 AD. Every sentence if filled with encouragement and assurance to God’s people reminding them of who they are in Him.
But my absolute favorite verses of the whole book is 1 John 5:14-15:
“This is the confidence we have in approaching God: that if we ask anything according to his will, he hears us. And if we know that he hears us—whatever we ask—we know that we have what we asked of him.”
Think about that for a second – The Creator of the entire universe Himself has told us that if we ask for anything that is according to His Will, not only does He hear us but He will give us what we ask.
That is such an amazing promise from God’s Word that we can place absolute trust in. Think of the amazing power we have in prayer and also what protection God gives us in only answering requests that are in accordance with His Will.
Because the last thing we want is anything that is contrary to the Will of God. In His own sovereignty He protects us from our own prayers that are less than His best for us.
So, anytime we speak to God in prayer, we can have an amazing confidence that He WILL absolutely answer our prayers as long as they are in accordance with His will. What a source of reassurance when we approach Him in prayer.
Even more effective than a letter to Santa, our prayers are not only heard by God but are granted with a safeguard against what is not His best for us.
For more spiritual encouragement, click here for the rest of my Renovate Your Faith Posts.
I also made this printable sign that matches my wooden sign to show delivery drivers appreciation for all their hard work during the holidays. You can print your own here: Delivery Driver Appreciation Ideas

To see how the rest of my porch decorations turned out, click here: Christmas Front Porch Decor on a Budget

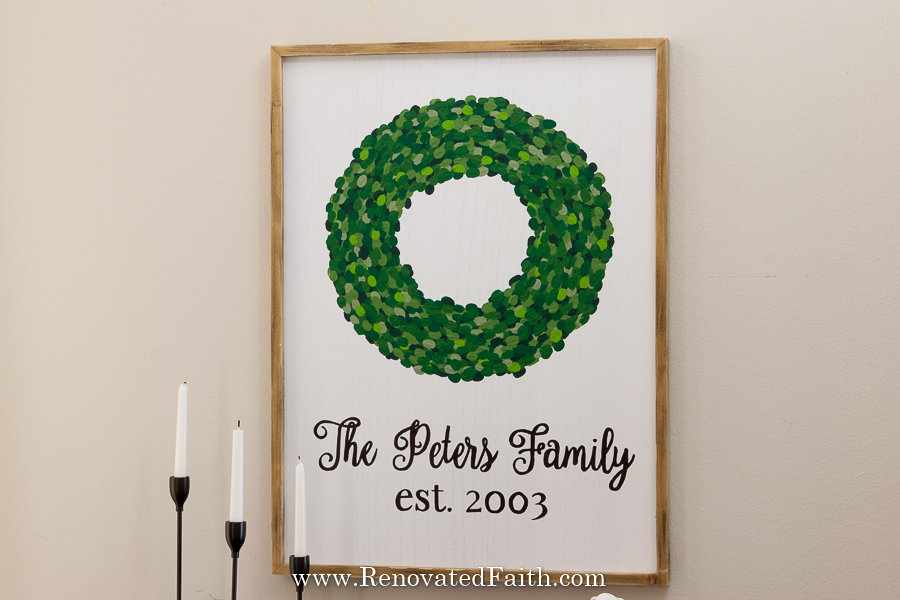
If you like the look of boxwood, check out my fingerprint wreath wall art – it’s so easy and such a fun family activity! Click here – Easy Fingerprint Wreath Wall Art
More Posts Related to Wooden Christmas Signs
- Christmas Front Door Decor on a Budget
- Easy DIY Farmhouse Sign – No Cricut Required!
- The Best Clear Coat For Furniture
- How to Make a Scroll Sign
- Free Scripture Printable Wall Art
Wooden Santa Letter Sign – Final Thoughts
Not only is it personalized but your DIY Letter to Santa Sign was only a fraction of the price of what you would pay online. Hopefully this adorable sign will be a decoration for you family to use for years to come as part of your holiday decor.
I love to hear your thoughts and questions! Scroll down to leave a comment and I WILL reply! ❤️
Blessings,

Be sure to follow the fun here!
Email Subscription | Instagram | Pinterest | Facebook | Twitter

Quick Links to Information in this Post
Customized DIY Letter to Santa Sign

Karin Peters is a DIY expert and the creator of Renovated Faith. She is a furniture painter, a home design consultant, and a tenacious problem solver determined to help you transform your house into a home. With 17 years of experience with DIY home improvement, she researches and analyses professional processes to adapt them to be easy and cost-effective for DIYers. She then tests every project and product before it appears on the site in a detailed, step-by-step format. After attending Texas A&M University, she received her Master of Divinity with Biblical Languages at Southwestern Baptist Theology Seminary. Her passions unite in Renovated Faith, which shows readers how to create a home that serves them so they can pursue their God-given purposes. About Renovated Faith | Editorial Policy | Facebook | Twitter | LinkedIn