How to Set Up Drip Irrigation for Potted Plants (Easy Beginner Guide)
Do you feel like you spend all your time watering? This tutorial on how to set up drip irrigation for potted plants will help you water your plants effortlessly so you can spend more time enjoying them.
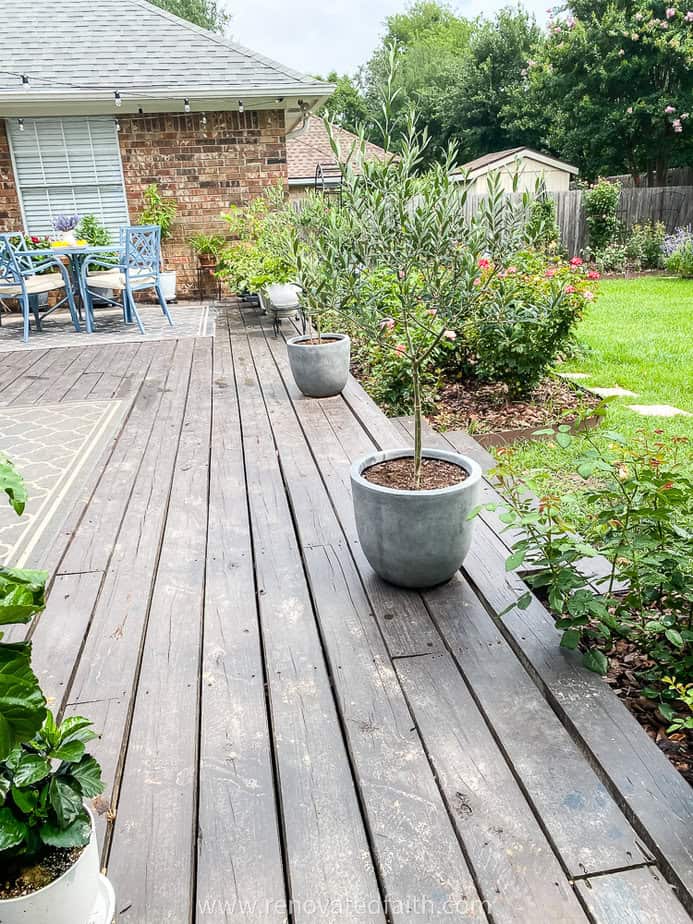
Living in a warmer climate means you’ll have to endure some hot summers. And if you have potted plants outdoors, you know how hard it is to keep up with watering!
During the heat of summer in Central Texas, potted plants need daily watering. And if you don’t keep up with it, a plant you’ve spent years caring for can be a shriveled mess in a few hours.
But watering each plant with a watering can or even a hose can be time-consuming. I would much rather spend my outdoor time enjoying my plants instead of struggling to keep them alive.
I remember last summer, I got so frustrated with keeping up with watering that I gave a few plants away because it was too much to manage.
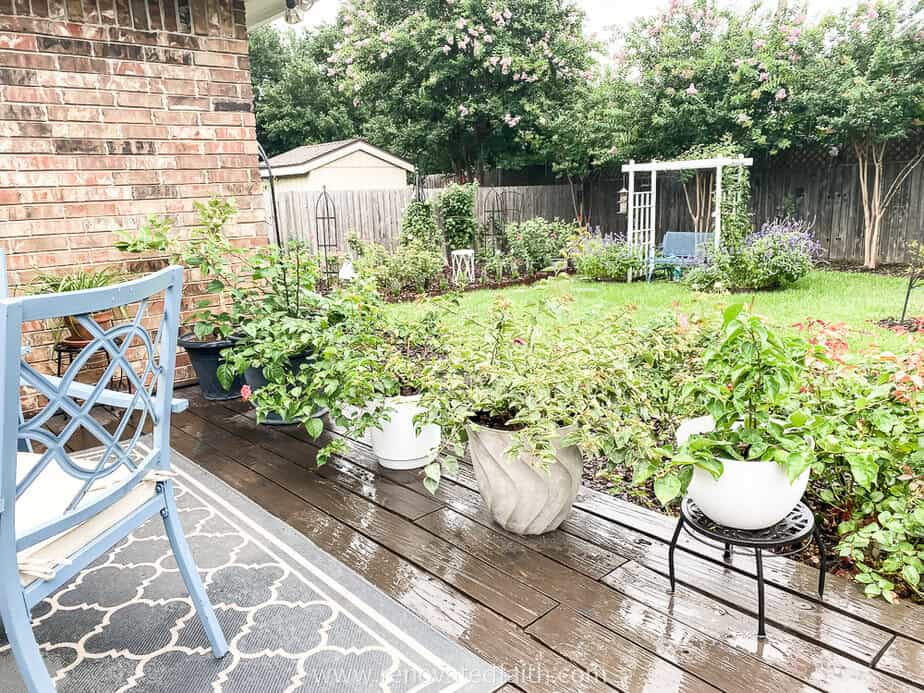
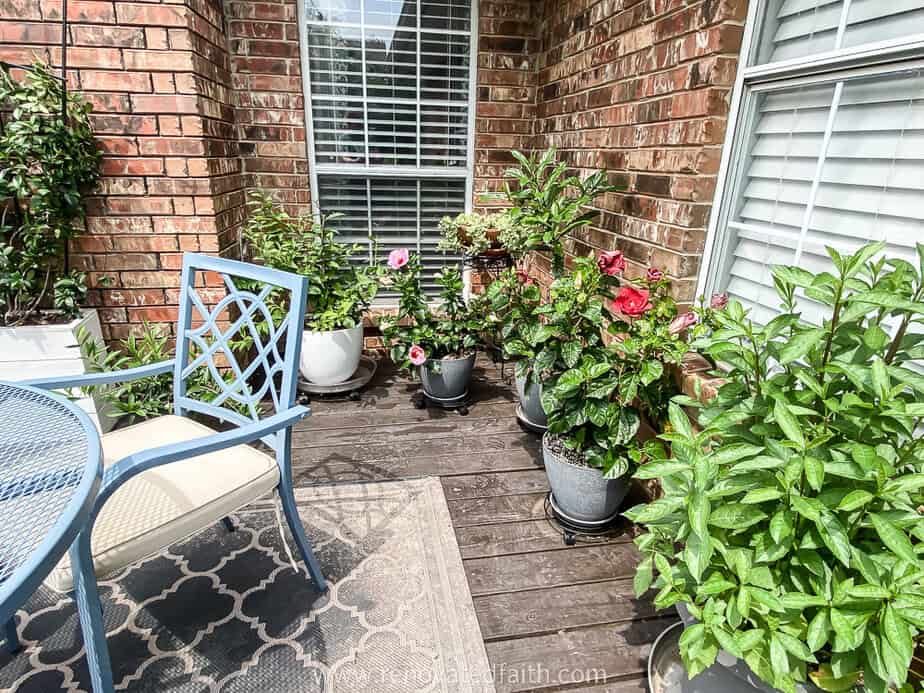
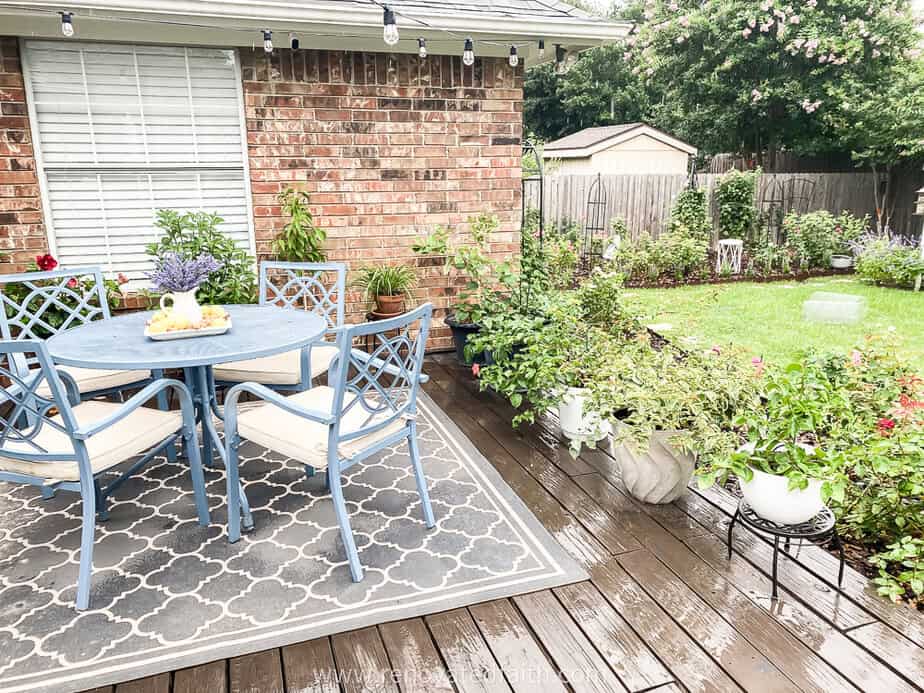
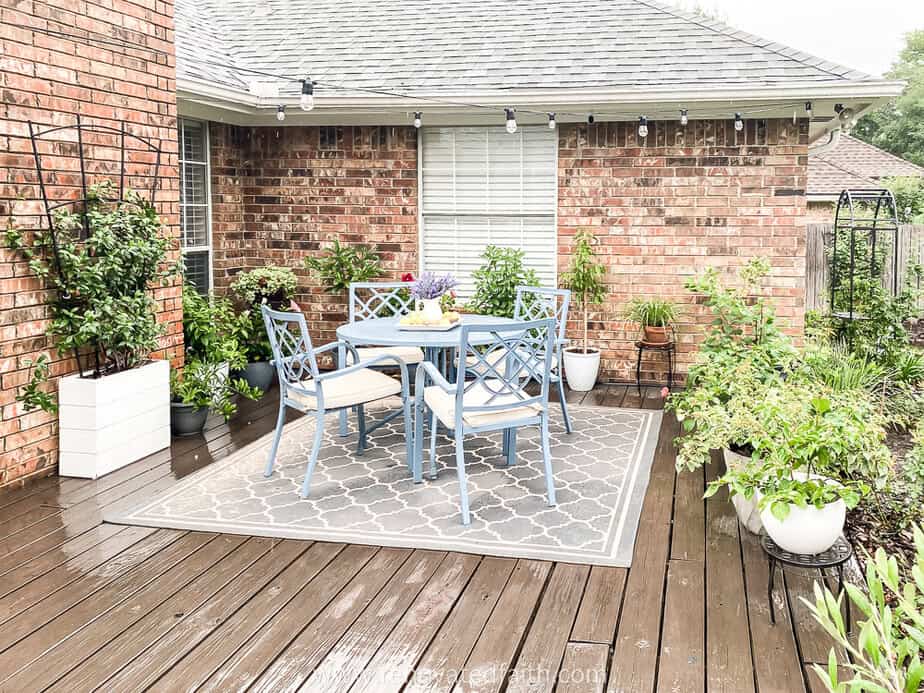
Fortunately, I have installed drip irrigation on all my potted plants on my deck so I can water them instantly with the turn of a faucet handle.

Benefits of Drip Irrigation for Pot Plants
I used to water using my garden hose but if you have a lot of plants this is still time-consuming, especially when you are standing in the sun. Also, the spray from the hose would often wash a way a lot of the water on top of the plants, exposing the delicate roots to the sun.
However, drip irrigation allows water to gently drip into the soil, getting the soil fully saturated without overwatering. Also, I don’t have to lug around a heavy hose and my watering can be done with just the turn of a knob.
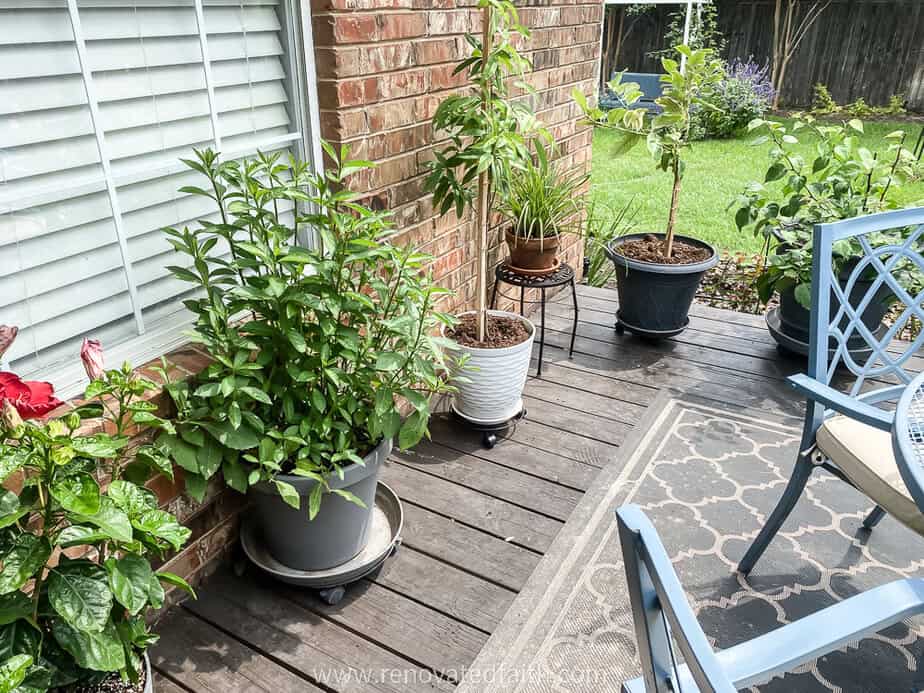
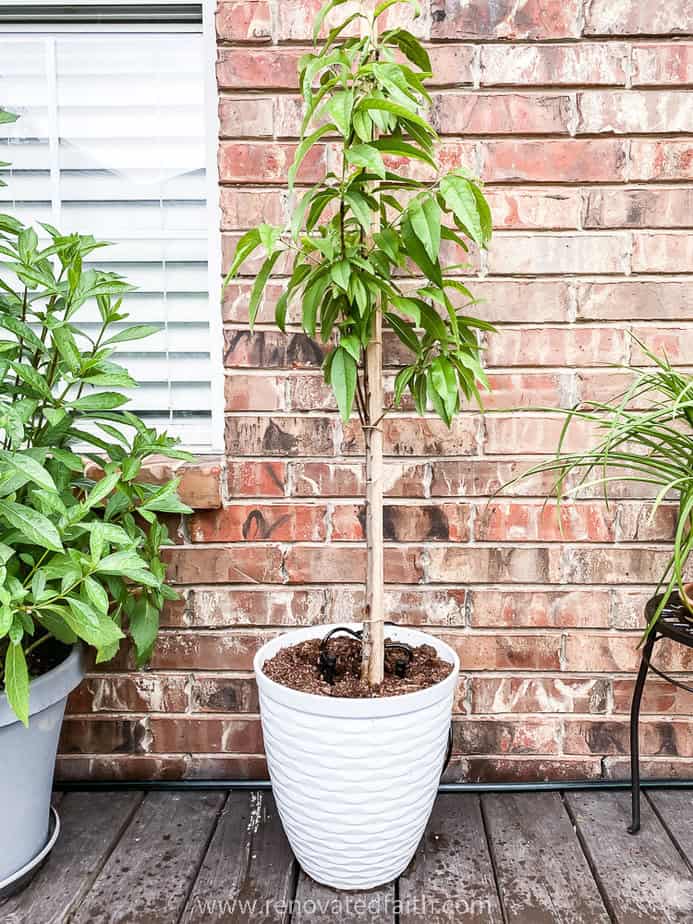
Each of my large plants has two emitters and the smaller plants have one. Each emitter is adjustable, so you can customize the flow rate to the needs of each individual plant.
Now, the time I can spend outside in the heat is better spent enjoying my plants instead of trying to keep up with their watering routine. Also, I will show you a timer that is hooked to your home’s wifi so you can control your watering from an app on your phone!
I also wrote a post on: How to Set Up Drip Irrigation for Landscape Plants
Is Drip Irrigation Difficult to Set Up?
When I first started installing drip on my roses a few years ago, I had a little bit of a learning curve with knowing what to buy and how it all connects.
But you will completely skip that hassle with this tutorial as I’ll show you what products have worked for me, where to get them, and exactly how to set up your drip for your plants. This is the tutorial I wish I had back then!
How Does Drip Irrigation Work?
I remember being very intimidated by drip irrigation, and I honestly didn’t know where to start or exactly how it worked. So, let’s get that out of the way right now so I can show you how easy it is to install.
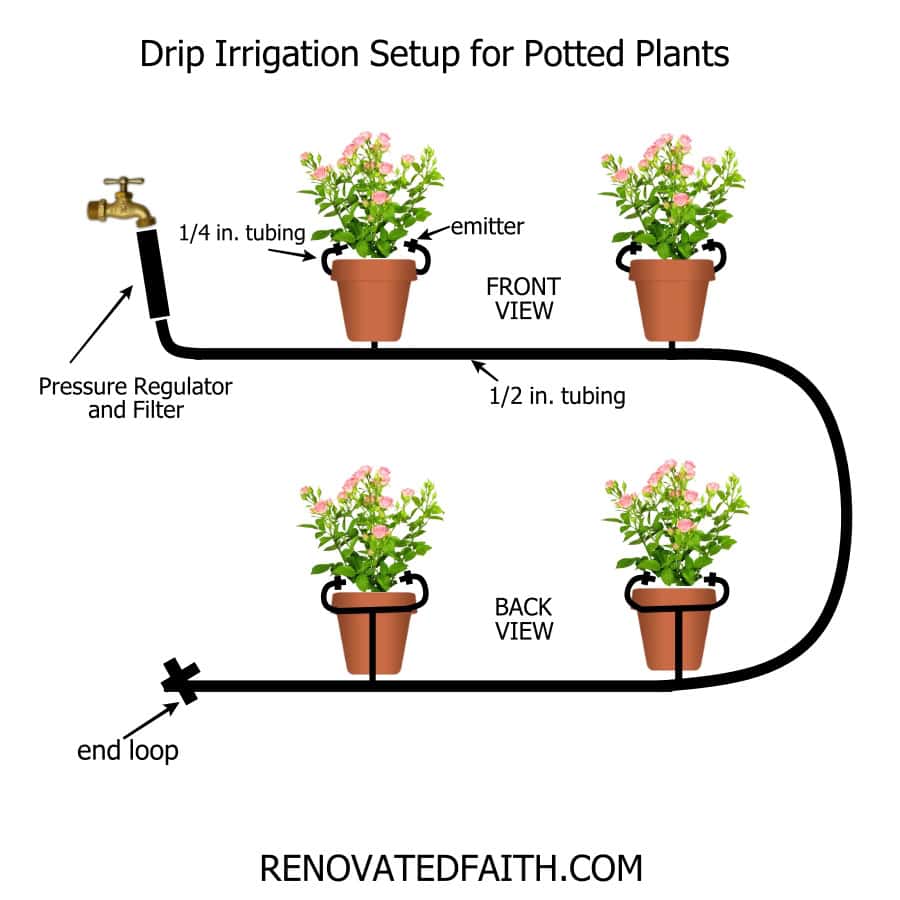
First, the pressure limiter and filter connect to your faucet (hose bibb) before connecting to ½-inch tubing. The ½ tubing runs along your porch or deck so it’s parallel to your plants. Then, 1/4 inch tubing with an emitter connects to the 1/2 inch tubing.
Supplies for The Best Drip irrigation System for Potted Plants
Garden Hose Splitter – This gives you the option to still have a regular garden hose connected to your faucet while your drip is set up. It connects to your outdoor faucet.
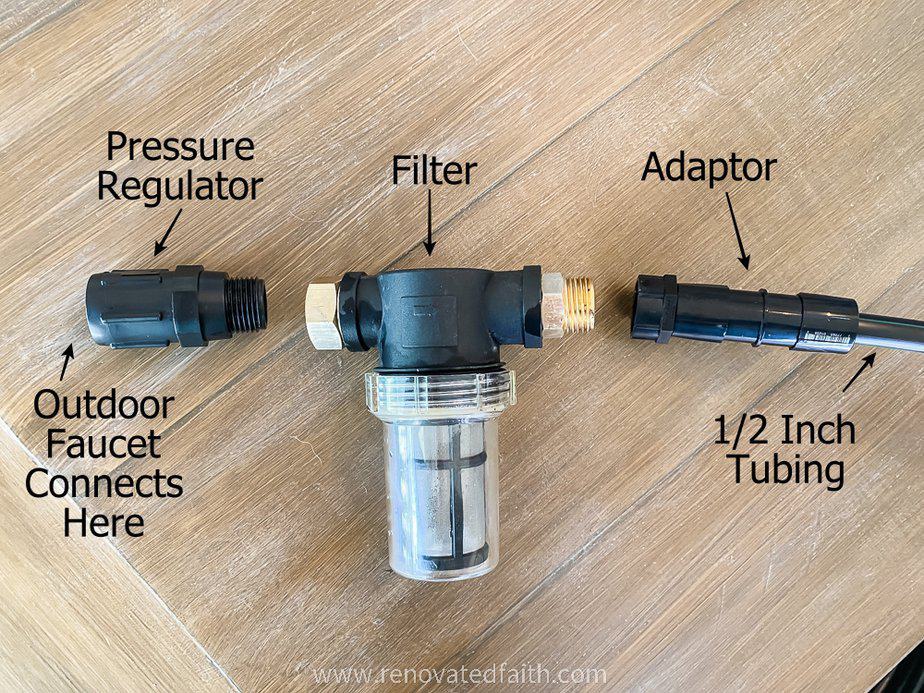
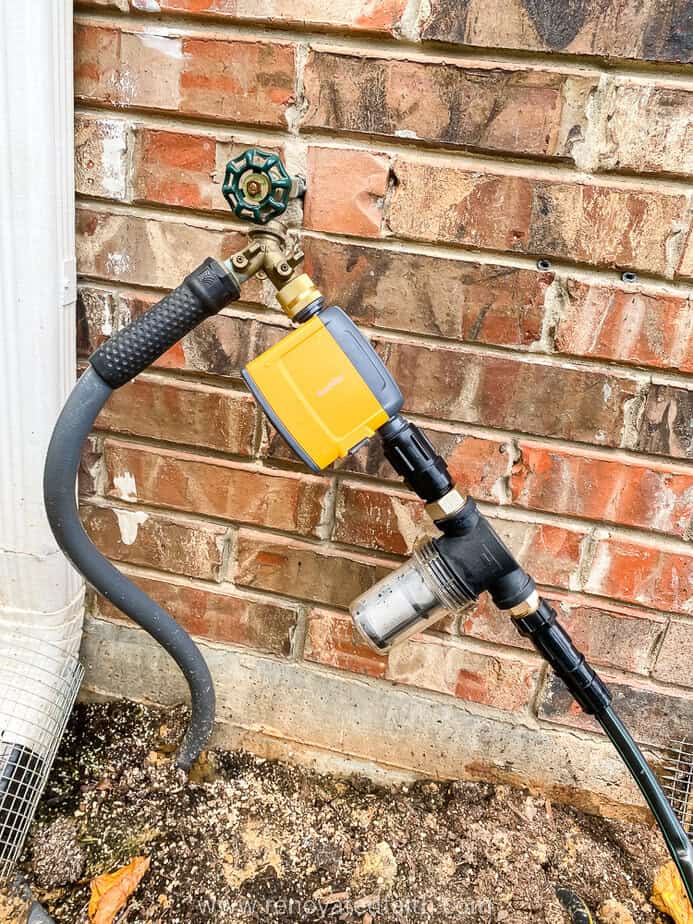
Faucet Setup – You need a few things in place before connecting your 1/2 inch line to your outdoor faucet: 1. Hose Filter | 2. Pressure Limiter | 3. Hose Adaptor
*The hose adaptor above is so much easier to use than most and I wish I had known about it for the drip on my roses.
½ Inch Drip Tubing – This is my favorite brand and it’s cheap. This connects to the water filter/PSI regulator/adaptor and will run along your porch or deck behind each potted plant.
¼ Inch Drip Irrigation Coupling (Connector) – These connect the ½ inch tubing to the ¼ inch tubing.
¼ Inch Drip T-Connectors – These connect two lines for larger pot plants.
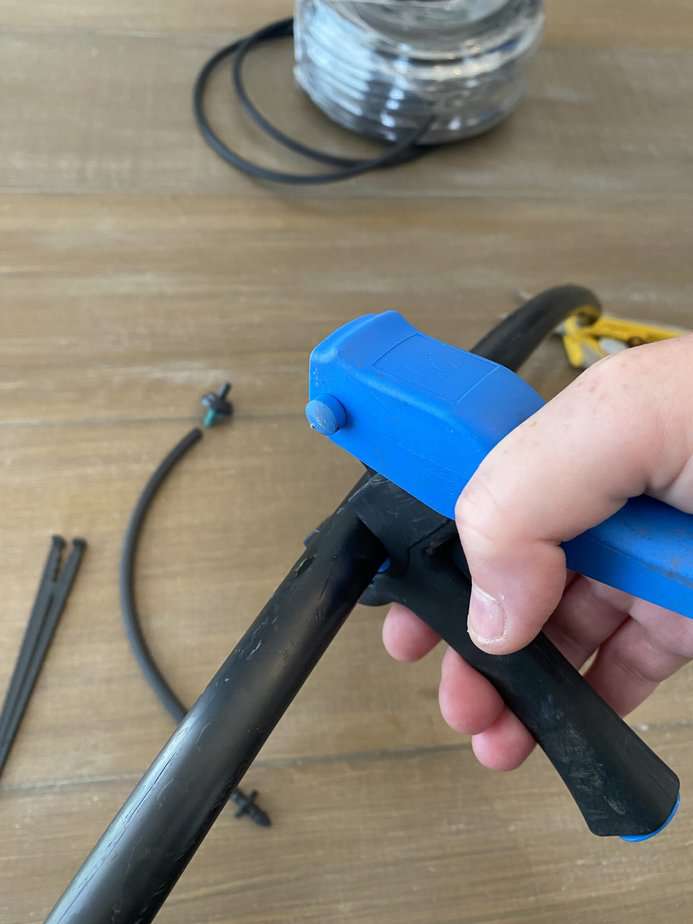
Drip Irrigation Hole Punch Tool – This will make clean holes in your ½ inch tubing and it comes with goof plugs to fill any accidental holes.
¼ Inch Drip Irrigation Tubing (Distribution Tubing) – This smaller tubing distributes the water to the plants.
Adjustable Drip Emitters – These are great for potted plants because they are adjustable for different sizes. I use 1 for small plants and 2 for larger plants.
Good Scissors – I use these for everything!
End Loop – This closes off the end of the ½ end tubing but allows you to open it up again. You will only need one of two but all the listings are for 20-ish. I’ve also used a black hair rubber band for this and it works just as well.
Drip Stakes – These help keep the ¼ tubing where it’s supposed to be in the pot so it’s not just the emitter holding it in place.
½ Inch Connectors (Optional) – Corner Connectors | T Connectors These are great when you need to make a sharp right angle or split your ½ tubing in two directions.
IMPORTANT: Not all connectors are exactly the dimensions that they say they are and I have run into getting several that do not fit my tubing but I know the connects and ½ inch tubing above do fit together!
Painter’s Tape or Masking Tape (Optional)

How to Install a Self-watering System for Pots
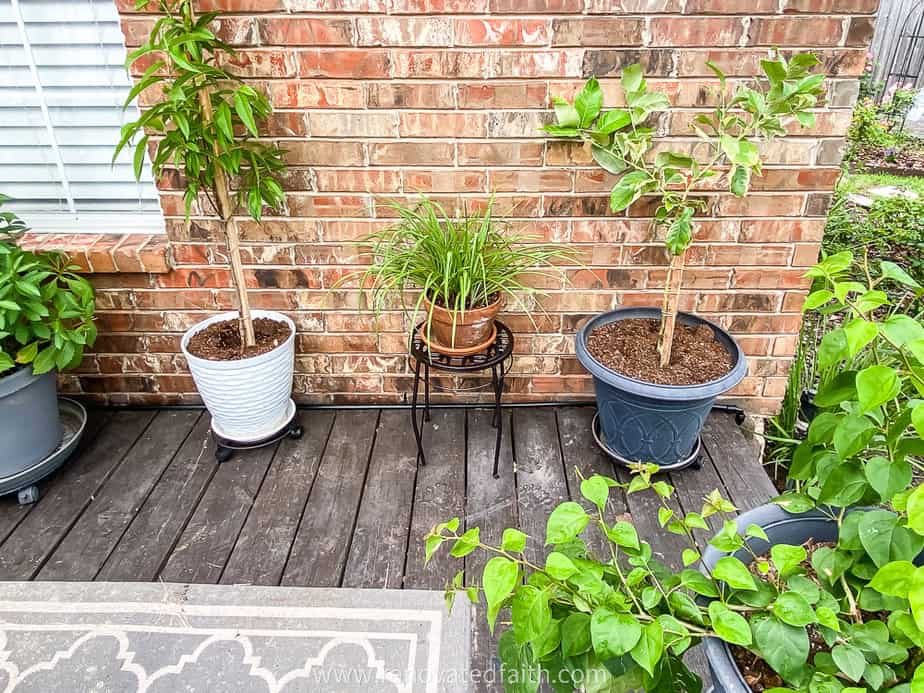
STEP 1: Make a Plant Layout
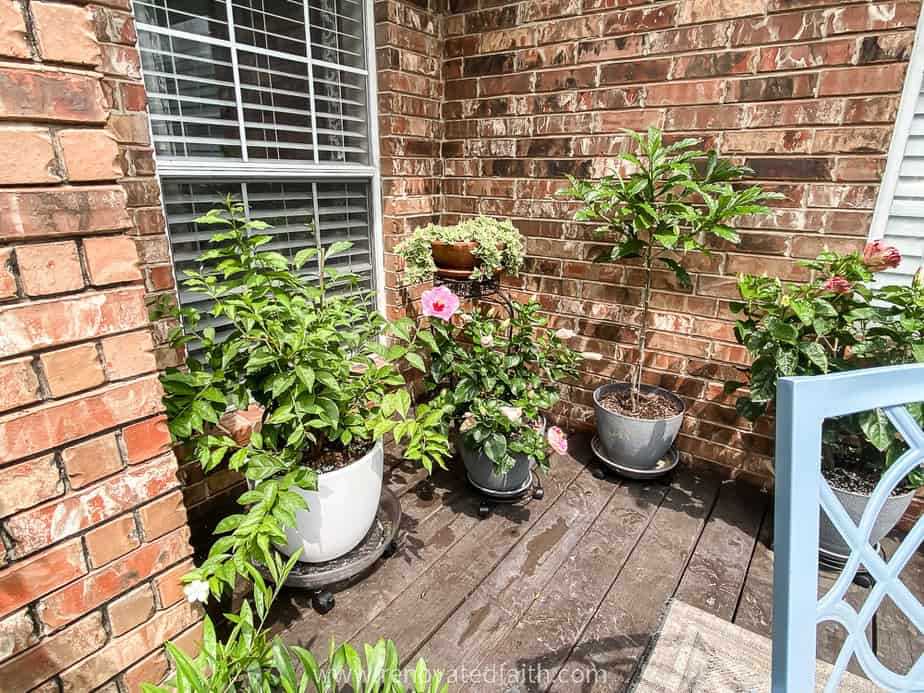
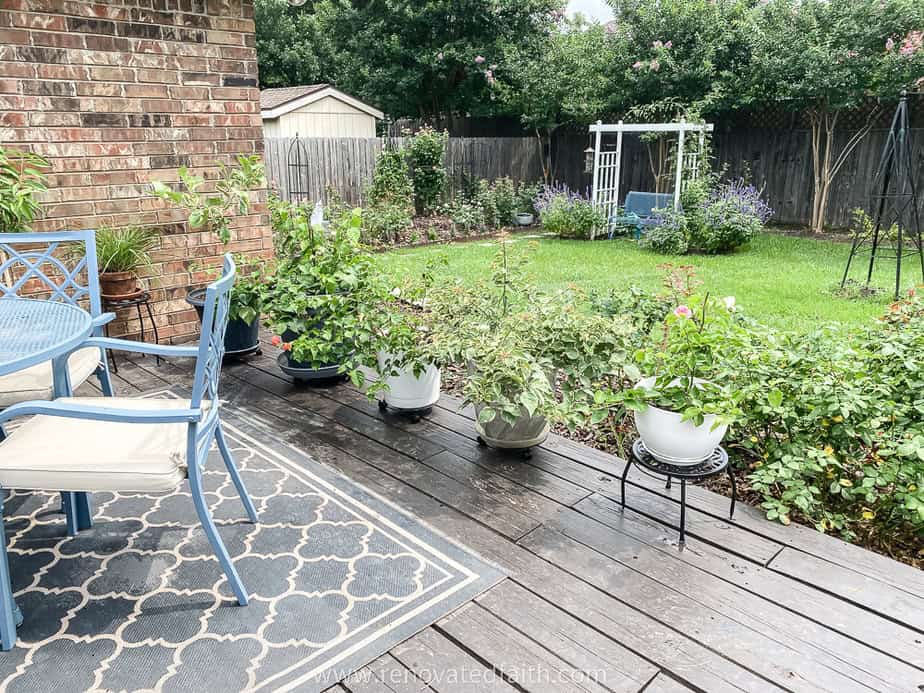
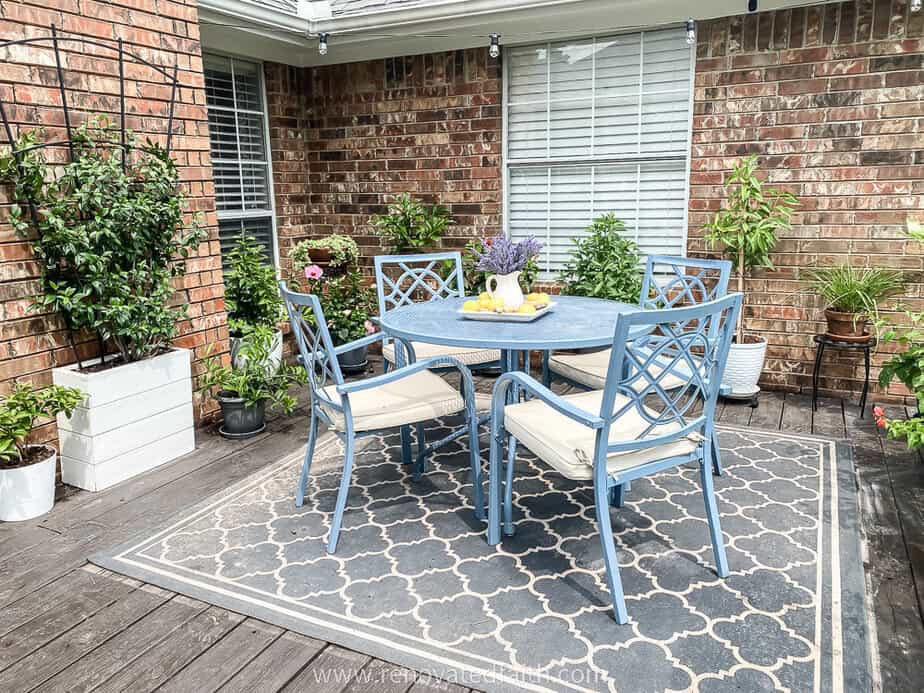
Place you potted plants where you want them on your deck or porch. Keep in mind their lighting needs even during the hottest part of summer. Also, give them plenty of space for them to grow.
This is a great time to repot any plants into larger pots. If you find yourself watering one plant more than all the others, it might need a slightly bigger pot.
You can also draw a diagram of your layout to help you find out how much of each item to buy. Your diagram does not have to be pretty! I used two emiters per large plant and one emitter for smaller plants.
Buy your supplies. The drip irrigation items in the supply list are the best and cheapest I’ve found. If your realize you don’t have enough of something you can run down to your local Lowe’s or Home Depot to get one or two extra.
Step 2: Faucet Setup
Consider using a faucet splitter so you can still use your regular garden hose just by flipping a switch. Screw it onto the faucet.
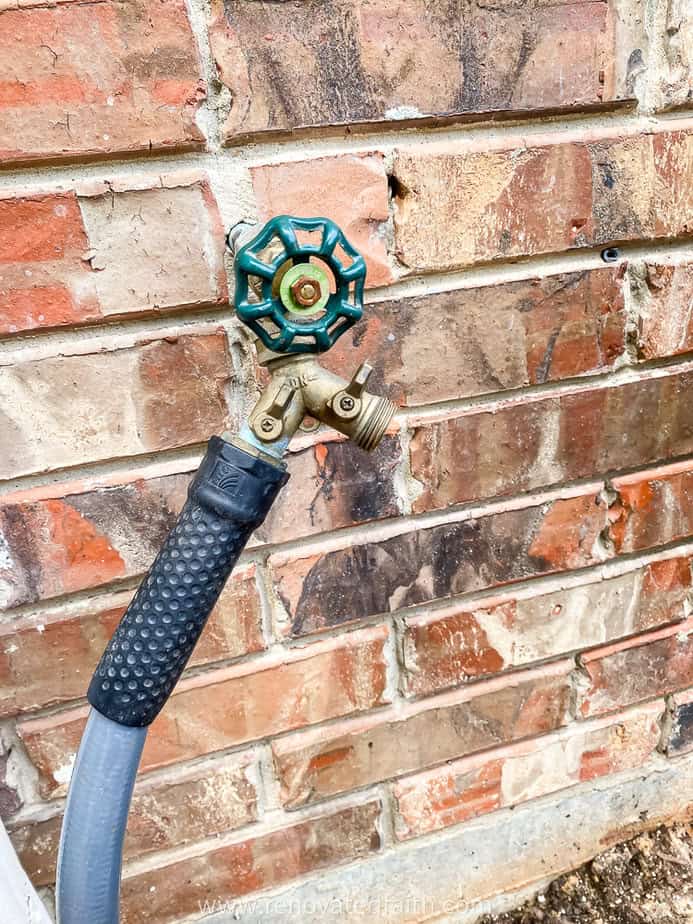
Now, connect the filter, pressure regulator and adaptor in that order. The pressure regulator keeps the water from building up too much pressure and blowing out an emitter. The filter filters out any sediment in your tap water that will clog your emitters.
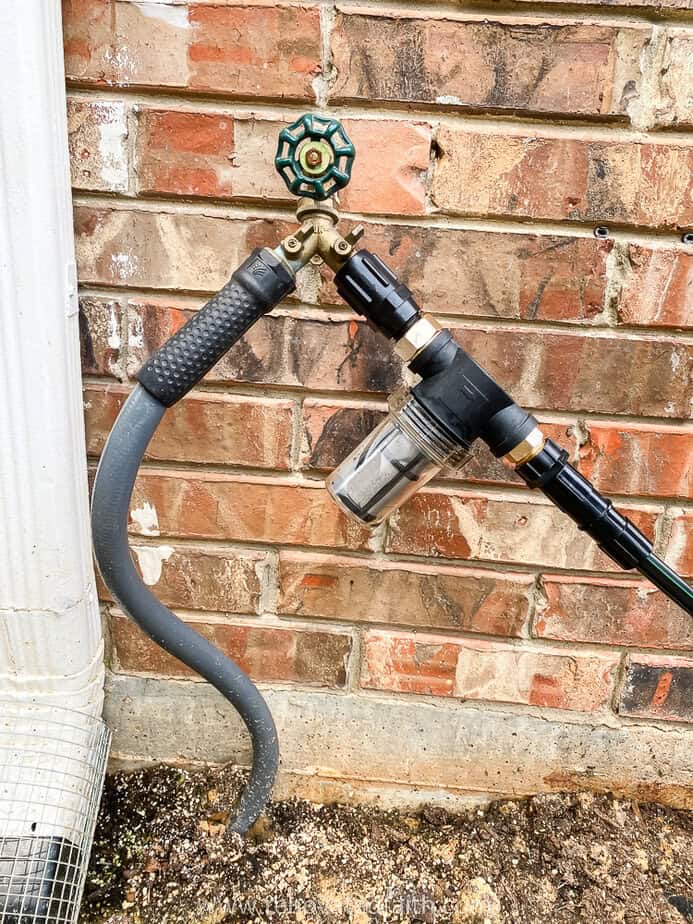
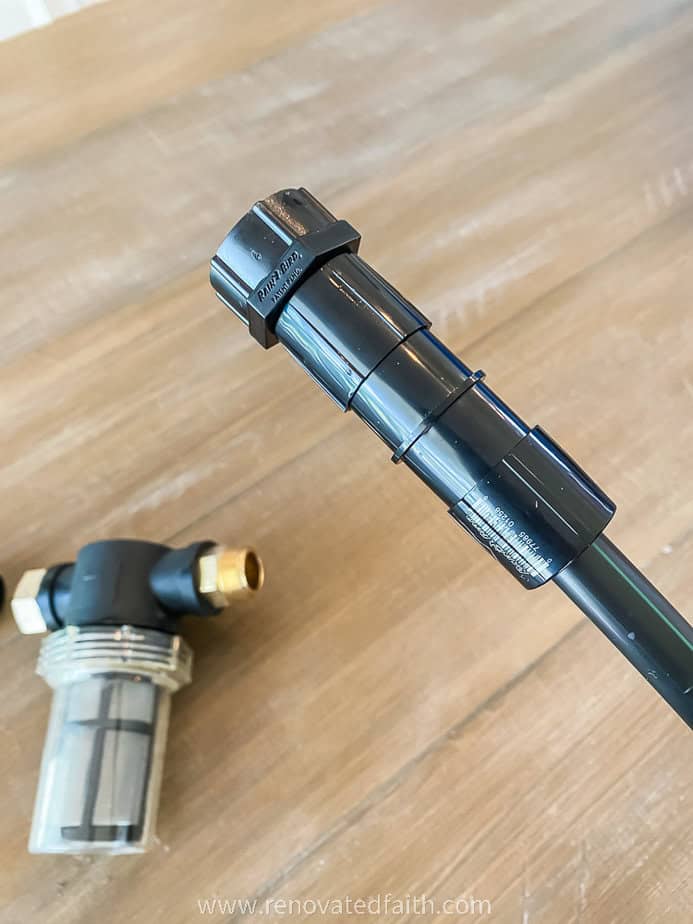
Connect the end of your ½ inch tubing to the pressure regulator To do this, push the tubing on as far as you can and it locks on it’s own.
Step 3: Set Up the 1/2 Inch Tubing
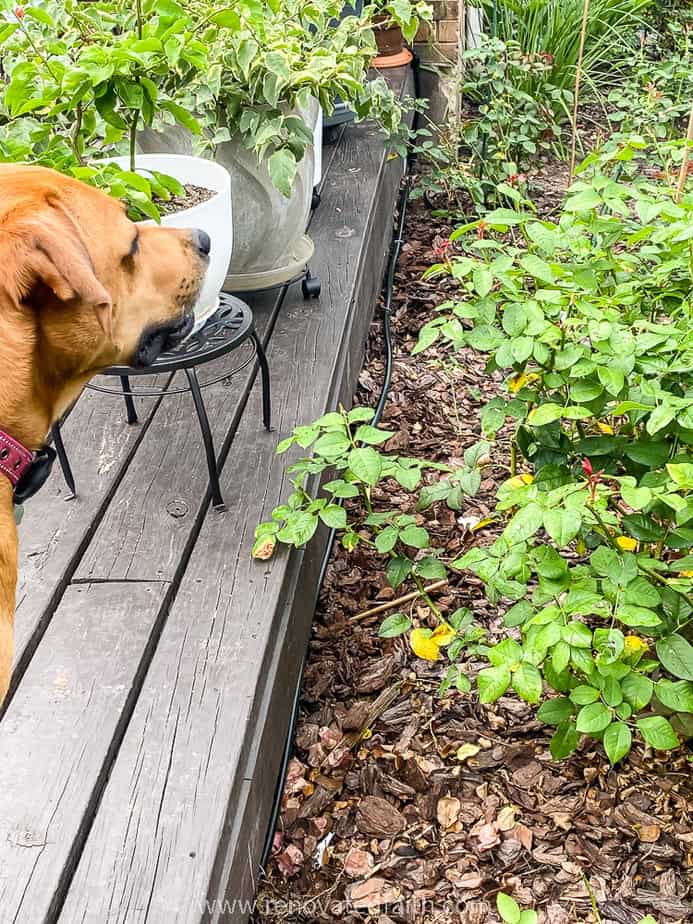
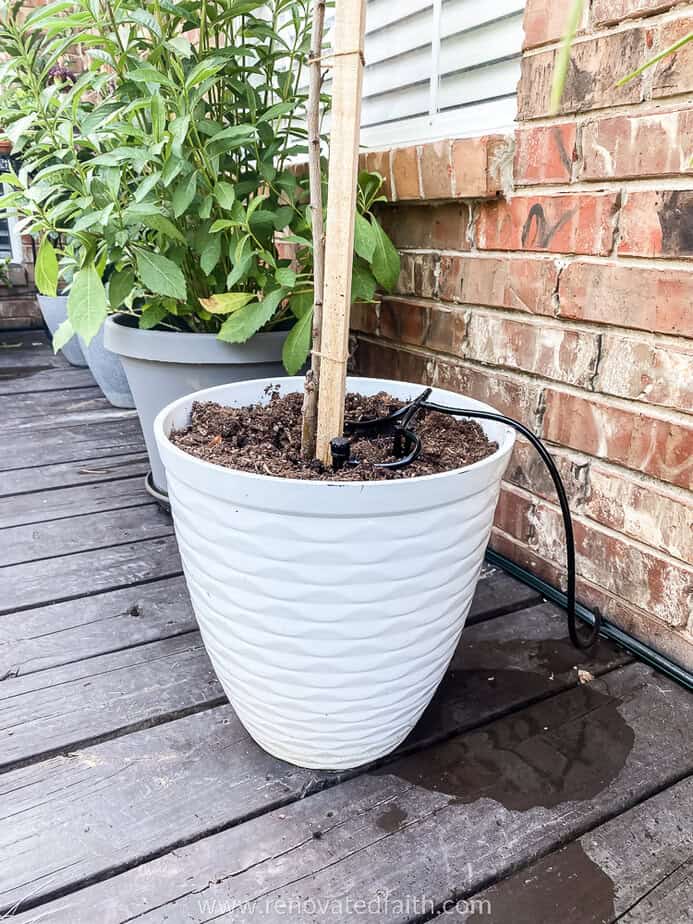
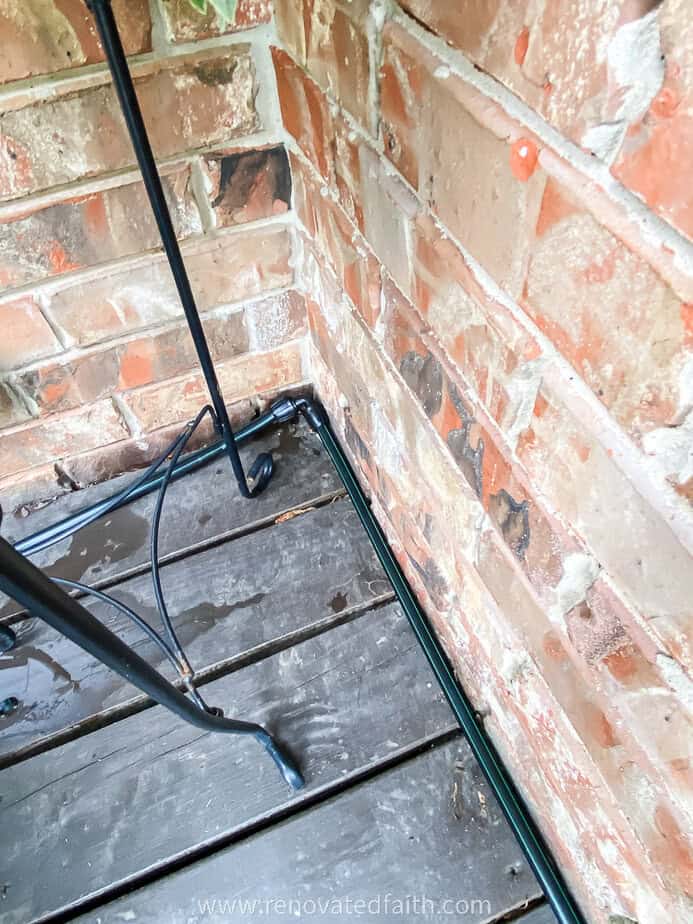
Run your ½ inch tubing behind your plants. You might have to get creative and bury a section if it will cover a walking area.
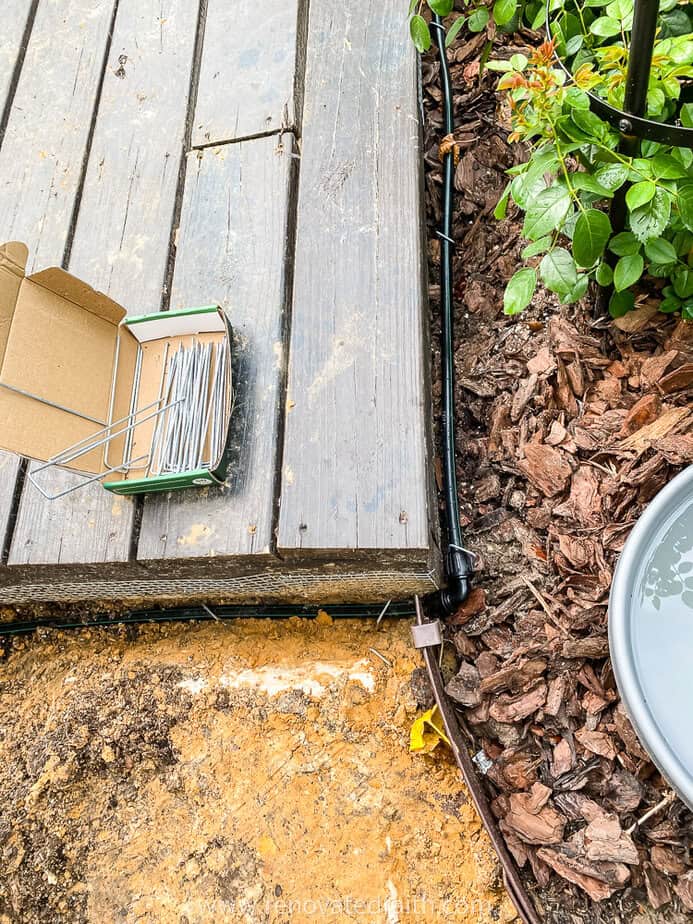
Feel free to hide your ½ inch tubing behind the edge of your deck if you want it more hidden.
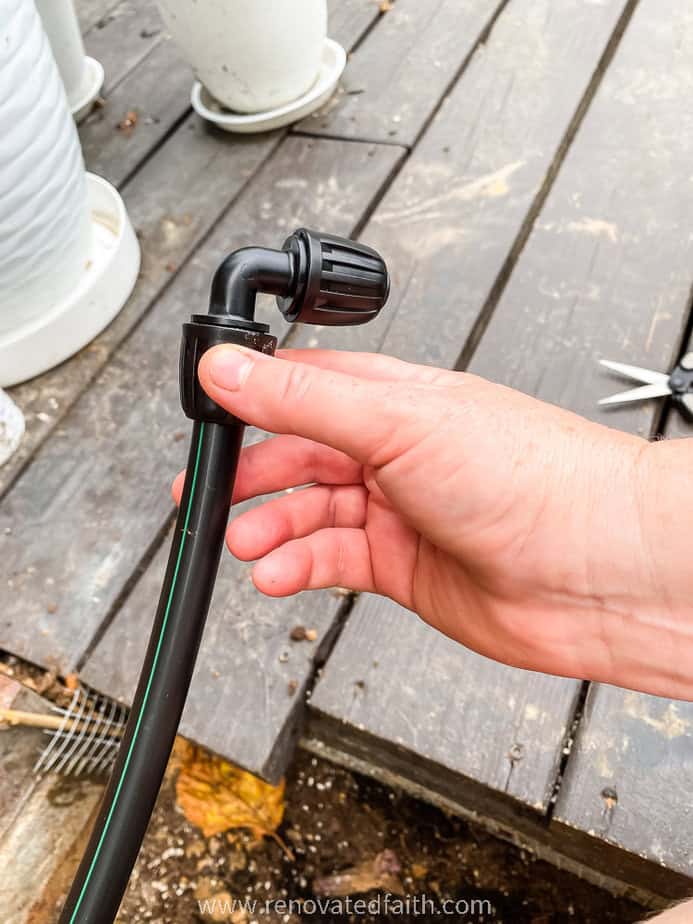
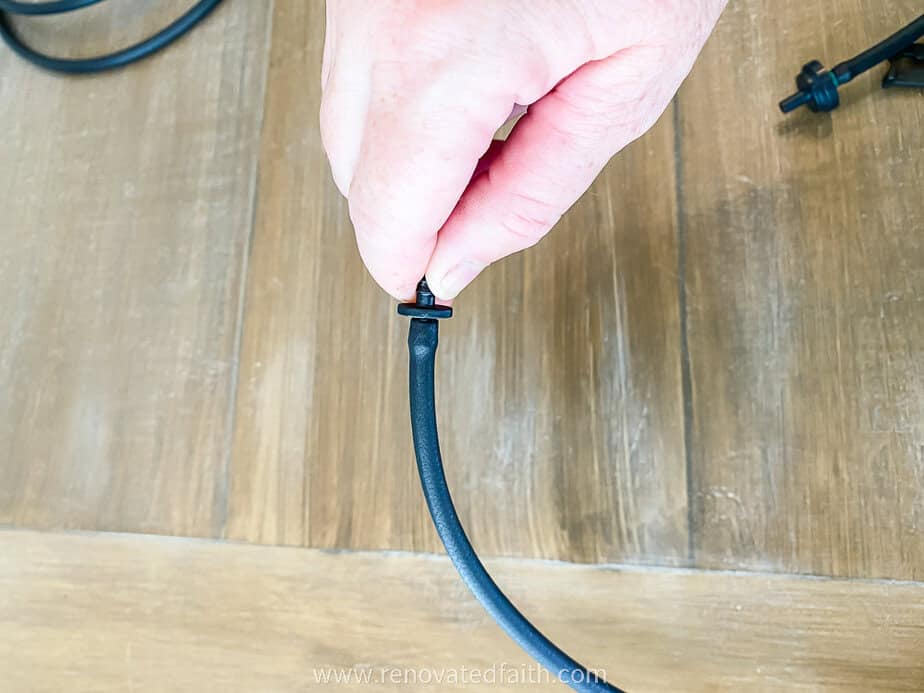
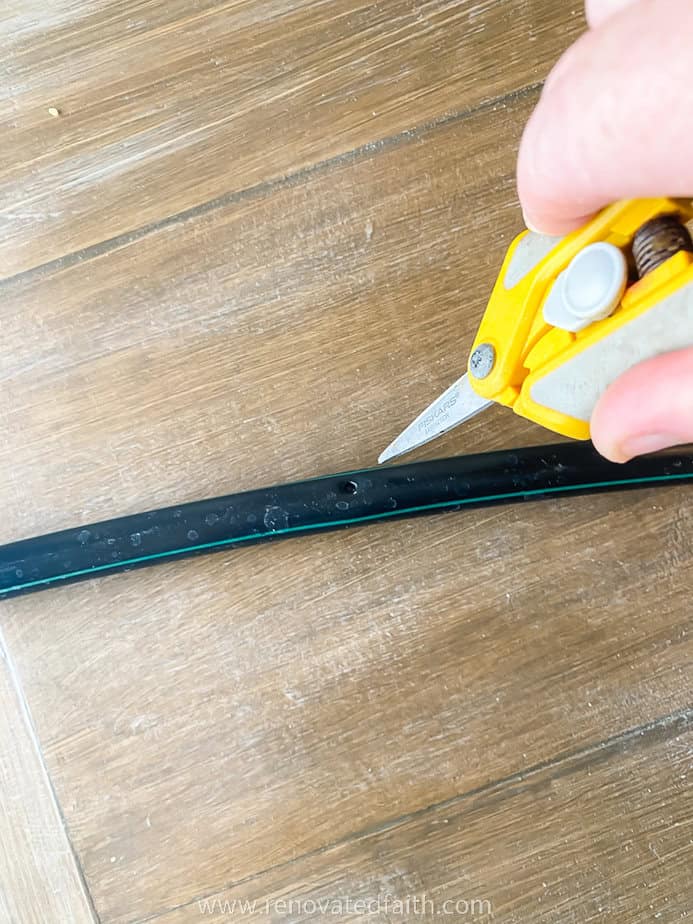
If you have any of the corner or T connectors in your setup, now is the time to install those. To add a connector, cut the tubing with sharp scissors and untwist the knob on the connector so it’s 1/4 tp 1/2 inch unscrewed.
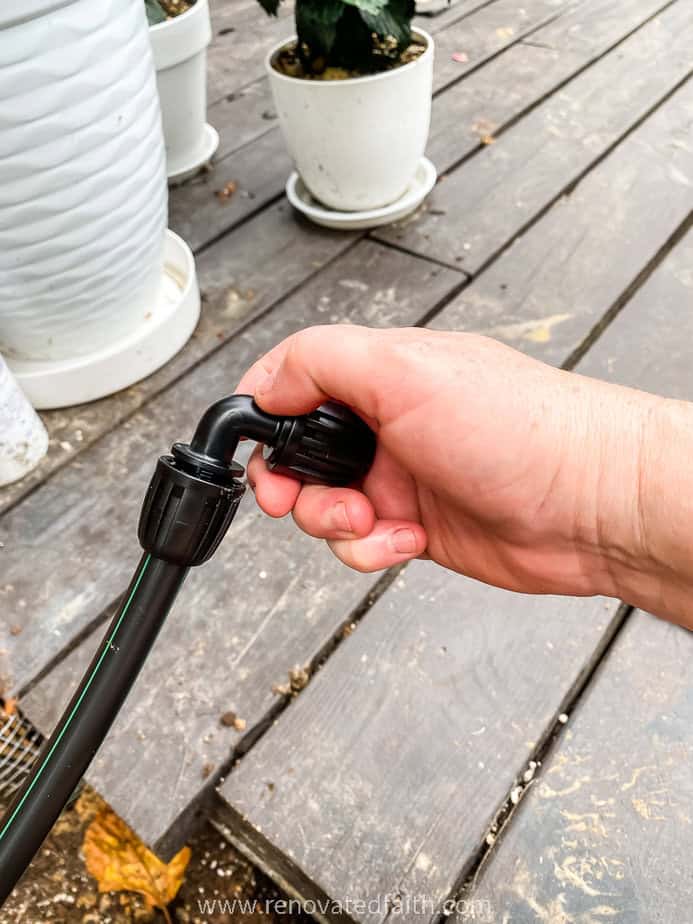
Then push the tubing on as far as it will go and then screw the knob as tight as you can to secure the tubing.
You can tape it to your tape with painter’s tape just for now to keep it from moving around. I use yard staples to secure it where it ran along the ground.
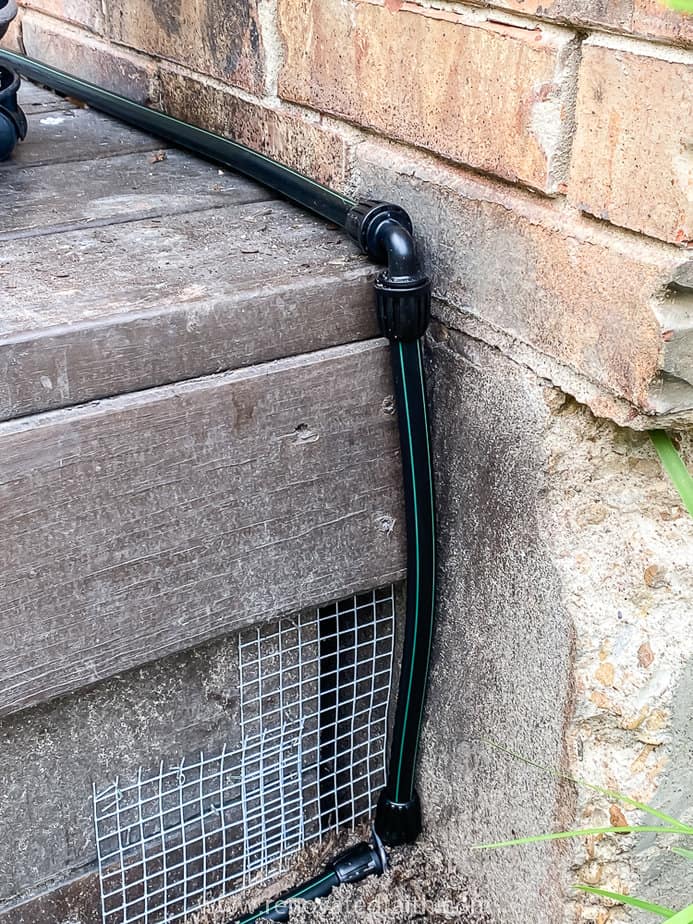
Once you have laid out your ½ inch tubing where you want it, find where you want your tubing to end and add 6 inches to it, now cut the ½ inch tubing there with your scissors.
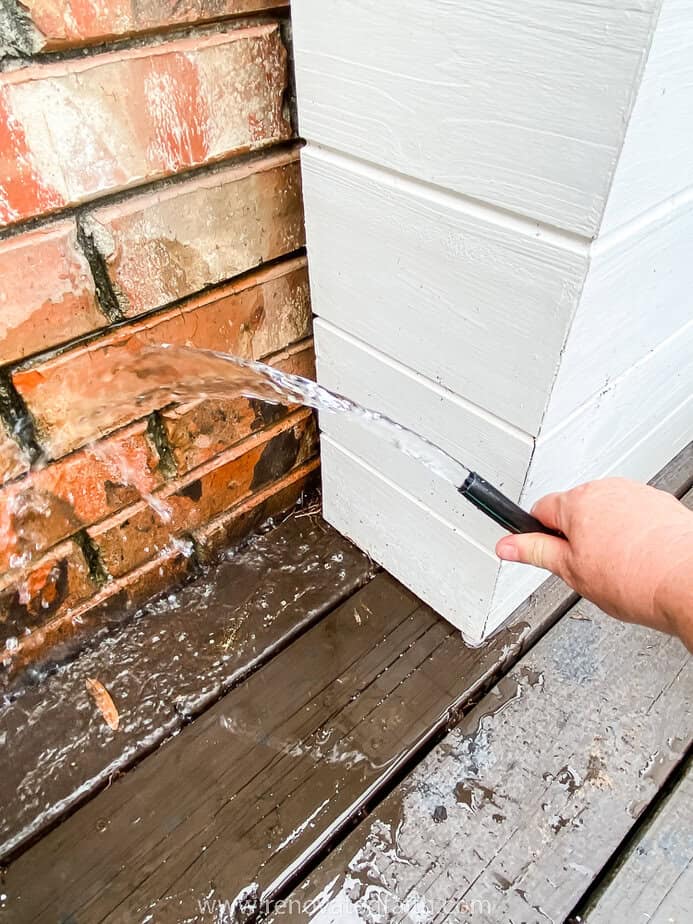
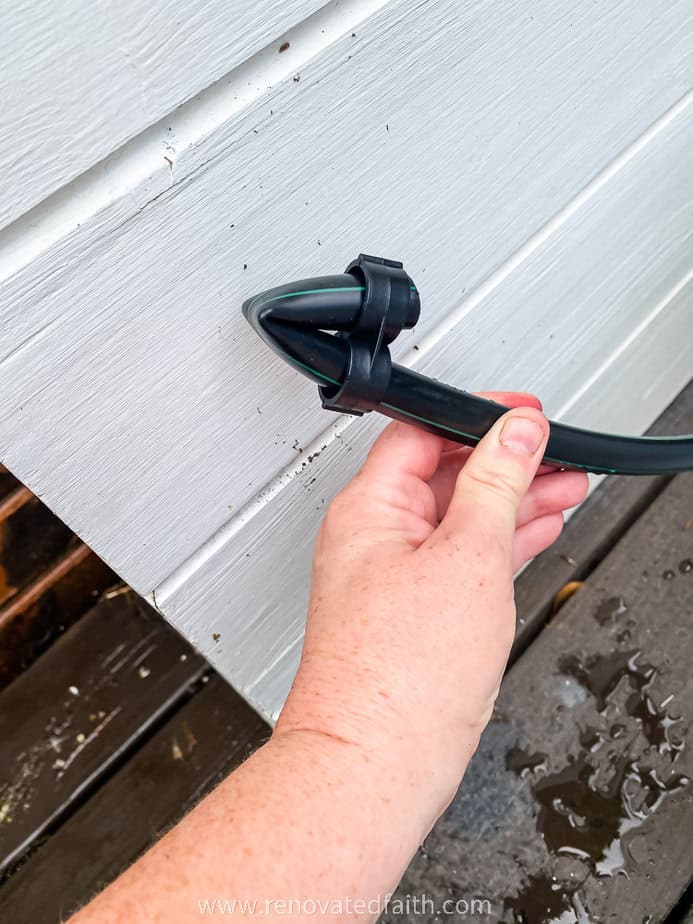
Now, turn on the water to drain the pipe in order to get any dirt out of the line. After a few seconds, turn off the hose.
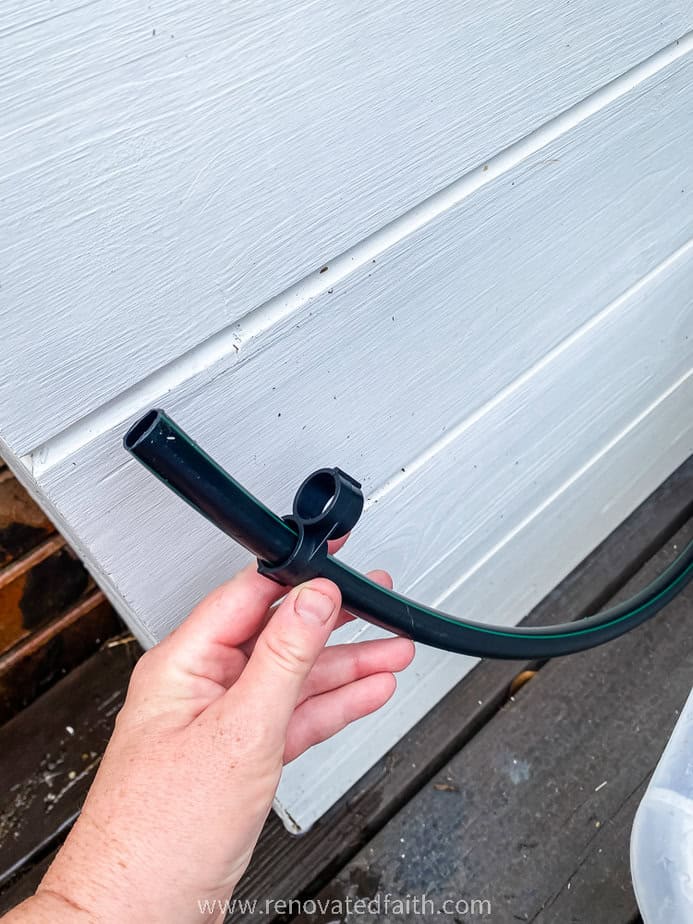
Now, add the end piece like so.
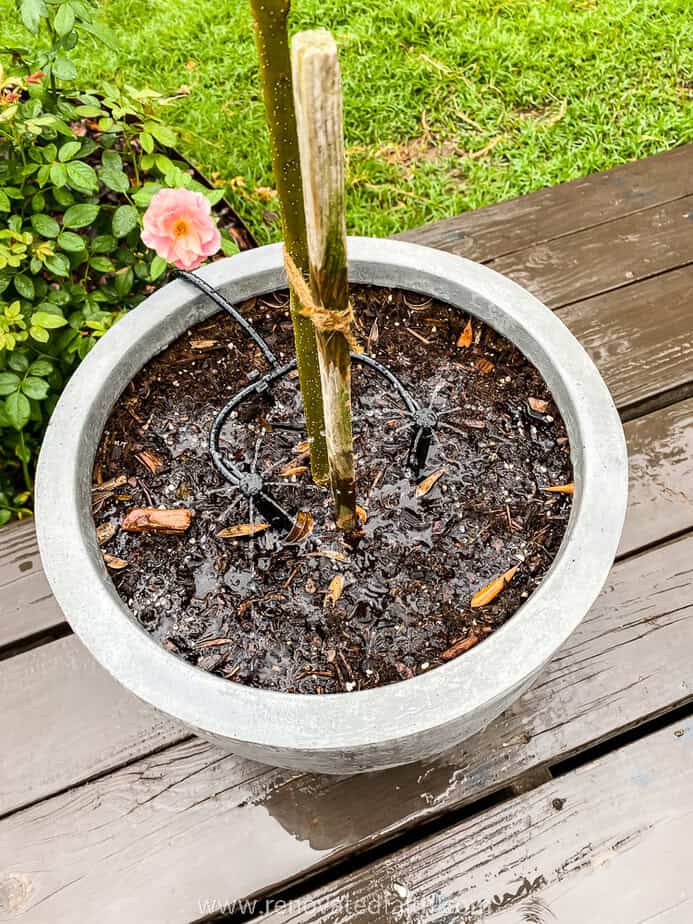
STEP 4: Emitter Setup and Installation for your Self-Watering System for Pots
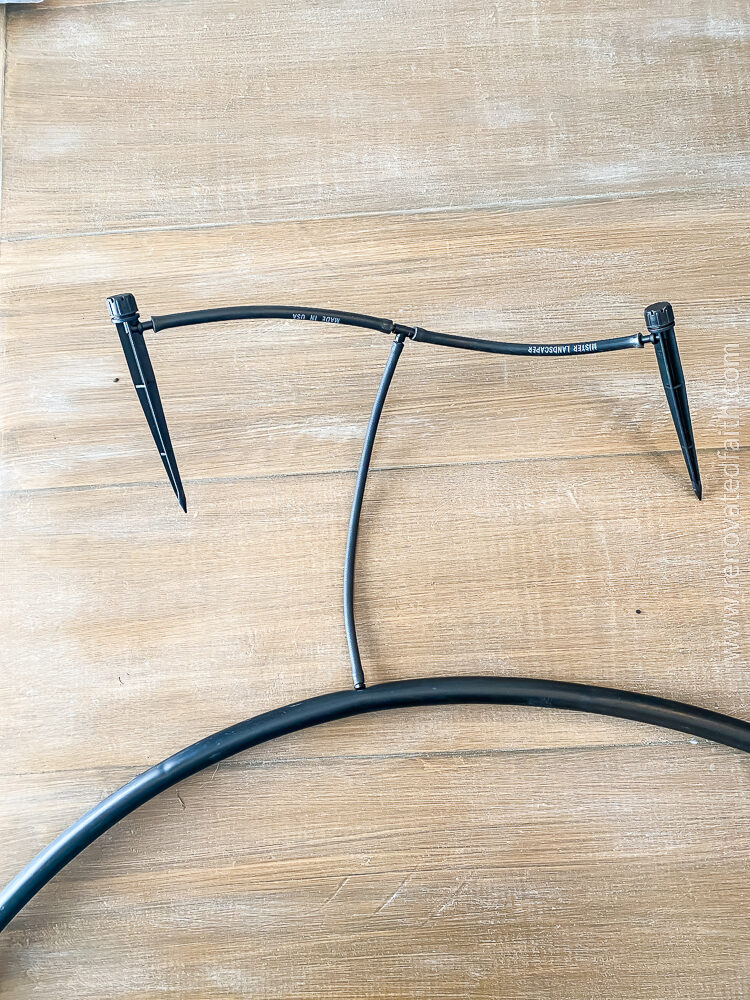
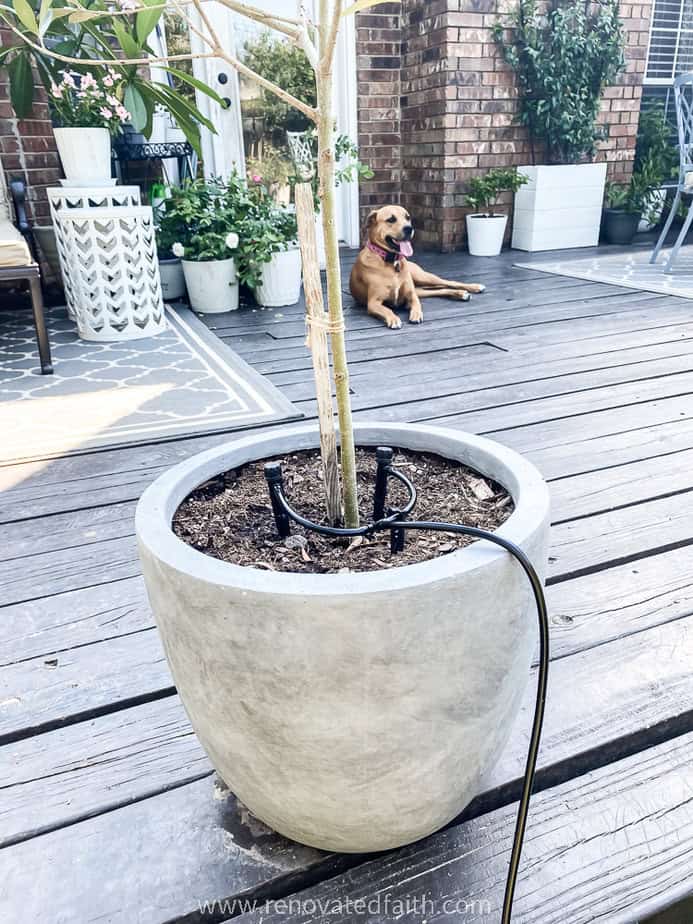
Set up your emitters and distribution tubing as shown above. Use a twisting motion to help connect the emiitters and connectors to the ¼ inch line.
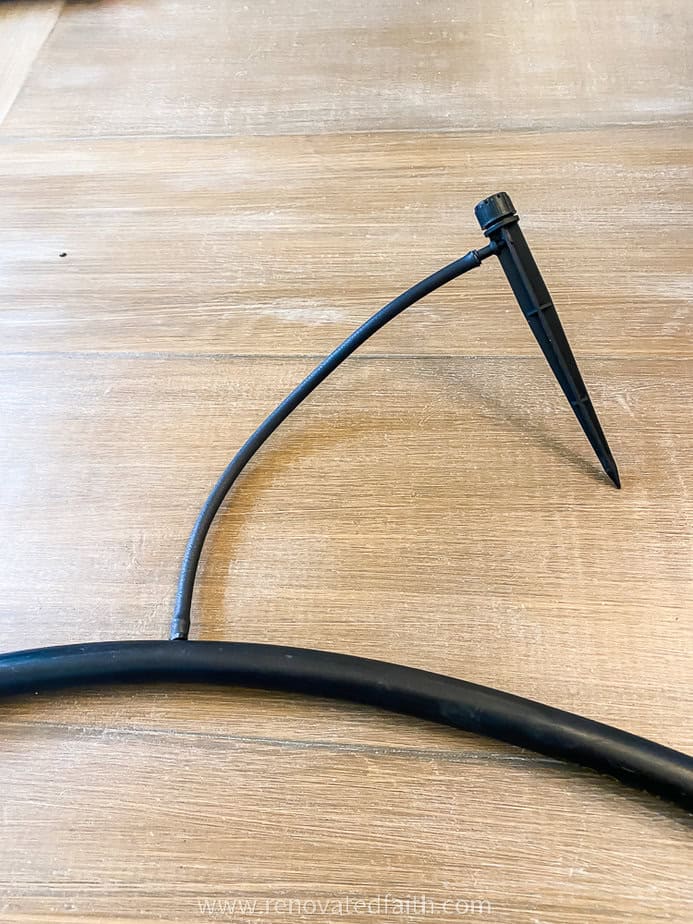
Connect the end of the emitter setup to a ¼ inch connector by pushing the tubing on as far as it will go.
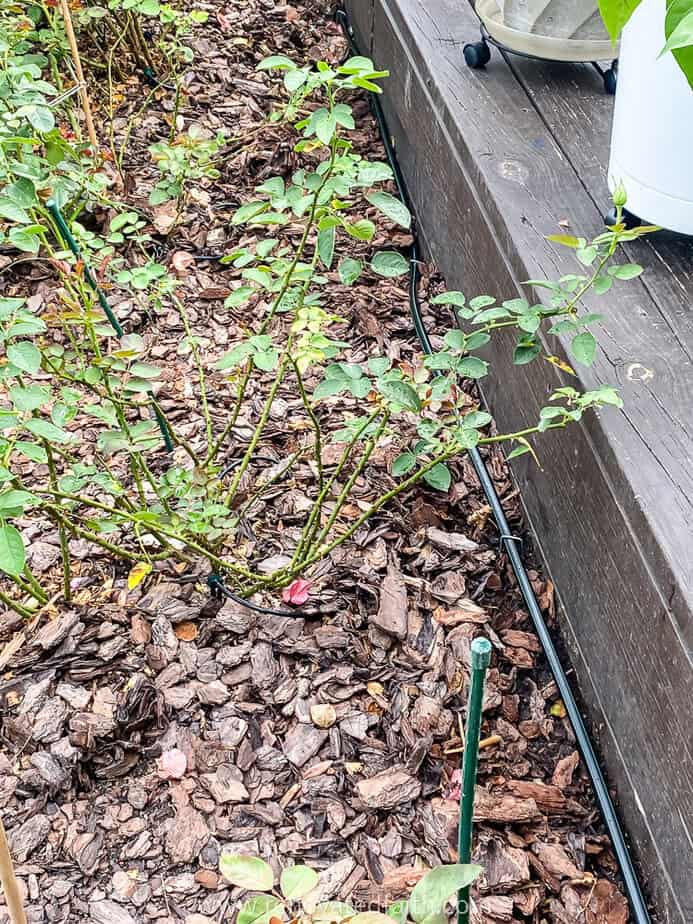
Use your hole puncher to punch a hole in the line where you want it to connect to the potted plant’s distribution line (1/4 inch line). Push the connector of the emitter setup into the hole. You should her a slight click.
If your hole punch doesn’t make a hole through the tubing, use your scissors or one of the ends of a yard staple to puncture it.
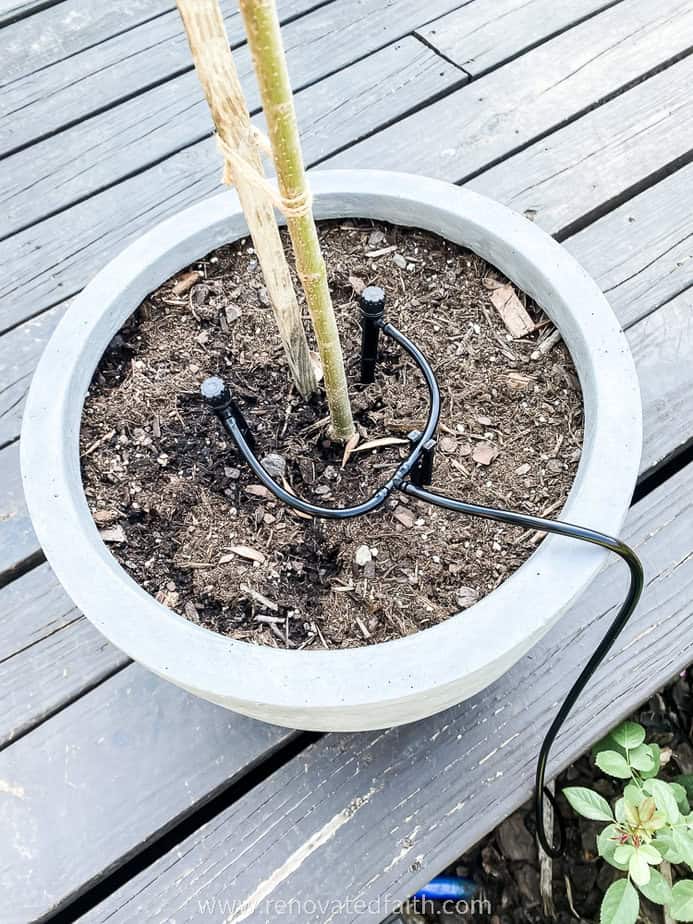
You can use the stakes to hold the tubing in place.
Do this for every potted plant. If you make a mistake, no worries, just fill the hole with a goof plug!
Step 5: Test Your Outdoor Potted Plant Watering System
Now turn on the water and make sure all the emitters in each pot are flowing. Now, adjust the emitter nobs to the amount of water you think your plant might need.
I decided to put each emitter on a small spray like below. I also took my pot bottoms off so any excess water can just run out of the bottoms.
This part will take some trial and error over the first few waterings.
Be careful not to overwater your plants. Plants have different water requirements so I recommend customizing your whole setup to the needs of plants that want to dry up some before being watered.
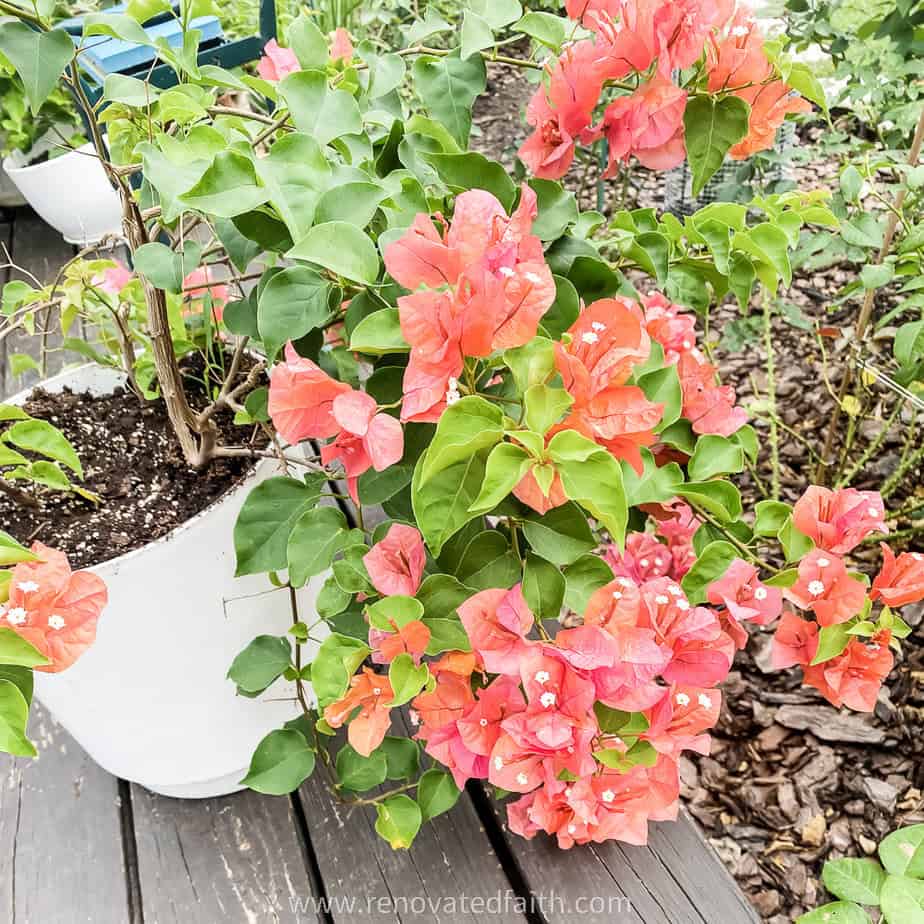
For example, I only turn on my setup with my bougainvillea are ready to be watered – usually when the first two or three inches of soil is dry. If a plant gets wilted before the bougainvillea need watering, I go ahead and water that one plant with the watering can. In other words, as far as timing, cater to your plants that don’t like overwatering.
Renovate Your Faith: What Kept Me From Conquering My To Do List
I always get intimidated when I try something new because I don’t know if the project will turn out like I envision. That was the case with drip irrigation and so many other projects on the blog. But to overcome the intimidation factor, I started making a change in I approach DIY projects and even my daily to do list. You can read more about that here: What Kept Me From Conquering My To Do List
I have a couple clerodendrums that are water hogs so I replanted them in larger pots that will get more saturated before drying out.
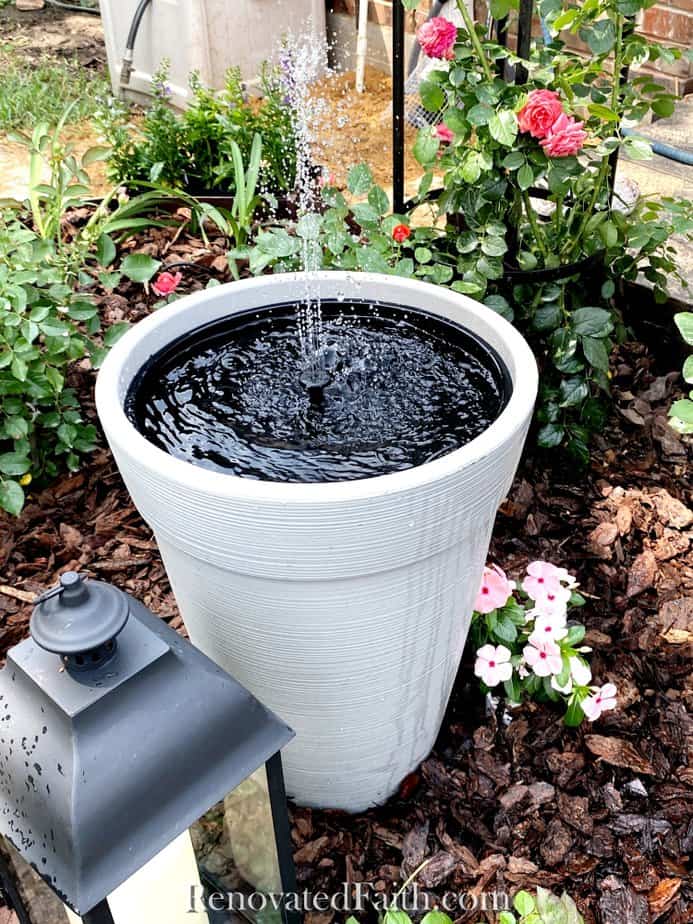
I even used my drip irrigation setup to connect an emitter to my fountain. I made a fountain out of a plastic planter and you can see how to make it here: DIY Solar Fountain From a Plastic Planter
Automatic Watering System for Outdoor Potted Plants
After, I got more comfortable with my drip setup. I added a timer for each zone that I have for my roses and a timer for my potted plants. It’s pretty great because I control several zones all from an app on my phone: Rainpoint Timer with Wifi
You can see how to run drip irrigation to plants and roses here: How to Run Drip Irrigation in Flower Beds
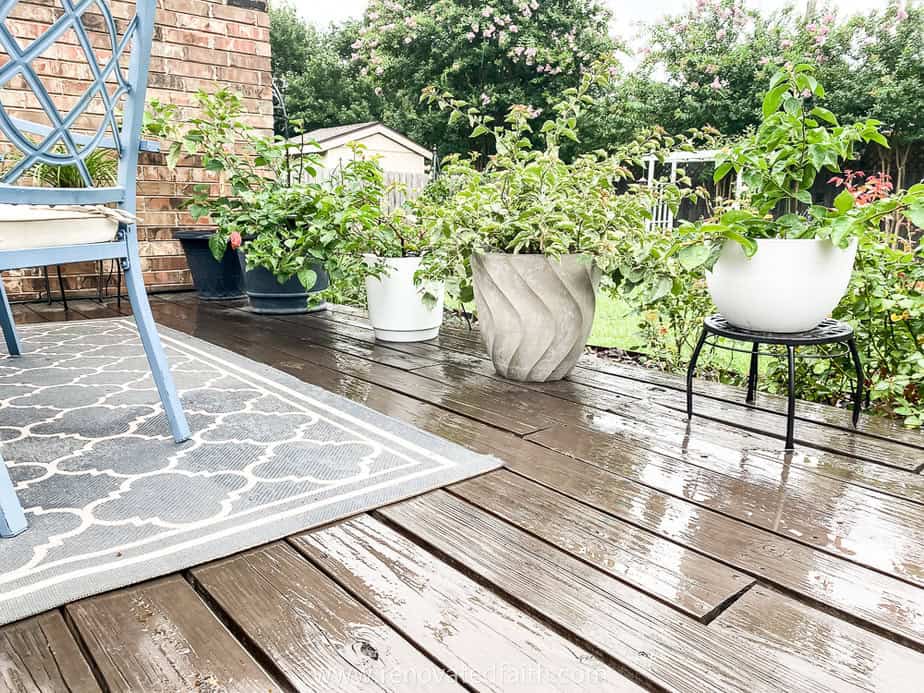
Drip irrigation has been such a blessing and I’m so thankful I don’t have to risk the health of my potted plants plants outdoors
Keeping plants healthy in warm climates isn’t easy. But this drip irrigation system has made this hobby so much more doable and enjoyable. I also see a difference in my plants’ health because they consistently get all the water they need, even during the hottest Texas summers.
Related Posts to How to Set Up Drip Irrigation for POt Plants
How to Set Up Drip Irrigation for Landscape Plants
Easy DIY Solar Fountain From a Plastic Planter
50 EASY Landscaping Ideas For The Front of Your House, 2024
How to Spray Paint Patio Furniture (Ultimate 2024 Guide & Video!)
DIY Patio Furniture Restoration (Get a Pro Finish on a DIY Budget)
How to Paint Wrought Iron Patio Furniture (Like a Pro!)
Final Thoughts on Setting Up Drip Irrigation for Pot Plants
Installing drip irrigation was one of the best things I have done for myself and my plants! I’m so thankful I don’t have to water in the miserable heat and my plants are getting all the water they need to make huge blooms.
If you have any questions or thoughts, comment below and I will get back to you soon! Don’t forget you can join the email newsletter and get access to the free printable library here: Subscribe to Get Free Printables!
Blessings,
Karin
How to Set Up Drip Irrigation for Potted Plants (DIY Tutorial)

Karin Peters is a DIY expert and the creator of Renovated Faith. She is a furniture painter, a home design consultant, and a tenacious problem solver determined to help you transform your house into a home. With 17 years of experience with DIY home improvement, she researches and analyses professional processes to adapt them to be easy and cost-effective for DIYers. She then tests every project and product before it appears on the site in a detailed, step-by-step format. After attending Texas A&M University, she received her Master of Divinity with Biblical Languages at Southwestern Baptist Theology Seminary. Her passions unite in Renovated Faith, which shows readers how to create a home that serves them so they can pursue their God-given purposes. About Renovated Faith | Editorial Policy | Facebook | Twitter | LinkedIn