JOY Wreath Tutorial
Our women’s ministry at church had an event that included Christmas cookies, a hot cocoa bar and also some craft projects. Guess who volunteered to be in charge of said crafts!?

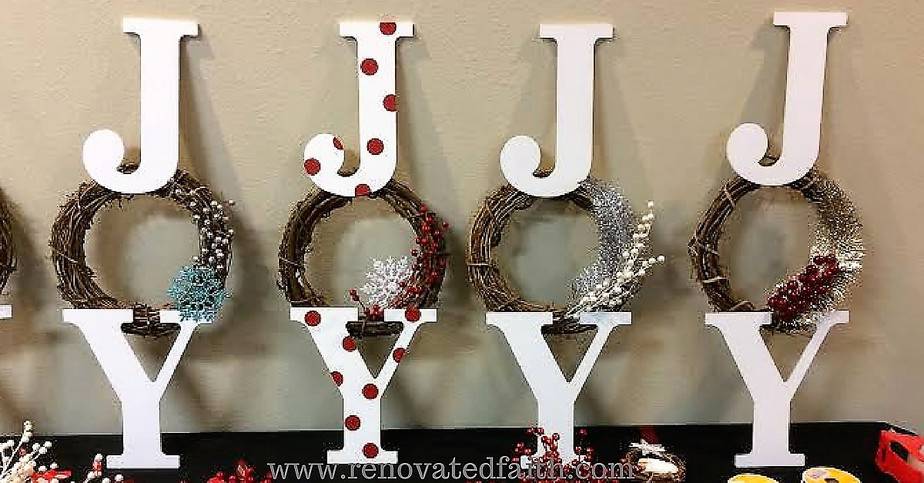
Every lady had the option to make a JOY wreath and customize it with various decor including berries, glitter feathers, snowflakes and polka dots! The wreaths were a big hit and were a quick and easy project for a large group.

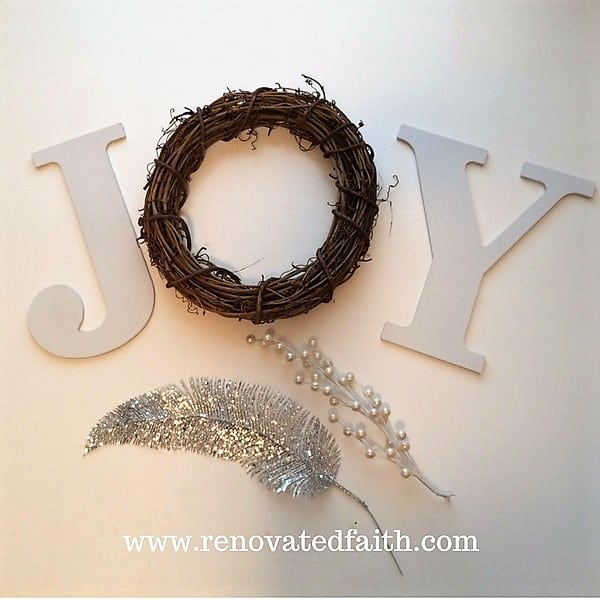
Joy Christmas Wreath – What You Need:
- “Wood” Letters – The cheapest I found were the 9″composite letters at Hobby Lobby at $2.38 each. They go on sale every four few months so you can get them even cheaper.
- 10″ Grapevine Wreath – I found them at Consumercrafts.com at $1.47 each.
- Hot Glue Gun and several hot glue sticks
- Fishing line
- Spray Paint
- Decorative Sprigs, Snowflakes, etc.
- Optional: Vinyl stick-on polka dots – I got mine at amazon.com
The total cost was $7.00 and we just asked women pay $5.00 to offset the costs.
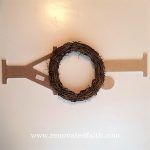
After gathering my supplies, I spray painted the letters with flat white spray paint and sanded when needed. After they dried for 48 hours, I started gluing the letters to the wreath.

Put your J face down and put a large amount of hot glue at the bottom. Place your wreath on top and press down firmly.
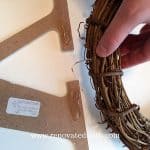
Do the same with the top of the Y. Add hot glue again and press the wreath down. Make sure the J,O and Y are in a straight line before the glue cools completely. It will take a few minutes for that much glue to cool. Add more glue if needed to make sure the letters are attached well to the wreath.
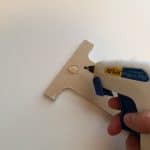

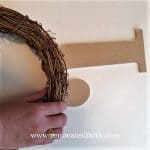
While the glue continues to cool, put a big glob of glue at the top back of the J on the X that is marked Stick the knotted end of a small piece of fishing line into the glue. Let it cool completely before you turn your wreath over.

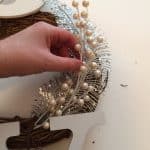
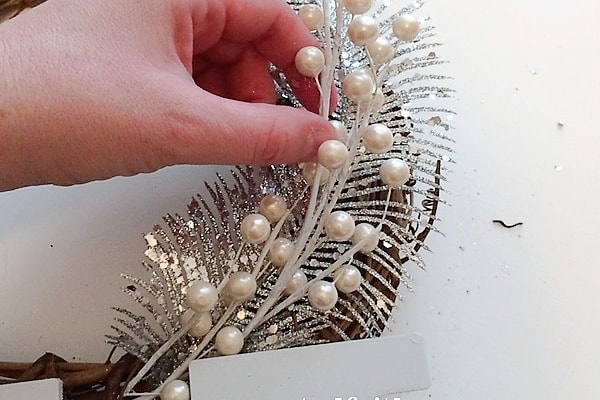
Trim the end of your picks with the wire cutter and hot glue them into the wreath.
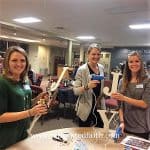

All 30 women had a great time making their wreaths and were able to each add their personal touch. It was such a versatile and easy craft that anyone can do and we still managed to stay on budget.
Another craft option at the event was the Nativity Ornaments from last week’s post. Next week I’ll post a neighbor gift idea and some things God showed me about how to better engage with my neighbors.


‘Til Next Time,


Karin Peters is a DIY expert and the creator of Renovated Faith. She is a furniture painter, a home design consultant, and a tenacious problem solver determined to help you transform your house into a home. With 17 years of experience with DIY home improvement, she researches and analyses professional processes to adapt them to be easy and cost-effective for DIYers. She then tests every project and product before it appears on the site in a detailed, step-by-step format. After attending Texas A&M University, she received her Master of Divinity with Biblical Languages at Southwestern Baptist Theology Seminary. Her passions unite in Renovated Faith, which shows readers how to create a home that serves them so they can pursue their God-given purposes. About Renovated Faith | Editorial Policy | Facebook | Twitter | LinkedIn
I love your JOY wreath and have enjoyed your site for some time! You inspired me to try my hand at making the topiaries here on your site and I have enjoyed decorating with them! I also made the hummingbird chandelier from your site as well! Thank you for all your talented ideas and inspiration! Wishing you a blessed Christmas and holiday season!
Thank you so much Martha! Your kind word made my day! I appreciate you taking the time to let me know you’re enjoying my site. I hope you have a very Merry Christmas Martha! Let me know if you ever need anything.
I love this wreath! The word JOY is so uplifting! It makes me smile ? It always reminds me of the song, ” There is JOY in Serving Jesus”; and of the acronym J-Jesus, O-Others, Y-You! May your Christmas be filled with much JOY!