Pottery Barn Inspired DIY Ornament Wreath and Garland (For a FRACTION of the Cost!)
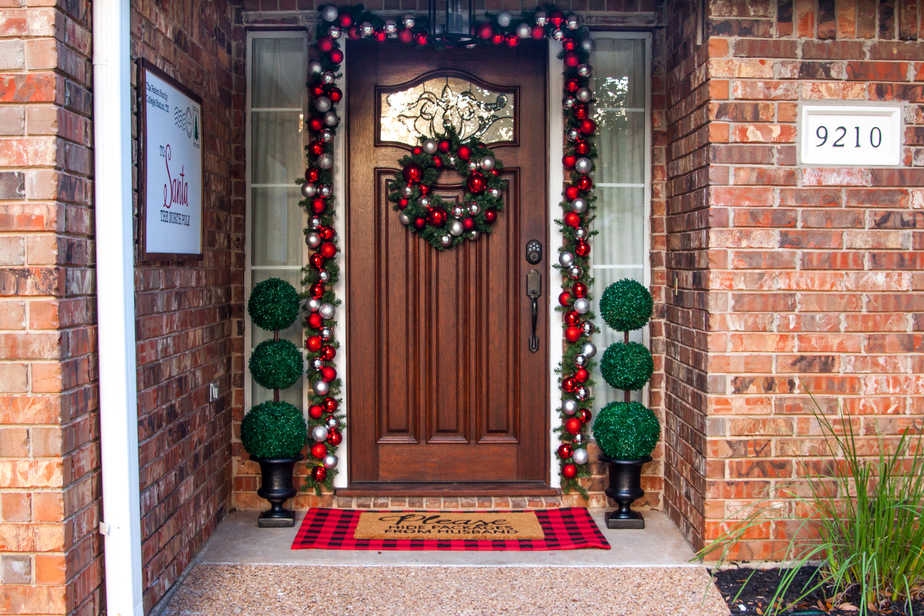
The Easy Way to Make a Christmas Wreath & Garland
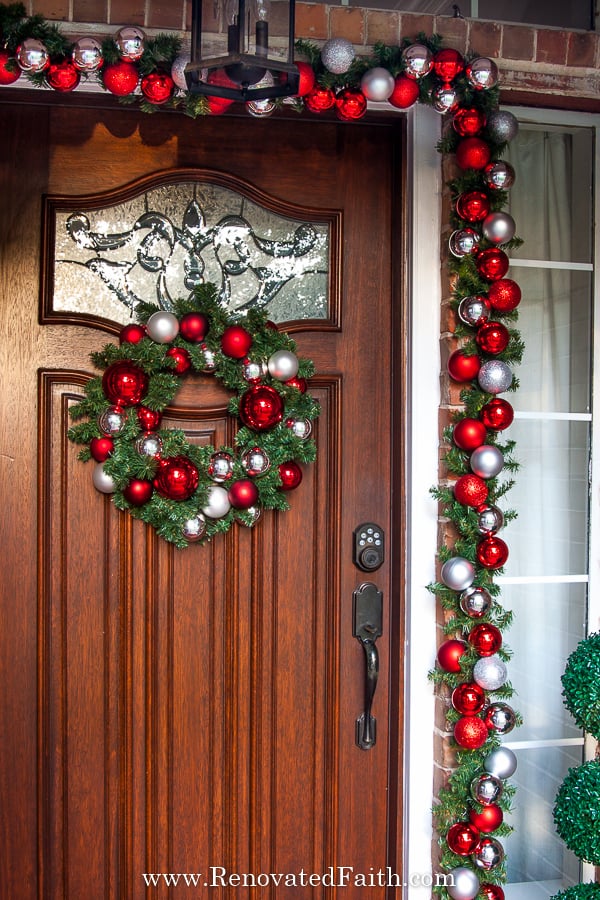
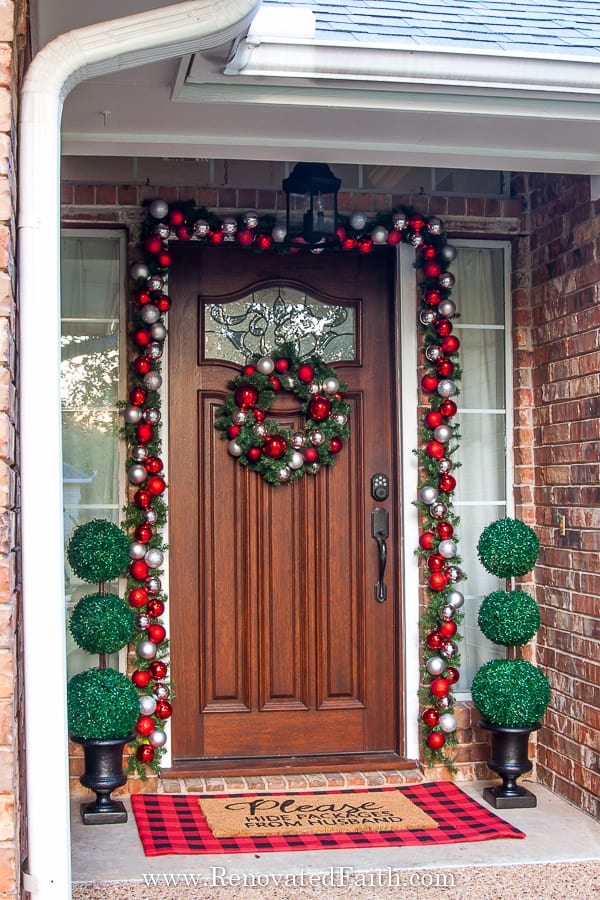
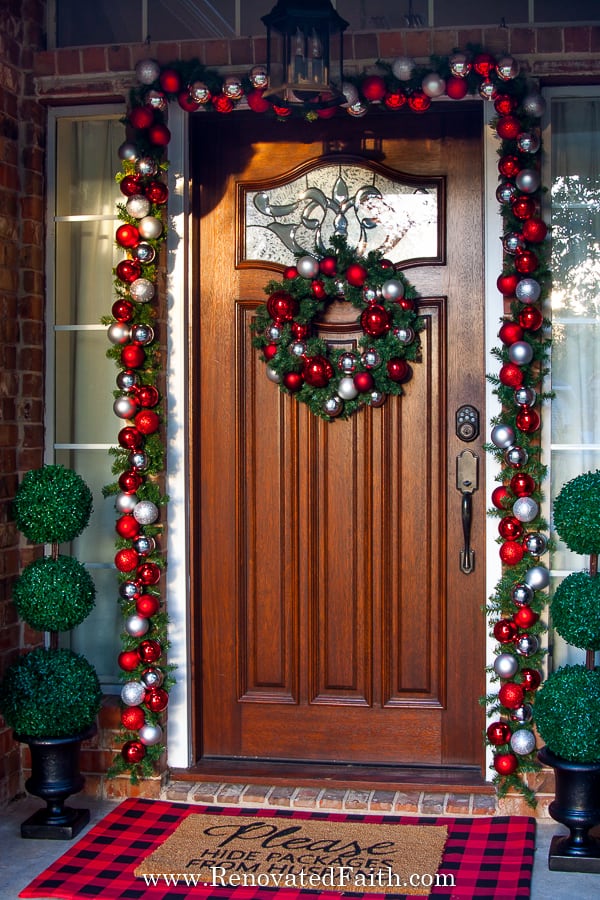
You don’t have to spend a lot to have gorgeous Christmas décor! Make this Pottery Barn Inspired DIY ornament wreath and garland without breaking the bank!
So I have been eyeing the same Pottery Barn Christmas wreath and garland for YEARS but the price tag has always stopped me in my tracks. Fortunately, I found an easy way to make them both for a fraction of the price of the real thing!
The beauty of both the diy garland and wreath tutorial is that they work for any color combination of ornaments so you can truly customize this look to your tastes! I truly love how both look on my front door and am so glad I didn’t waste my money buy making them easily myself. To get the rest of my porch ideas, click here: Easy DIY Christmas Front Porch Decor.
This is a great post for you if you:
- Want to make a pottery barn wreath/garland for a fraction of the cost
- Would like to coordinate your existing front door décor with a wreath or garland
- Want to know the best way to make ornament décor that is weatherproof
DIY Christmas Wreath and Ornament Garland
(As an Amazon affiliate I earn from qualifying purchases. Please see my full disclosure HERE).
Quick Links to Information in this Post
- 1 The Easy Way to Make a Christmas Wreath & Garland
- 2 DIY Ornament Wreath Supplies:
- 3
- 4 How to Make An Ornament Wreath
- 5 Easy Pottery Barn Inspired Ornament Garland
- 6 DIY Ornament Garland Supplies
- 7
- 8 How to Make Ornament Garland
- 9 RENOVATE YOUR FAITH: Allowing God to Have Your Mess
- 10 More Posts Related to my DIY Ornament Wreath and Garland Tutorial
- 11 Final Thoughts on this Pottery Barn Inspired Wreath and Garland
- 12 DIY Christmas Ornament Wreath Tutorial
Here’s the Pottery Barn wreath and garland that inspired these tutorials:
The 24″ Pottery Barn wreath retails for $89 and I made mine for less than $20. The 10′ Pottery Barn Garland retails for $149 and I made a 9′ garland for around $35!
Here’s a video showing you my fronch porch decor:
DIY Ornament Wreath Supplies:
How to Make An Ornament Wreath
Here’s a video of my Christmas front porch decor including my diy ornament wreath and garland:
Step 1: Add Ornaments to Your Knock Off Pottery Barn Christmas Wreath
What is the best glue for an ornament wreath?
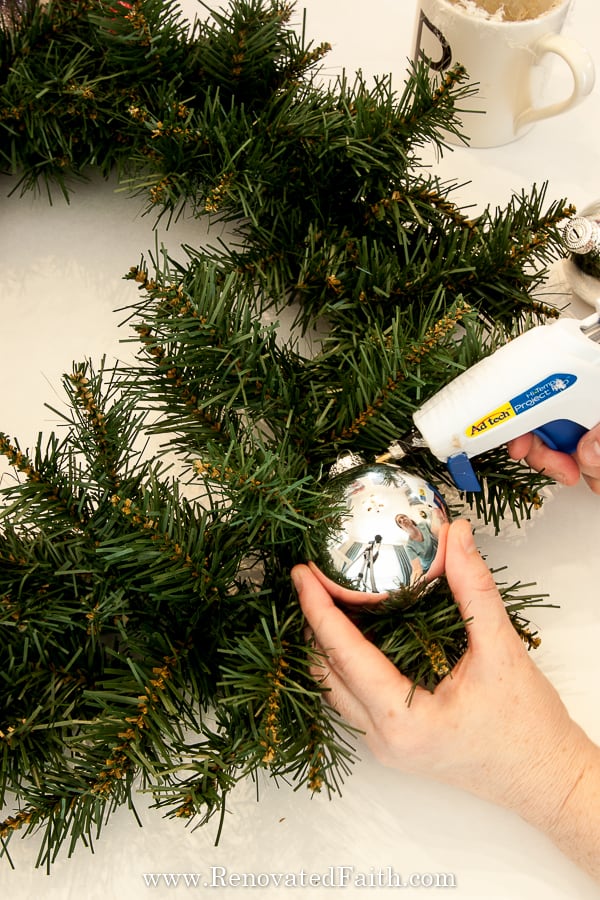
The cheapest, easiest glue for an ornament wreath is hot glue. Because of the nature of the artificial pine wreath, it’s easy for the hot glue to adhere to the branches so they stay in place on the wreath.
With that said, the only negative with hot glue is that hot glued items don’t always hold up well in the attic if you live in a warmer climate. I stored a similar wreath in the attic one year and a couple ornaments came off. For that reason, I store my wreath in the top of one of our closets.
Also, get more hot glue than you think you might need because you want to use plenty to ensure that the ornaments adhere tightly to the wreath’s branches.
Should I use shatter-proof or glass ornaments?
For the wreath, I used a combination of shatter-proof and glass ornaments. I knew I was using hot glue and that there wasn’t a huge chance of ornaments falling off.
I bought most of the ornaments for my wreath at Hobby Lobby because they had the larger red ornaments on hand. You can also find round ball ornaments on Amazon (click here for assortment packs), Target, Michaels and dollar stores.
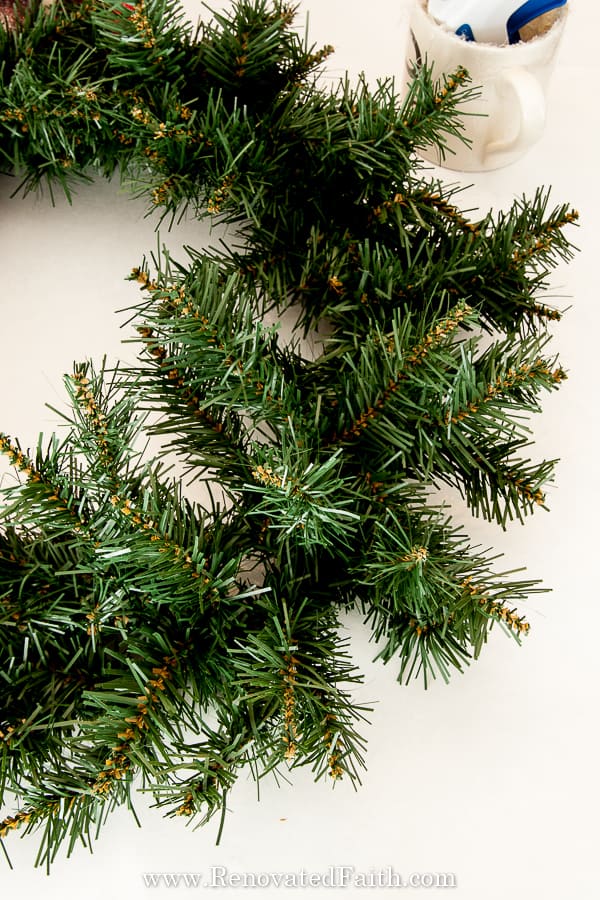
Start by pulling the wire branches away from the center of the wreath so that there is some space between them and they aren’t smushed together
Now, you can start adding on ornaments one at a time. Be sure to use plenty of hot glue so they adhere well to the wreath. Just start filling in ornaments in the gaps one at a time.
Step 2: Fill in Any Gaps Your Pottery Barn Inspired Ornament Wreath
Once you have most of your ornaments on, take a look at your wreath and decide where gaps need to be filled with more ornaments. You can also move the branches around to fill smaller gaps.
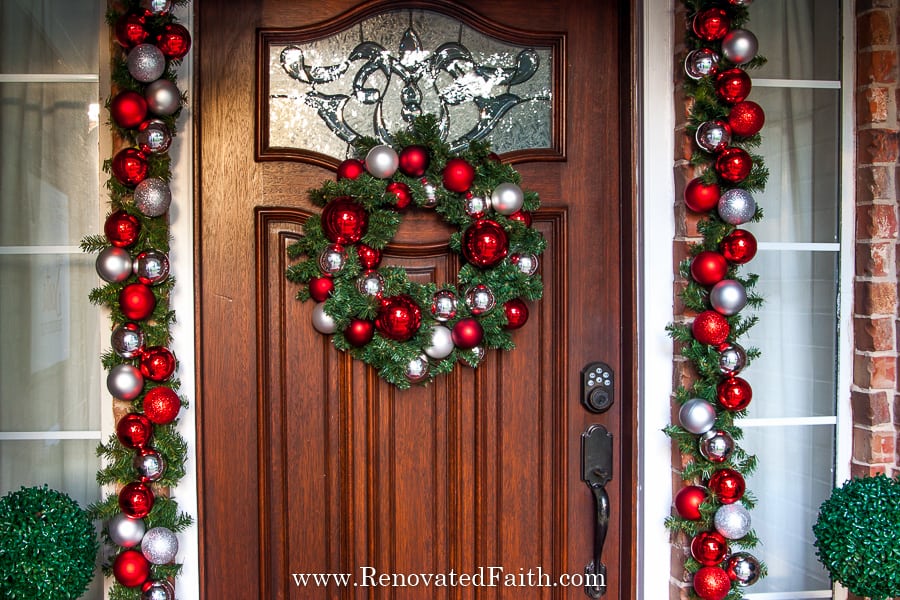
Once you have filled in all of the gaps, you are done and can hang your wreath on your front door, mantel or over a wall mirror!
Easy Pottery Barn Inspired Ornament Garland
Now that you have made your wreath, it’s time to make your ornament garland. I almost didn’t make the garland but it makes SUCH a huge difference to my sometimes dark and dreary front porch. It also made the wreath really pop!
DIY Ornament Garland Supplies
How to Make Ornament Garland
Step 1: Get the Right Number of Ornaments for Your Knock-Off Pottery Barn Christmas Garland
First, you want to measure the length of space you want your garland to cover. The $5 garland from Target (click here) is 9 feet long and I needed 18 feet so I got 2. I just wired them together with my craft wire to make one long garland for my door frame.
I used 3 boxes of 50 ornaments each for 18 feet. I put my ornaments on pretty thick so I would say to get about 75 ornaments per 9 feet. Here are the ornaments I got at Target below. I got three boxes for 18 feet and this was plenty!
Step 2: Start to Assemble Your DIY Ornament Garland
First, lay your garland on a flat surface like the floor or your kitchen counters.
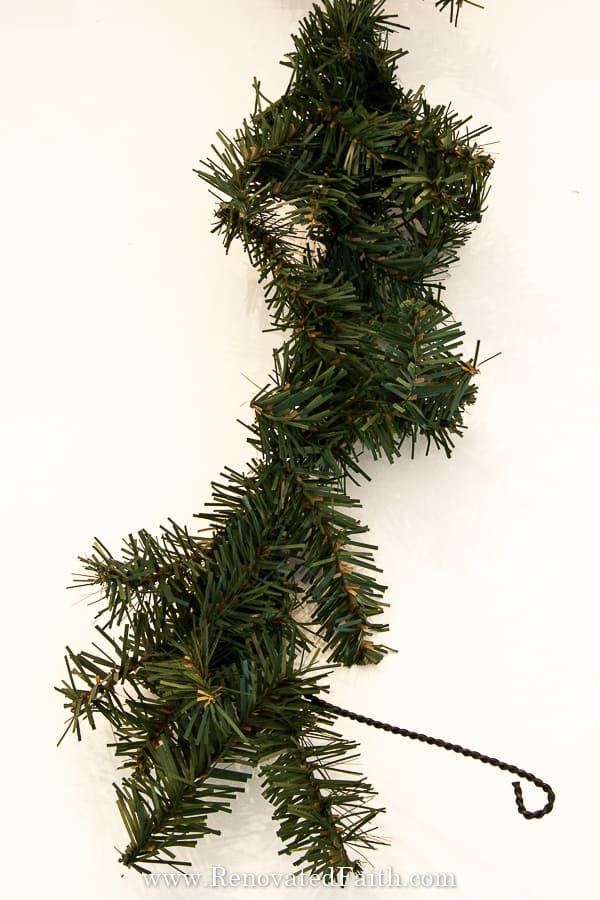
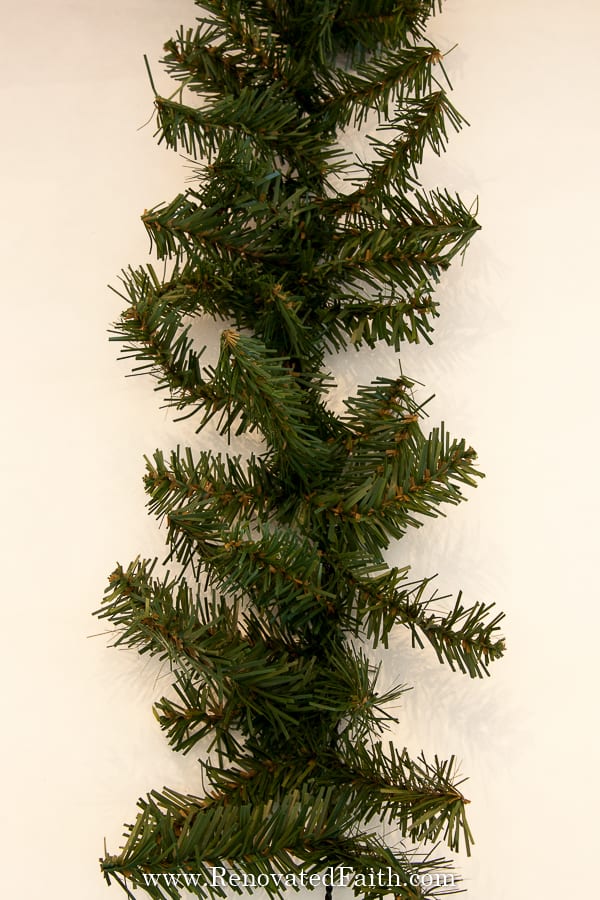
Now you will fluff and straighten out the branches so they are all facing towards one direction away from the floor.
You also want to straighten any branches that are smushed and basically fluff them out so they are all facing away from the floor like below. By doing this, you are creating a front side and back side to your garland.
Step 3: Wire your Ornaments to Your DIY Christmas Ornament Garland
Now, cut your wire into 3 inch pieces and wire your ornaments to the garland. They don’t have to be tight on the garland. They can hang freely. Just add one every couple inches and try to stagger colors so there aren’t many of the same color side by side.
Step 4: How to Attach Hooks to Brick (Optional)
I didn’t have an easy way to hang my garland on the brick so I got 3 large command hooks and tried to attach them using the sticky adhesive that comes with it. They didn’t stick to the brick at all!
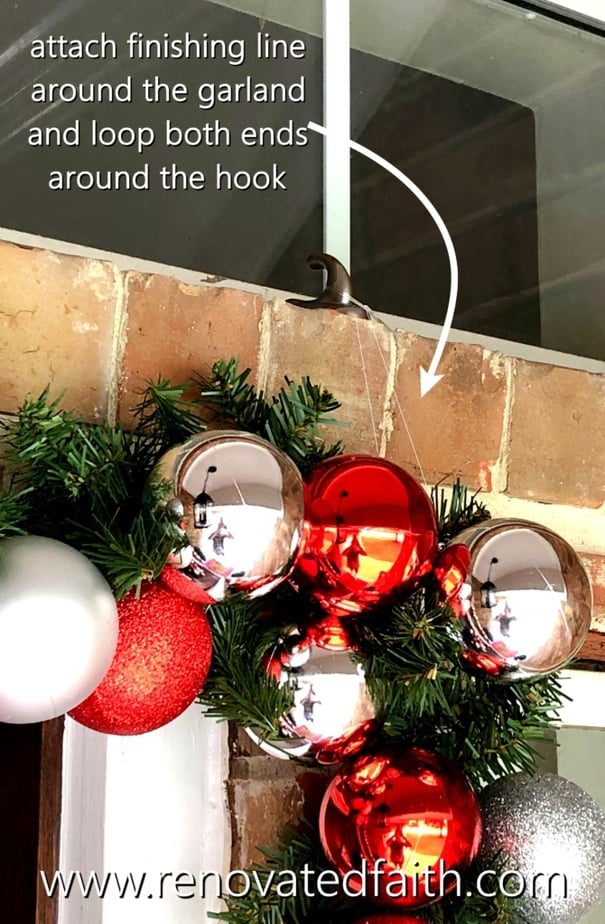
So, I attached the three command hooks to the brick with hot glue. To do this, I squirted an ample amound of hot glue onto the back of the hook and stuck each on the horizontal ledge below the transom of my porch. I let it cool for a good 5 minutes before putting any weight on them.
The nice thing about hot glue is that it’s not totally permanent in that I can take them off if I need to but it adhere’s really well to brick.
After I attached my hooks to the horizontal ledge below the transom window, I cut three 2-foot pieces of fishing line and tied loops in the ends. (If you don’t have a horizontal surface, you can also hang them vertically on the brick.) I looped one end on the hook and looped the fishing line under the garland and then hooked the other loop end on the hook again.
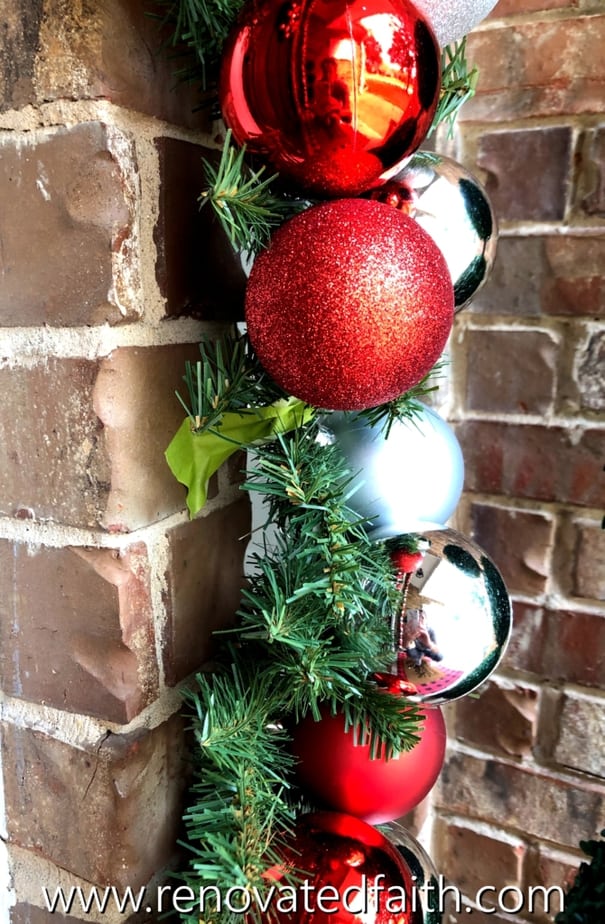
Once I got the garland up on the wall, I readjusted the fishing line lengths to where I wanted the garland above my door. I also went through the garland and kind of straightened the ornaments so they fell in a pretty way. It will look like a hot mess when you first get it up there but once you straighten the garland so the back is flush against the wall, it will look great!
I also used some green painter’s tape to help adhere the garland to the wall every couple feet. This doesn’t provide much support for the weight of the garland but just holds it nicely against the wall.
Once you add the painter’s tape every couple feet, you can stand back and admire your gorgeous front door!
DON’T FORGET TO TAKE A PICTURE OF YOUR DIY ORNAMENT AND GARLAND!
Now that you are done, I’d love to see how it turned out! ❤️ Post your before and after photos here!
RENOVATE YOUR FAITH: Allowing God to Have Your Mess
Although my front porch looked pristine, the inside of my house was kind of a hot mess. We had just gotten all the Christmas décor up and there was a huge pile of boxes in the corner that needed to go in the attic. Also, the house was in its usual state of disorder.
I was so anxious to get pictures of the porch but I wouldn’t have wanted to open that ornament laiden front door for fear of others seeing the mess inside.
In the same way, I feel like we often do the same with God. At times we can look like we have it all together on the outside and can run through the motions with ease. But God knows us better than that.
He sees what is really going on in your heart, the real turmoil you are having to endure and sometimes issues you aren’t even aware of. Fortunately, we don’t have to speed clean when God “comes to visit”.
For one thing, He can already see inside whether the door is open or not. That might leave you feeling a little exposed but this is something to be incredibly thankful for.
Psalm 139 tells us that her perceives our thoughts from afar. He knows when we sit down, when we rise and is intimately acquainted with all of our ways.
What a huge relief that our Heavenly Father knows us better than we know ourselves. For one thing we can’t hide anything with Him. Therefore, we have complete and utter freedom to be ourselves and go to Him no matter how ashamed or embarassed we may feel.
If we ask Him, He will even show us ways we are struggling that we aren’t aware of. And when we don’t have the right words to pray, the Holy Spirit intercedes for us in our prayers in accordance with the will of God (Romans 8:26,27).
What blows my mind is the fact that the God of all Creation resides in our hearts. In the Old Testament, believers didn’t have instant access to the Lord like believers today. Only a priest could speak to the Lord after carrying out several ceremonial procedures and passing behind two curtains in order to atone for the sins of the people of God once a year.
But how amazing is it that the Spirit of God used to only reside in the Holy of Holies in the tabernacle now resides in our own hearts 24 hours a day. He permanently dwells within us because He desires a relationship and to have constant communication with His dearly loved children.
So when you don’t know how to pray, know that your Creator can understand your problems on a level we can’t comprehend. But even though He already understands all the intricacies of our lives, He deeply desires His children to come to Him in prayer.
For more spiritual encouragement, click here for the rest of my Renovate Your Faith Posts.
To see the rest of my front porch click here: Christmas Front Porch Ideas on a Budget
More Posts Related to my DIY Ornament Wreath and Garland Tutorial
Christmas Front Porch Ideas on a Budget
Easy Delivery Driver Appreciation Ideas (& Free Printables!)
DIY Letter to Santa Sign Tutorial (No Cricut Needed!)
How to Add Ribbon to a Christmas Tree
Final Thoughts on this Pottery Barn Inspired Wreath and Garland
I have to say that I was pleasantly surprised with how my DIY ornament wreath and garland turned out! I like them even more than the real thing at Pottery Barn. These tutorials show you easy ways to make front door decor on a budget while customizing it to your own style and colors. Be sure to send me a pic of yours as I’d LOVE to see how your version turns out!

I love to hear your thoughts and questions! Scroll down to leave a comment and I WILL reply! ❤️
Blessings,
Be sure to follow the fun here!
Email Subscription | Instagram | Pinterest | Facebook | Twitter
DIY Christmas Ornament Wreath Tutorial

Karin Peters is a DIY expert and the creator of Renovated Faith. She is a furniture painter, a home design consultant, and a tenacious problem solver determined to help you transform your house into a home. With 17 years of experience with DIY home improvement, she researches and analyses professional processes to adapt them to be easy and cost-effective for DIYers. She then tests every project and product before it appears on the site in a detailed, step-by-step format. After attending Texas A&M University, she received her Master of Divinity with Biblical Languages at Southwestern Baptist Theology Seminary. Her passions unite in Renovated Faith, which shows readers how to create a home that serves them so they can pursue their God-given purposes. About Renovated Faith | Editorial Policy | Facebook | Twitter | LinkedIn










Loved your wreath and the way your porch looks. So pretty! I made my own wreath using your easy peasy directions. My wreath turned out great! I’ll try the garland next year to match. Thank you so much for the inspiration. Thank you for sharing your loving faith. I always learn something new and am inspired. Have a blessed holiday season.
Thank you so much Angi. I so appreciate you taking the time to comment and I hope you had a very Merry Christmas! Blessings, – Karin
I can’t seem to find your article on how to hang garland on brick or stone around my fireplace without brick clips. I tried Command stick hooks and that didn’t work.
There are some tips in this post at the bottom. I used the command hooks and fishing line. If you put the command hooks on a horizontal ledge (if you have one) they get more leverage and don’t come off. I hope this helps! – Karin
Hi there! I’m hoping you can share what sizes ornaments you used for both the wreath and garland. The link for Target is no longer valid. Thank you so very much! I’m looking forward to starting this project.
Jasmine, Sorry that link isn’t valid anymore. These are just the standard size ornaments you see everywhere. You might try Walmart for some cheap plastic ones. Definitely go with the ones that are not glass in case any fall off. Thanks Jasmine! – Karin
I love this! I bought everything from Hobby Lobby but somehow missed the fact that you wired the ornaments to the garland instead of hot gluing them on like the wreath. Is there a reason why you did it differently than the wreath? The wreath I made is beautiful and came together very quickly but I need to find my wire…
You could also use some kind of string, trash bag tires or twine if that is easier! Yeah, the reason I don’t use hot glue is because the garland is less structured/rigid so I don’t know if the hot glue would work. I would love to see a pic of them when you are done and let me know if you have any other questions! – Karin
This looks so beautiful! I did notice that the ornament link for the garland takes me to the 9’ garland, not the ornaments. I’m excited to try this!!
Thank you so much for telling me that Peggy. I’ll fix it right now! Have a great day!
Your front porch looks so cheery!!! I love all of it! Merry Christmas!
Thank you so much sweet Sutton. I so appreciate it!