Easy DIY Solar Water Fountain On A Budget
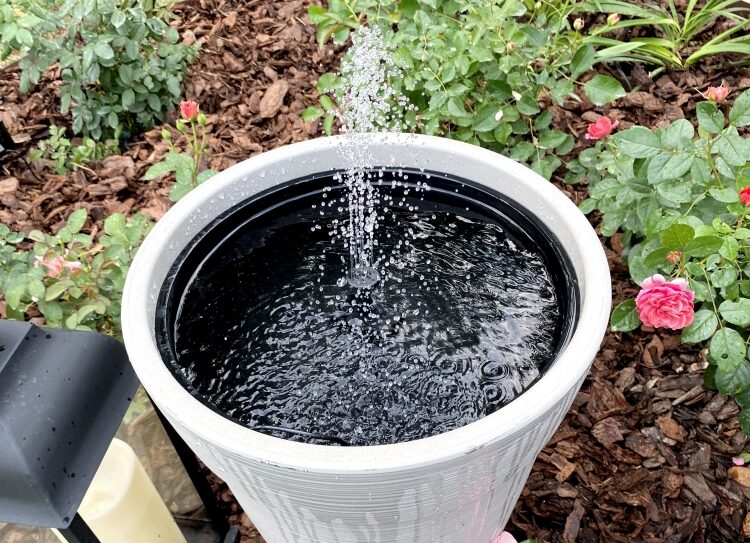
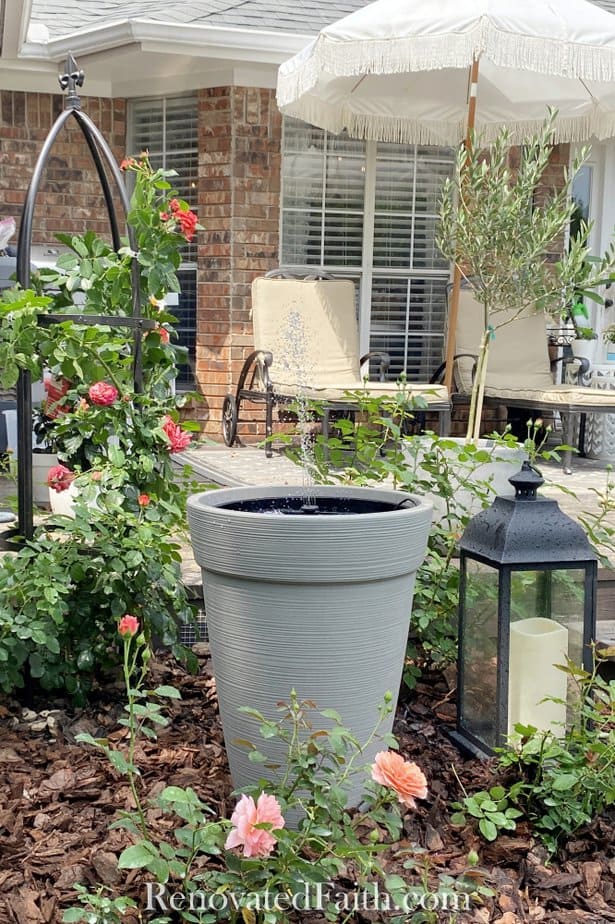
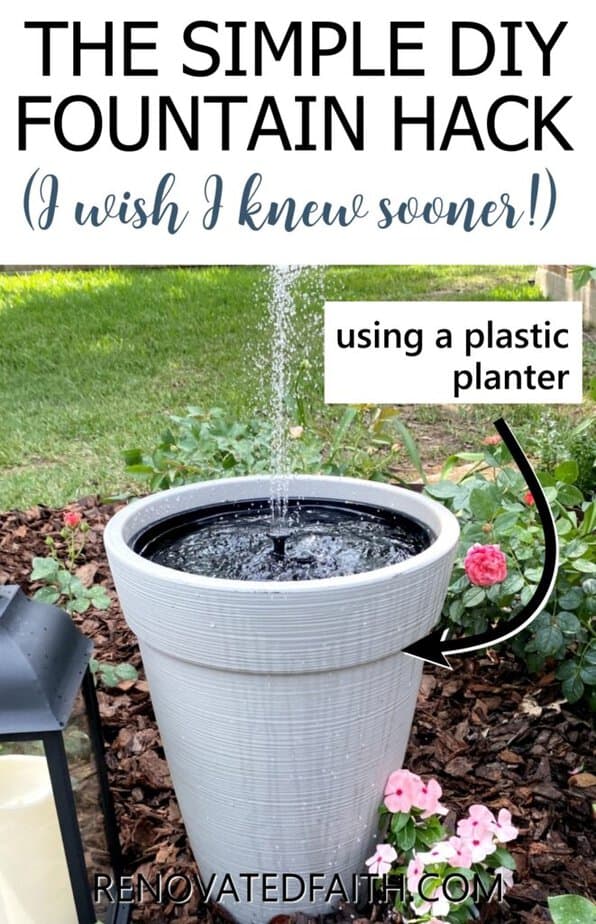
Want a relaxing water feature without spending a lot? This DIY solar water fountain tutorial will give you the same look on a budget!
There is nothing like the trickling sound of water coming from your own water fountain to make your outside space relaxing and serene. Unfortunately, most outdoor fountains have a very high price tag and can be a pain to install.
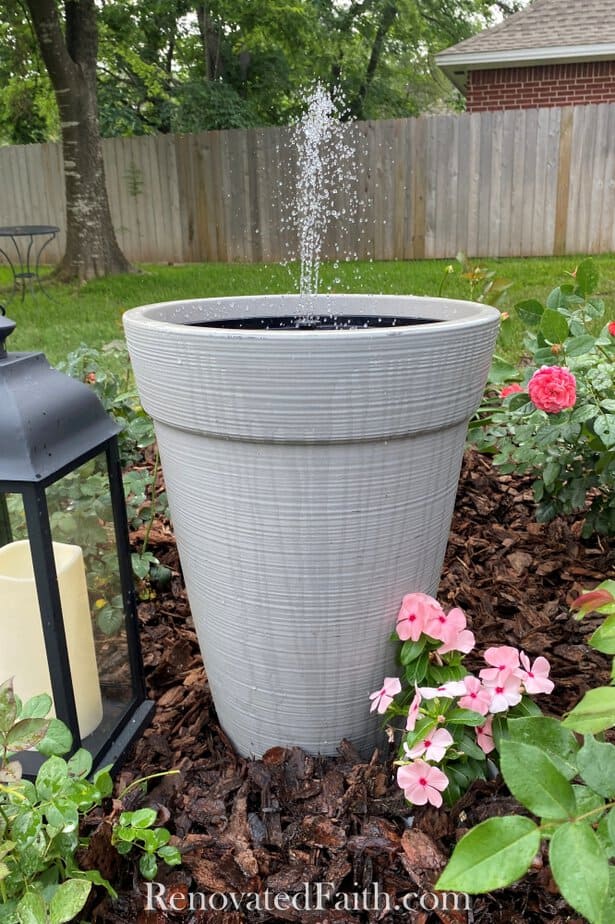
But with this easy DIY tutorial and a few simple items, you can make your own fountain that perfectly fits your style. And the best part is that you won’t have to spend a lot.
Quick Links to Information in this Post
- 1 The Benefit of Solar Power Fountains
- 2 Picking a Planter for Your DIY Solar Water Fountain
- 3 Supplies List: What Do I Need to Make A Solar Water Feature?
- 4 How to Make an Outdoor DIY Solar Water Fountain
- 5 RENOVATED YOUR FAITH: Can God Be Trusted (Why God Allows Pain)
- 6 FAQ – DIY Water Fountain
- 7 RELATED Posts to a DIY Solar Water Fountain
- 8 Final Thoughts on My DIY Water Feature
The Benefit of Solar Power Fountains
For this project, we are using a solar-powered fountain, so we don’t have to worry about connecting long cords to electrical outlets outside.
You might have seen the floating solar water pumps that you can use in bird baths, but unfortunately, they are janky and make a constant grinding noise 24 hours a day. The solar pump I am using still has different nozzles, but unlike the floating ones, it is quiet and better made. Also, this solar fountain pump has a stronger water flow and a separate solar panel.
This solar water fountain pump has suction cups on the bottom and several fountain attachment spray nozzle heads.
Picking a Planter for Your DIY Solar Water Fountain
For my water fountain, I am using a tall plastic pot, but you could use any large container as long as you can find a shallow bowl to set inside the top of the pot or planter. You could use large flower pots that are stacked or a large bowl-shaped planter. Anything large that holds water would work.
The big reason I wanted a plastic planter that looks real because I wanted my fountain to be super light and easy to build. After putting in all my rose garden beds, I decided I was done with picking up heavy things.
Supplies List: What Do I Need to Make A Solar Water Feature?
This post contains affiliate links, and I earn a small commission. I only recommend products I use and love.
Large Pot or Planter – I used this tall plastic planter from Lowe’s – Allen and Roth Resin Planter in Gray
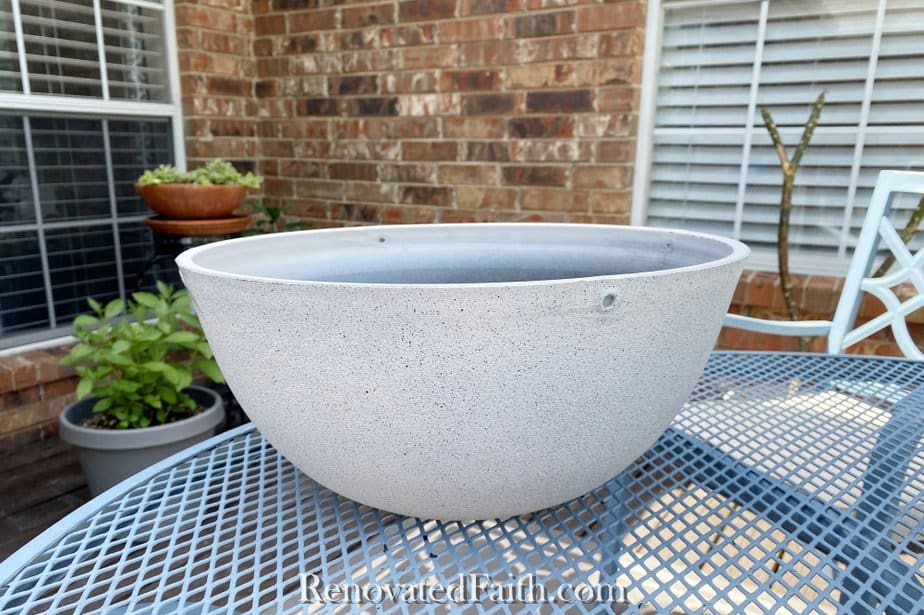
Large Bowl to Find Into Your Planter – This hanging planter is the perfect size, but you can also use a large bowl or clear plastic saucer – Allen and Roth Outdoor Hanging Planter in Black
Solar Water Fountain Pump – I highly suggest this one as it’s so much better than the floating ones – Water Pump with a Separate Solar Panel
Cement Paver – You need a foundation to set your fountain on
Bricks or Something Heavy – My planter is plastic, so I put bricks in the bottom to weigh it down.
Black Spray Paint – I got the gray hanging planter instead of the black one, so I had to spray paint the inside black. I also primed it with this automotive primer but that’s completely optional.
Gorilla Glue Clear Waterproof Caulk
Clear Drinking Glass, Small bowl or vase
AlgaeFix (Optional) I share about this on the last step to prevent algae.
CHEAPER OPTION – If you want to spend even less money, get a tall plastic planter at Walmart and take it to your local dollar store to find a large bowl or flower pot saucer that fits in the top.
How to Make an Outdoor DIY Solar Water Fountain
Step 1 – make a Base for Your DIY Solar Water Fountain:
Find a sunny location for your fountain. It doesn’t have to be in full sun for the solar panel to work, but it needs at least partial sun.
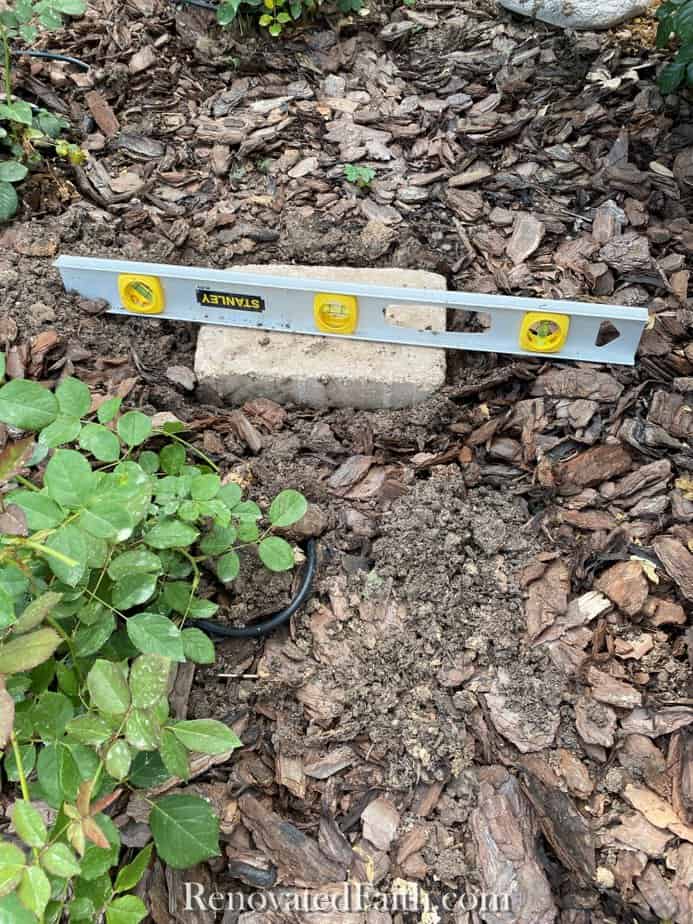
Since my fountain is being placed in my flower bed, I used a concrete paver to make a foundation. Be sure your foundation is level because if it’s not, that will be a tell-tale sign that your fountain isn’t the real deal. And it will just look janky.
STEP 2 – Fill Holes in the Hanging Planter:
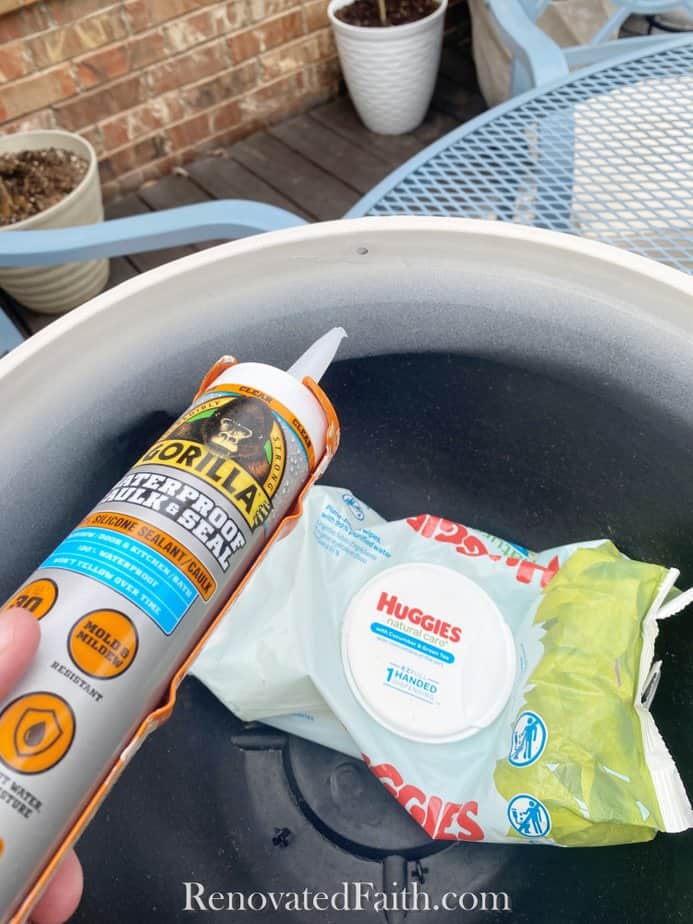
I used waterproof clear caulk to fill the holes in the hanging planter. I squirted some into a hole and then wiped off the access with a baby wipe. A moist paper towel works, too. Let this dry for 24 hours.
STEP 3 – Spray Paint the Hanging Planter:
After the caulk dried, I sprayed the inside of my bowl with black spray paint. If your bowl is already black or the color you want for the inside of your fountain, you can skip this step.
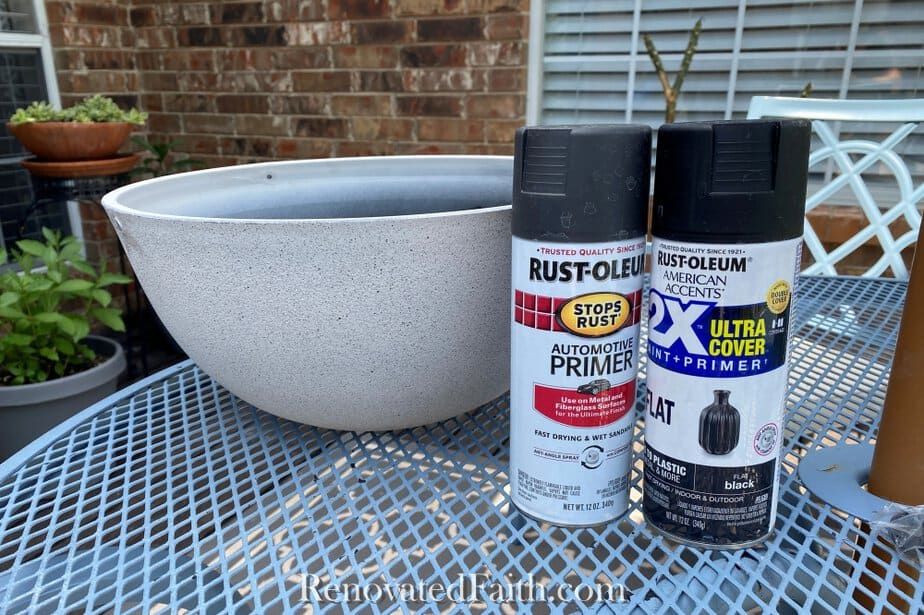
I actually sprayed it with black automotive primer first and then black spray paint to make sure it adheres really well, but the primer is an optional step. Let this dry 24 hours.
STEP 4 – Add A Hole In Your Plastic Planter
For the next step, use a pair of heavy-duty scissors or a jigsaw to put a large hole in the bottom of your plastic planter. It should be just large enough for the solar pump to fit through.
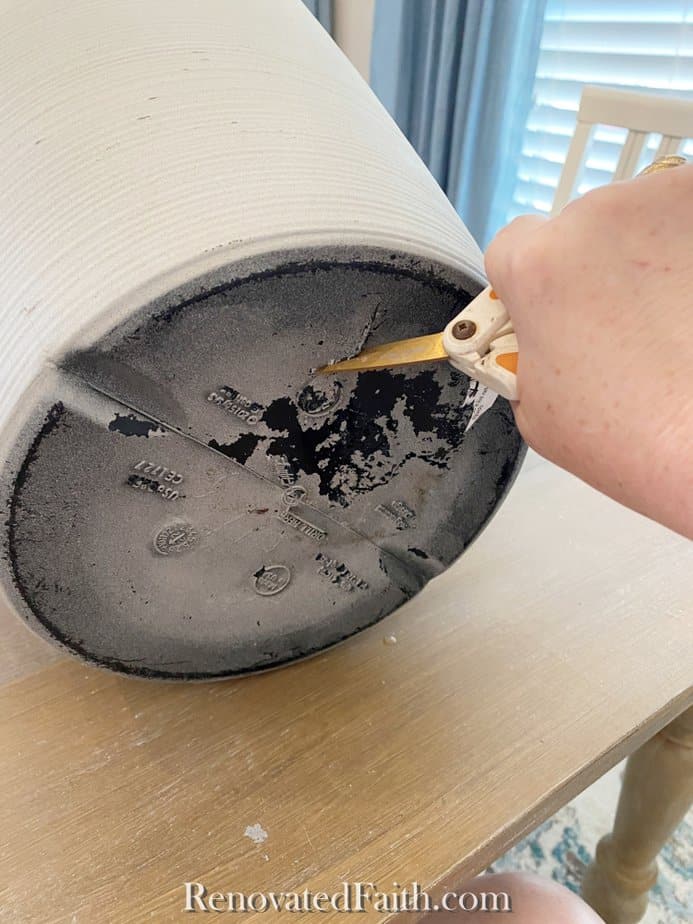
I love the scissors because they can cut through just about anything. You can find them here: Fiskar scissors
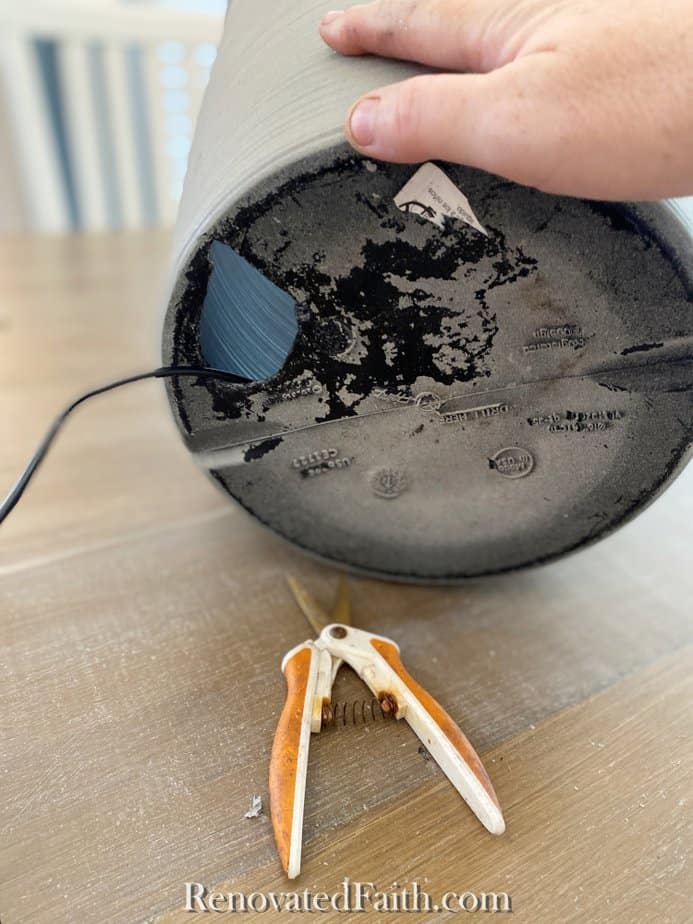
You can also add some drainage holes in case some water from the top seeps in.
RELATED: How To Use a Jig Saw
STEP 5 – Assemble Your DIY Solar Water Feature
Put the pump portion inside the bottom of the planter and run it up past the top.
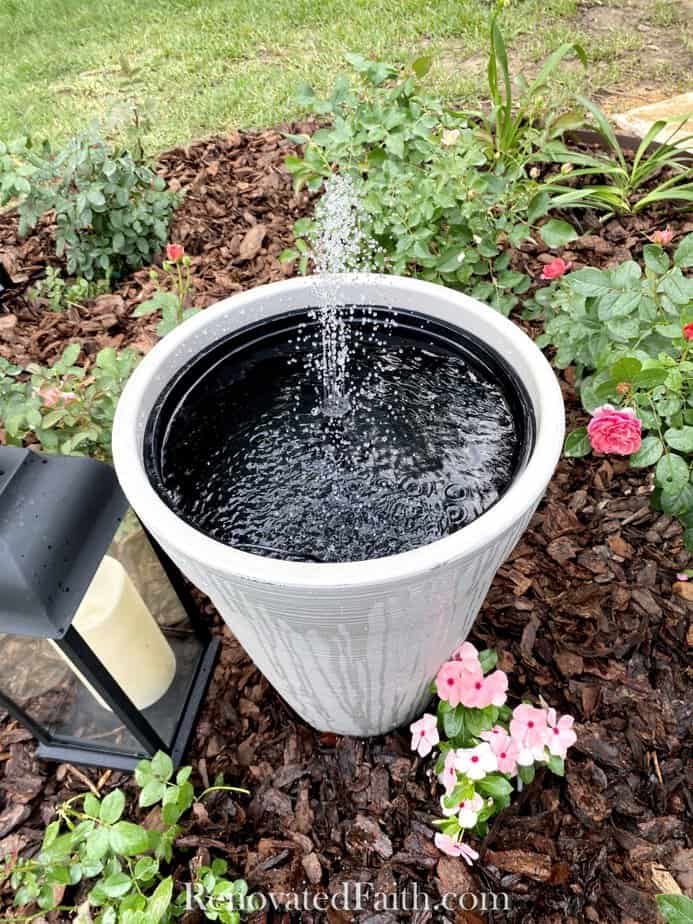
See the pics above and below for the fountain configuration with the solar pump.
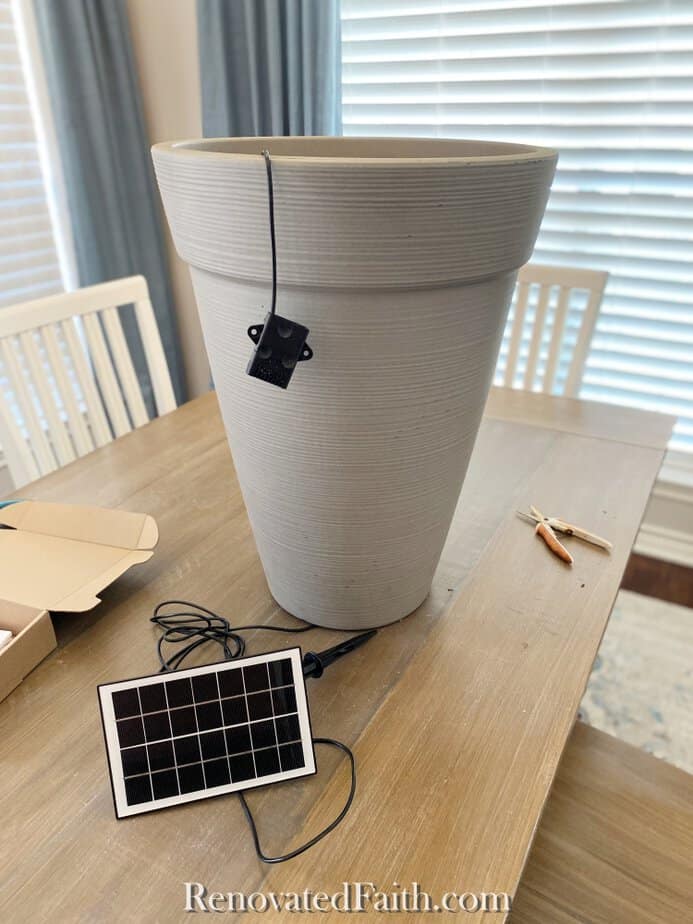
See how I ran the pump through the hole in the planter and now it’s hanging out of the top. The solar panel section is still on the other side of the planter.
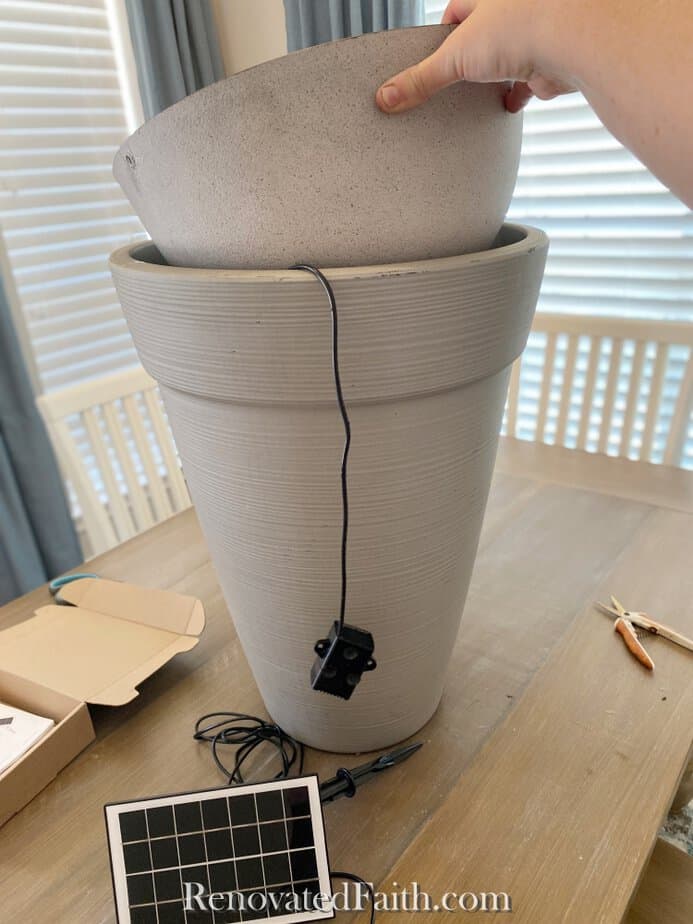
Now add the bowl in the top. The cord will come between the two planters.
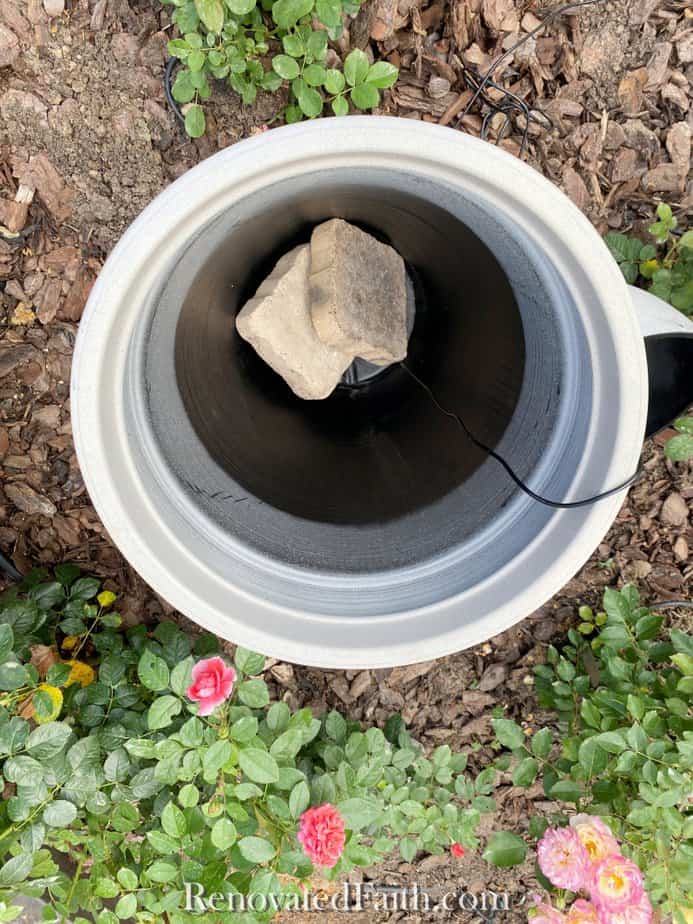
Set the heavy rocks or bricks inside the bottom.
Then, set the bowl in with the cord from the fountain running down along the side of the bowl.
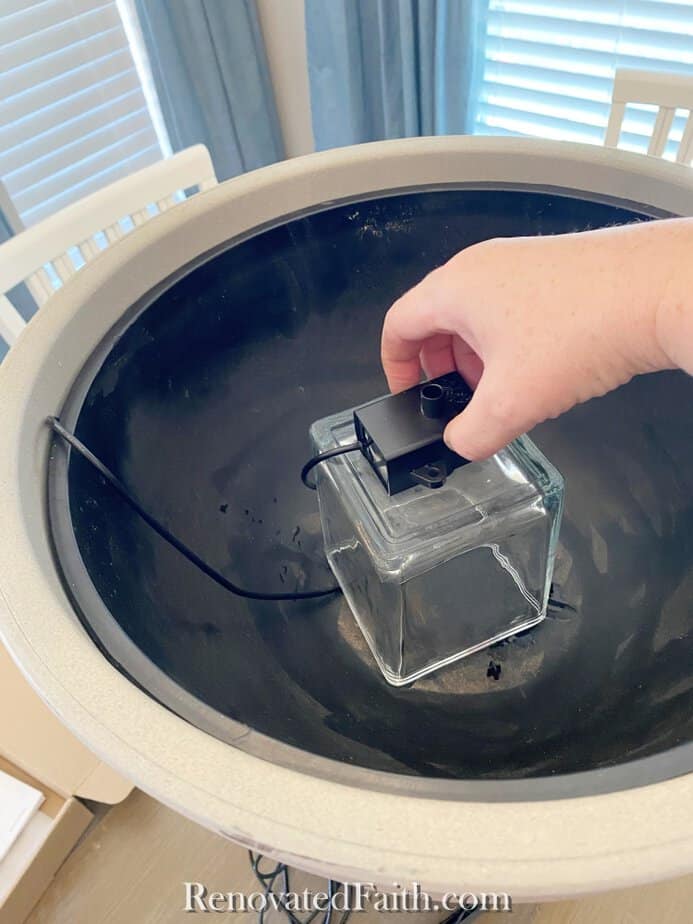
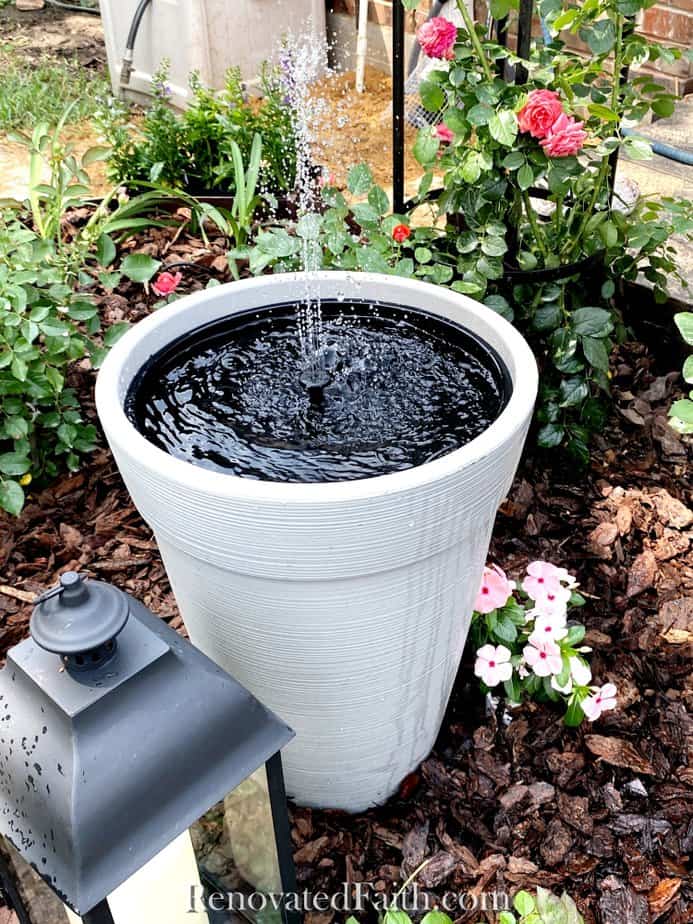
Set a clear glass or vase upside down in the bottom of the bowl. Attach the suction cups of the pump to the top of the glass. The glass needs to be the right height so the pump attachment is just above the water level. This might take a little experimenting with items around your house.
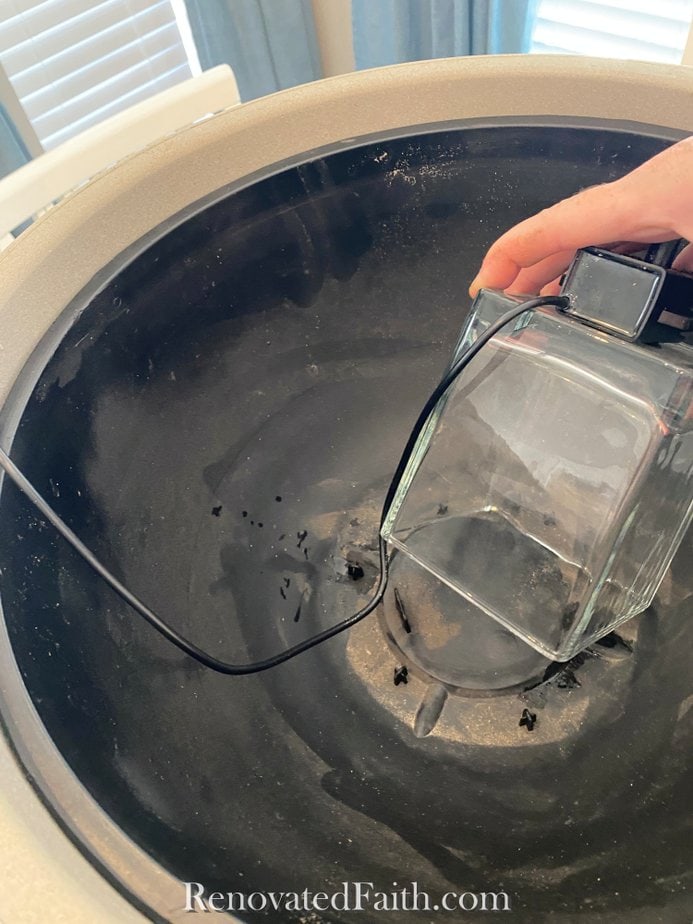
I caught the cord under the edge of my clear vase so it’s less visible. Also, excuse the dirt, I had this fountain running a while in my backyard before I made the tutorial.
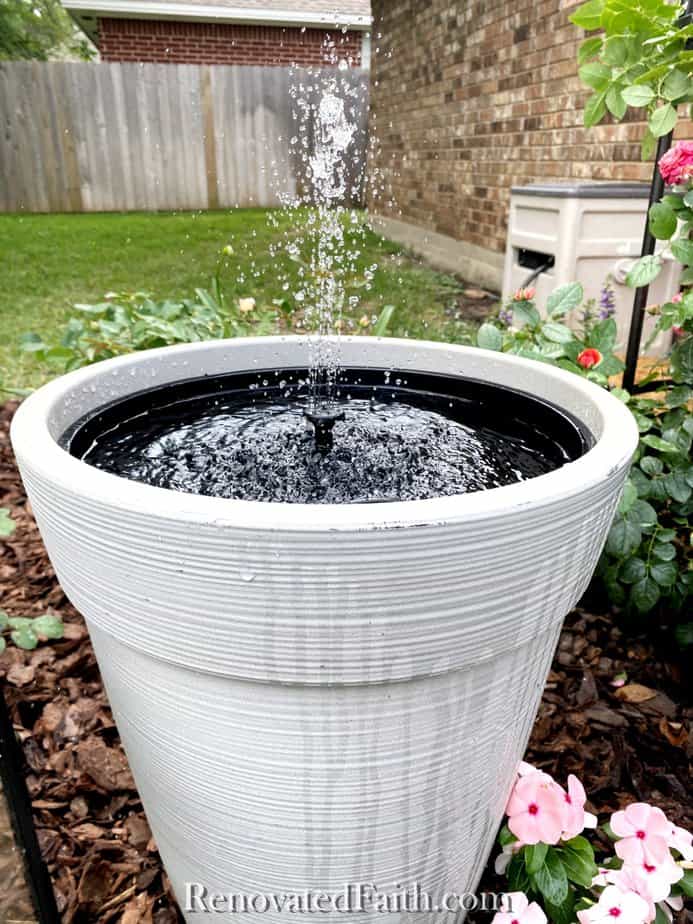
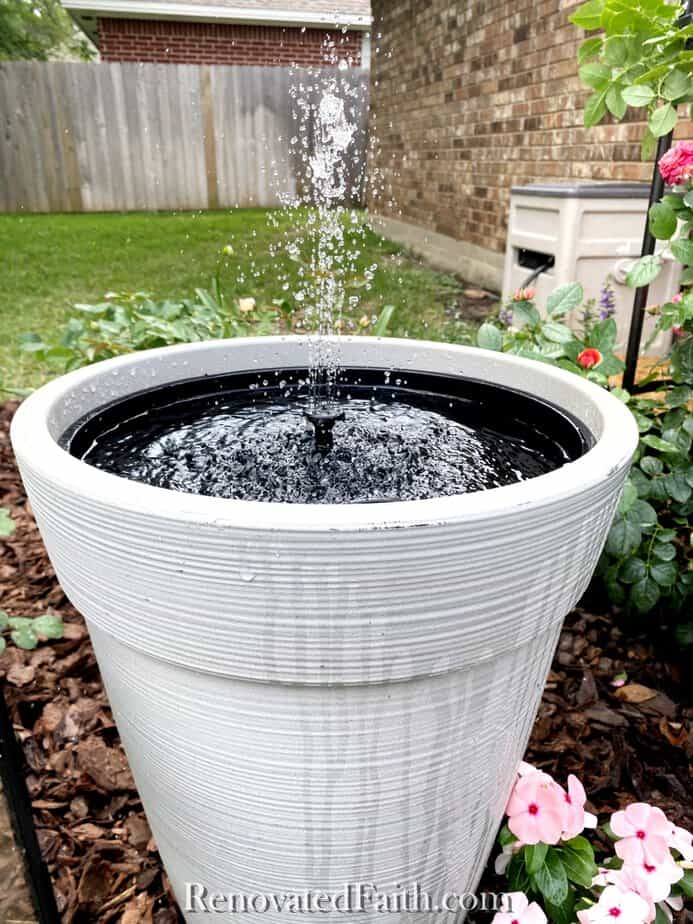
Once you have it in place, fill it with water using a gallon bucket or hose so the water level is just beneath the top of the fountain. In direct sunlight the fountain will be at its highest. On cloudy days, the fountain will still run the water spray won’t be as high.
Experiment with the different attachment nozzles to get the style and height of the spray you want!
You can also add some small river rocks that you can find a a home improvement store or pet store. Just make sure the top of the fountain is above the height of the rocks.
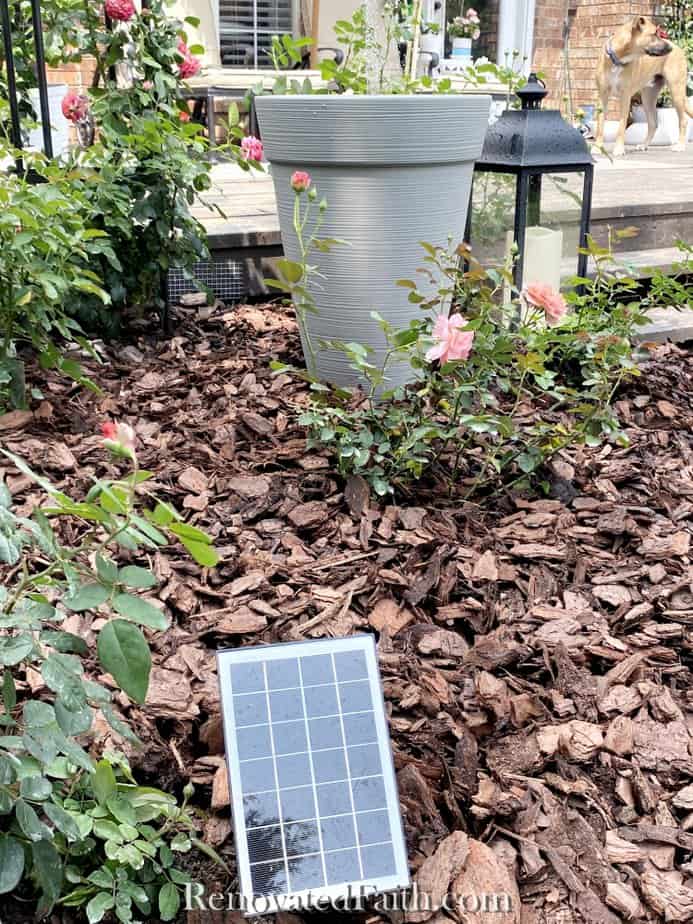
I put the solar panel a few feet away from the fountain and covered the cord with mulch.
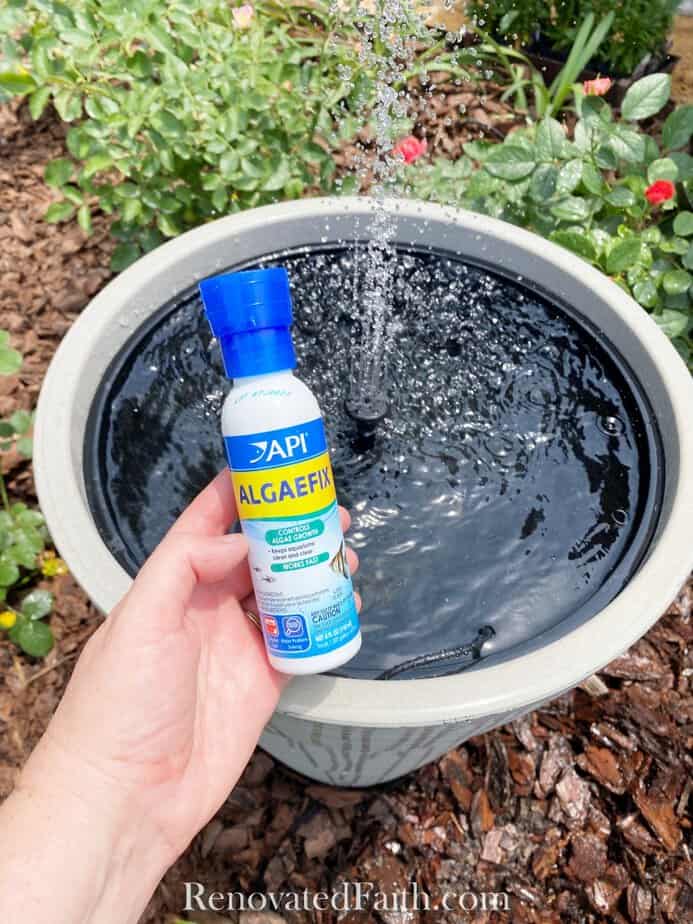
STEP 6 – Add AlgaeFix to Your DIY Fountain (Optional)
You can add a few drops of AlgaeFix to keep your fountain clean and algae-free. It is completely harmless to wildlife, surrounding plants, or any water plants you might add to your fountain.
I have always wanted my own water feature by our deck in the backyard!
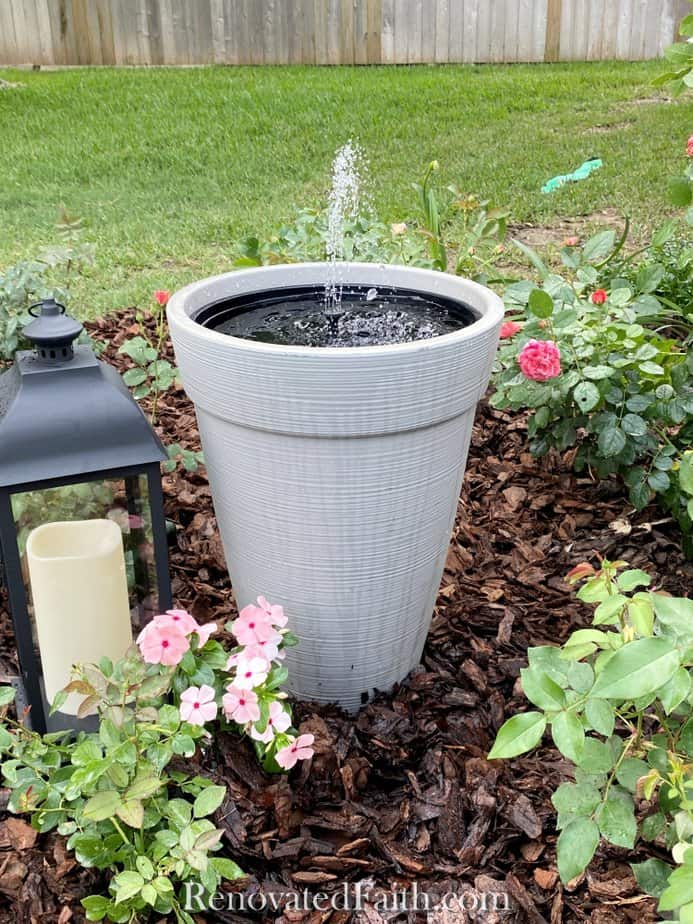
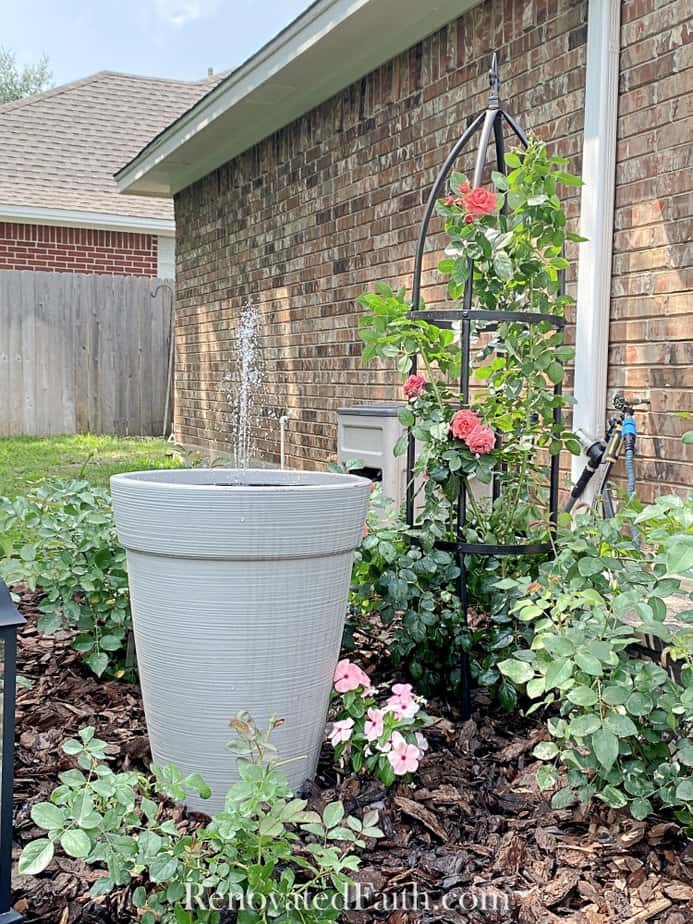
I’m so happy with how my garden fountain turned out and it’s one of my favorite outdoor DIY projects. It was the final touch to make my rose garden the relaxing oasis I have always envisioned. I love the sound of the fountain, and it’s fun to see birds come throughout the day to get a drink.
RENOVATED YOUR FAITH: Can God Be Trusted (Why God Allows Pain)
I’ve been a Christian for most of my life, but there are times when I still have a hard time trusting God.
But why? He’s omnipresent, omniscient, and omnipotent. He’s demonstrated time and time again that He is for me and not against me (Romans 8:31).
But why did I still struggle with trusting Him? I came to realize that, for me, the answer was “pain.” I was afraid of having to endure emotional or physical pain.
Six months ago, a routine scan revealed a 6cm breast mass. As the daughter of a cancer survivor, I know all too much about the sizes of tumors and what they mean in turns of treatment plans and survival rates. CLICK HERE TO KEEP READING
FAQ – DIY Water Fountain
Do solar water fountains work well?
Some work better than others. The kinds that float on the top of the water seem to work well but have a constant grinding sound that is annoying. The solar pump I use in this tutorial is completely silent.
How to Make a Solar Water Feature out of Pots
You can use the same concept by stacking pots and putting rocks inside the bottom pot. The top pot is what actually works as the fountain. I you use clay pots, you need to seal the drainage in the top. The easiest way to do this is to get a ceramic tile and caulk it to the bottom, making sure to put plenty of caulk around the drainage hole.
Can you Make a Water Fountain without Electricity?
This fountain is a great option if you don’t have a nearby electrical outlet outdoors. Even if you do have an outlet nearby, it can be hard to hide an electrical cord. This solar option makes enjoying a water feature so simple!
RELATED Posts to a DIY Solar Water Fountain
How to Add Curb Appeal on A Budget
How to Make a Hummingbird Feeder Out of a Chandelier
Easy Grow Light Stand with LED Lights
Patio Table Makeover with Spray Paint
DIY Outdoor Furniture Restoration Makeovers
Final Thoughts on My DIY Water Feature
Now you have your own DIY water feature without the extra cost! Be sure to check out my other step-by-step tutorials for your outdoor space. If you have any questions, be sure to include them below in the comment section, and I’ll be sure to get back to you.
For more fun projects, faith-based encouragement and instant access to my FREE printable library, join the weekly newsletter here.
Blessings,
Karin

Karin Peters is a DIY expert and the creator of Renovated Faith. She is a furniture painter, a home design consultant, and a tenacious problem solver determined to help you transform your house into a home. With 17 years of experience with DIY home improvement, she researches and analyses professional processes to adapt them to be easy and cost-effective for DIYers. She then tests every project and product before it appears on the site in a detailed, step-by-step format. After attending Texas A&M University, she received her Master of Divinity with Biblical Languages at Southwestern Baptist Theology Seminary. Her passions unite in Renovated Faith, which shows readers how to create a home that serves them so they can pursue their God-given purposes. About Renovated Faith | Editorial Policy | Facebook | Twitter | LinkedIn

I have wanted to make a fountain like this for years! You explained it so well, I just ordered the pots and fountain and will make it as soon as they come! Thank you! All I needed was a bit of encouragement 😊
Awww, so glad to hear it, Linda! Mine is going strong and I’m really enjoying it. So glad the post was helpful!
Hi,
Just curious as to why you didn’t leave the inside planter white, but instead sprayed it black?
Lowes right now does not have black in stock, nor the gray planter, but there other color options available.
Thank you,
Janet
Great question, Janet! I painted the inside black to disquise the black cord on the solar fountain. It is completely up to your personal preference. Have a great weekend!
You did a great job explaining this. I honestly think I can do this. I just need to decide where it should go to decide how I want it to look. I’ve pinned it so I don’t lose it while I decide. Thank you!
Kathy, You can ABSOLUTELY do it. It’s easy and you can always comment again or email me with questions. Have fun! Karin@renovatedfaith.com