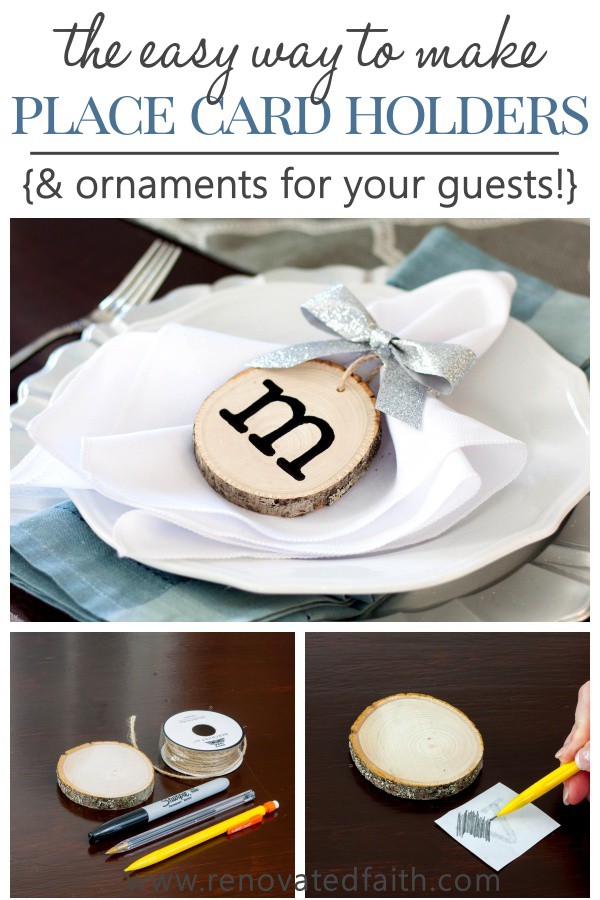
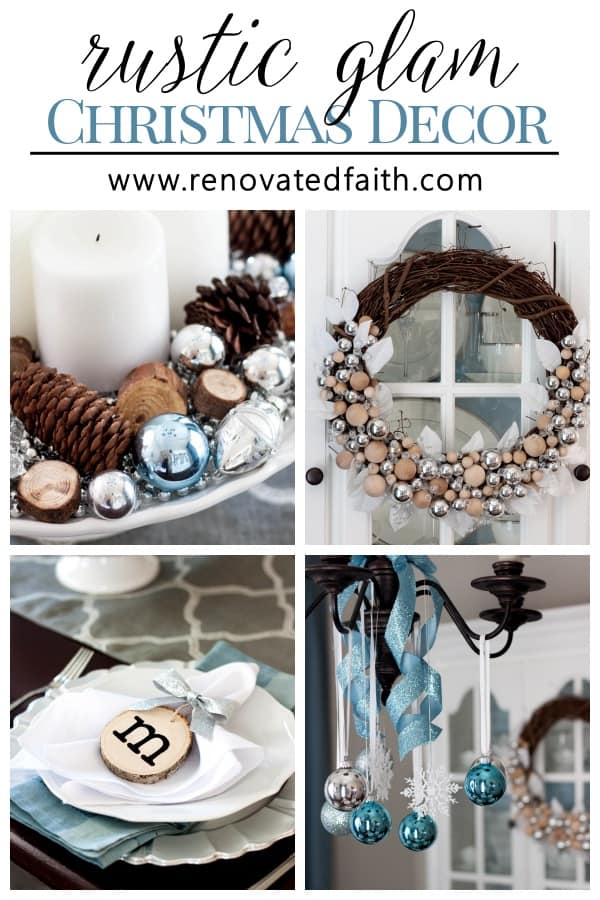
Wood Slice Place Cards (Personalized Wood Slice Ornaments for Guests)
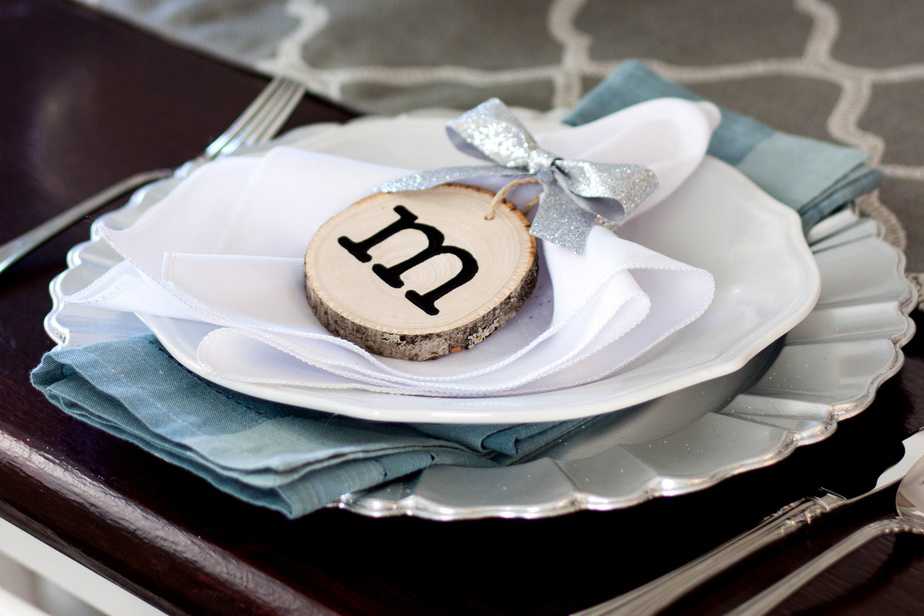
Wood slice place cards add a rustic glam touch to your Christmas table while giving your guests a special gift to take home. This easy tutorial shows you how to make place cards that also double as personalized wood slice ornaments!
This post may contain affiliate links for your convenience at no added cost to you. See my full disclosure here.
Personalized Wood Slices for Place Cards and Ornaments
You’ve probably seen these personalized wood slices or ornaments online or in stores, but for much more than you will spend by making them yourself. They are incredibly easy to make with this image transfer method and you can customize with whatever font, monogram or image you want!
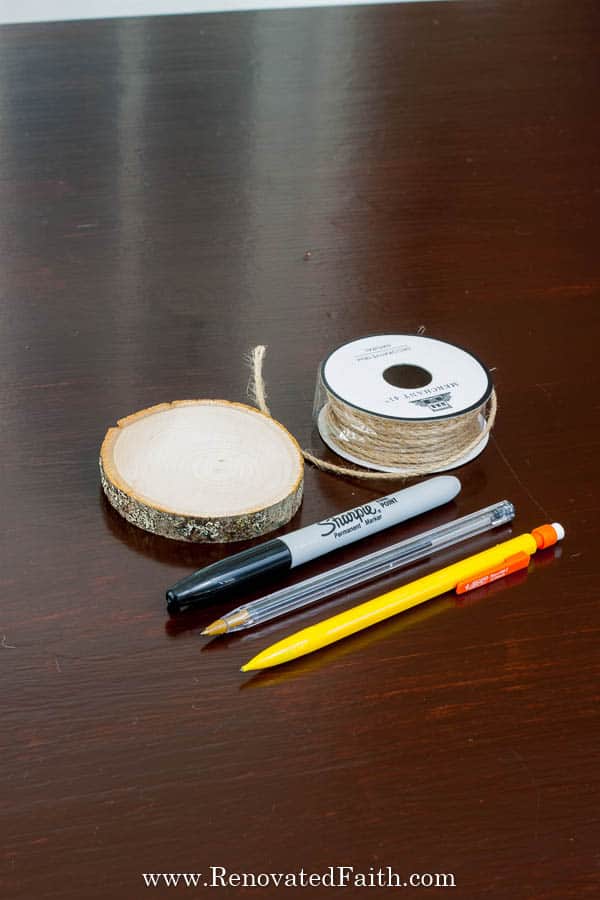
Supplies for your Driftwood Place Cards
Wood Slices with Holes – Amazon has this set of 2.8″- 3″ wood slices with the FEWEST KNOT HOLES as many wood slices for crafts do. Check the current price here. For larger wood slices, I’d use this set. I also checked Hobby Lobby but their sets of wood slices were cut too thick in my opinion. *
Jute Twine – If your set doesn’t come with jute ribbon, this is a good option.
Pencil
Sharpie Marker, Fine Point – The new click pens are great! Click here for the current price.
Silver Glitter Ribbon – See similar here.
*If you are going to be making a large number of these wood slice placecard ornaments for a church group or Pinterest party, click this link: wood slice ornaments, bulk supply.
Personalized Wood Slices
What are the best type of unfinished wood slices?
You might notice online that several types of wood are mentioned for unfinished wood slices. Any will work but you don’t want wood slices with rings so dark that they distract from the initials or wood that has lots of knots. Some light rings are fine and add to the vintage look. Pine, birch, and basswood and are often the best and lightest woods without dark rings. This set of wood slices worked really well for me. Check the current price here.
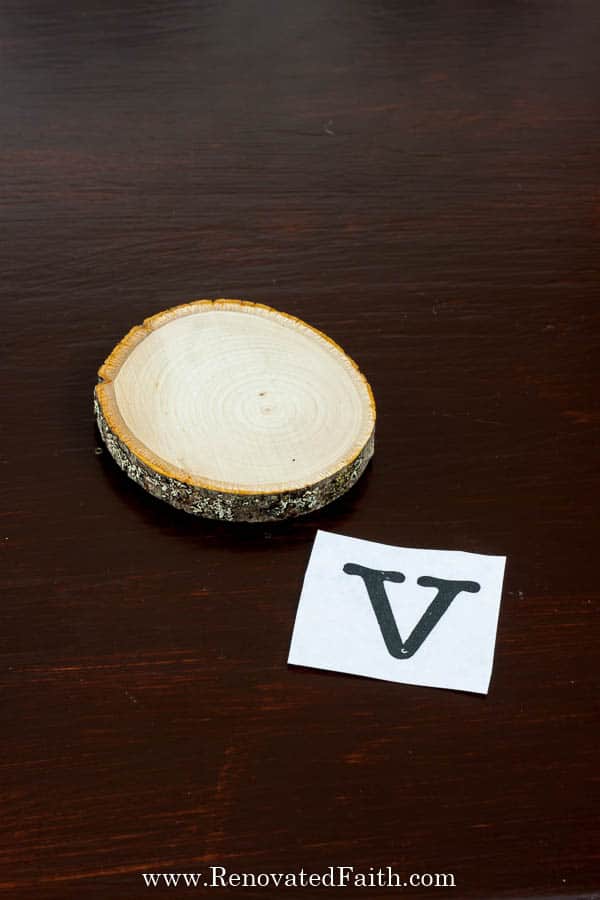
Step 1 – Make a Stencil for Your Blank Wood Slice Ornament
Start by printing out your letters for your desired size for your wood slices. I like using a typewriter font because it’s treat for men and women but mostly, typewriter fonts don’t usually have straight edges, which is very conducive to anything you freehand (or trace in this instance).
For my 3.5 inch wood slices I used a typewriter font called Linowrite in a font size of 150-175, depending on the size of your wood slices. I just did some experimenting on getting the right size. You can download Linowrite for free here.
Print out your letters allowing some space between each
Step 2- Tracing Initials on your Wooden Christmas Tree Ornaments
Cut them out with some space around each letter. Then flip each over and use a pencil to shade over the backs of the letters. Make sure to shade heavily so it transfers well.

Wood Slice Ornament Ideas
You have a lot of flexibility with this project as you can add any text or art as long as you can print it on a computer. You could even make a monogrammed wood slice ornament or add a graphic. The nice thing about a typewriter font is that it is very forgiving as these fonts don’t have have very straight edges. This makes it easier a lot easier to trace.
Step 3 – Adding an Initial to Make a Personalized Wooden Ornament
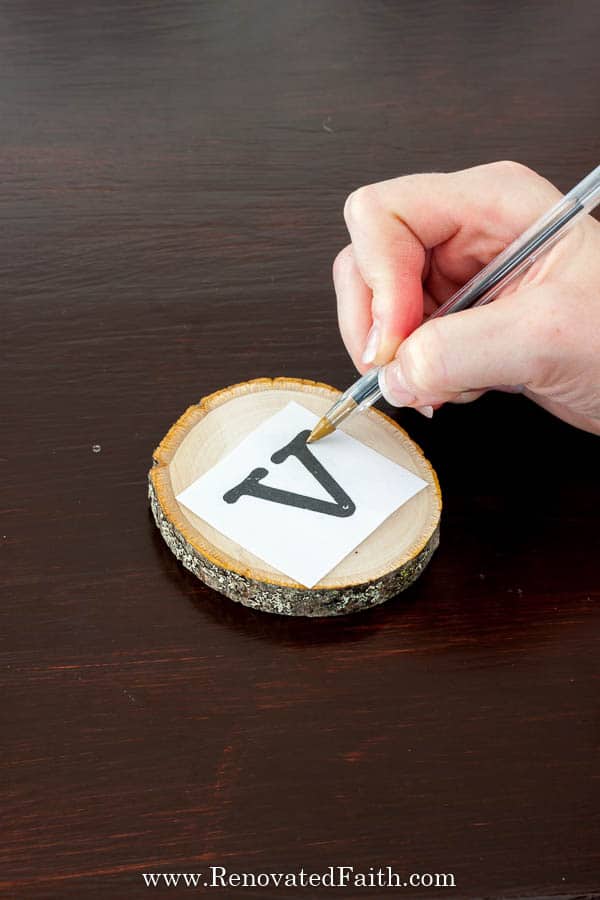
Now flip it back over and position it on the wood slice so it’s centered. Now, use a ballpoint pin to trace the edges of the letter.
Go slowly and put some pressure on the pen while tracing to make sure the pencil lead is left on the wood in the traced areas.
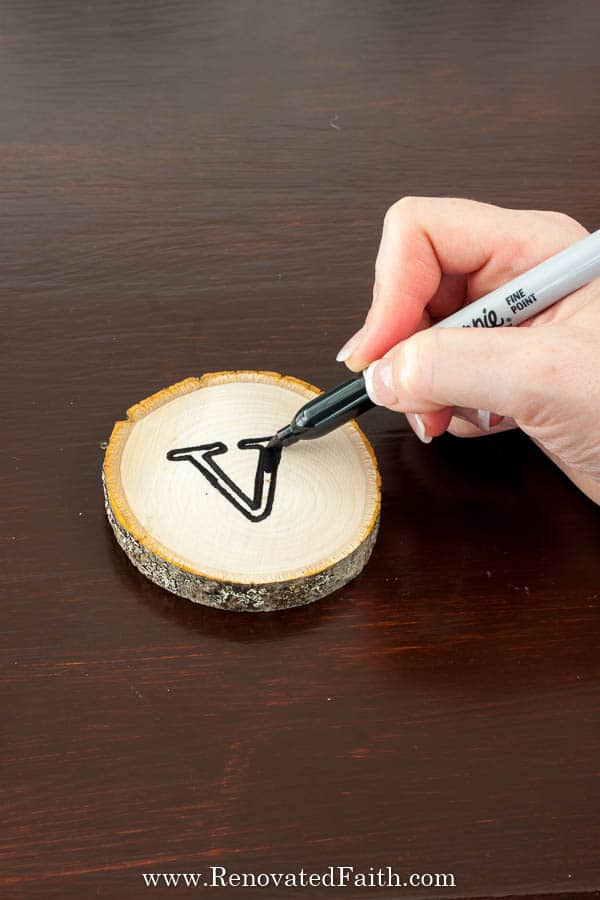
Step 4 – Filling in Your Initial on Your Wood Slice Ornament with Initial
Now that you can see the outline of your letter in pencil, retrace and fill in the letter with your sharpie.
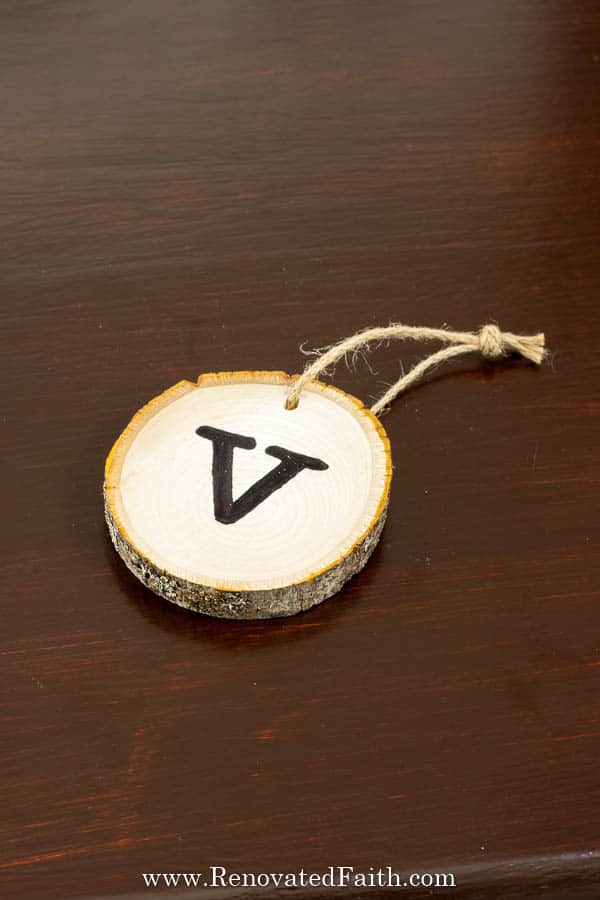
Step 5 – Adding a Hanger to your Wood Slice Ornament with Initial
Add your jute hanger and you are done with the ornament and wood slice place card holder.
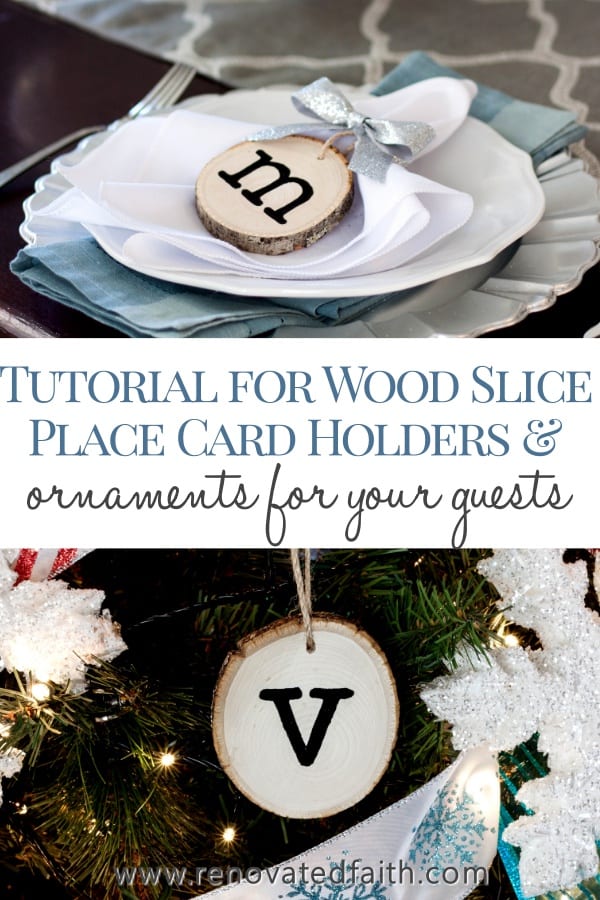
The Final Touches On Your Wooden Place Cards
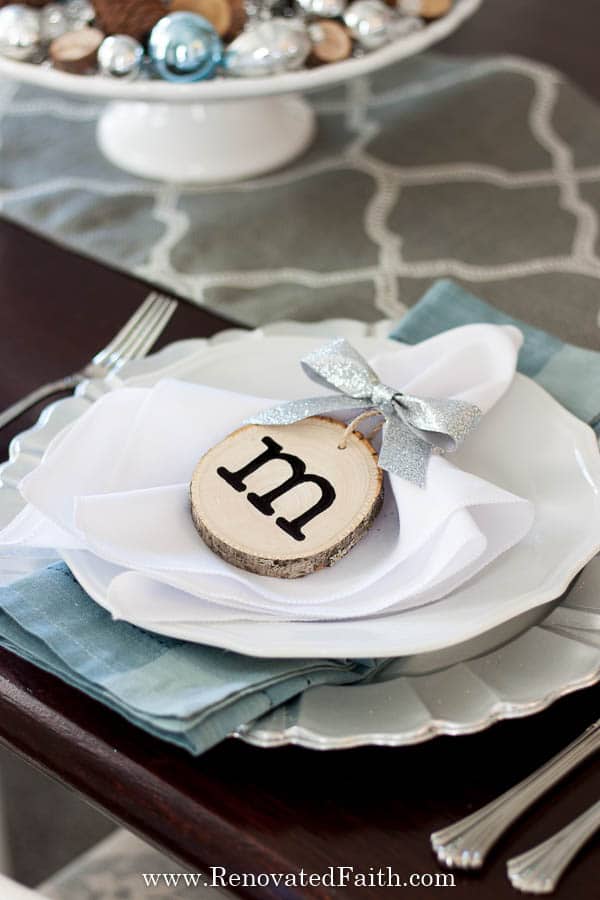
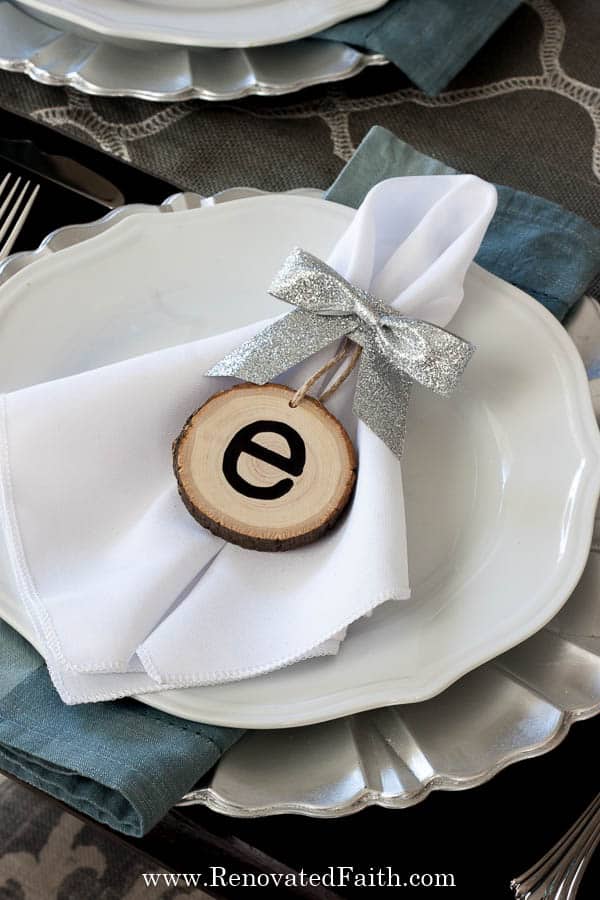
Now you can use ribbon and hot glue to make a simple napkin ring. I hot-glued a bow to the top and tucked the ornament hanger into the napkin so you can’t see it.
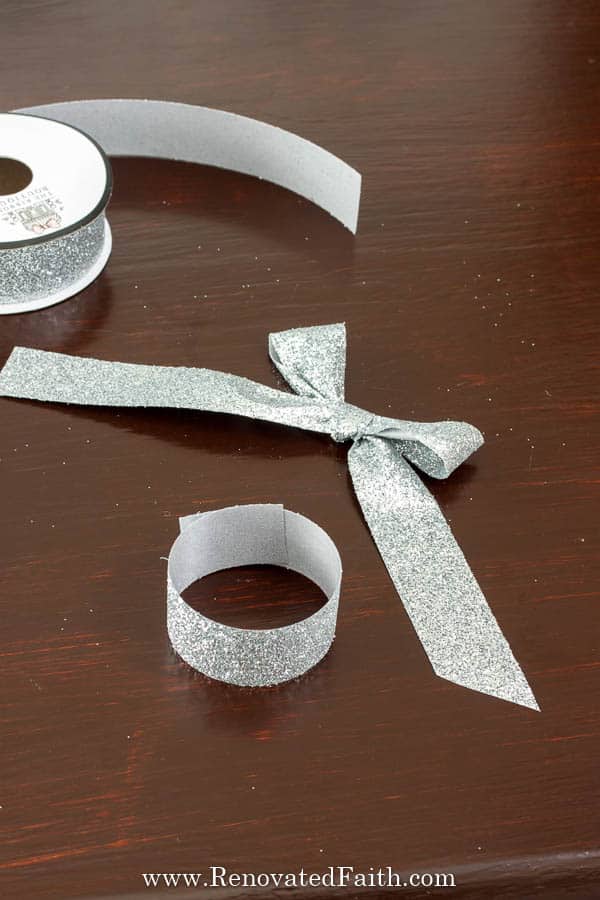
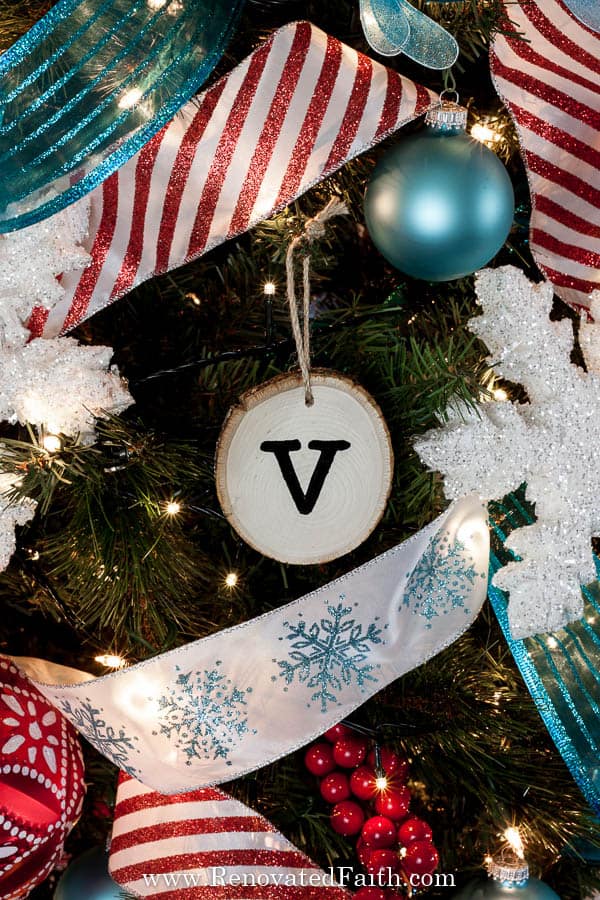
Now you have a fabulous place card for your guests that they can also take home as Christmas ornaments!
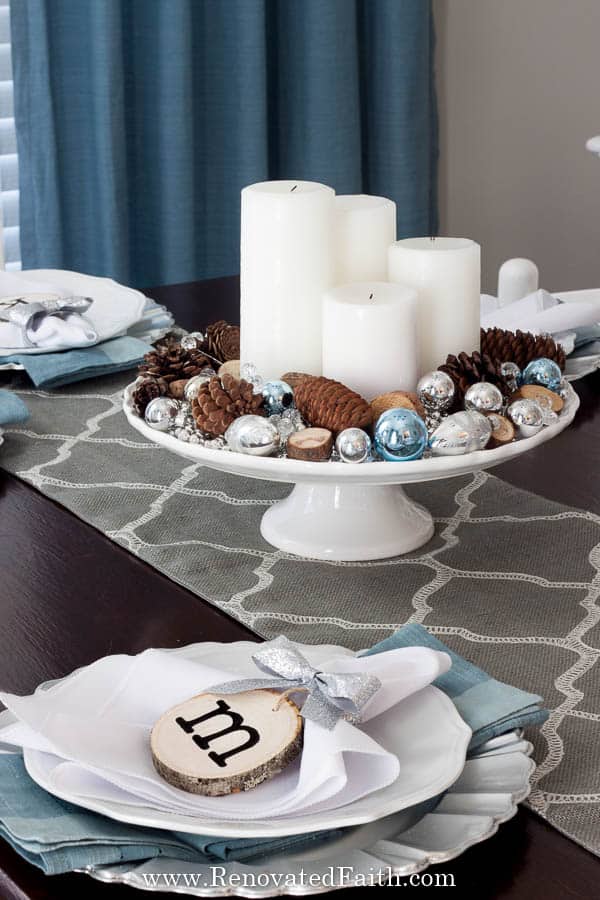
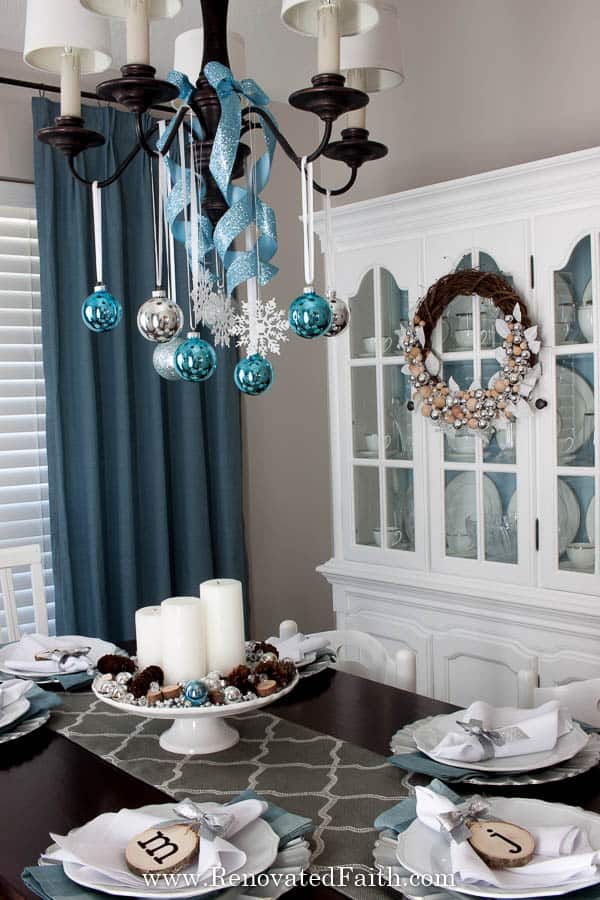
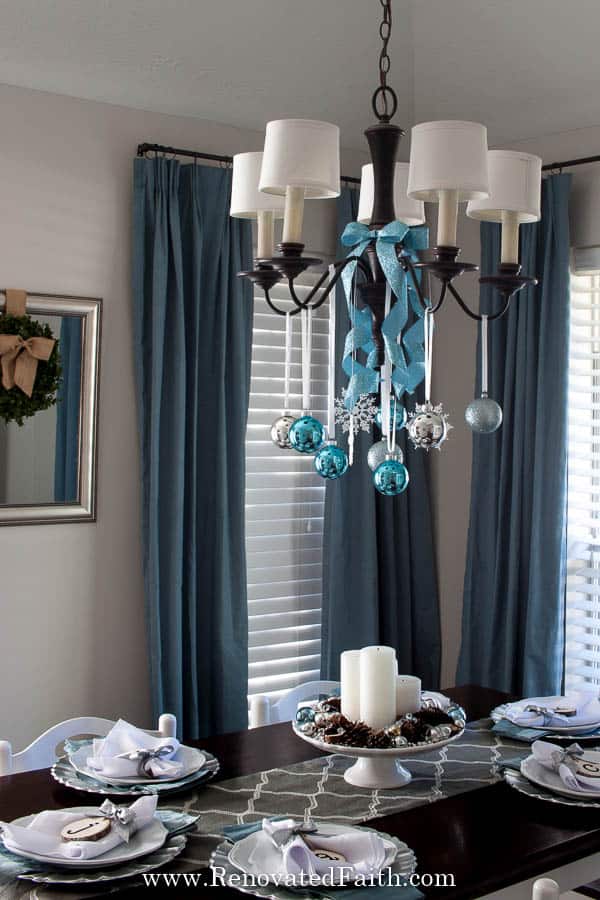
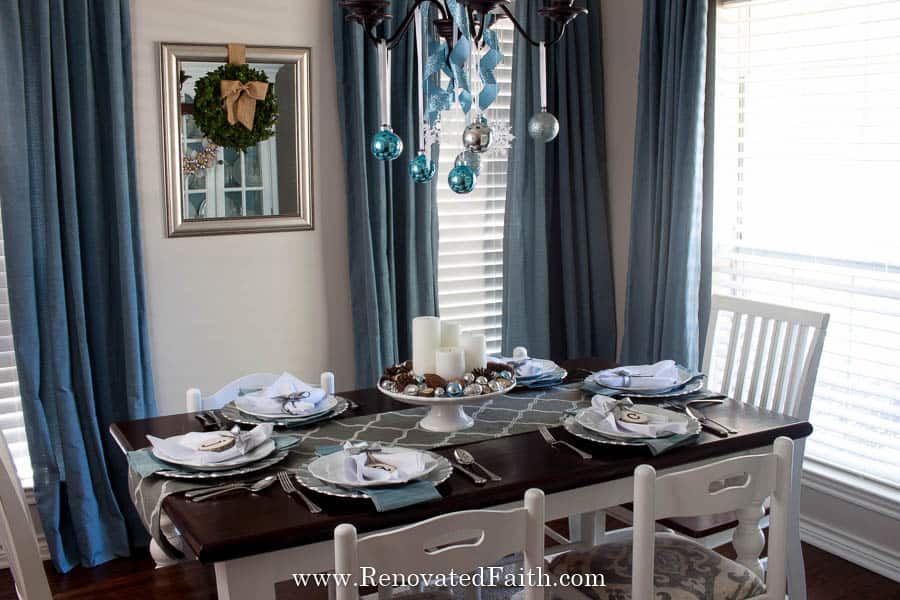
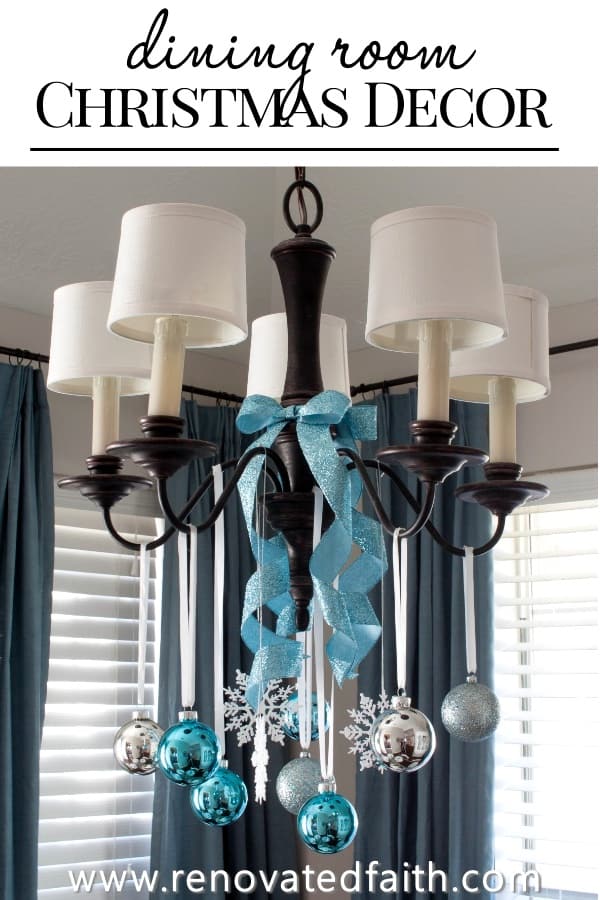
Rustic Glam Christmas Tablescape
In my dining room, I used my “advent wreath” as the centerpiece. (You can read more about that in my post Why Celebrate Advent?: Modern Advent Wreath Ideas)
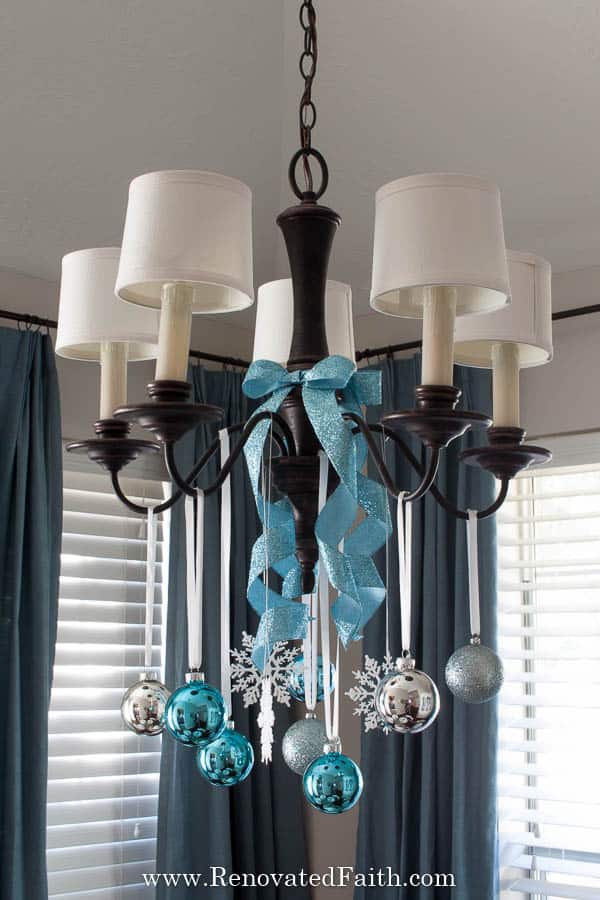
From the chandelier I hung silver and aqua ornaments which transitions well to my aqua and red Christmas décor in the living room you can see here.
I’m also so proud of my Rustic Glam Christmas Wreath. It’s so easy to make andit adds such an elegant touch to my china cabinet, making my dining room an elegant but still comfortable and not too stuffy. (You can see how I made this budget-friendly wreath here.)
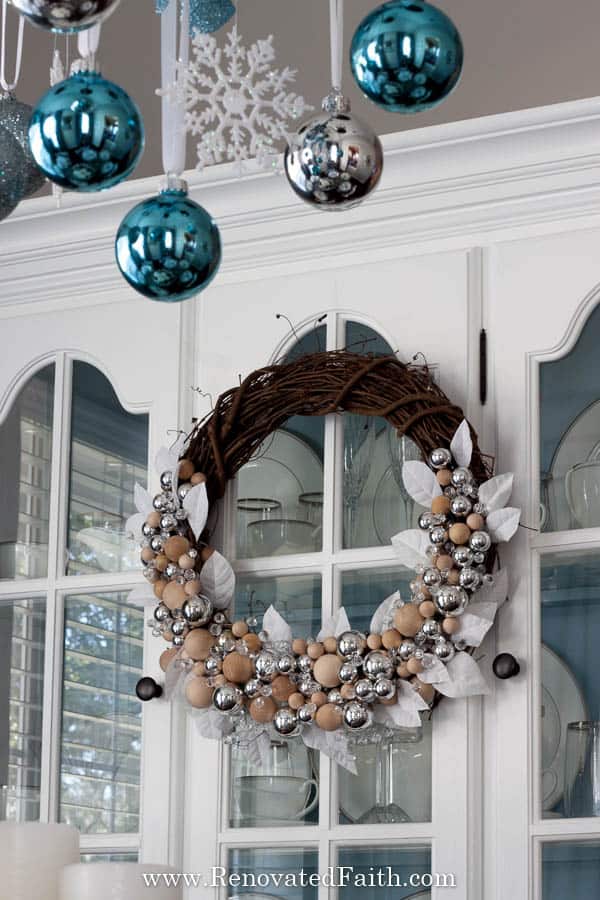
Here is used plastic ornaments and wood balls to make a Rustic Glam Christmas Wreath. CLICK HERE for the tutorial and supply list.
I’d love to see your ornament placecards so feel free to attach a pic to this pin showing me you tried it!
If you want to save this post for later, pin it here:
Here’s an alternate way to make Wood Slice Place Card Holders but it can get a little messy:
Quick Links to Information in this Post
- 1
- 2 Personalized Wood Slices for Place Cards and Ornaments
- 3 Supplies for your Driftwood Place Cards
- 4 Personalized Wood Slices
- 5 Step 1 – Make a Stencil for Your Blank Wood Slice Ornament
- 6 Step 2- Tracing Initials on your Wooden Christmas Tree Ornaments
- 7 Step 3 – Adding an Initial to Make a Personalized Wooden Ornament
- 8 Step 4 – Filling in Your Initial on Your Wood Slice Ornament with Initial
- 9 Step 5 – Adding a Hanger to your Wood Slice Ornament with Initial
- 10
- 11 The Final Touches On Your Wooden Place Cards
- 12
- 13 Rustic Glam Christmas Tablescape
Did you like this post? Be sure to share it with others. Have a wonderful week!
Blessings,

Be sure to follow
the fun here!
Email Subscription | Instagram | Pinterest | Facebook | Twitter

Karin Peters is a DIY expert and the creator of Renovated Faith. She is a furniture painter, a home design consultant, and a tenacious problem solver determined to help you transform your house into a home. With 17 years of experience with DIY home improvement, she researches and analyses professional processes to adapt them to be easy and cost-effective for DIYers. She then tests every project and product before it appears on the site in a detailed, step-by-step format. After attending Texas A&M University, she received her Master of Divinity with Biblical Languages at Southwestern Baptist Theology Seminary. Her passions unite in Renovated Faith, which shows readers how to create a home that serves them so they can pursue their God-given purposes. About Renovated Faith | Editorial Policy | Facebook | Twitter | LinkedIn
Love this idea.. for sure going to make this.. Thank you very much for taken the time with transforming your heart and your home.
🙏🫠