
How to Build a Mounded Flower Bed Without Digging
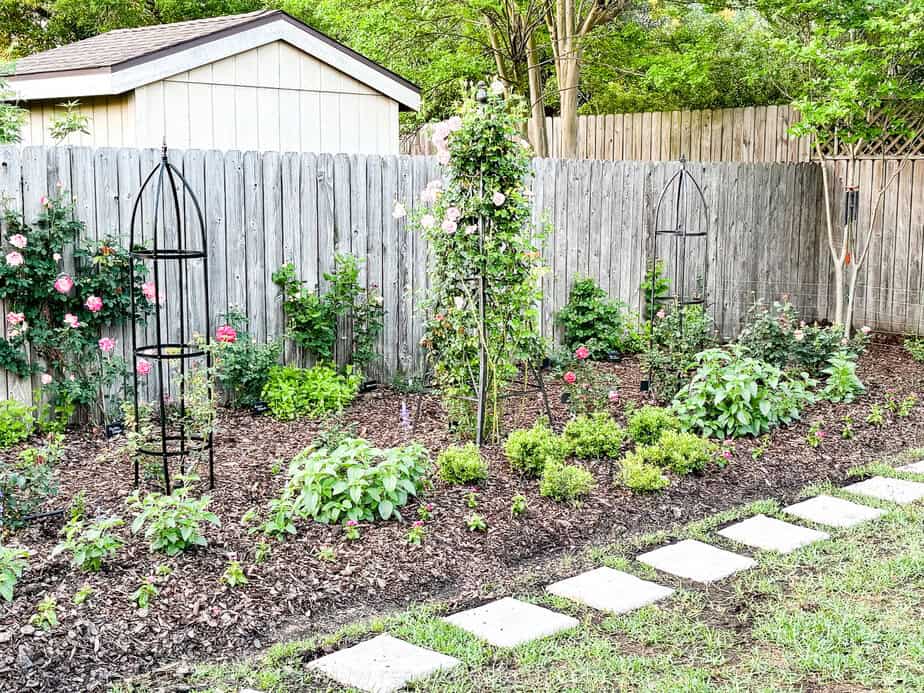
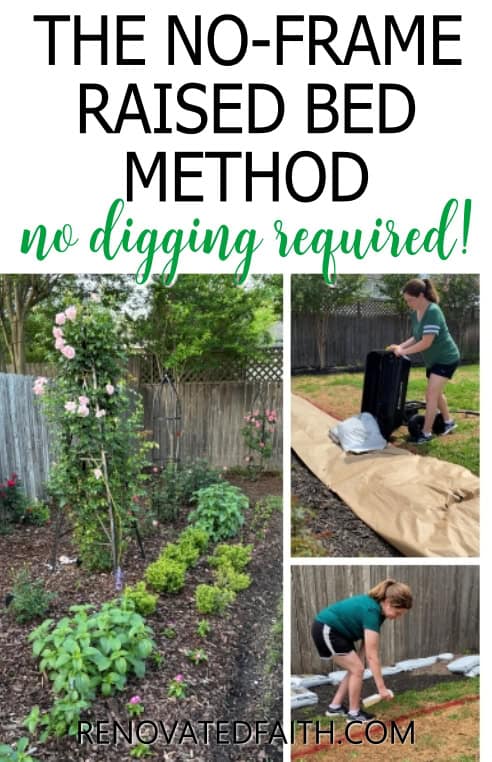
Make your plants and your back happy with this easy guide on how to build a mound flower bed with no digging.
When I started growing roses in raised beds, gardening suddenly became a whole lot easier. My plants loved the good drainage and easy access to healthy soil that a raised bed provides.
I saved so much time and effort by starting new beds right on top of the lawn without digging!
(As an Amazon affiliate I earn from qualifying purchases. Please see my full disclosure HERE).
No-Dig Gardening Advantages
When I was a kid, I was always taught that building a good garden bed meant digging up and overturning the entire bed, one shovel at a time to access more nutrients further below the surface. But not only is this method really hard on your back, but it actually disrupts the health of the soil.
Top soil has an intricate infrastructure of good bacteria that is essential to the health of any landscape bed or garden. By digging up and overturning the soil, you disrupt the healthy bacteria in the soil that has taken years to establish.
The no-dig method means building on top of the soil surface and leaving the existing biome intact while building healthy bacteria throughout the new garden soil.
Good bacteria breaks down nutrients in the soil and aids in their absorption so your plants can thrive. This article on how to build a mound flower bed will benefit the health of your garden and your lower back!
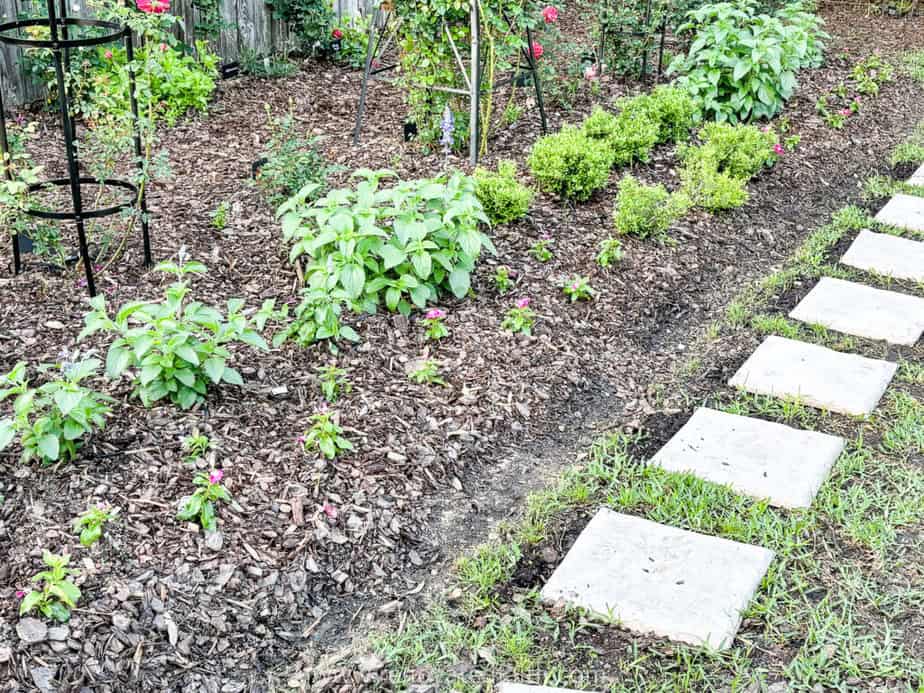
One thing I love about my mounded flower beds is that drainage is never an issue. There are several flat areas in my yard where water just sits and stagnates. This is just asking for landscape troubles resulting from overwatering and root rot.
My no-dig flower beds are so forgiving because even if I overwater, my raised beds are built up enough that any excess water simply runs off.
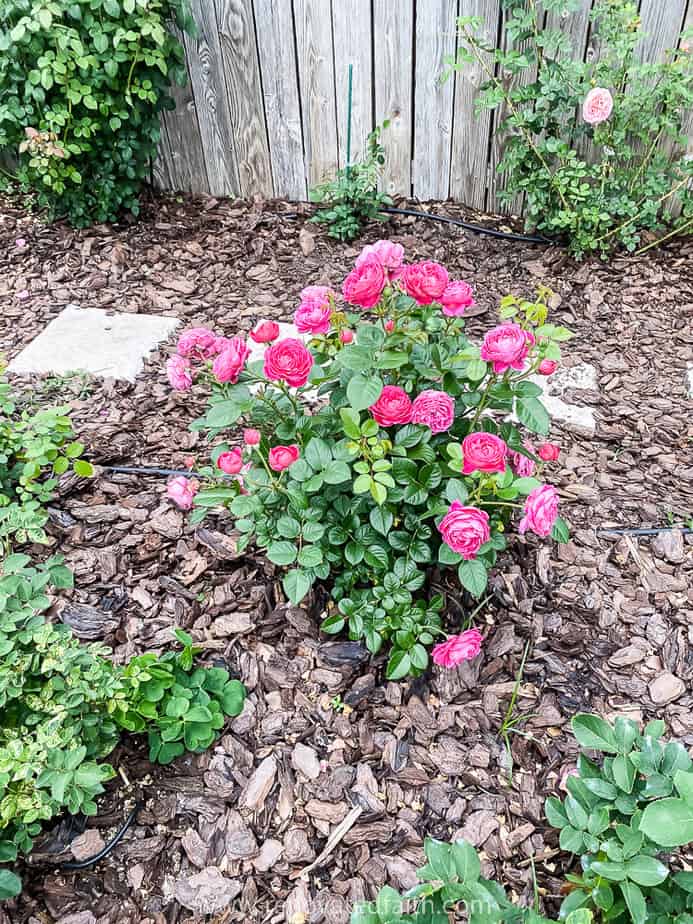
While under-watered plants are easy to fix, over-watered plants are problematic because you can’t remove water from the existing topsoil easily. But raised beds allow plant roots to stay moist but not overly soggy, where rot can set in.
Last, but not least, building on top of the soil is a great option when you have poor soil. My soil is alkaline clay so overturning it would just integrate more gummy clay into the surface soil which inhibits nutrient uptake and makes drainage issues even worse.
Building a mounded flower bed allows roots to thrive in healthier soil. Even if you have poor top soil, you can still have a successful garden with a no-dig raised bed.
Creating healthier growing conditions through raised beds is an effective way to protect plants from the damaging effects of excess moisture while improving the quality of the soil surrounding the root system.
When drainage is poor, even nutrient-rich soil can become a source of stress for plants, limiting oxygen flow, encouraging disease, and weakening long-term growth. By elevating the planting area, gardeners gain greater control over soil composition and water retention, making it easier to maintain the balanced moisture levels that plants need to thrive.
This method is especially beneficial in areas where compacted or clay-heavy ground causes water to linger near the surface, since improved drainage allows roots to establish more easily and absorb nutrients without the constant threat of saturation.
The same principle applies beyond the garden bed, where managing excess water across the landscape is essential for preserving both plant health and the condition of the surrounding property. Water that pools in lawns, garden borders, or near foundations can gradually lead to erosion, oversaturated soil, and damage that affects the usability and appearance of outdoor spaces.
Addressing these issues often requires a broader drainage strategy that supports the movement of water away from vulnerable areas while maintaining the integrity of the landscape. Zoom Drain Delaware can play an important role in resolving these larger drainage concerns, helping to ensure that runoff is directed efficiently and outdoor environments remain functional even during periods of heavy moisture.
When soil management within planting areas is supported by effective water control throughout the property, the entire landscape benefits from improved stability, healthier growing conditions, and greater long-term protection.
Supplies Needed for a No-Dig Flower Bed without a Border:
Garden hose and/or spray paint for marking the border
Plants
Compost – I used cow manure but later wished I would have used cotton burr compost. Other good options are leaf mold compost, mushroom compost, etc.
Garden Soil
Kraft paper or cardboard – Here is the roll of kraft paper I bought.
Yard staples
Mulch
Any additives – I added sulfur for my alkaline soil and mycorrhizal fungi in each planting hole.
How To Build a Mound Flower BEd, Step-By-Step
Step 1: How to Start A Flower Bed for Beginners
Before we get started, make sure you have a landscape plan. Whether you want a rectangular shape or a curved berm design, use a garden hose to delineate the edge of your new raised bed.
Keep in mind that your might want to make your bed a little bigger to account for the gentle slope along the edge of your mounded bed. For this reason, I like to add an extra foot along the edge to give myself plenty of room.
Once you know the size and shape of your berm, use a garden hose to mark the border.
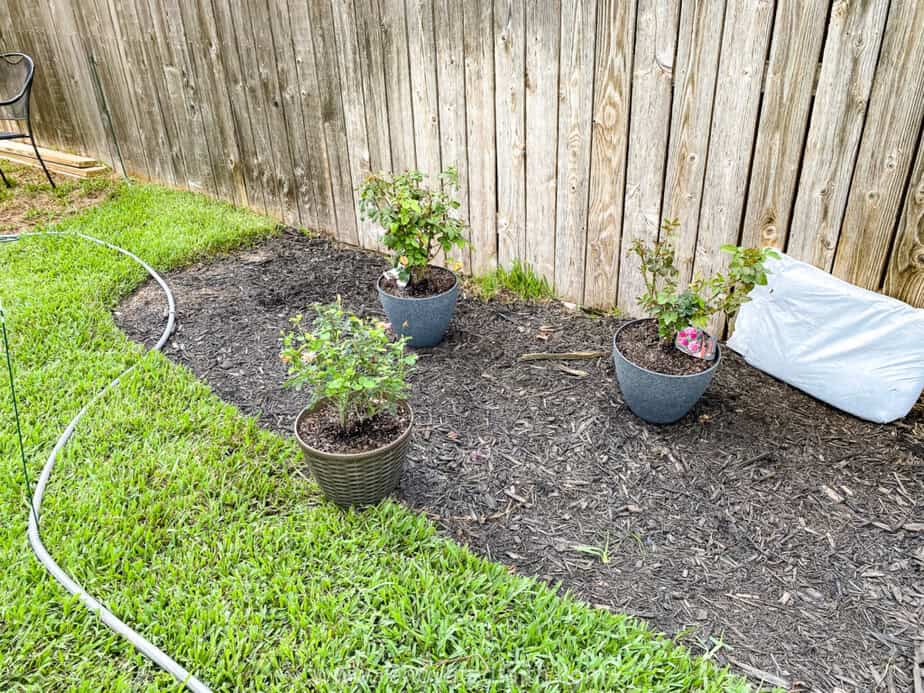
I’m adding onto an existing flat flower bed that I want to make a much larger raised flower bed.
Need help with the overall design of your flower bed? You don’t have to hire a landscape designer to have a professional-looking flower bed. To download my Free Landscape Design Cheat Sheet, be sure to see this post with tips on the best type of plays and layout ideas: 50 Landscape Ideas That Add Major Curb Appeal
Things to remember when deciding the layout of your raised bed are foot traffic and the drainage direction of your yard. For example, I eventually added a path to the middle of my landscape bed, but it would have made the installation easier if I had done this in the beginning.
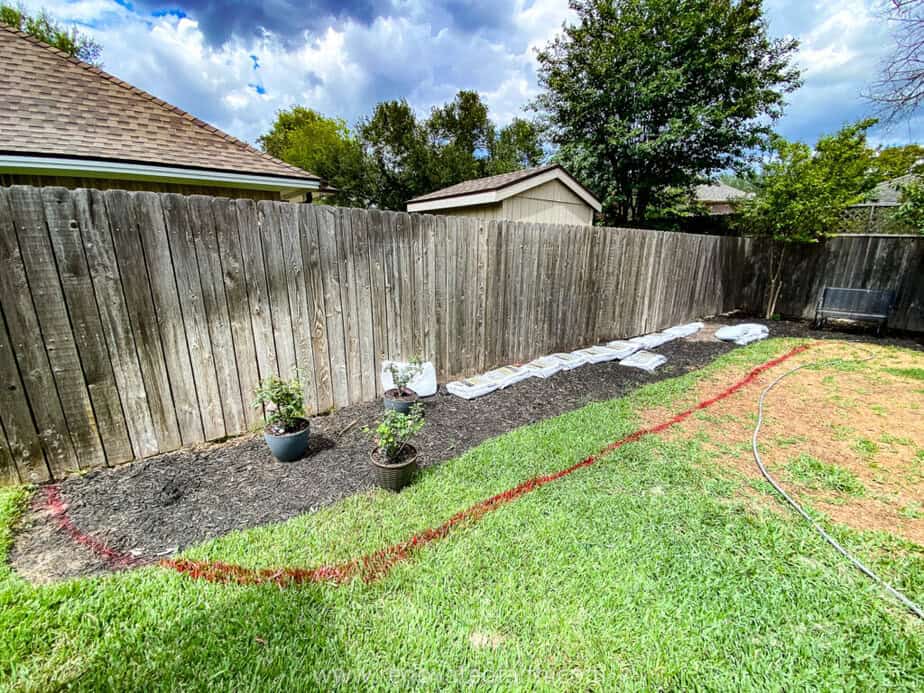
Once you spray-painted your border in your grass, don’t be afraid to make a change. Simply rub out that section of spray paint with the bottom of your shoe.
Now is the time to make any last-minute changes to your bed’s shape and surface area.
Step 2: Determine The Best Fill Dirt & Compost for Your No-Dig Garden
Pick your fill dirt and compost based on what you will be growing in your bed. I knew I would be growing roses in my mounded flower bed so I used soil I knew would work well for roses.
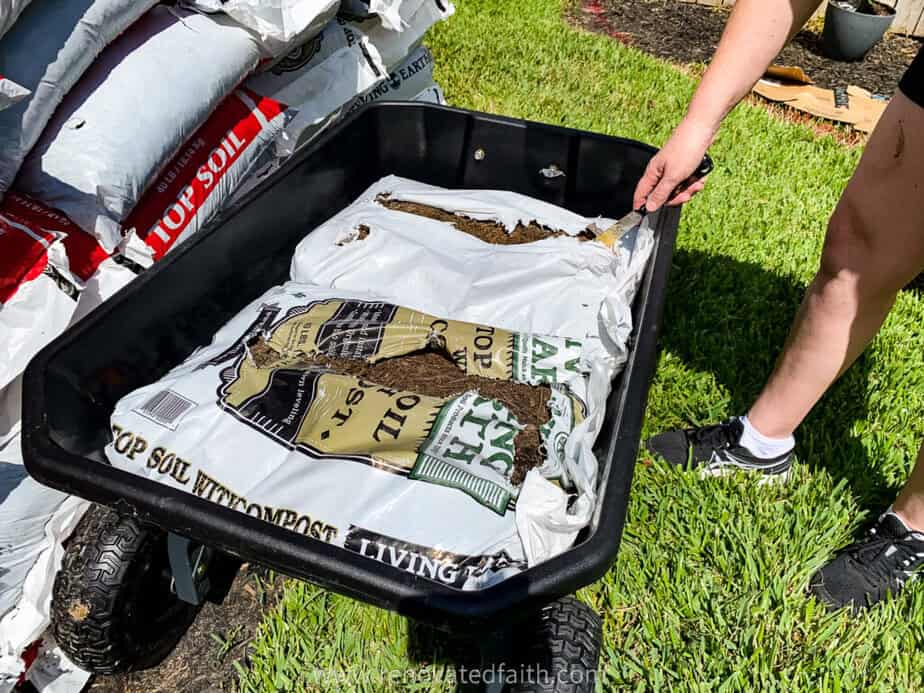
If you are growing landscape plants, get landscape mix or a good garden mix for vegetable gardening.
At the time, I got cow manure and, since then,have realized it wasn’t the best choice. For one thing, cow manure can be very salty, which isn’t great for your soil health especially in hot climates . Also, the cow manure still smelled, which means that it wasn’t completely broken down.
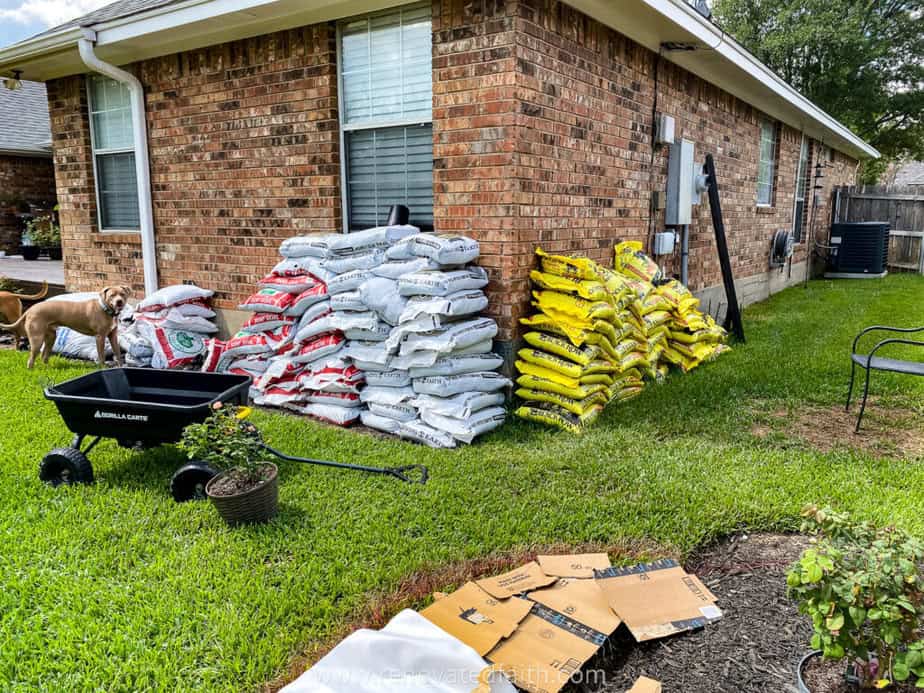
I should have used cotton burr compost. Not only is it poop-free but it has a lot of nutrients which come from the outer burrs of cotton bolls. Also, it is slightly acidic which is great for me because our soil and tap water are very alkaline. Other good options are leaf mold compost and mushroom compost.
How to Find Out the PH of Your Soil
To find the ph of your soil, get this low-cost ph meter and mix a 1:1 mixture of your soil and distilled water. Stir it up and then use the meter to test the ph. To find the ph of your city water, use the ph meter to test just your tap water or do a google search. Anything over 7 is considered alkaline and anything under 7 is acidic.
Buy enough soil and compost to raise the height of your soil 6 inches. I liked the combination of 3 parts soil and 1 part compost. You can use this to find out exactly how much you need: Garden Soil Calculator
I bought bags of soil and compost because I found a sale and didn’t want to worry about shoveling the dirt in a wheelbarrow. Bags were easier for me, but do what makes the most sense for you.
3: No-Dig Gardening Using Cardboard or Kraft Paper
Newspaper is thin and breaks down too quickly, so I recommend either cardboard or Kraft paper to deter weeds. Kraft paper is nice to use because it unrolls in long sheets and it’s low-cost. If you want something slightly thicker than kraft paper, then get flooring paper at your local big box store in the paint section.
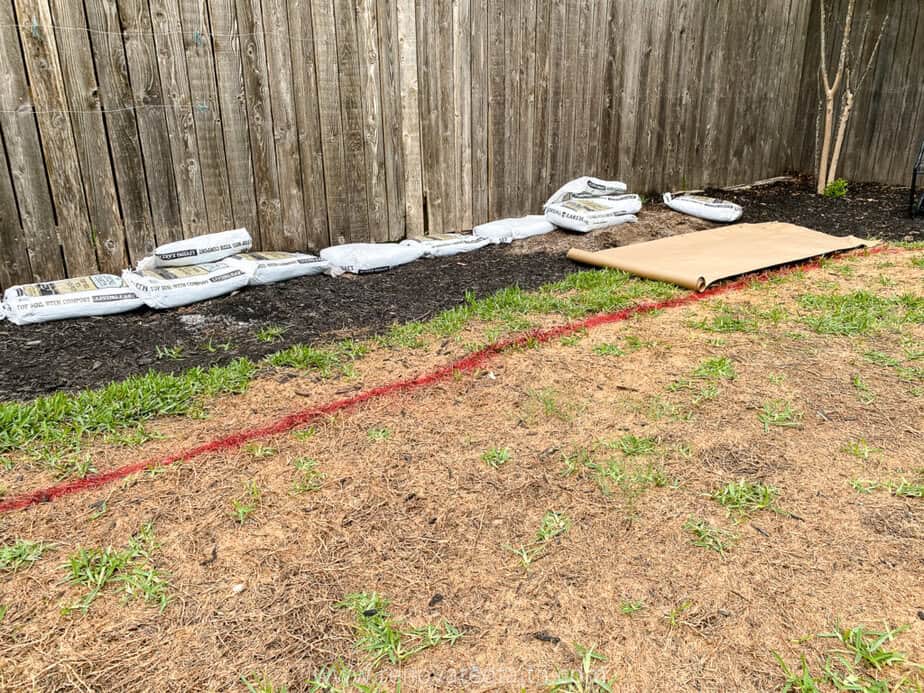
Cover the entire bed with the cardboard or kraft paper and use the lawn staples to keep it in place.
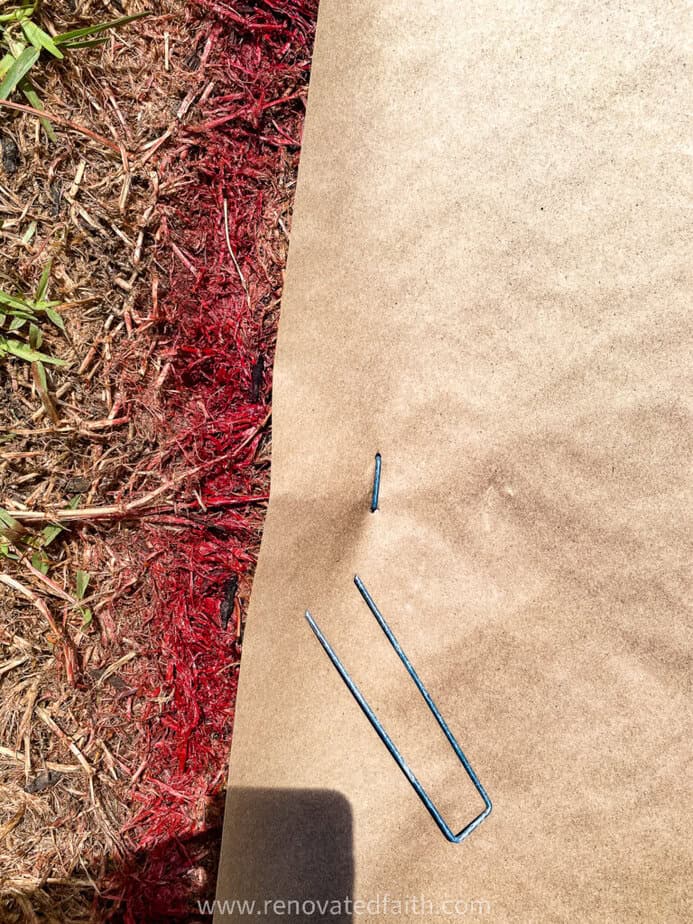
Step 4: How to Build a Mounded Flower Bed
Now, lay down a first layer of your soil over the paper. We are making a raised bed lasagna by layering the dirt and compost so there is plenty of organic material throughout the whole bed.
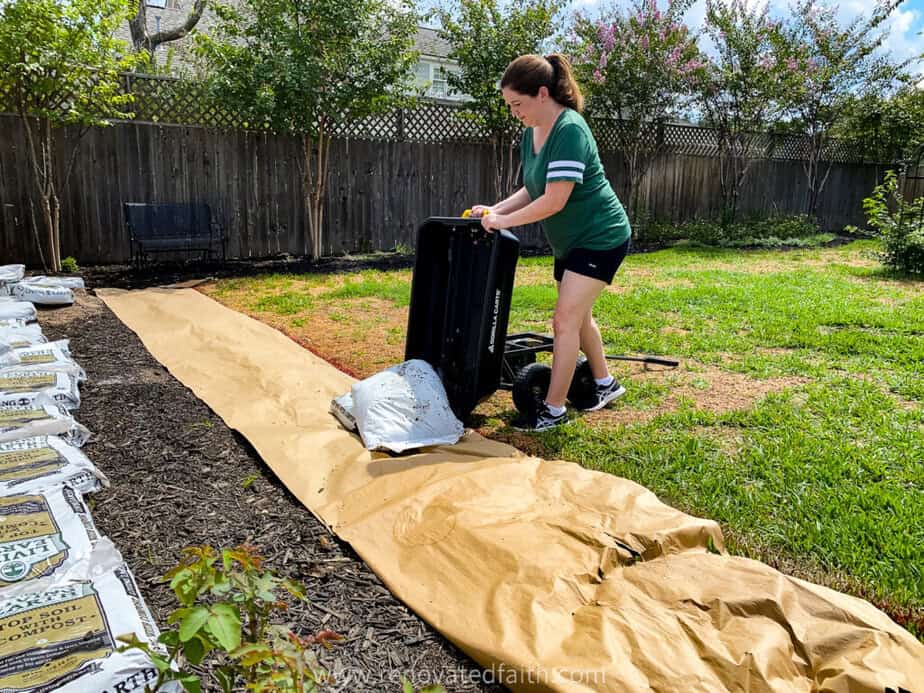
Alternate with layers of soil and compost until you have used all your dirt. I wanted the height of my raised bed to be six inches knowing this will settle out some over time.
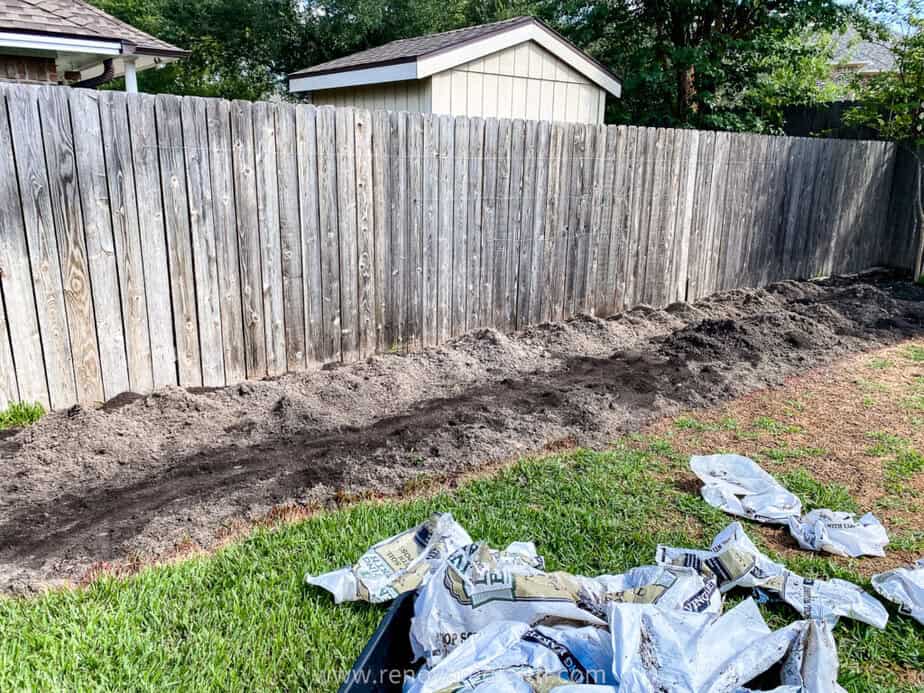
Remember to account for the berm’s slope by making the edges of the bed lower.
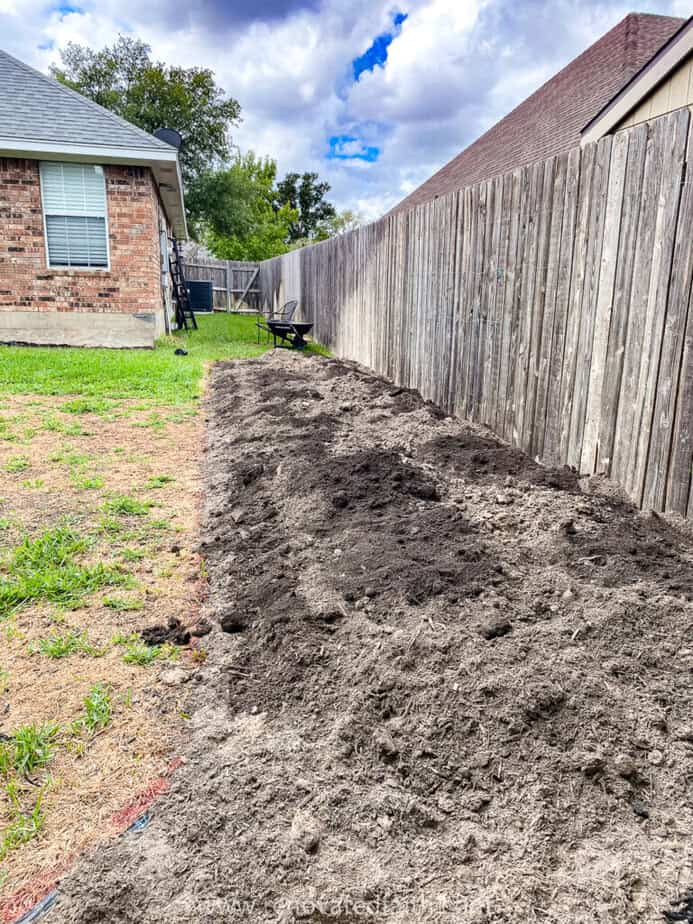
5. Start Planting in Your No-Dig Flower Bed
Now it’s finally time to plant! Dig planting holes for all of your plants at once. Then, take each plant out of it’s pot and set each root ball in its designated hole.
Before you cover up the root ball, take a second to stand back and look at the arrangement and heights of the plants. Now is the time to make any adjustments.
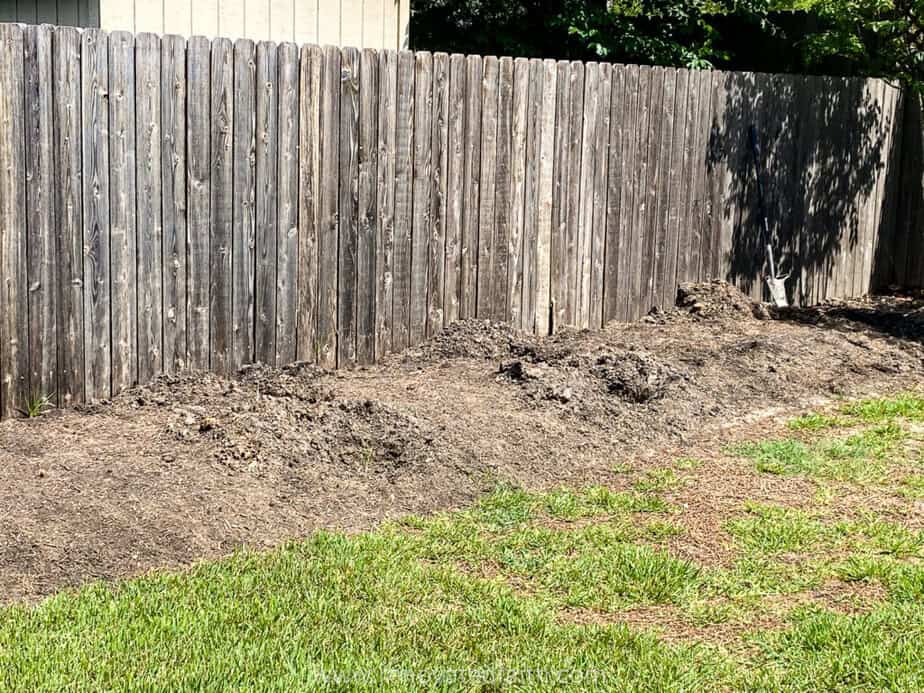
Once you are happy, go ahead and cover up the plants with dirt and give them a good watering.
I like to plant small plants and annual flowers along the sloped edge of my raised bed to help with erosion.
Step 6: Add Drip Irrigation to Your No-Dig Flower Bed (Optional)
The best decision I ever made as a gardener was to install drip irrigation. With pressure-regulated emitters, I can control exactly how much water each plant gets.
While drip irrigation isn’t perfect, it’s definitely been healthier for my plants and for myself as I’m no longer hand watering during hot Texas summers.
Here’s my step-by-step beginner guide: The Easy Way to Install Drip Irrigation
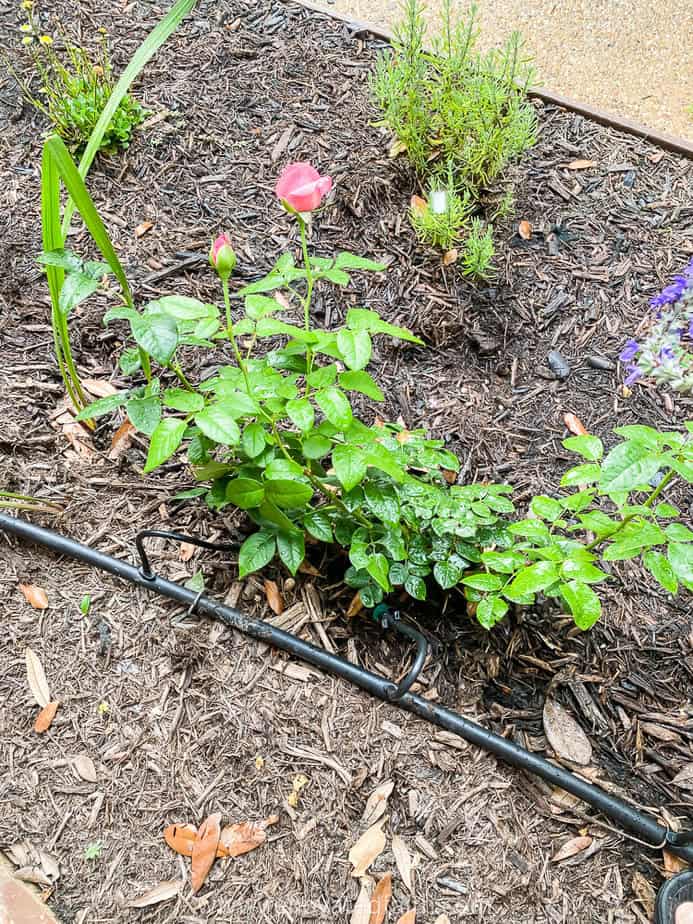
Step 7: Add Mulch to Retain Moisture
Last but not least, it’s important to add a layer of mulch to the top of the soil. Mulch does an amazing job of retaining the bed’s moisture even in drier conditions.
What is the best mulch for a no-dig garden?
Most people use bark mulch, but you can also use pine needles, larger wood chips or alfalfa hay. I add a thick layer of pine bark mulch once a year and add mulch to thin areas as needed.
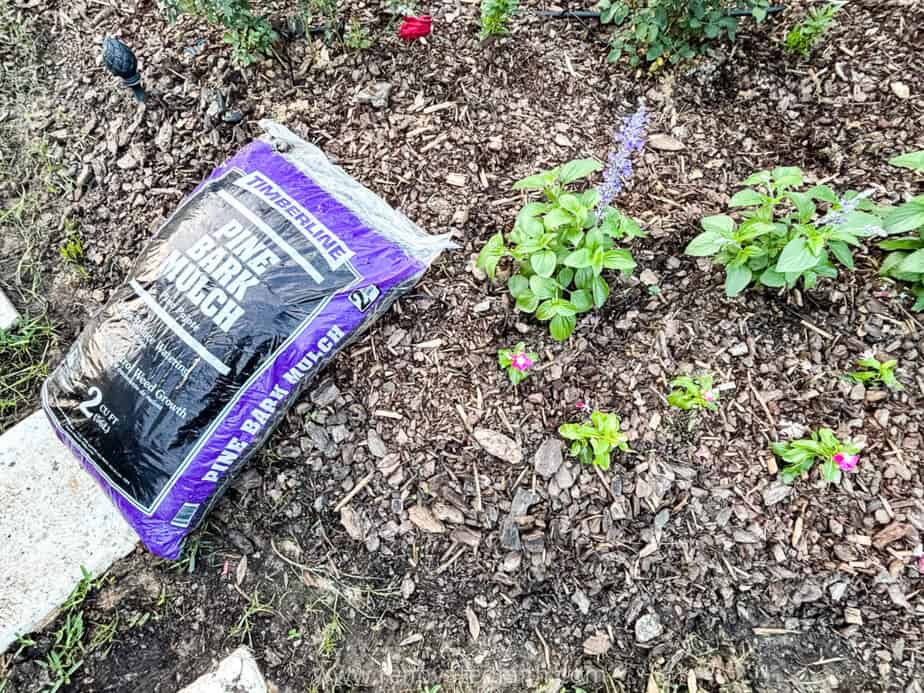
Mulch is important because it adds so much to the soil. This year’s mulch will serve as next year’s compost as it breaks down and feeds the soil bacteria.
Once you finish mulching take a step back and enjoy your beautiful raised bed.
The following year I recommend you have a soil test done with your local extension office so you know what type of soil you have and how to fertilize your bed for the plants you are growing.
The money you will save on fertilizer you don’t need will more than pay for the $20 you pay for the soil test. Go to your local extension office’s website and they will give you details on how to send in the soil.
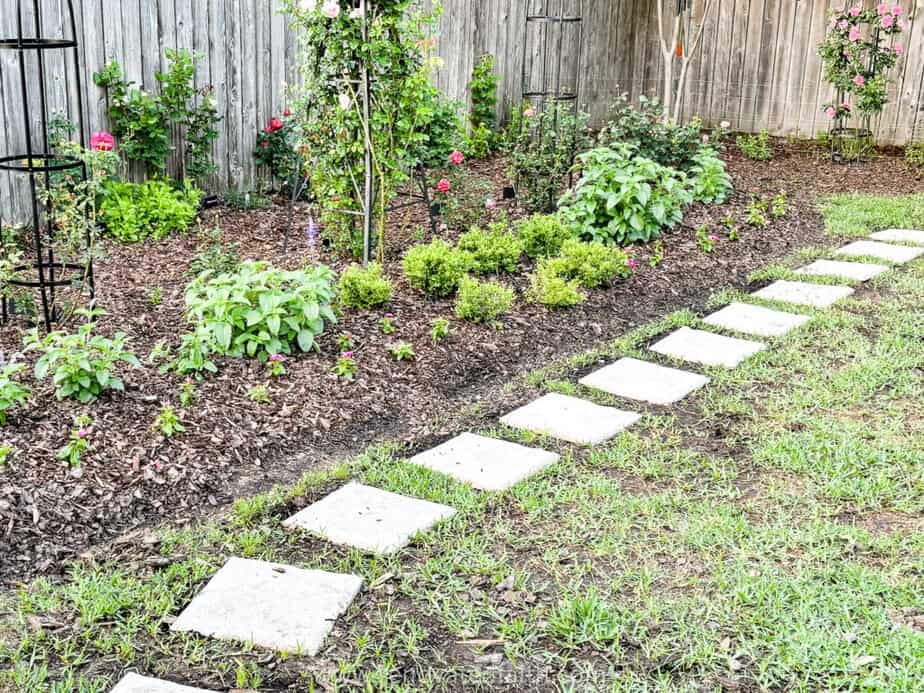
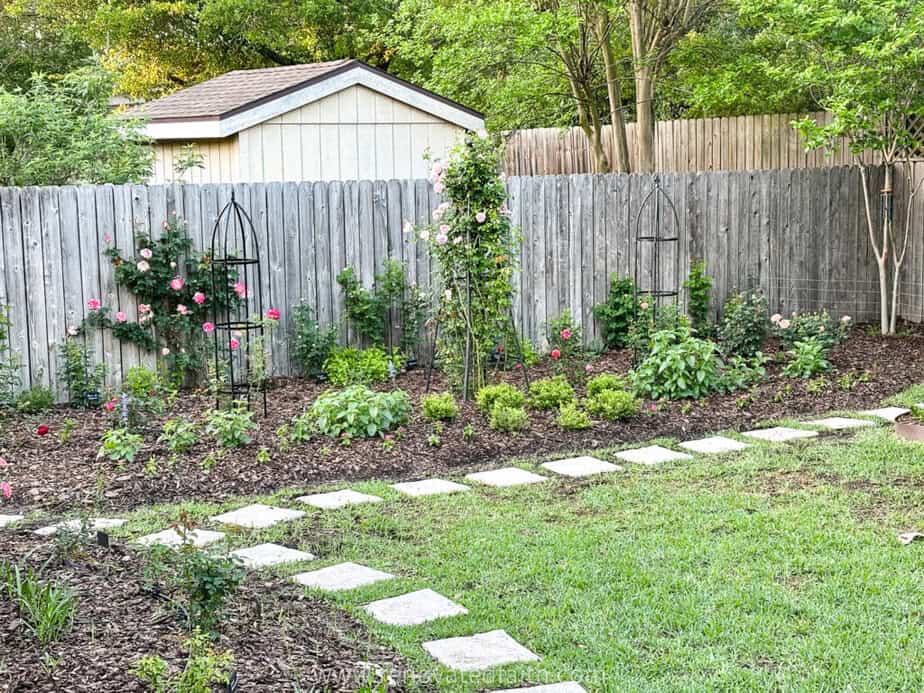
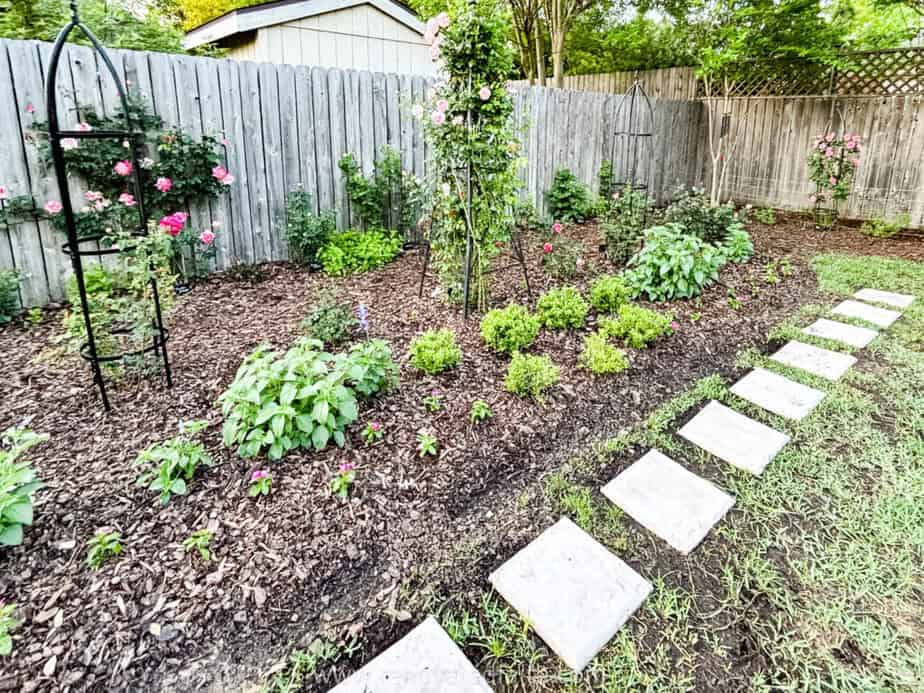
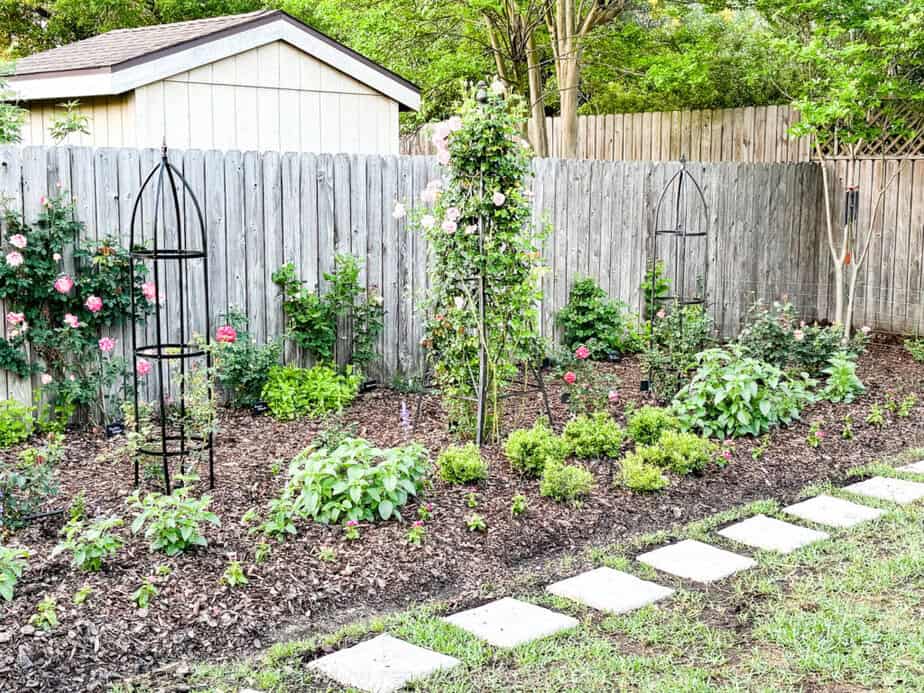
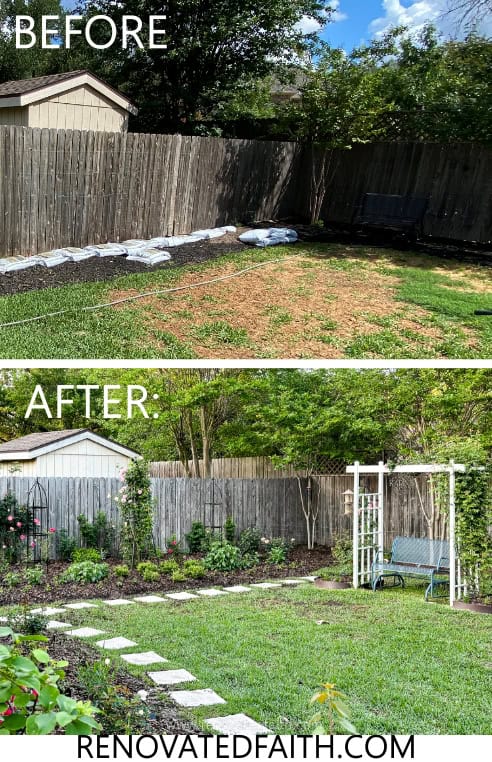
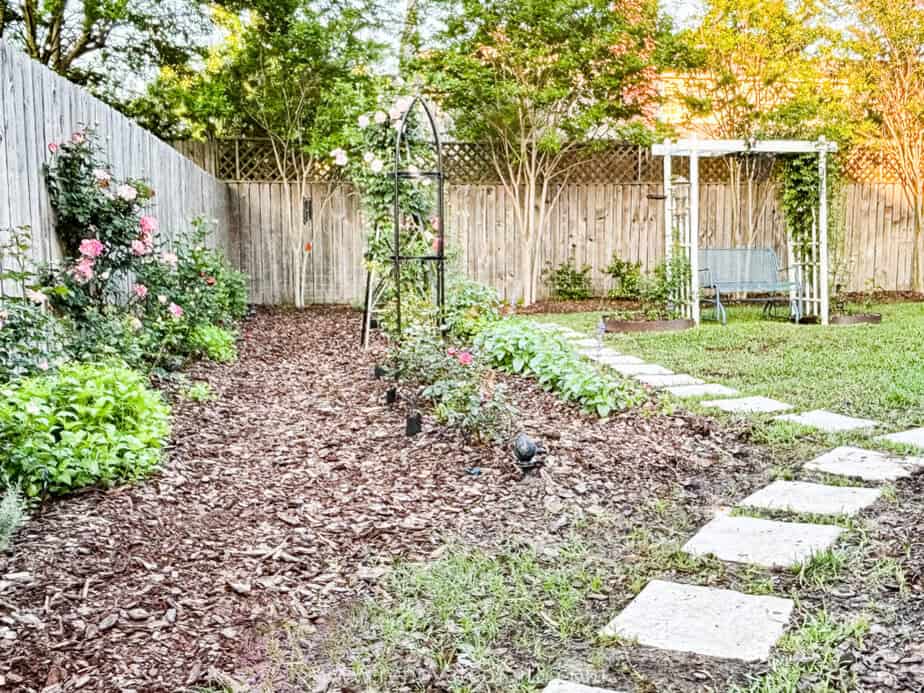
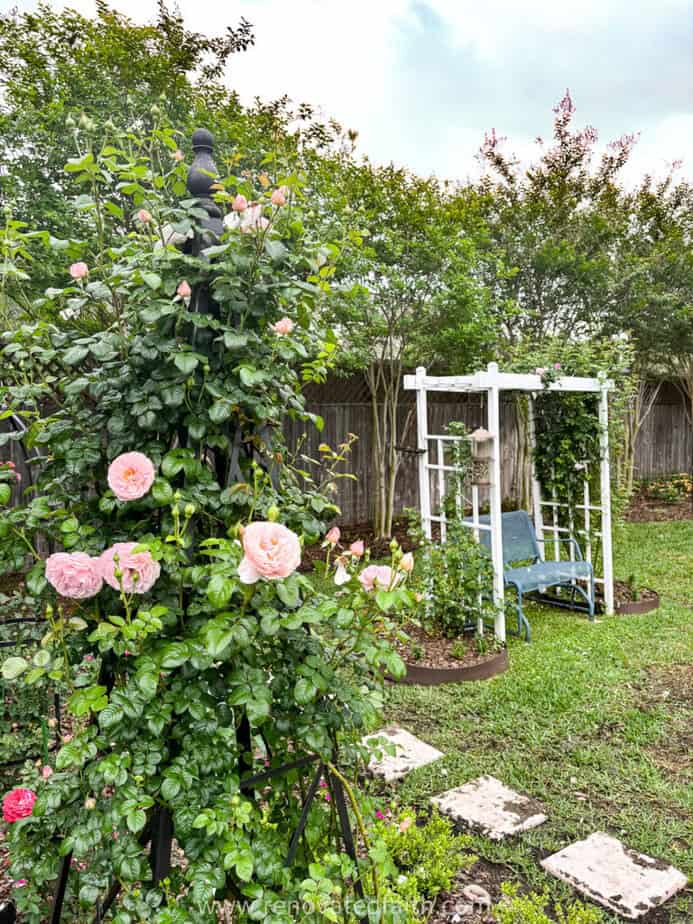
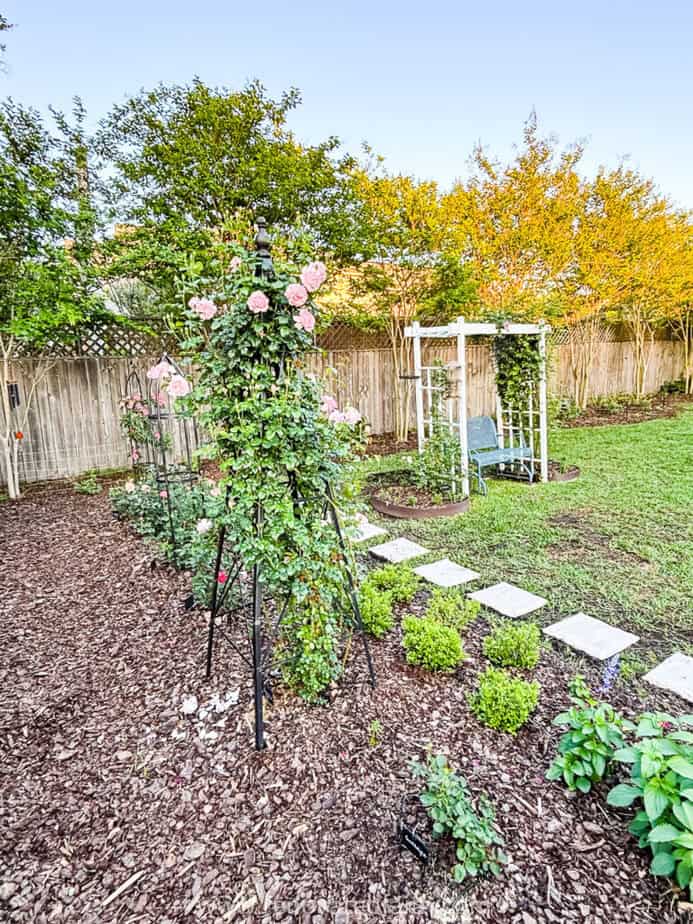
FULL DISCLOSURE – I started this bed a couple of years ago and one step at a time decided to add on. I added a path through the middle, three trellises and lots of roses since that time.
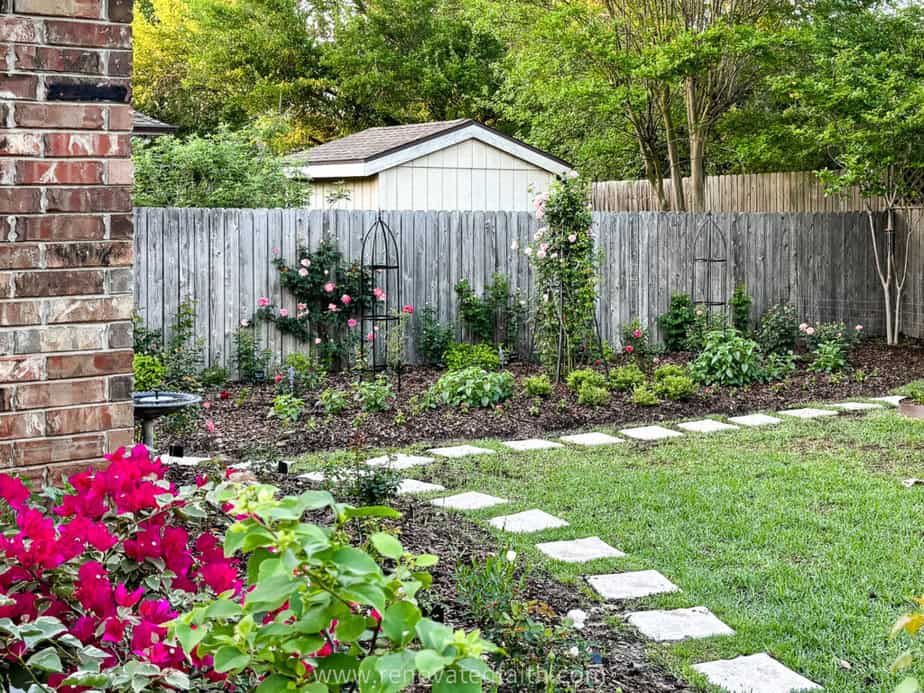
This project wasn’t something I did within a few days, but something I worked on a little at a time over a few years. That way, I had time to experiment and consider what I really wanted.
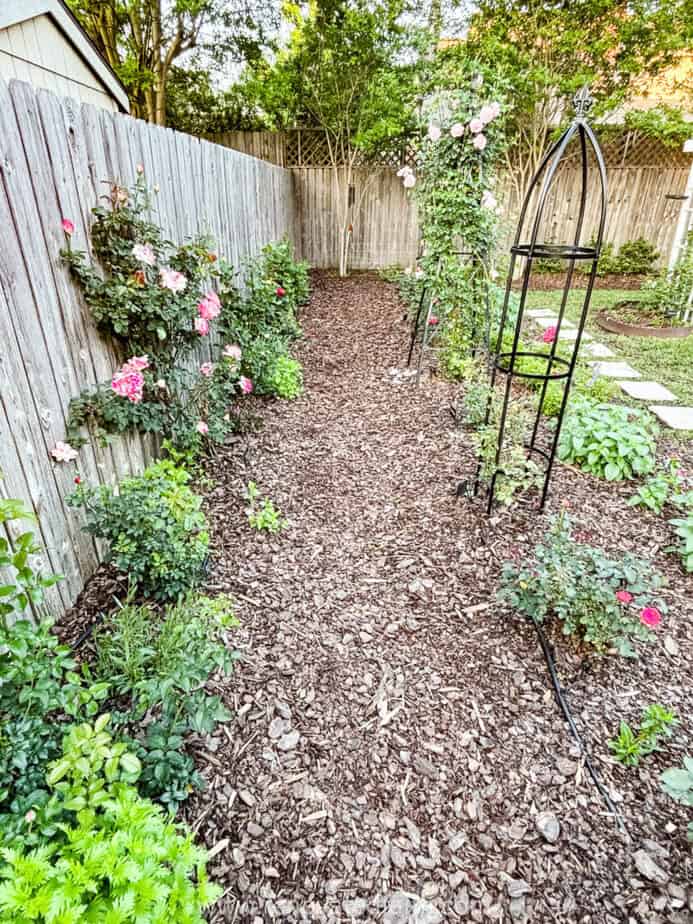
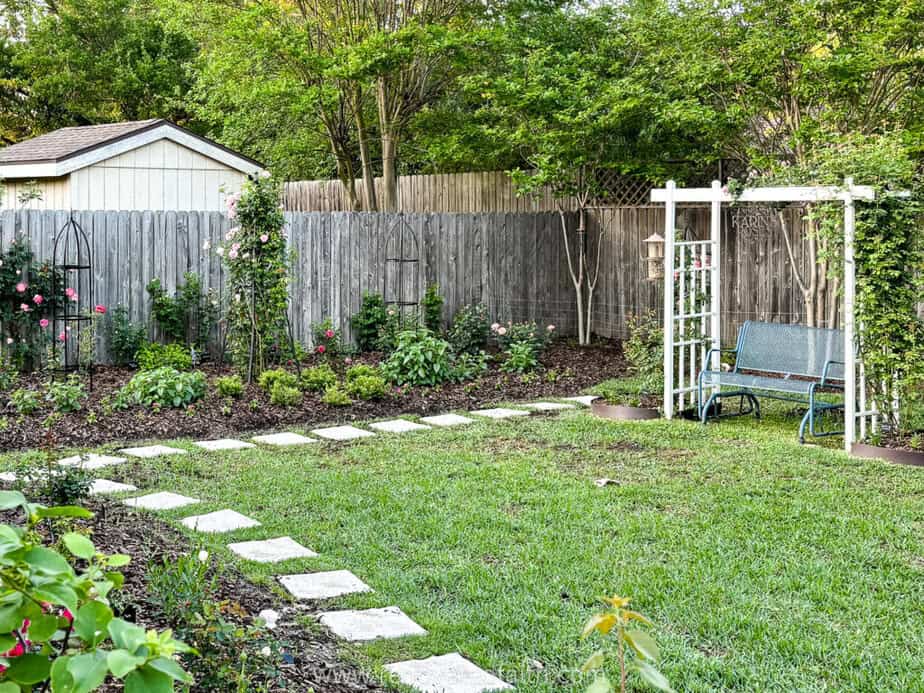
My point is that some projects take time to evolve. Real life doesn’t fit neatly into a before and after photo. The best projects are the ones that live life alongside of you. That way you can alter them to better fit your needs and taste.
RENOVATE YOUR FAITH: God’s Provision For Worriers Concerned about the Future
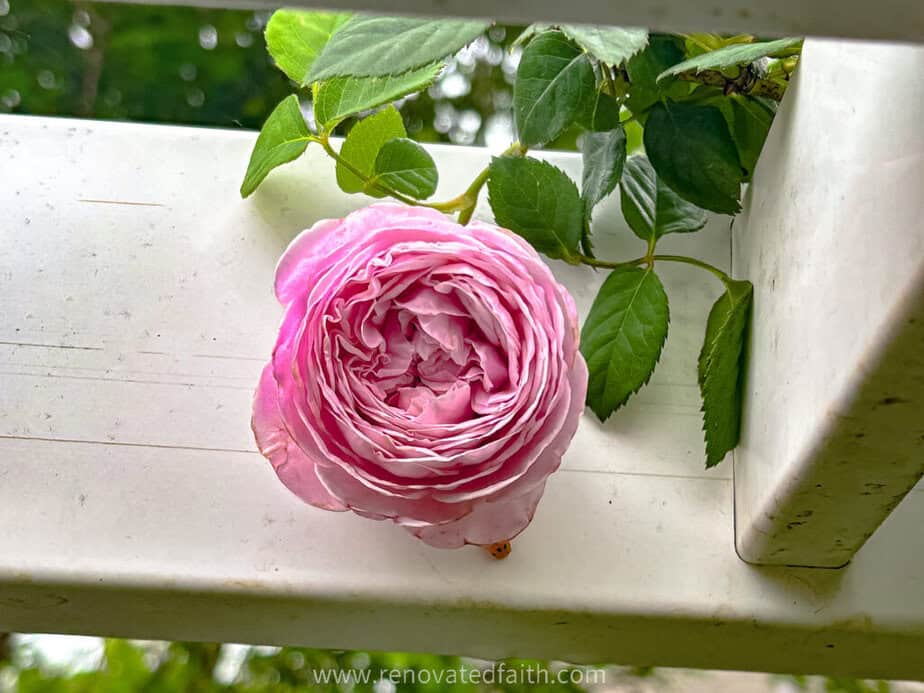
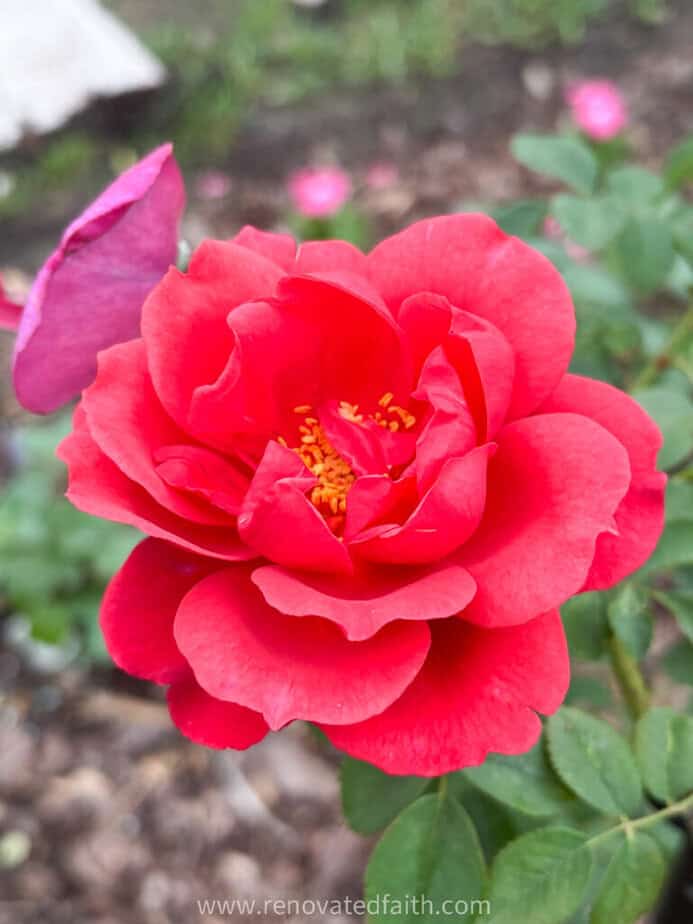
Every morning, I walk into my rose garden and am pleasantly surprised at what new blooms await me. No matter what I think I’ll see, there is always a surprise. Never are the same flowers blooming in combination, and even their blooms vary in color and shading.
What I didn’t realize was how much this concept of being graced with the surprise of new blooms has helped me in the area of worry…
Most of my projects include a corresponding devotional. For more spiritual encouragement, click here for the rest of my project posts that also include Renovate Your Faith devotionals.
More Posts Related to How to Build a No-Dig Flower Bed
7 Easy and Low Cost Garden Trellis Ideas
How to Build a Mound Flower Bed (Easy No-Dig Method)
Lightweight Faux Stepping Stones That Are Better Than The Real Thing
50 Easy Landscaping Ideas (Free Landscape Design Sheet)
Easy DIY Solar Fountain from a Plastic Planter
How to Transform an Old Chandelier into a Hummingbird Feeder
The Easy Way to Install Drip Irrigation for Landscape Plants
Best Pop-Up Greenhouse for Winter
Final Thoughts on How to Build a Flower Bed Without Digging
A no-dig flower bed is so user-friendly and will guarantee you rich harvests every gardening season. It’s the perfect solution to build a flower bed that your plants will love and that’s also easy on your back.
I love to hear your thoughts and questions! Scroll down to leave a comment and I WILL reply! ❤️
Blessings,

Be sure to follow the fun here!
Email Subscription | Instagram | Pinterest | Facebook | Twitter

Karin Peters is a DIY expert and the creator of Renovated Faith. She is a furniture painter, a home design consultant, and a tenacious problem solver determined to help you transform your house into a home. With 17 years of experience with DIY home improvement, she researches and analyses professional processes to adapt them to be easy and cost-effective for DIYers. She then tests every project and product before it appears on the site in a detailed, step-by-step format. After attending Texas A&M University, she received her Master of Divinity with Biblical Languages at Southwestern Baptist Theology Seminary. Her passions unite in Renovated Faith, which shows readers how to create a home that serves them so they can pursue their God-given purposes. About Renovated Faith | Editorial Policy | Facebook | Twitter | LinkedIn
This is so lovely! I know it took much work but the end result is so worth it. I like the border added at the top of the fence. Do you have a tutorial for that?
You have the greatest tutorials. This was wonderful.