How to Match Wall Paint for Touch-Ups (When You Don’t Know The Color!)
Want to restore your walls to their former glory? This tutorial will show you how to match wall paint for touch-ups so your walls look brand new.
Tired of living with wall imperfections that catch your eye every time you walk into the room? Whether it’s an accidental scrape from moving furniture, a mysterious mark that appeared out of nowhere, or the lingering evidence of your latest wall décor change, these small blemishes can be a big eyesore.
Many homeowners put off touching up their walls, fearing they’ll only make matters worse and inevitably have to repaint the entire wall or room. The struggle is real: finding a good match, avoiding those obvious touch-up borders, and achieving a seamless blend that doesn’t scream, “I tried to fix this myself and failed.”
Fortunately, this guide will reveal pro tips for flawless paint touch-ups that are perfect for beginners. After applying these easy steps, you’ll wish you would have tackled this project sooner.
Ready to enjoy perfectly painted walls again? Let’s get started!
(As an Amazon affiliate I earn from qualifying purchases. Please see my full disclosure HERE).
[toc]
Is It a Scuff or Mark?
Before you go to the trouble of matching your wall paint, try the simplest option first! Take a magic eraser and scrub over the area on your wall.
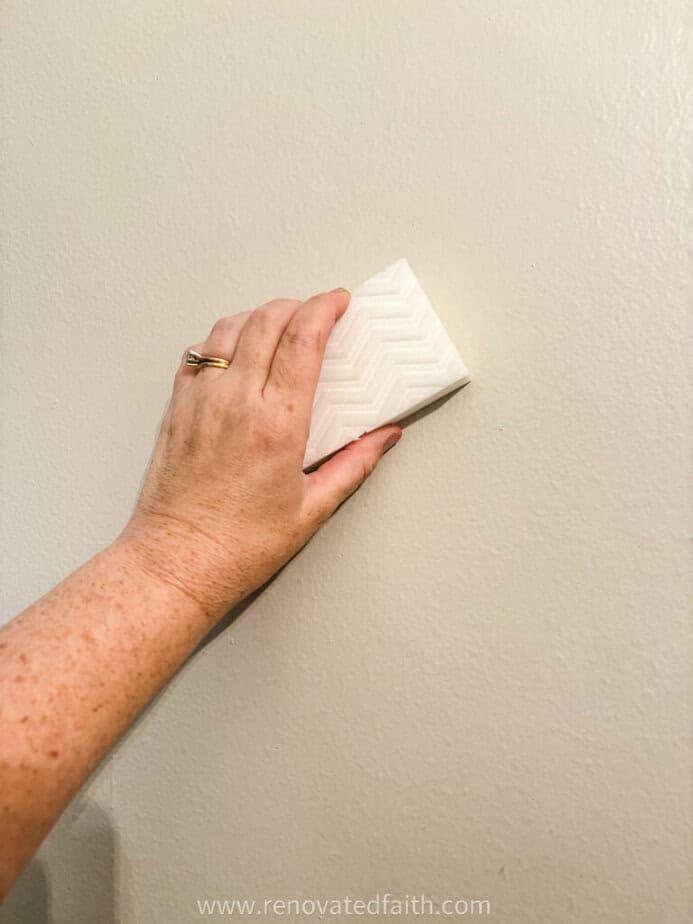
You will be amazed how many times this option works for marks or scuffs on walls, especially if you have white walls.
HOw to Make Touch-Up Paint Match Your Existing Wall Color (Without Losing Your Mind!)
While even the original can of paint won’t give you an exact match, it’s still your best option. Latex paint actually changes color over time after being exposed to the environment and natural lighting, so what is in the can might not be a perfect match to what’s painted on your wall. Most of the time, it’s good enough but the application tips below will still come in handy.
But if you have no clue what your wall color is, I have some helpful options help you get a good match!
Option 1 – Bring a Paint Color Sample of Your Actual Wall to The Paint Store
This is the nuclear option, which is why I usually go with option 3, but it’s also the most precise way to get a match to your existing wall color.
If you have an area of peeling paint that is larger than a quarter, take that to your local paint store or big box store.
You can try removing some of your outlet and switch plate covers to see if you can peel up the edge of that paint so you don’t have it patch it later. BE VERY CAREFUL if you go this route and don’t use anything metal by exposed electrical switches and outlets.
Most of us aren’t going to have peeling paint hanging off our walls so that means you have to cut off a little piece of the top layer of drywall and then patch it later.
To do this, use a box cutter and cut a 1″ x 1″ square out of your wall in an inconspicuous area – like behind a curtain or a piece of furniture. Take that sample for a match to your local paint store or home center. I like to go to Home Depot and get their Behr Dynasty sample for around $6.00 – $7.00
Last, you can patch the hole using this tutorial: How to Fill Nail Holes in Walls Like A Pro
Option 2 – Paint Matching App
Many recommend using a paint-matching app on your phone for this purpose. However, they are known for not being very precise because the hues of natural and artificial lighting can drastically affect the shade.
These are best for when you are out somewhere and see a color you love and the app can help you find a shade that’s close enough. We want an exact match, and the mobile apps don’t cut it.
There are also electronic color matches, but they are usually cost-prohibitive, so – next option!
Option 3 – Use Paint Color Samples & Feathering – My Preferred Option
I highly recommend getting a deck of paint color samples. Sherwin Williams has the best color options, and you can get a paint color deck at your local Sherwin Williams store for around $12-14.
This paint deck is great to have on hand whenever trying to decide a wall or furniture color. (You can also get different colors of paint chips from your local paint store or home improvement center.)
We will use the palette to find the closest match to your wall color’s original coat. Then, you can can get a sample size container of this paint and your local Home Depot or Lowe’s. (They have all the Sherwin Williams colors in their computer system!)
For Home Depot, just go to the paint counter and ask for a Behr Dynasty or Marque sample in your paint color in your same sheen.
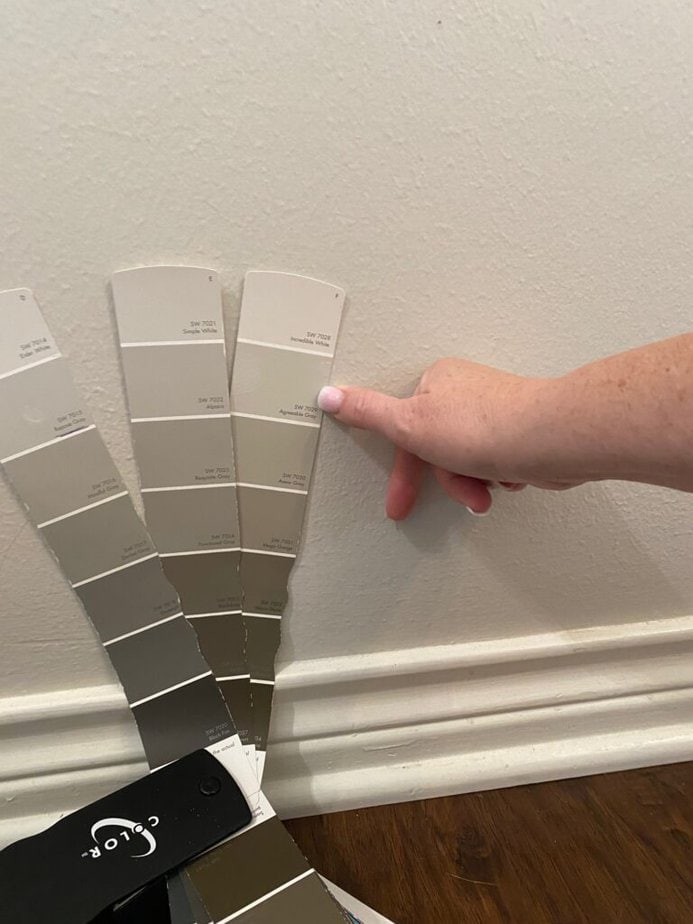
The closest match for my wall color is Agreeable Gray, which is actually is my actual wall color that I used to paint most of my home! (You can see that here – Why I Love Sherwin Williams Agreeable Gray)
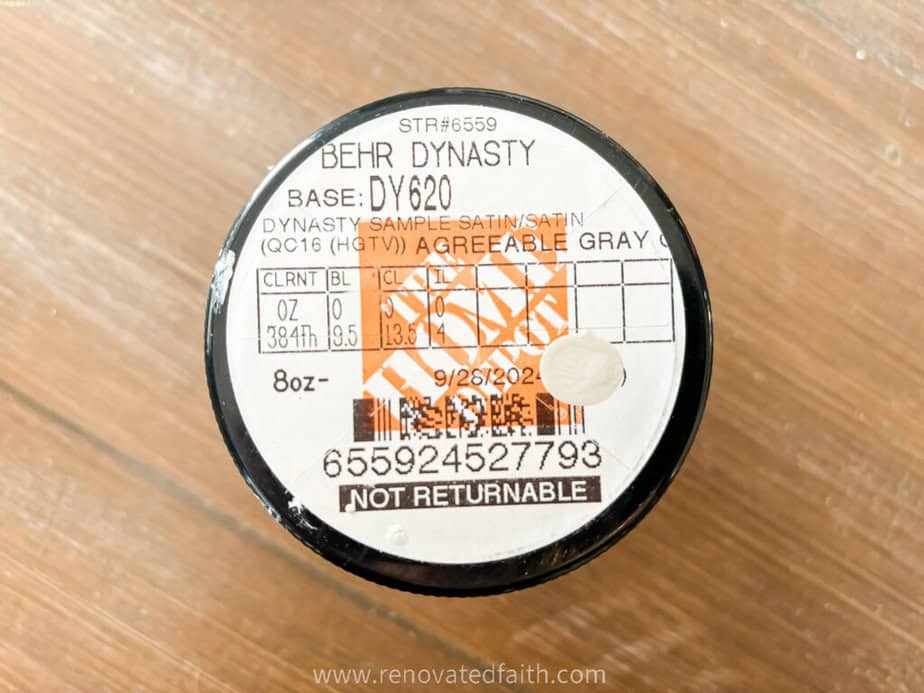
Supplies Needed: Matching Wall Paint for Touch-Ups
Sherwin Williams Paint Deck – You can get one at your local Sherwin Williams paint store or you can get a deck of another brand of paint like Benjamin Moore or Behr paint deck in those stores or online.
Sample Container of Touch-Up Paint – I used Behr Dynasty from Home Depot
Cheap Art Brushes
Paper Plate
How to Touch Up Paint on Walls Without It Showing
You can also see a video tutorial of this post! If the video doesn’t pop up automatically, then you can see it here: How to Fill Nail Holes and Touch Up Paint, YouTube Video
Step 1: Wipe the Area You Are Touching Up
Before we get started, wipe the area with a damp cloth or moist paper towel to remove any dirt.
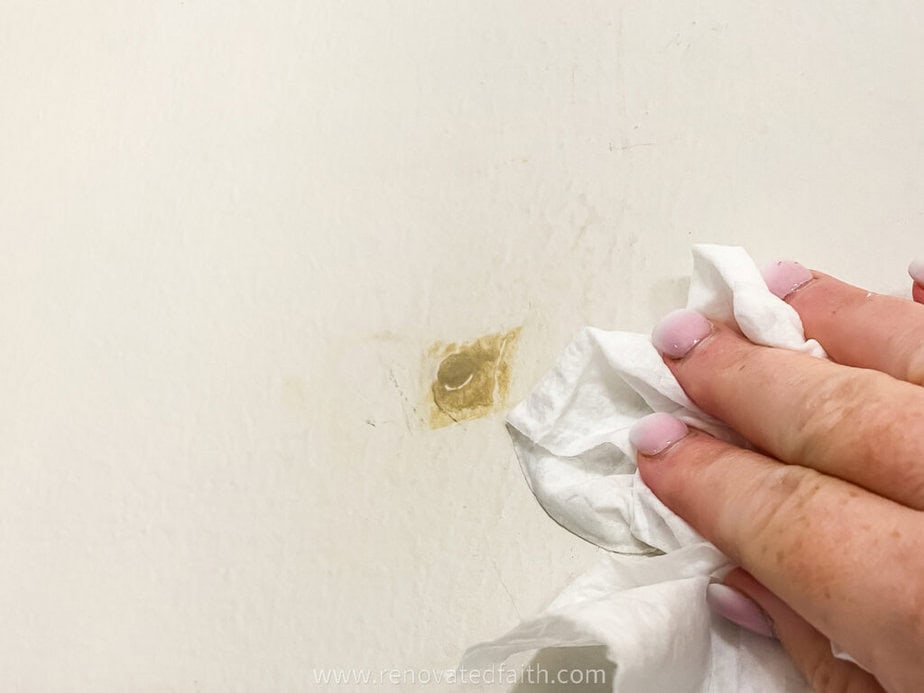
After my tutorial on how to fill nail holes, this is what I was left with after filling some large holes in my entryway. This wall is where my grandmother’s secretary’s desk will go, and it needs to look flawless for such a special furniture piece.
For tiny touch-ups for small nail holes, just use the tip of your brush to do a dot of paint and let it dry. For larger areas, feather the paint.
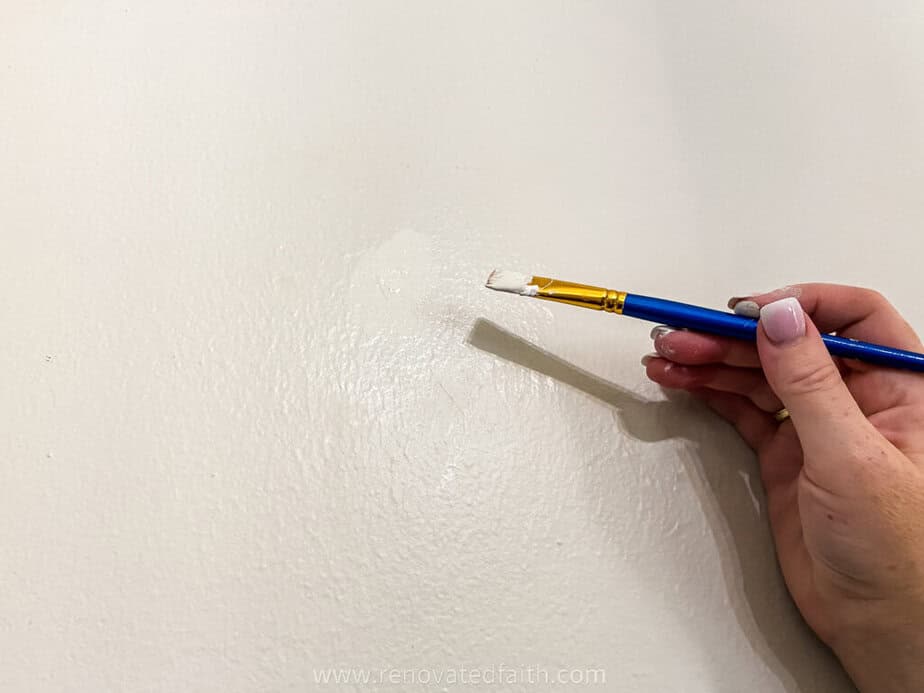
How to Feather Your Touch-Up Paint
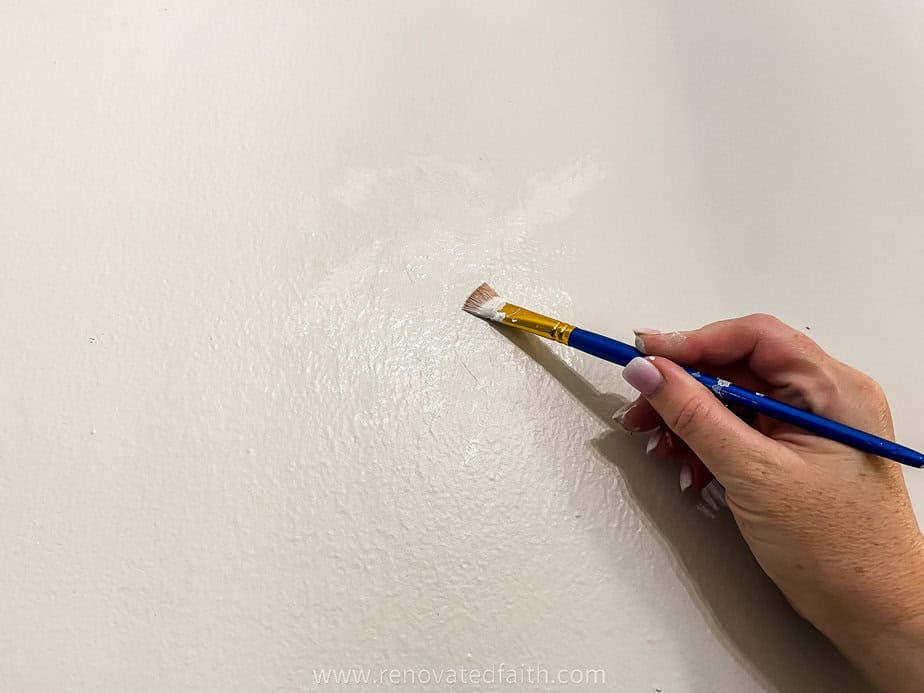
Use a cheap art brush to dab a generous amount of the sample paint onto your wall. Cover the main area of the damage or mark completely with paint.
Now, take a paper plate and remove most of the paint off of the brush. We are going to dry brush or feather around the edges of the paint to help it blend in with the wall color.
Feathering is a technique used by paint experts to help the paint blend in with the entire surface in case it’s not an EXACT match.
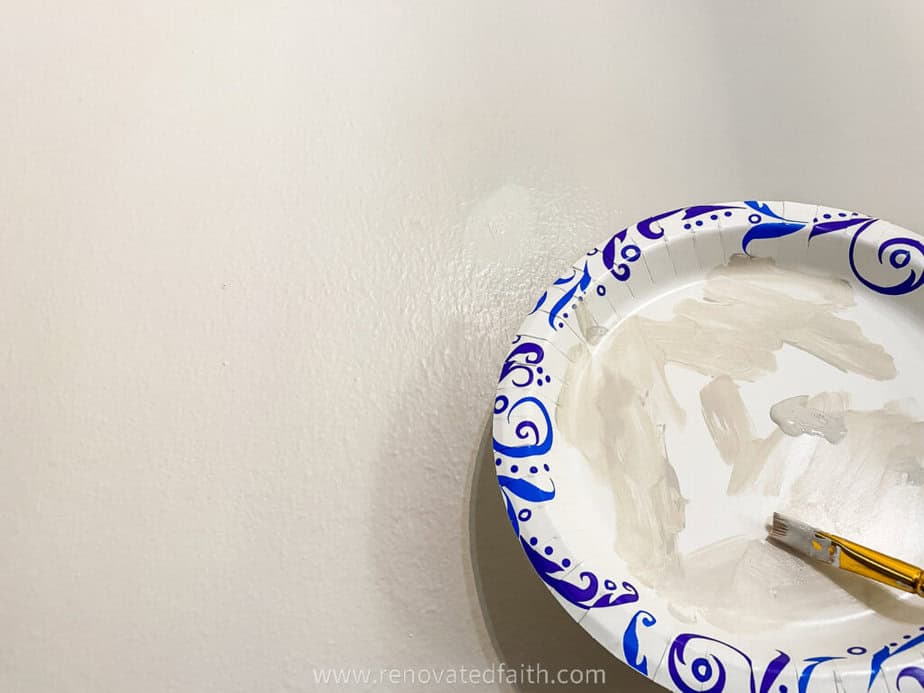
You can see below that there are some streaks outward from the initial paint. Those streaks are where I feathered away from the center. It might look sort of like a sun when you are done.
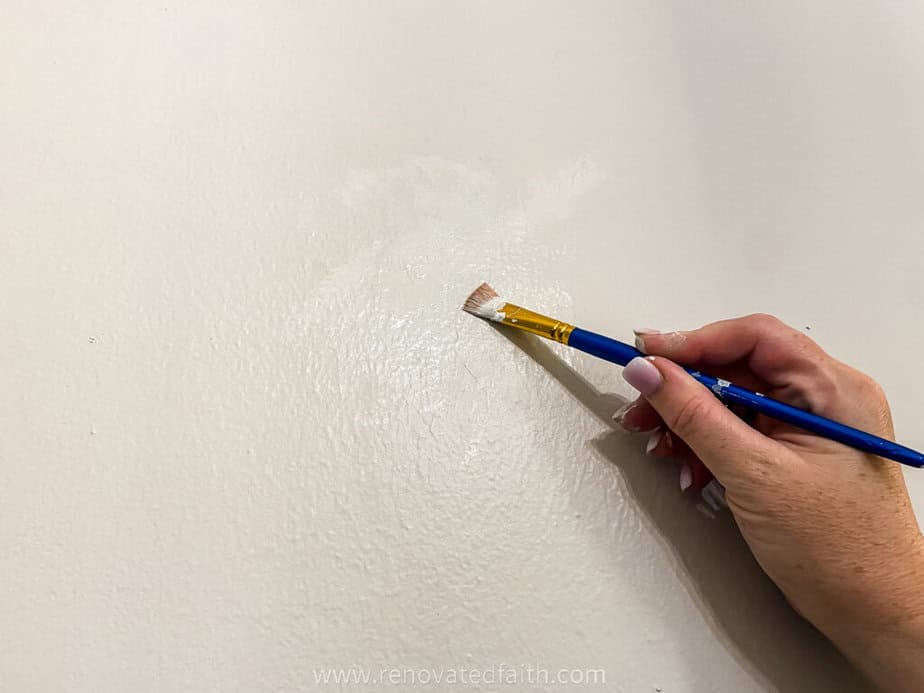
Let it dry completely. If the area where the whole was looks too rough, do the paint touch up process again. The extra count of paint will smooth it out some.
After I finished with my touch ups and the paint was completely dry, I noticed that the sheen of the touch-up paint was shinier than the existing paint even they are both supposed to be “satin”.
To dull down the sheen of the touched-up area, I used a magic eraser over the small area of the touch up job. This removes the extra sheen and helps the new paint to match SEAMLESSLY.

Fortunately, it’s hard to see where the hole was on the wall and that was exactly my goal.
BUT, sometimes it doesn’t go this smoothly and you can still see the area where you had to touch up the paint. If this happens, you are not doomed to repaint the entire room.
Paint Corner to Corner
Just paint that one wall with touch-up paint from corner to corner. Because the light will hit any adjacent walls differently,I promise, NO ONE WILL BE ABLE TO TELL the slight differences in the paint. It will just look like another wall in the same color.
Painting a whole wall isn’t ideal, but it’s better than painting an entire room.
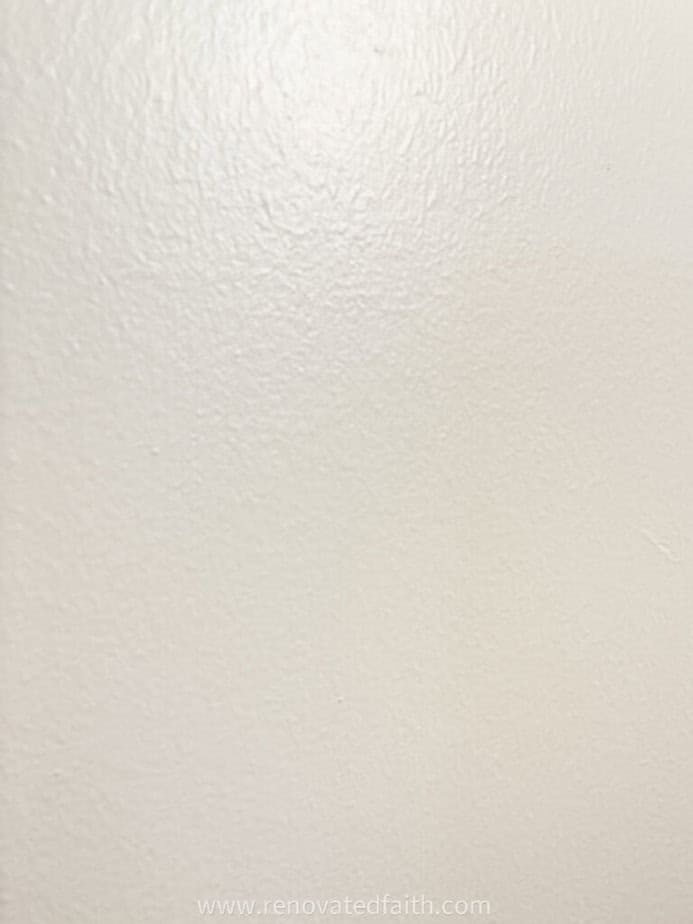
So here it is, probably the most boring reveal in the history of Renovated Faith but I’m so excited to see how my grandmother’s secretary desk looks on this wall after I refinish it.
Until then, here are some of my best transformations: 35 Furniture Makeovers From Renovated Faith
Renovate Your Faith: The Better Alternative to Life’s Quick Fixes
When I get overwhelmed or stressed, those are the times I am most vulnerable to a quick fix. Maybe it’s a new planner, a better diet, or a more comprehensive self-care routine, but reaching for a temporary bandaid won’t address the real problem underneath. READ THE REST HERE
FREE Wall Art Printables
Be sure to get access to the free printable library where you can download these free botanical prints and several other wall art options.
Related Posts
How to Fill Nail Holes in a Wall So They Are Undetectable
Best Tips to Hang Gallery Wall Art Easily
Final Thoughts on How to Match Wall Paint for Touch-Ups
Using tips from professional painters, this tutorial shows you how to match paint with a paint chip and feather it to blend to the original paint color. The good news is that this method will give you the best results to avoid painting the rest of the wall or even worse, the whole room.
I love to hear your thoughts and questions! Scroll down to leave a comment and I WILL reply! ❤️
Blessings,

Be sure to follow the fun here!
Email Subscription | Instagram | Pinterest | Facebook | Twitter

Karin Peters is a DIY expert and the creator of Renovated Faith. She is a furniture painter, a home design consultant, and a tenacious problem solver determined to help you transform your house into a home. With 17 years of experience with DIY home improvement, she researches and analyses professional processes to adapt them to be easy and cost-effective for DIYers. She then tests every project and product before it appears on the site in a detailed, step-by-step format. After attending Texas A&M University, she received her Master of Divinity with Biblical Languages at Southwestern Baptist Theology Seminary. Her passions unite in Renovated Faith, which shows readers how to create a home that serves them so they can pursue their God-given purposes. About Renovated Faith | Editorial Policy | Facebook | Twitter | LinkedIn


One Comment