
Adding Trim to Curtains: A No-Sew Way to Upgrade on a Budget
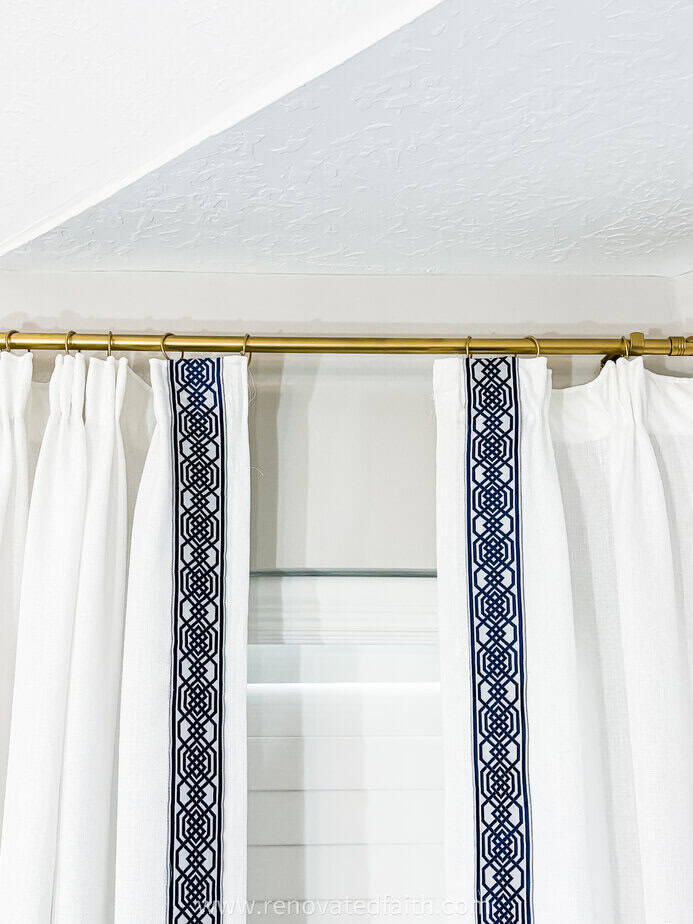
Adding trim to curtains is the easiest way to turn plain panels into high-end window treatments — no sewing machine required! See how affordable this budget upgrade really is!
If you’ve ever stood in front of a window with plain, boring curtains and thought “these need something,” you are so not alone. I went through that exact phase in my own house — store-bought panels that were fine, but just… flat and nothing special.
And instead of shelling out for brand new curtains, I discovered that adding trim to curtains is one of the simplest, most budget-friendly ways to give them some personality.
Transform the look of your whole room with a few dollars, maybe 10 minutes per curtain panel, and NO sewing skills required!
(As an Amazon affiliate I earn from qualifying purchases. Please see my full disclosure HERE).
How to Add Trim to Existing Curtains
This DIY tutorial works for brand-new curtains or the curtains already hanging in your living room. Maybe you have some plain white curtains, and you’ve decided they need a little bit of an upgrade. This is an easy, low-cost way to make old curtains look like new.
How to Add Trim to Curtains Without Sewing
I didn’t have the patience to sew the trim, so I resorted to using my BFF, hot glue.
You might be wondering why I didn’t opt for fabric glue. Unfortunately, fabric glue doesn’t seem to stay in place as well as hot glue.
Hot glue not only attaches the ribbon trim to the curtains in just a few seconds, but I’ve found that hot glue adheres to fabric really well after washing and drying.
Supplies Needed:
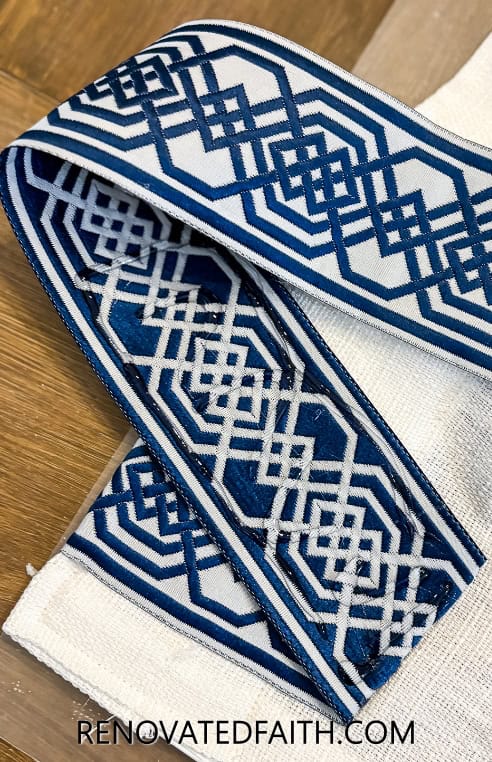
Trim Tape – I used Option 1 from this listing that is 2.5 inches wide. More low-cost trim options: Etsy | Amazon | Walmart
RELATED: Curtain Hanging Tips (So Your Windows Look Bigger) | Easy DIY Curtain Rods on a Budget and Hardware Tips | How to Cheat at Pinch Pleat Curtains
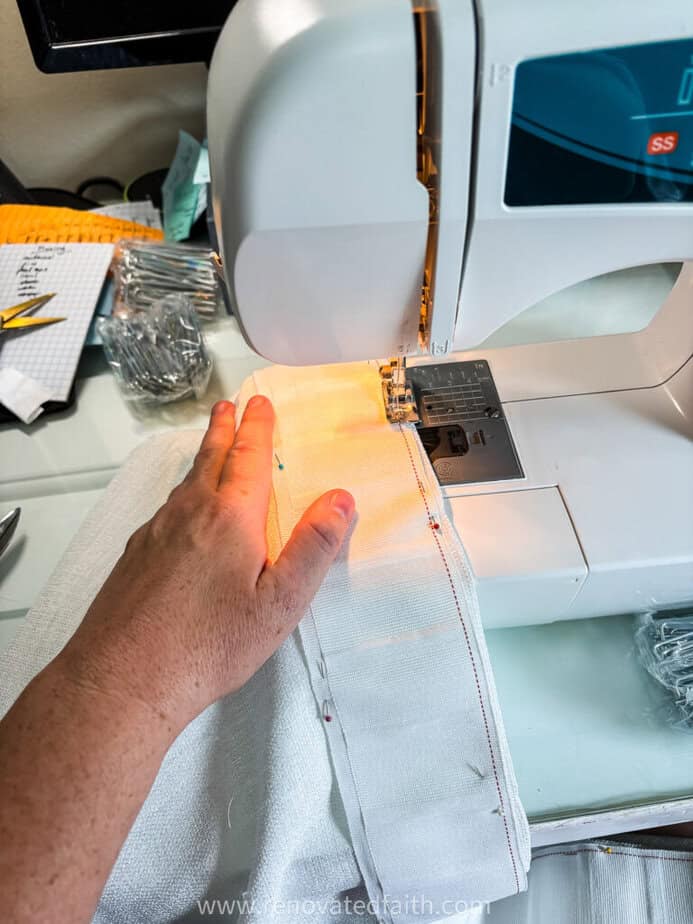
Because I like the look of pinch pleats, but not the hassel of sewing real pinch pleats, I use pleater tape. This is not at all required for this tutorial on adding trim to curtains, but if you want to see how this hack turns out, check out this post: How to Cheat at Pinch Pleats
Easy Guide for Adding Trim to Curtains
Step 1 – Adding Trim to Curtains (Ideas)
Before you get started, look at Pinterest or Instagram to get inspiration from high-end curtain looks you love. There’s absolutely no reason you can’t get the same designer look by adding your own trim to low-cost curtains.
I picked this trim from Etsy that you can find here: Option 1
Be sure to wash and dry your curtain panels on delicate. When my trim tape came in, it looked pretty tough, so I washed and dried it on delicate, also. (Doing this will ensure that you can wash your curtains later on, without shrinkage!)
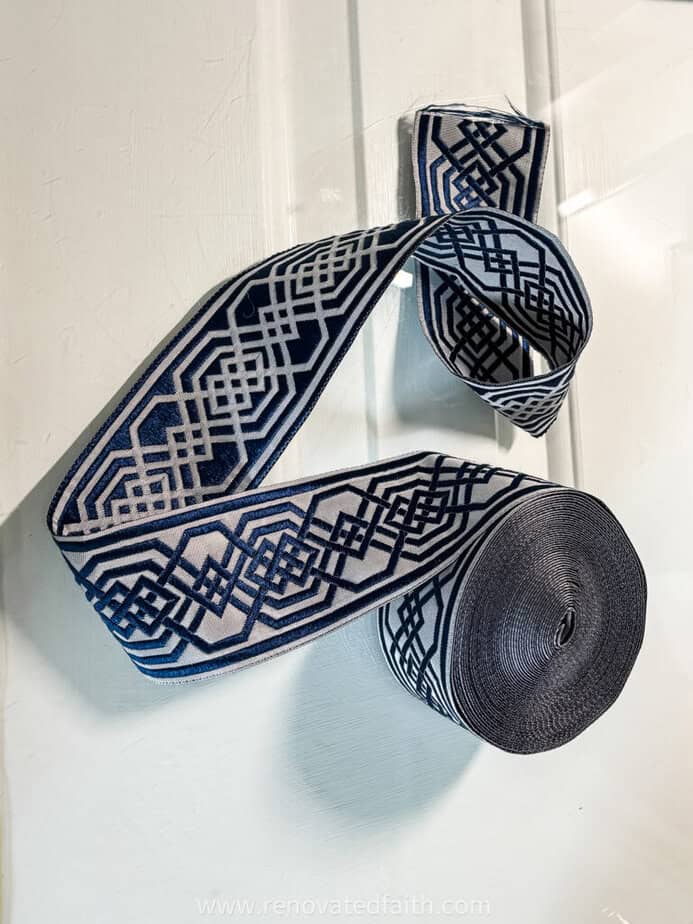
Step 2 – Glue the Trim to the Curtain Panels
Work at a table or large flat surface and put down wax paper, a trash bag or something that will keep the glue from adhering to your table. I used a couple of flexible plastic cutting boards.
Line the ribbon up along the length of your curtains.
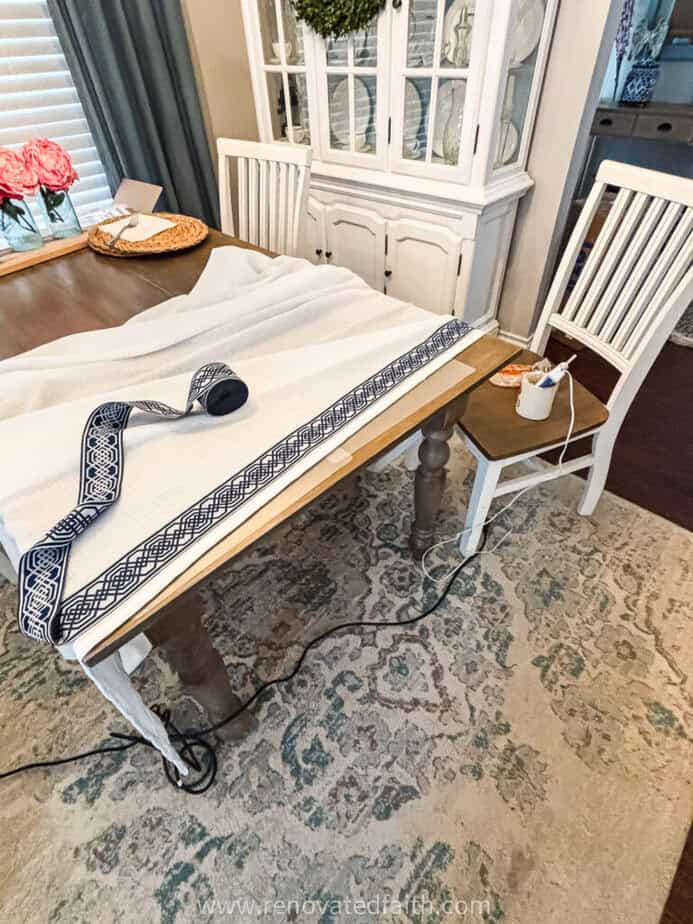
Start with a line of hot glue about 2-3 inches from the top edge of your ribbon.
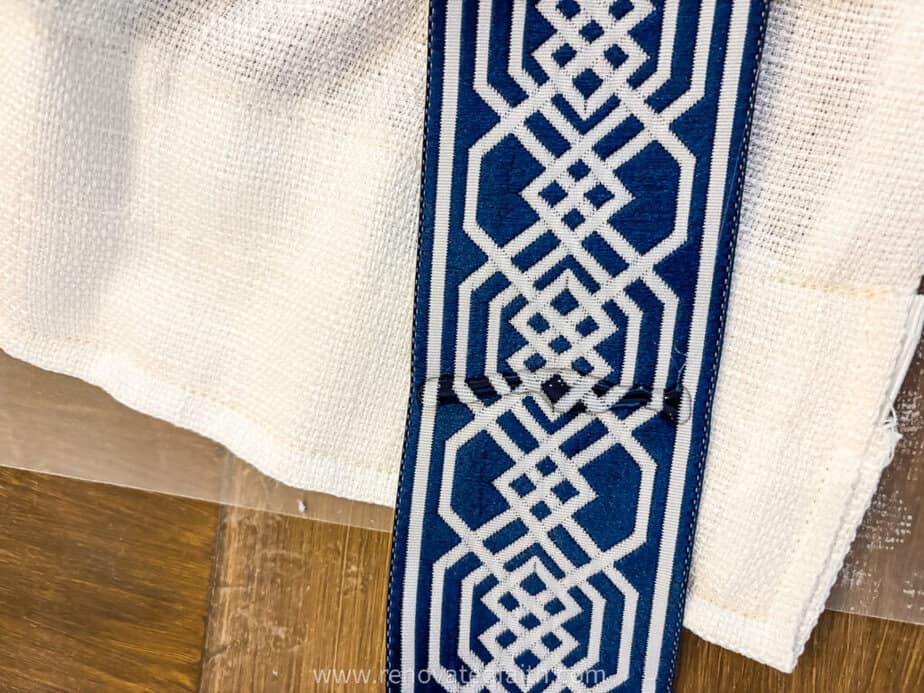
Attach the glued portion to the top of your curtain and press the glue down.
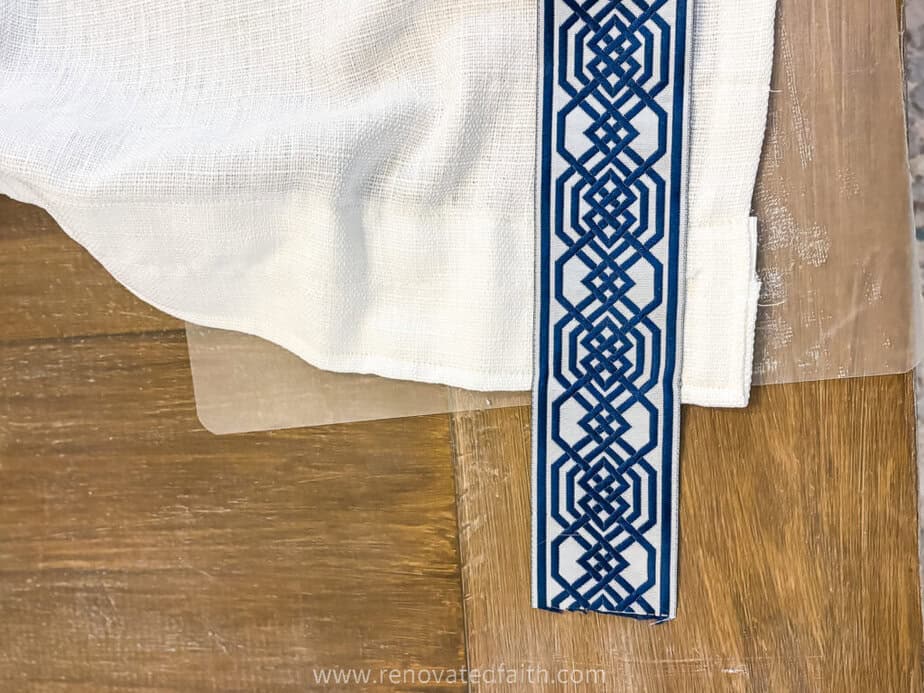
Now apply glue to the top two inches of the ribbon and fold it down.
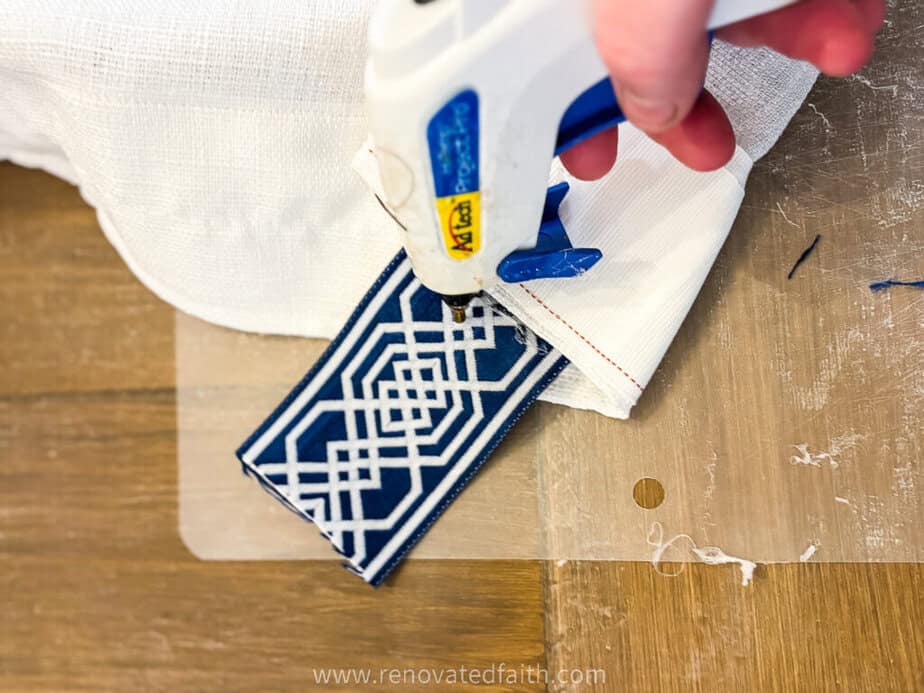
When gluing on the rest of the ribbon, work in one 6-inch section at a time.
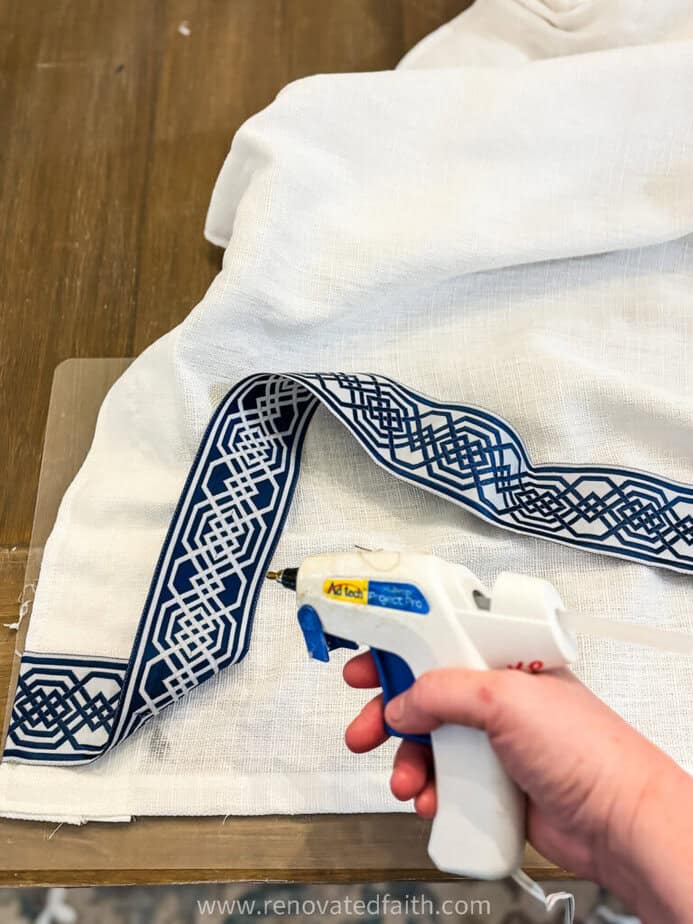
For this project, I applied my hot glue in a zig-zag pattern in the middle and a line of glue on each length edge. Do whatever works best for you, but don’t apply a big blob of hot glue in one place as it could leave a large raised area when it cools.
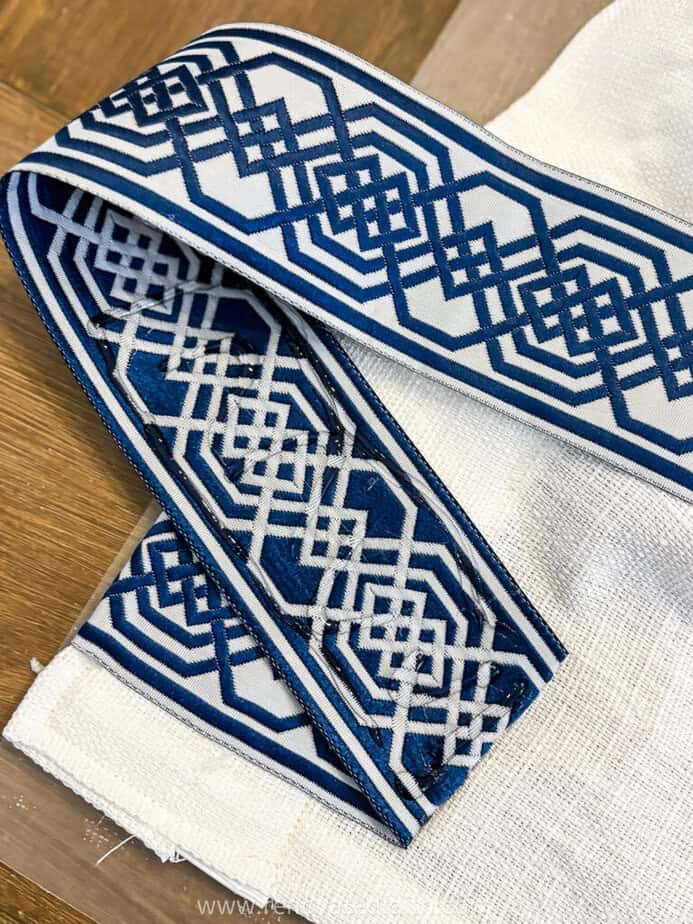
Make sure you are maintaining the same distance from the edge of the curtain as you glue the ribbon on.
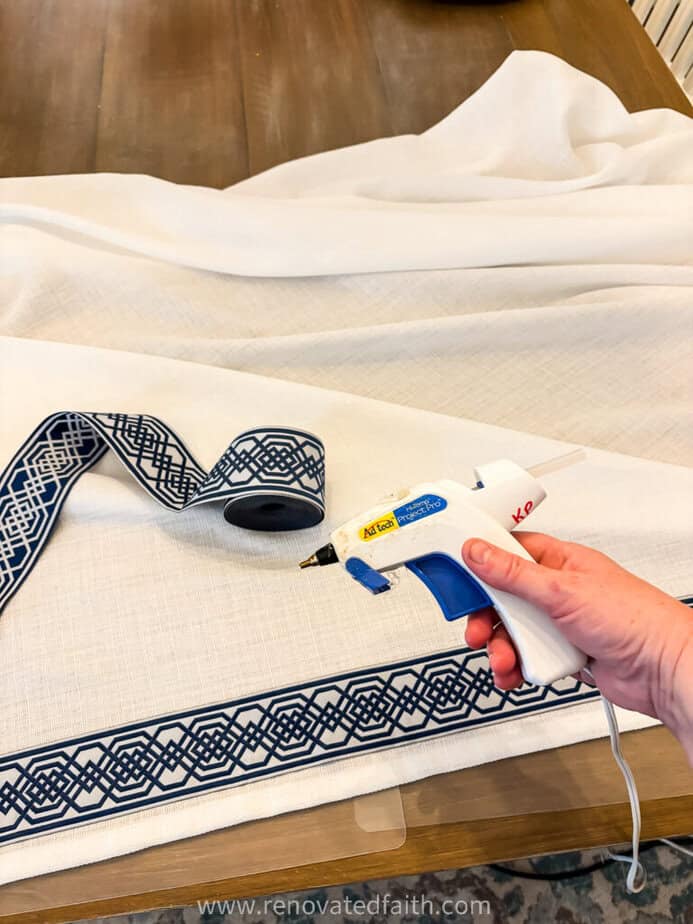
When you get to the end, glue the last couple of inches of ribbon on the back of the curtain.
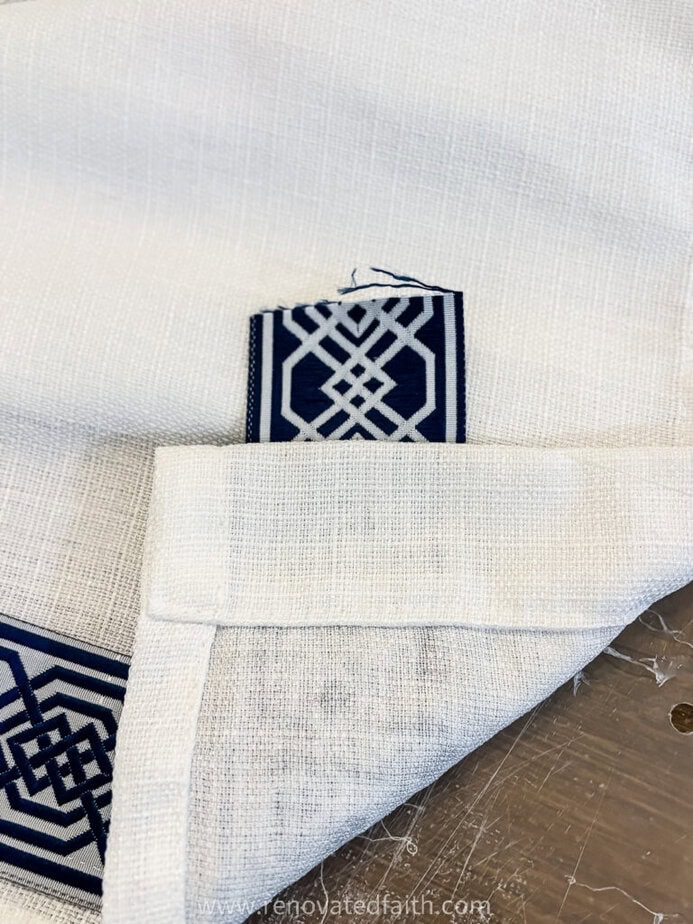
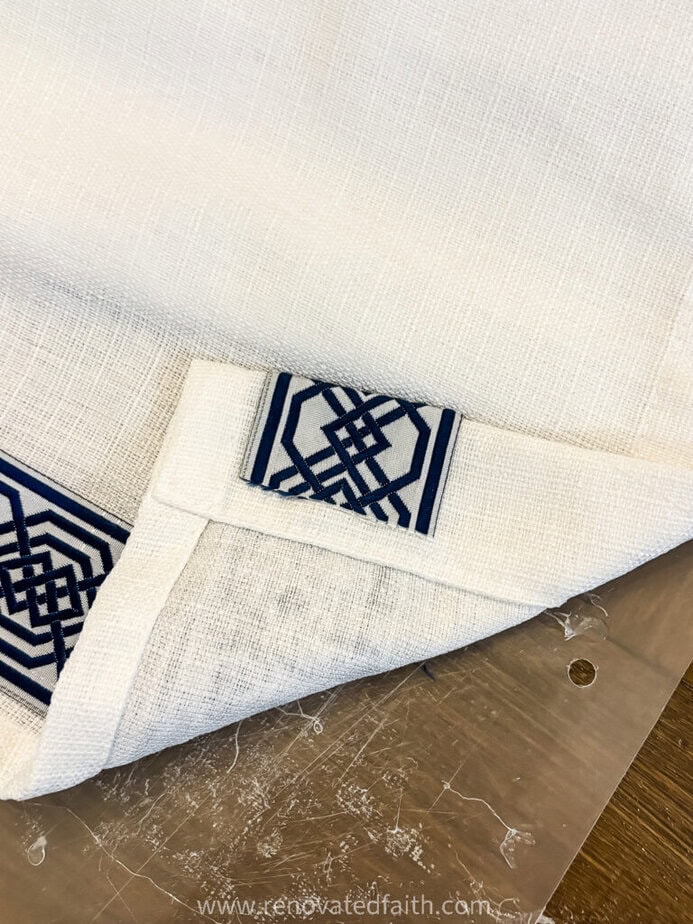
Step 3 – Hang Your Curtains!
Now that you are finished, hang up your curtains and enjoy their brand-new look!
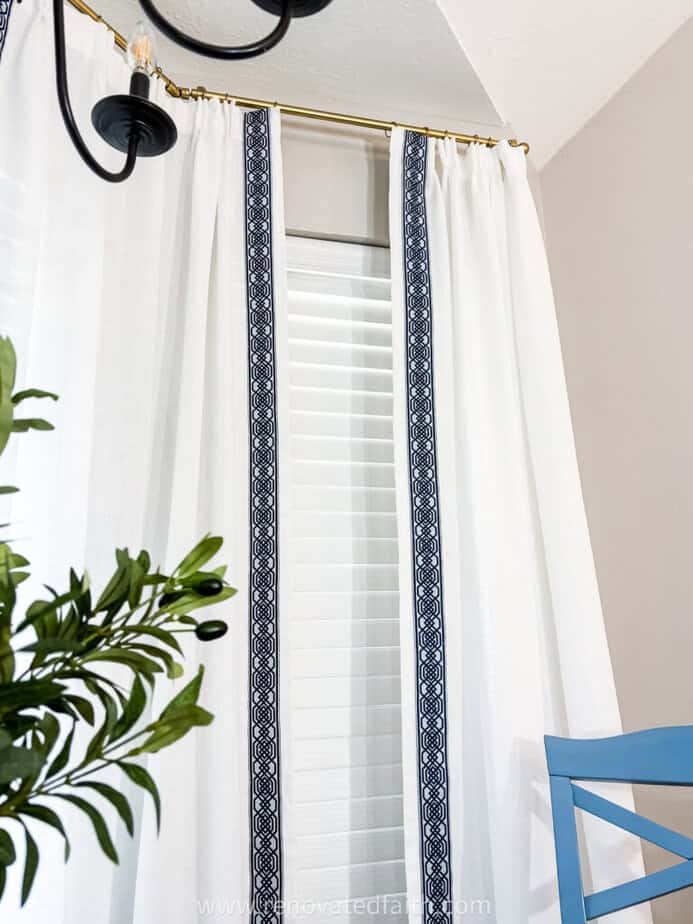
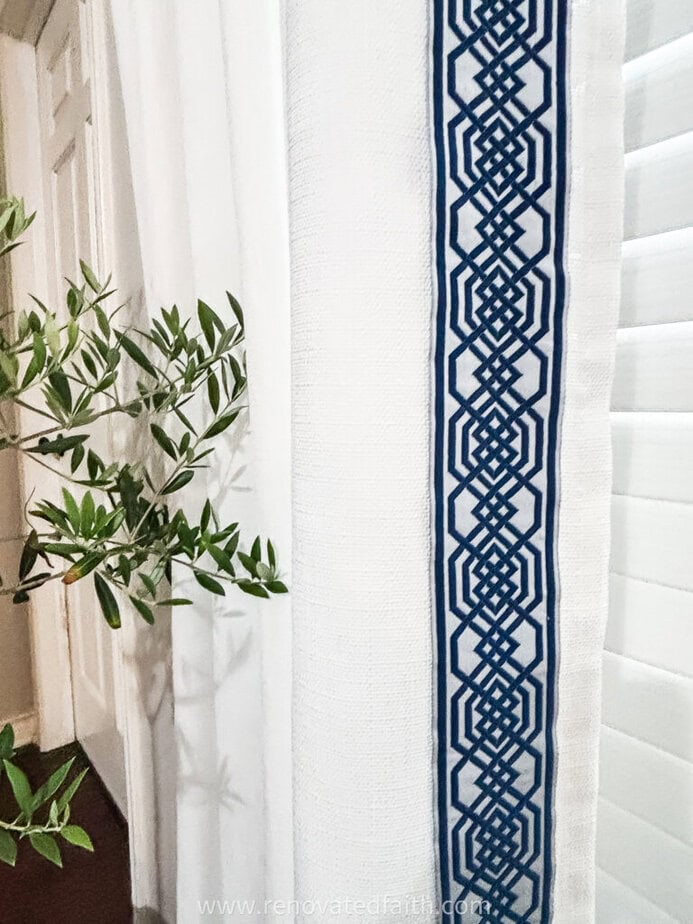
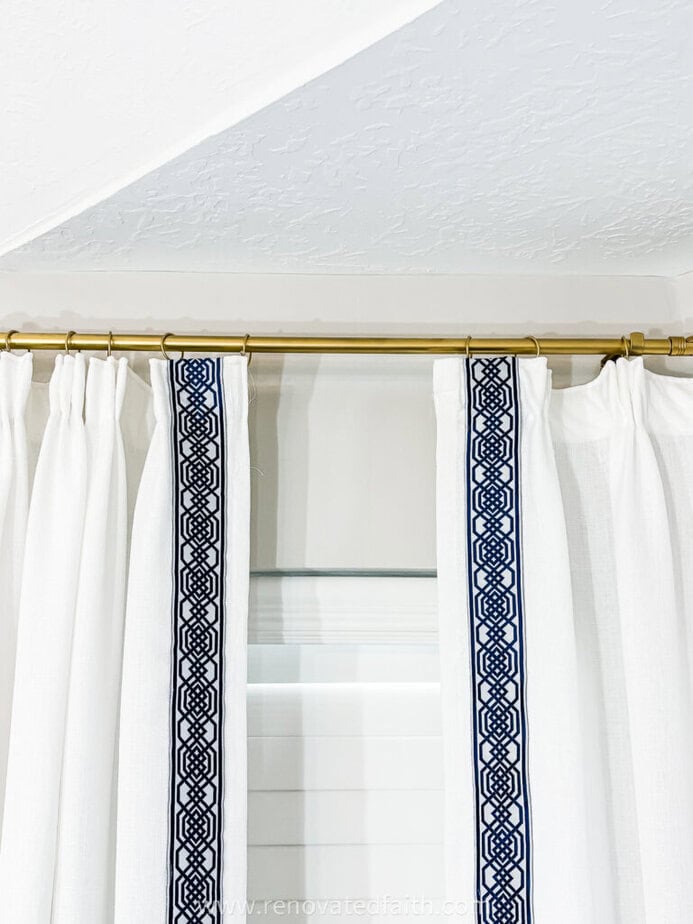
I like the light and airy look of white curtains but I like that the ribbon trim gives them just a small pop of color.
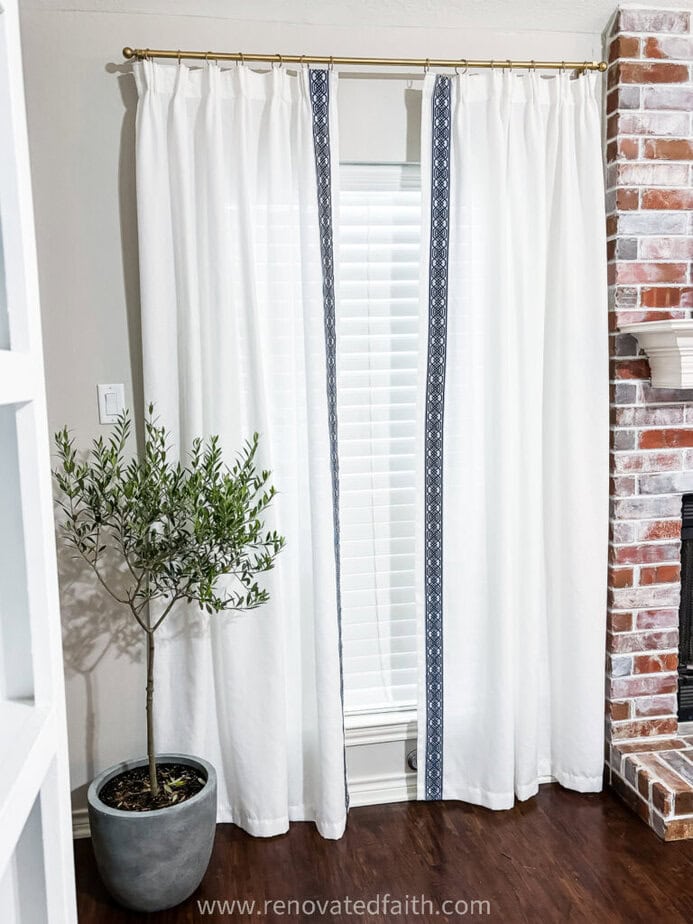
The navy pairs well with all of my navy and french blue decor. I like that it dresses up the curtains a little without making them look stuffy.
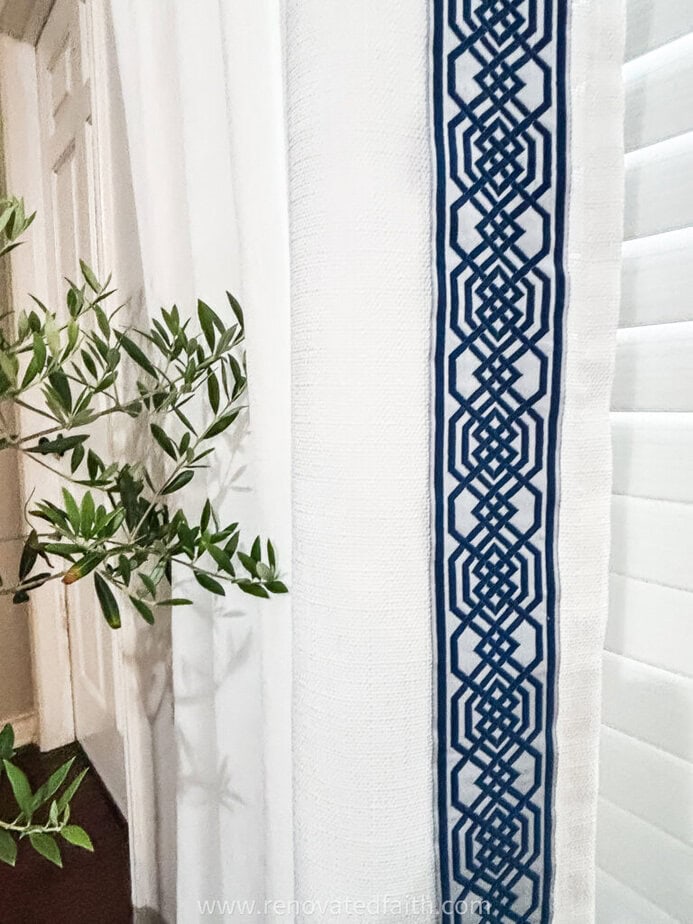
They look great with the curtain rods I painted gold. These curtain rods are actually made from $5 electrical conduit, and you can learn more about those tutorials here:
How to Make Custom Curtain Rods Out of Electrical Conduit | A Beginner’s Guide to Painting Curtain Rods
RENOVATE YOUR FAITH: Turn Your Eyes Upon Jesus
One morning I woke up to about 12 worries that laid heavy on my mind. They seemed to be waiting for me on my pillow as soon as my eyes opened. I took a deep breath and forced myself out of bed.
As I was standing in the kitchen getting breakfast, I heard the melody to a song in my head that I hadn’t heard in years. It took me a minute to recall the words, but when I did, they came across loud and clear…
“The things on earth will grow strangely dim, in light of His glory and grace.”
He knew how much I needed those words to push back my worries and doubts.
The rest of the day was calm and peaceful, and I was able to keep my focus on Him instead of my circumstances. Because in light of His glory and grace, my problems seemed so insignificant.
I continued to think of those words, and my attention landed upon the relationship between His glory and grace. What an amazing God we serve that He has both!
God’s glory is the “visible, radiant manifestation of His intrinsic beauty, character, and infinite worth.” It represents the sum of all of His good attributes like His holiness, love, and power. Because of the display of God’s glory, we know that He is MORE than capable of handling our problems.
God’s mercy is “God not giving us what we do deserve,” while God’s grace is “God giving us what we don’t deserve.” Every gift from God’s hand is laced with grace. It’s the icing on the cake – all the things that He loves to give us but never had to. God isn’t a plain white curtain kind of God. He loves us to trim our lives with His gifts.
He graces us with everything from His Holy Spirit, to the pets we cuddle, to our favorite dessert, and even the vivid colors all around us. None of these things are necessary, but He LOVES to give good things to His children.
Because of God’s glory and grace, not only does He have the power to take our burdens, but He deeply desires that we hand our problems over to Him. When we are armed with the truth of His grace and glory, our troubles lose their power, and we can turn our eyes upon Jesus.
Most of my projects include a corresponding devotional. For more spiritual encouragement, click here for the rest of my project posts that also include Renovate Your Faith devotionals.
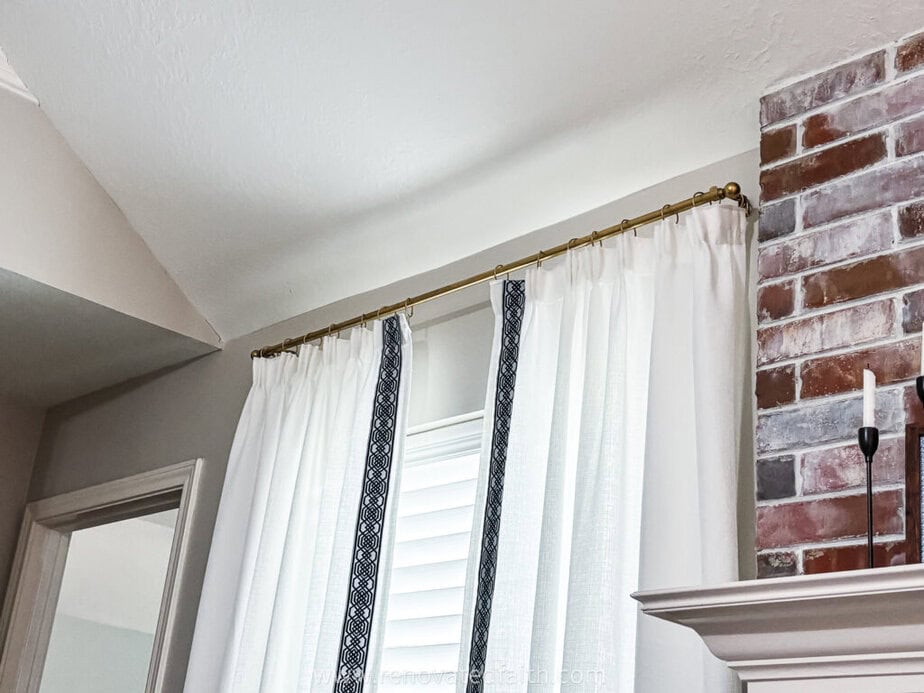
I am so happy with how my curtains turned out, and I saved a lot of money in the process!
More Posts Related to Adding Trim to Curtains
A Beginner’s Guide to Painting Furniture
How to Turn Acrylic Paint into Fabric Paint
How to Create a Home That Serves You (Free Room Planning Guide)
How to Paint Curtain Rods Gold (So They Look Store Bought!)
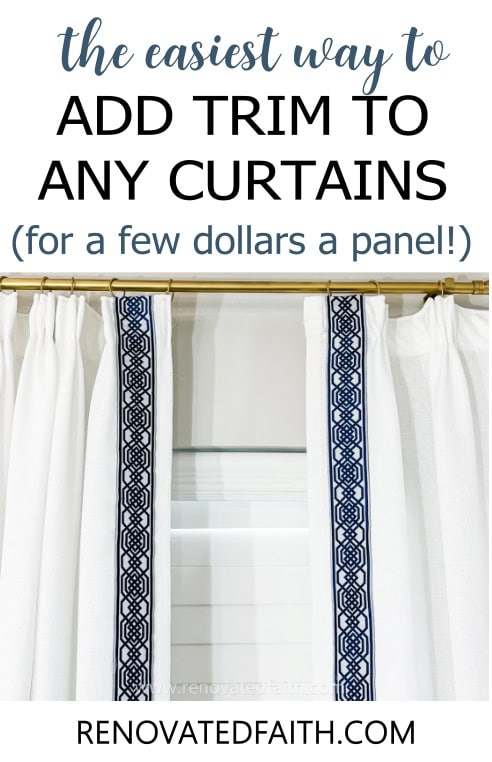
See how something as simple as adding trim to curtains can completely change the look of a room? It’s one of those small projects that gives you a big “wow, did you do that yourself?” moment for practically no money at all.
If you give this a try, I’d love to see how your curtains turn out — feel free to snap a photo and share it with me on social with one of the links below. And if you’re on the hunt for more easy, budget-friendly ways to upgrade your space, be sure to check out my post on how to spray paint curtain rods and other curtain-related posts next. Happy decorating, friends!
I love to hear your thoughts and questions! Scroll down to leave a comment and I WILL reply! ❤️
Blessings,

Be sure to follow the fun here!
Email Subscription | Instagram | Pinterest | Facebook | Twitter


Karin Peters is a DIY expert and the creator of Renovated Faith. She is a furniture painter, a home design consultant, and a tenacious problem solver determined to help you transform your house into a home. With 17 years of experience with DIY home improvement, she researches and analyses professional processes to adapt them to be easy and cost-effective for DIYers. She then tests every project and product before it appears on the site in a detailed, step-by-step format. After attending Texas A&M University, she received her Master of Divinity with Biblical Languages at Southwestern Baptist Theology Seminary. Her passions unite in Renovated Faith, which shows readers how to create a home that serves them so they can pursue their God-given purposes. About Renovated Faith | Editorial Policy | Facebook | Twitter | LinkedIn
Hi Karin,
Your curtains look beautiful with the trim. I’d like to try this but I am concerned about washing them with the trim on. Will it come off in the wash??
Thank you,
Kathy
I have some other curtains with ribbon trim at the bottom that I hot glued on and I was surprised that they did not come off after I washed them. I think just wash it in cold and put them in the dry on low. Thanks Kathy!