How to Make a Scroll Sign (No Cricut or Hand Lettering Skills Required!)
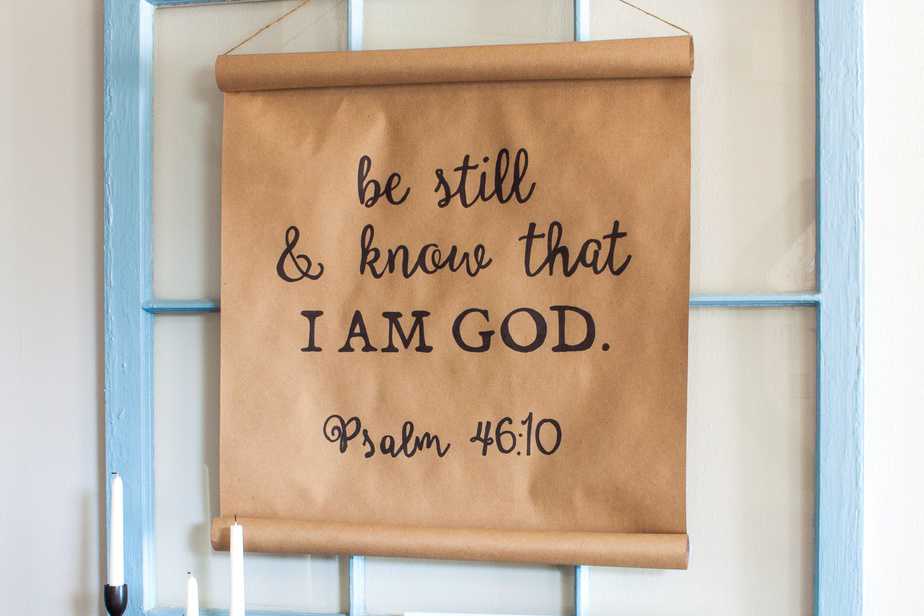
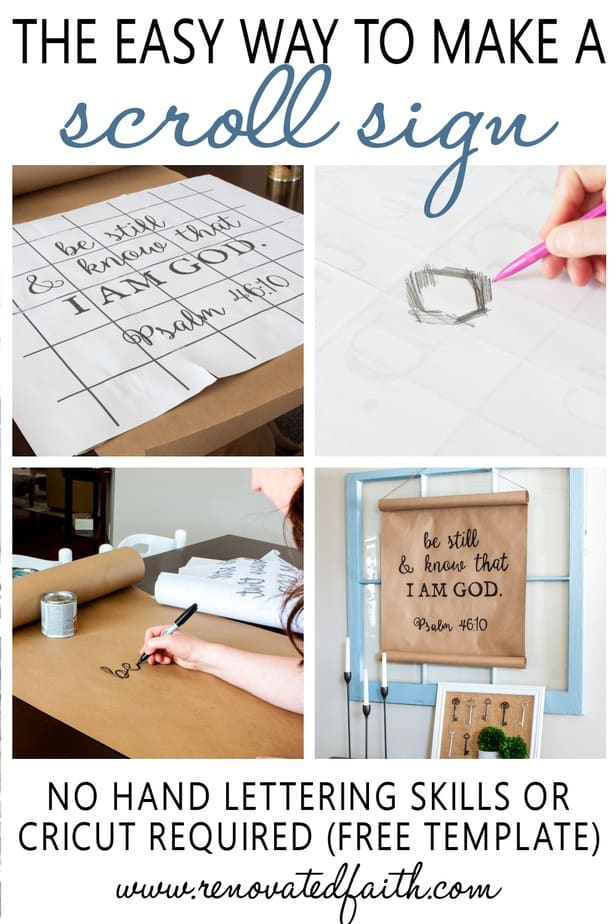
DIY Scroll Wall Decor in 5 Easy Steps
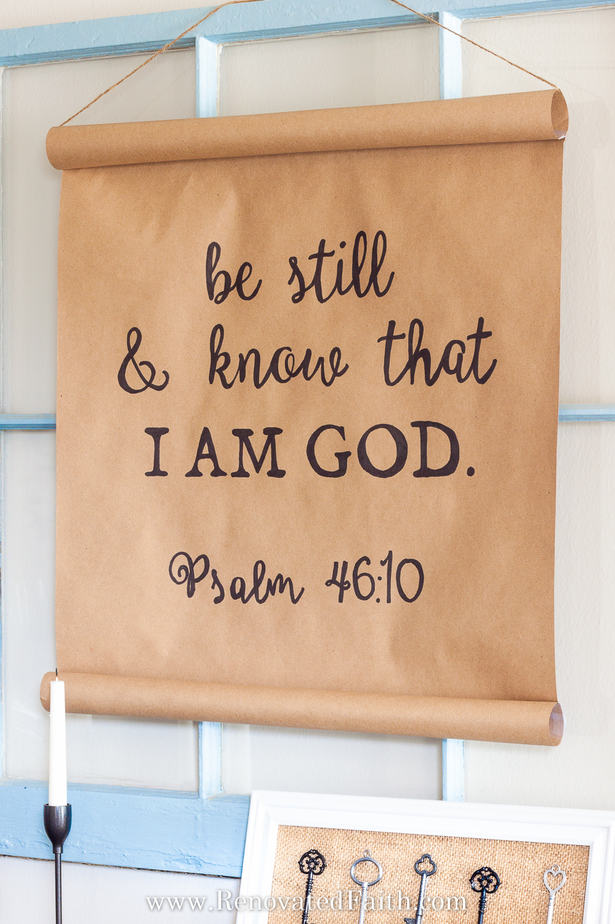
If you love the look of DIY scroll wall art but don’t have fancy handwriting or a Cricut, check out this tutorial on how to make a scroll sign the easy way!
Scroll wall decor has been popping up quite a bit lately but often times the wording is handwritten. I don’t know about you but, I couldn’t freehand a verse or quote if my life depended on it!
Fortunately, there is an easy work-around for this issue and I use this fool-proof transfer method on every sign I make now. I spent a whopping $5 on my scroll sign and love the way it turned out!
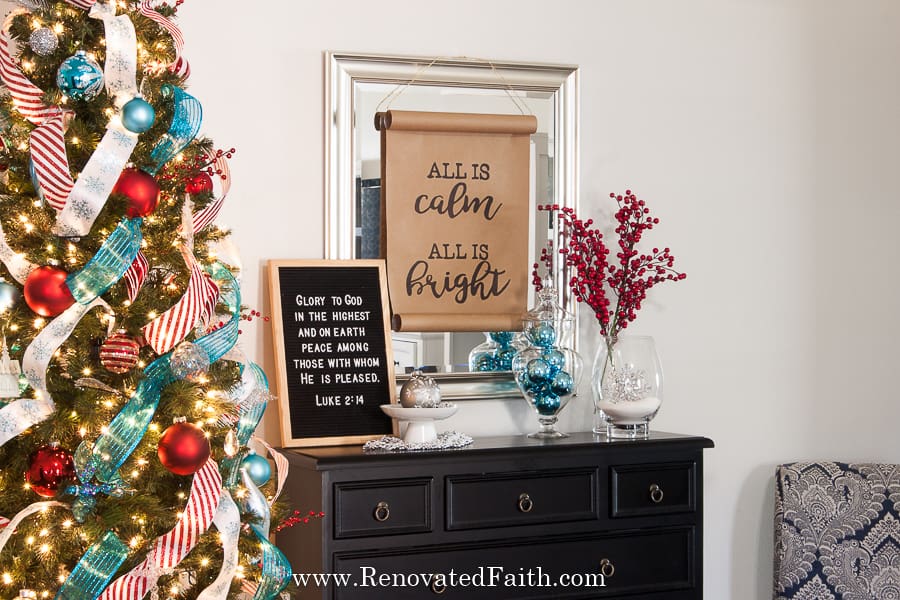
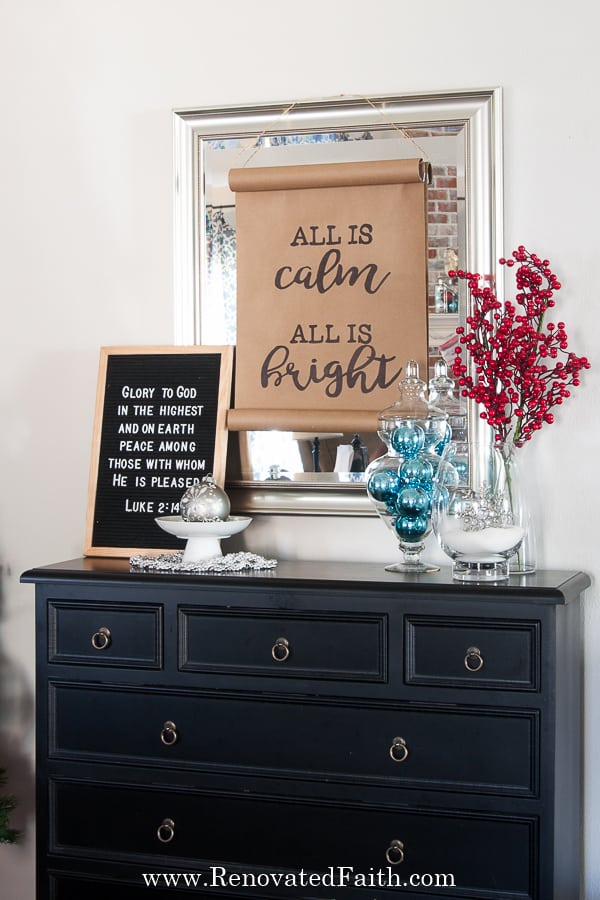
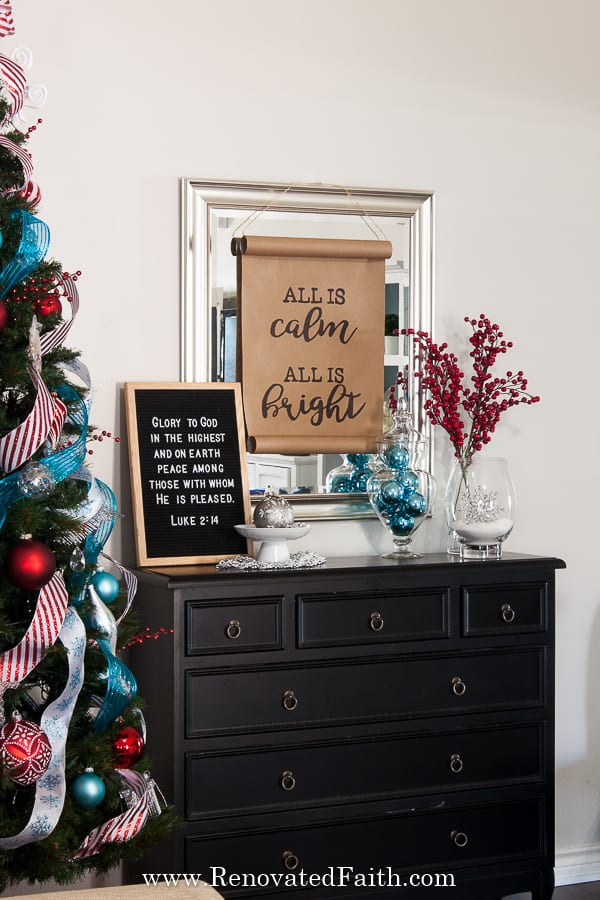
Christmas Kraft Paper Wall Decor
You can also make your own Christmas wall art with this free template. You can find the link in the instructions below.
How to Make a Kraft Paper Scroll – Supplies Needed:
You probably already own several of the items on this list. I only had to buy the kraft paper for this project, so I only paid $4.97 for the entire project. If only every project was this inexpensive!
Kraft Paper
Sharpies
Pencil
Scotch Tape
White Copy Paper
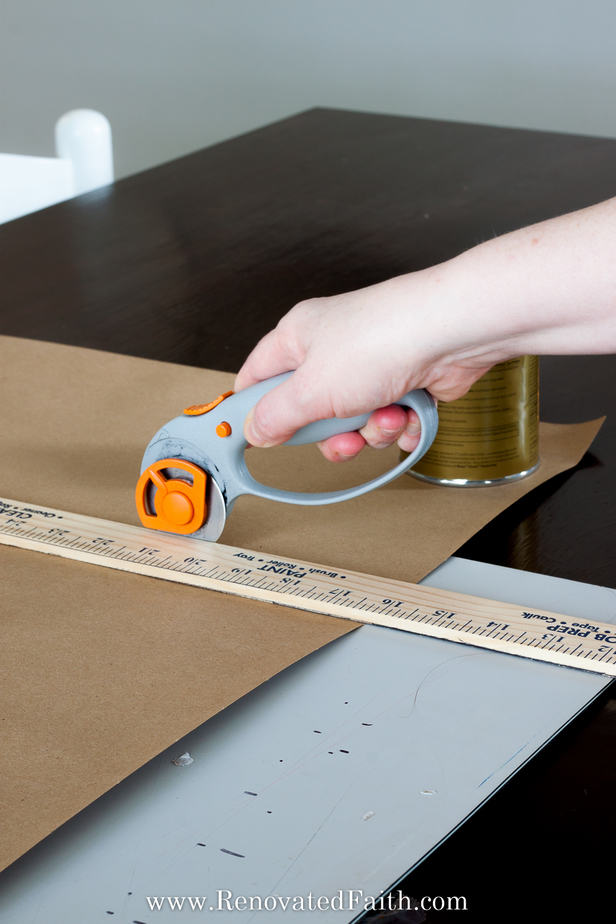
Rotary Cutter
Jute Twine
How to Make a Brown Paper Scroll into Wall Art – The Process:
Step 1: How to Make a Paper Sign the Best Size for Your Decor
The kraft paper I bought was 30″ wide but you can make your paper scroll decor any width you want to match your space.
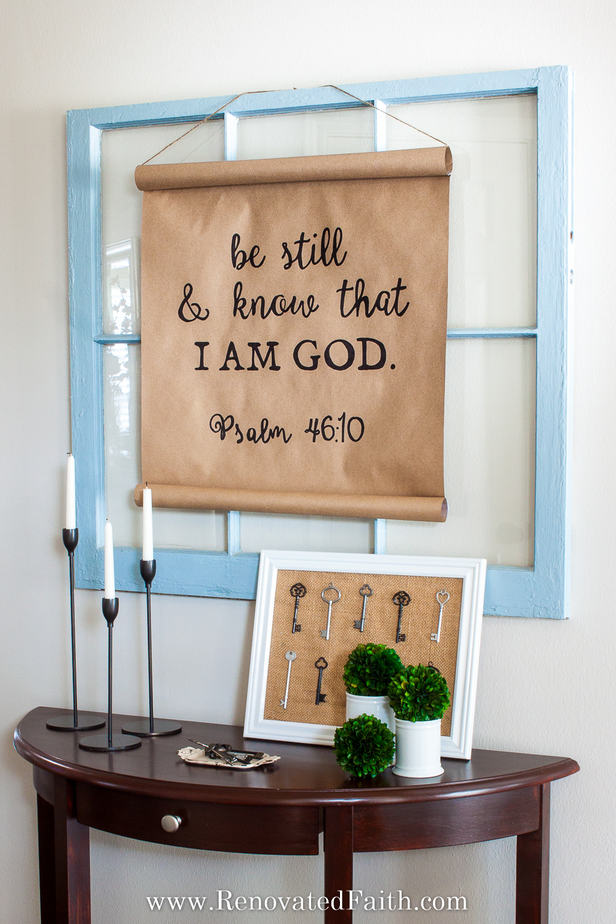
For example, I wanted mine to be about 21″ wide to go over my blue vintage window that was already hanging.
Trace a straight line and then use your rotary cutter up against the ruler or a straight edge as you cut. Be sure to leave about 8-12 extra inches on the top and bottom to have extra paper to work with when you curl up the ends.
Step 2: How to Make a Craft Paper Scroll with a Template
You have two options for making your template. You can use my free download of the Be Still and Know Template by subscribing here: Be Still and Know (Psalm 46:10) Scroll Template See the print instructions further down.
OR you can make your own using the instructions below!
How to Add Your Own Verse or Quote to Your DIY Scroll Wall Decor
- Make your template using a free program called Photoscape which you can download here: Photoscape X. Just click on the Windows or Mac option. Then, it takes you to a screen where you have the option for the Free Trial, which is all you need. (The Photoscape Free Trial lasts forever).
- To save you a step, download the blank template by subscribing HERE or if you want the same verse (Be Still and Know…) and layout, you are welcome to my template by subscribing here: Be Still and Know (Psalm 46:10 Template)
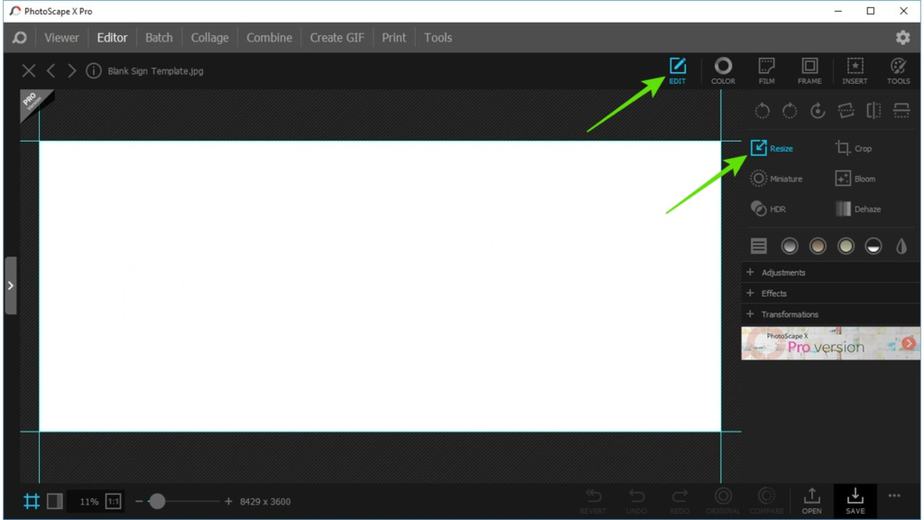
- Download the blank template on your computer and upload it into Photoscape by clicking “Editor” at the top left and by opening the file on the left-hand side.
- Click Edit at the top right and Resize just under it. We are doing this to set the template to the actual size of our paper scroll (the uncurled portion).
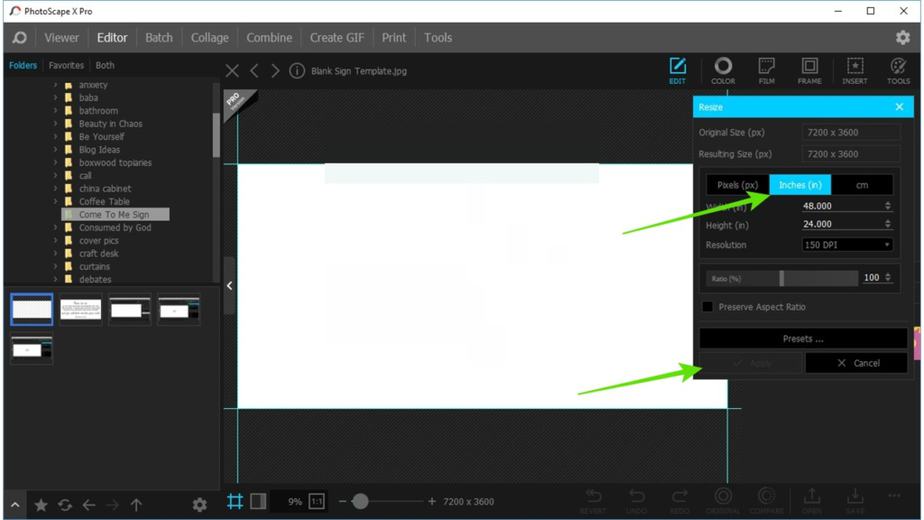
- Resize your sign template by clicking the “Inches” option and entering the size of your sign in inches. Click “Apply”. (You might have to un-check Preserve Aspect Ratio.)
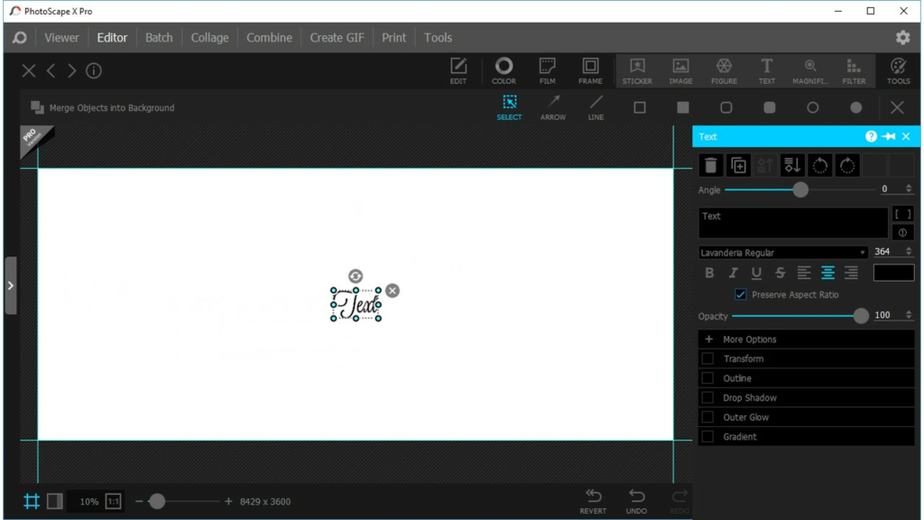
- Now start working on your layout by selecting “Insert” at the top right and then “Text” to the right of that. Insert your wording. Click “Apply” when done and click Save at the bottom right.
- If you don’t like the fonts on your computer, you can some great ones at this site: Free Hand Lettered Fonts Just be sure to close out Photoscape and reopen it so the fonts will appear in the font option window.
- After you design your template file, save it as a jpg.
- Convert your jpg file to a pdf for free by going to zamzar.com. (The file has to be a pdf file to open it in Adobe Reader, which allows you to print the poster format). Just upload your file and select that you want a pdf and it will email you the new file. Easy Peasy!
- Go to Adobe Acrobat Reader (I promise this is the last program) and open the pdf version of your scroll sign there. (Download Acrobat HERE if you don’t already have it.) Click on the print menu and click on Poster under Page Sizing and Handling and it will set up your sign to print separate pages. Now, you can print it!
How to Use the FREE Be Still and Know (Psalm 46:10) Template for Your Scroll Sign
- Download the free template by subscribing here: Be Still and Know Scroll Sign
- Open the file in Adobe Acrobat Reader. (Download Acrobat HERE if you don’t already have it.) Click on the print menu and click on “Poster” under Page Sizing and Handling and it will set up your sign to print separate pages. Now, you can print it!
- Cut your sign to 21″ x 21″(uncurled portion) for this template.
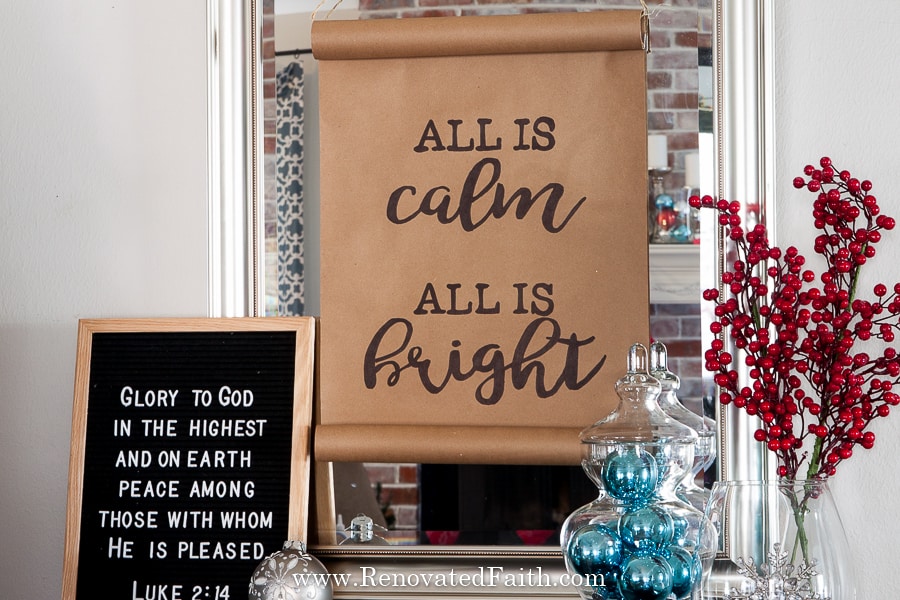
How to Use the FREE All is Calm, All is Bright Christmas Template for Your Scroll Sign
- Download the free template by subscribing here: All is Calm, All is Bright Template
- Open the file in Adobe Acrobat Reader. (Download Acrobat HERE if you don’t already have it.) Click on the print menu and click on “Poster” under Page Sizing and Handling and it will set up your sign to print separate pages. Now, you can print!
- Cut your sign to 16″ x 16″(uncurled portion) for this template.
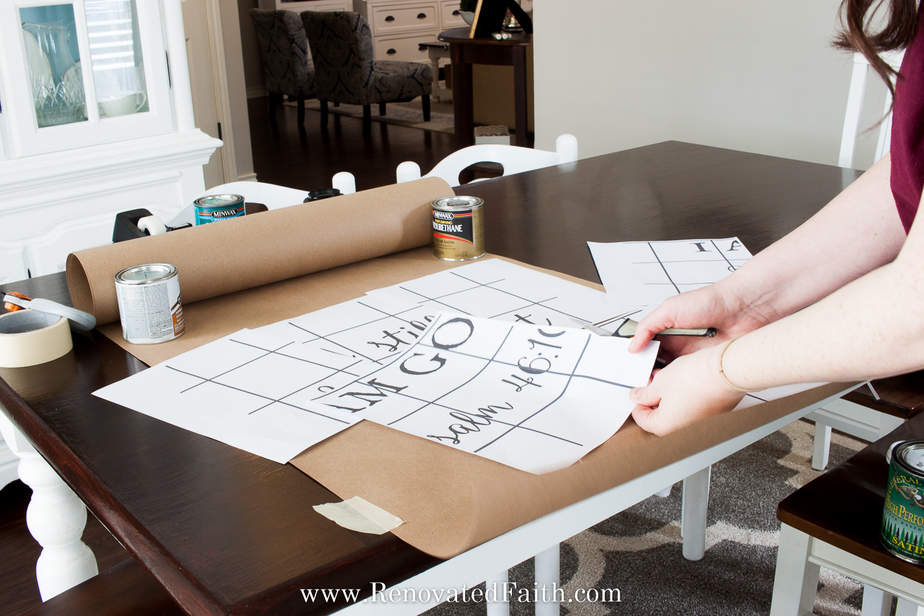
Once they are printed, now cut the TOP and RIGHT sides of each piece of paper with scissors or a paper cutter. (Cut off right where you can see the ink stop.)
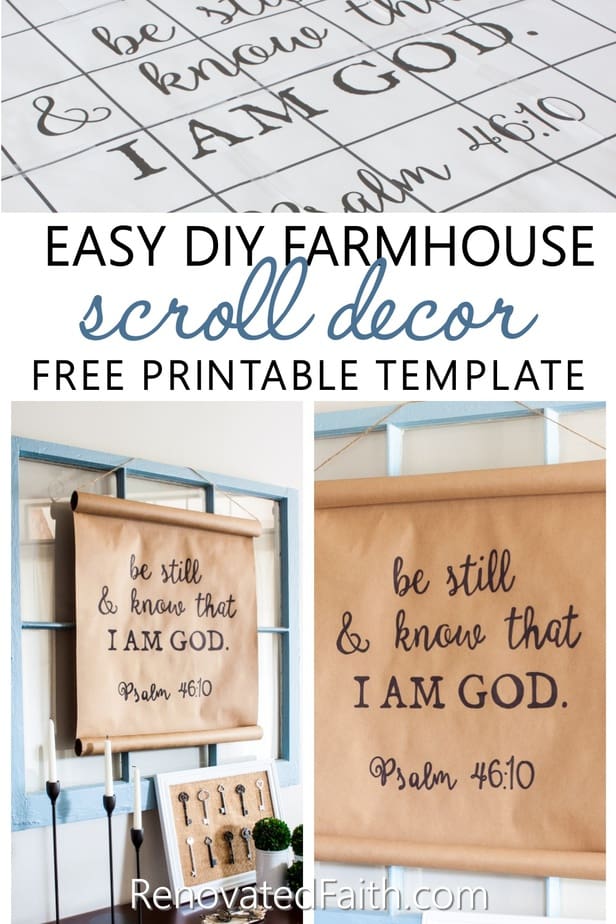
Now tape each piece together, lining up the lines and text. (The free template has lines solely to line up the sheets of paper. You won’t trace this part.)
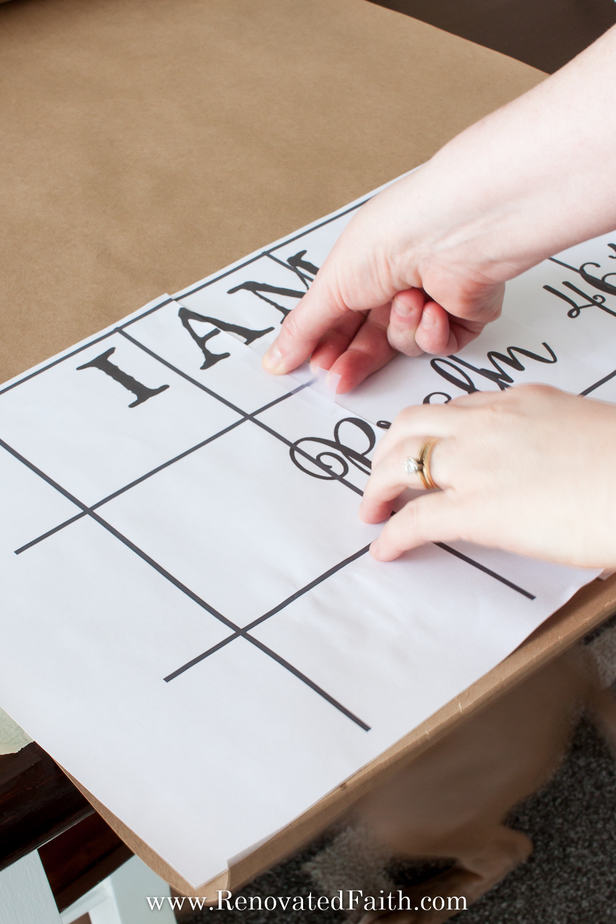
Step 3: How to Transfer an Image to Your DIY Craft Paper Scroll
After you have taped together your template, flip it over and shade over the backs of the letters. You will be able to see them through the copy paper. (Ignore the lines.)
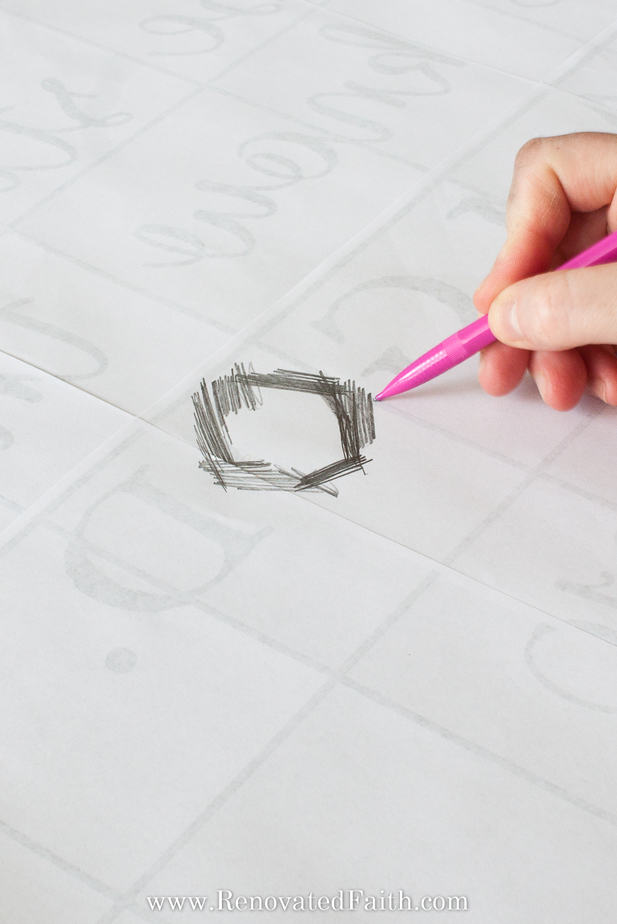
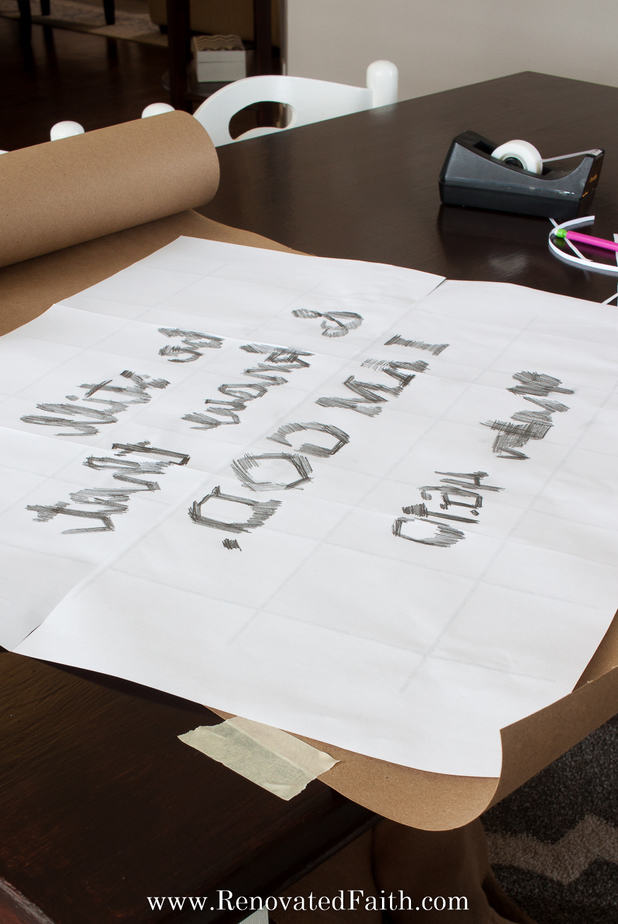
When you’re done, flip the paper right side up and line it up as straight as possible on top of your sign. You can tape it to the kraft paper with painter’s tape so it stays in place.
Now use a pen or pencil and just trace the outside of the letters while pressing down pretty hard. The pencil lead will transfer to the kraft paper.
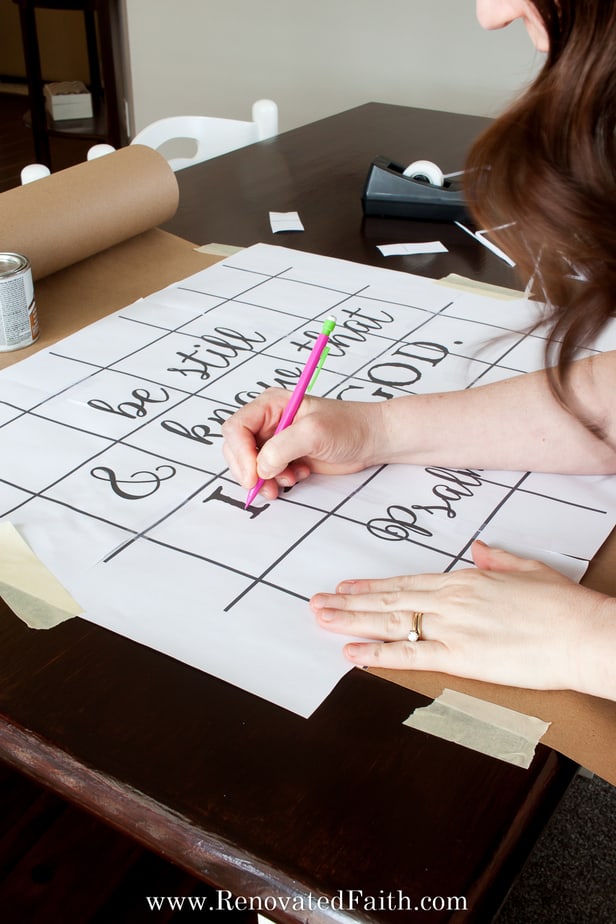
If the outline isn’t very dark, that’s fine. You just want it dark enough that you can see it to trace with the sharpie.
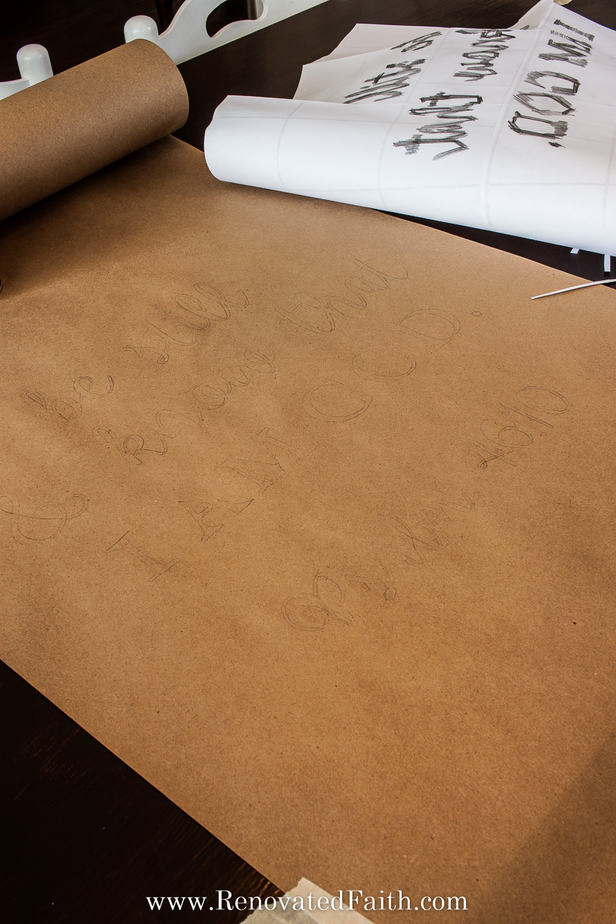
Step 4: How to Make A Scroll With Just Paper and a Sharpie
Pull up the template and now you can start to fill in the letters on the scroll sign with a black sharpie. I like to outline the outside edge and then go in and fill in the rest, one letter at a time.
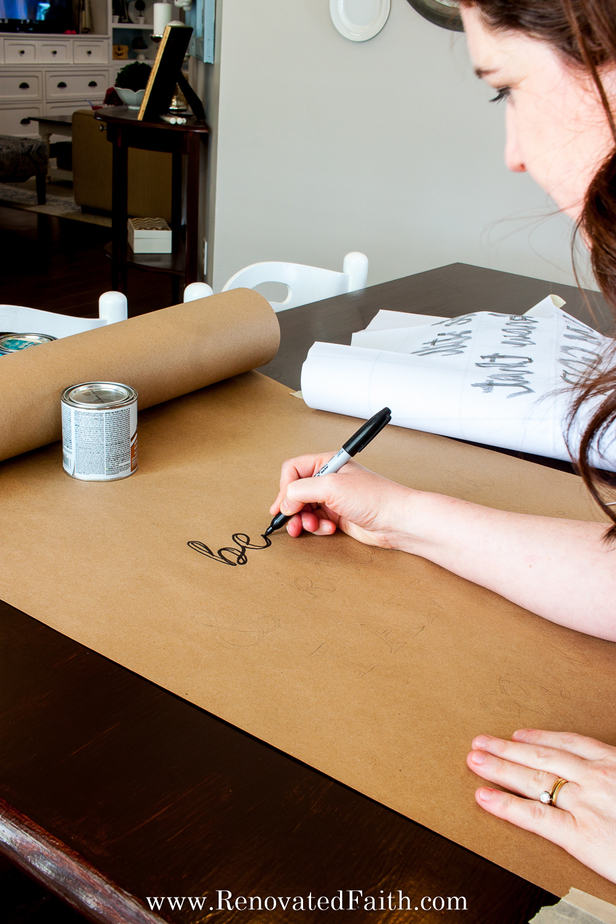
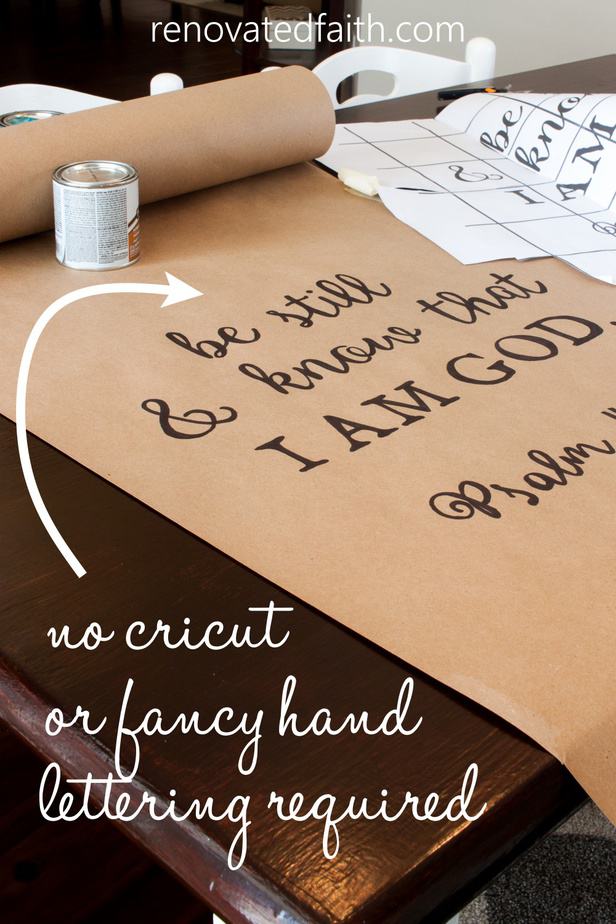
Step 5: Final Touches on Your Paper Scroll Wall Decor
Now, curl up the ends and secure them with scotch tape at each end.
To hand the paper scroll sign, I just ran the jute through the top roll and attached it with a flat thumbtack to the top of my blue window.
Now stand back and admire your beautiful artwork!!!
DON’T FORGET TO TAKE A PICTURE OF YOUR PAPER SCROLL DECOR!
Now that you are done, I’d love to see how it turned out! Post your photos here!
Renovate Your Faith: HOw To Be Still And Know That He is God
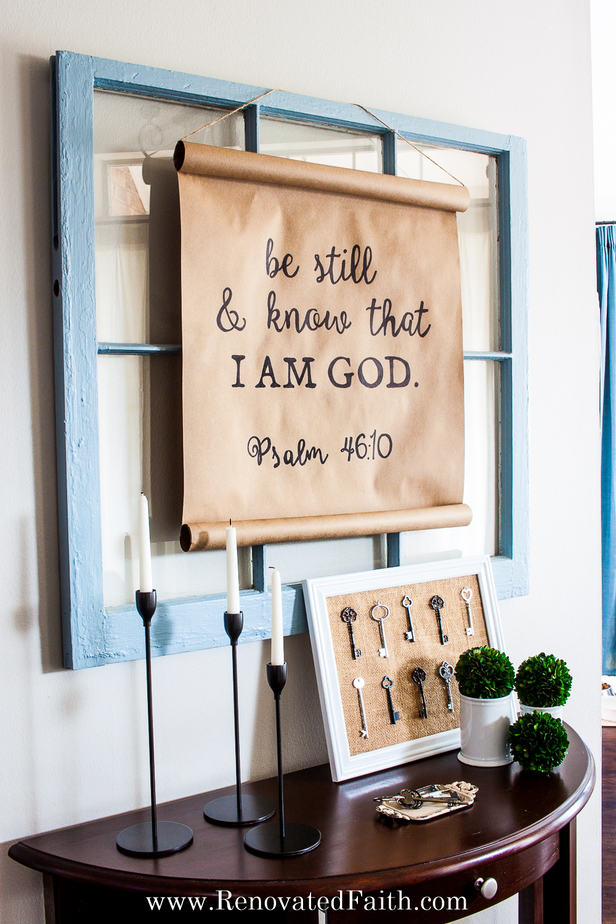
Soon after hanging the sign, I walked through the entry way into our dining room with dozens of anxious thoughts swirling through my head all concerning my daughter’s dyslexia and the horrible school year we’ve had. It was right then that my daughter noticed the sign for the first time and read aloud “Be Still and Know that I am God”.
My intention was to sit in the dining room with the sun streaming through the windows to work on the outline for this very post. But her sweet voice reminded me that what I needed most was to bask in the message of the words on the sign itself.
More Posts Related to How to Make A Scroll Sign:
- How to Refinish Furniture That’s Been Chalk Painted (Console Table Reveal)
- DIY Farmhouse Sign the Easy Way
- EASY Cotton Wreath for Less than $10
- DIY Windmill Wall Art from Ceiling Fan Blades
- How to Overcome Anxiety and Worry
Farmhouse Scrolls on Etsy
If you don’t have time to make a scroll sign, there are several options for farmhouse signs on Etsy. Just click here: Farmhouse Paper Scroll Signs
FAQ’s on DIY Hanging Paper Scrolls:
What if my DIY Paper Scroll Sign is Crinkly?
We’ve had a lot of rain lately, and I wondered if the humidity would just make my craft paper sign crinkle up. The more I looked at farmhouse scrolls online, the more I realized they are all crinkly and it just contributes to that farmhouse look.
That’s what I love about farmhouse decor. It definitely embraces imperfection and who couldn’t use more of that attitude in life?!?
If you absolutely don’t want the paper to crinkle, you can glue a stained strip of wood to the top and bottom like this scroll wall decor here: Paper Scroll Sign
Can I Make My Scroll Wall Art with Butcher Paper?
If you have butcher paper already on hand to make your scroll sign, then use that! More commonly butcher paper has a red hue but if you find some that is brown, that would be a great option for your DIY scroll wall art!
For tips on hanging gallery wall art, be sure to check out this post: How to Hang Pictures Evenly (in Half The Time!)
How to Make a Paper Scroll Sign with Vinyl
If you do have a Cricut or silhouette, here is an easy tutorial on how to make a scroll sign with vinyl:
Final Thoughts on Paper Scroll Art
As you can see, this wall art is more than just a cute inexpensive project, but it’s a wonderful reminder of a verse that is near and dear to my heart. As life can be full of trials and hardship, it’s important to remember that there is one thing that never changes. No matter what you have to endure, God can be your mighty fortress in the storms of life if you trust in Him. Now, go grab your kraft paper and start working on your own encouraging scroll wall art!
If you want to save this post for later, pin it here:
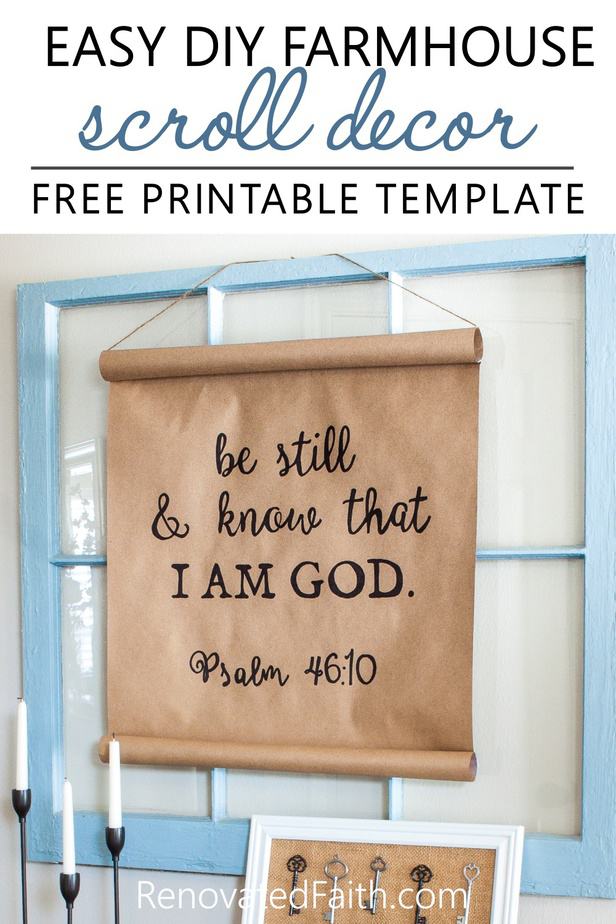
What are your thoughts, my friend? Do you think this project was worth it? What verse or quote would you add to your DIY scroll sign? I would love to hear your thoughts! Scroll down to leave a comment and I WILL reply! ❤️
Blessings,

Be sure to follow the fun here!
Email Subscription | Instagram | Pinterest | Facebook | Twitter
[toc]
How to Make a DIY Craft Paper Scroll

Karin Peters is a DIY expert and the creator of Renovated Faith. She is a furniture painter, a home design consultant, and a tenacious problem solver determined to help you transform your house into a home. With 17 years of experience with DIY home improvement, she researches and analyses professional processes to adapt them to be easy and cost-effective for DIYers. She then tests every project and product before it appears on the site in a detailed, step-by-step format. After attending Texas A&M University, she received her Master of Divinity with Biblical Languages at Southwestern Baptist Theology Seminary. Her passions unite in Renovated Faith, which shows readers how to create a home that serves them so they can pursue their God-given purposes. About Renovated Faith | Editorial Policy | Facebook | Twitter | LinkedIn

Thank you so much for writing this devotional. I needed it so much today!!!
Lisa, I’m so glad to hear it was helpful! Thanks for taking the time to comment!
Thank you for this post and all the others you create. I love the Printables you make as I need (want) God’s word around me as a constant reminder in this world of strife. You do a beautiful job of sharing God’s word and I find it so encouraging.
Thank you so much Nancy! I really appreciate that. I need God’s Word around me on a constant basis too! Have a great day!