Give an Outdated Nativity Set a Stunning Makeover (Works With Christmas Villages, Too!)
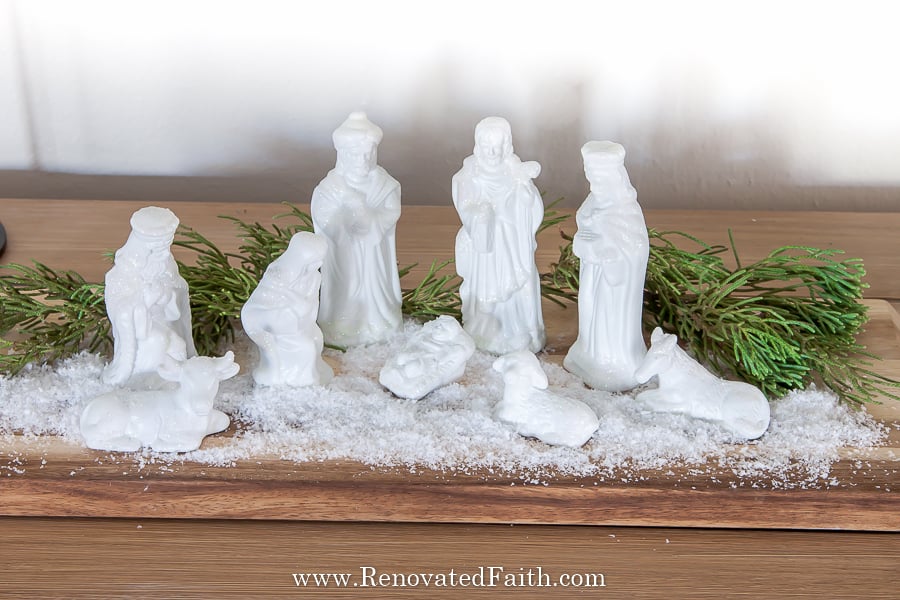
How To Upgrade An Old Nativity Set With Spray Paint
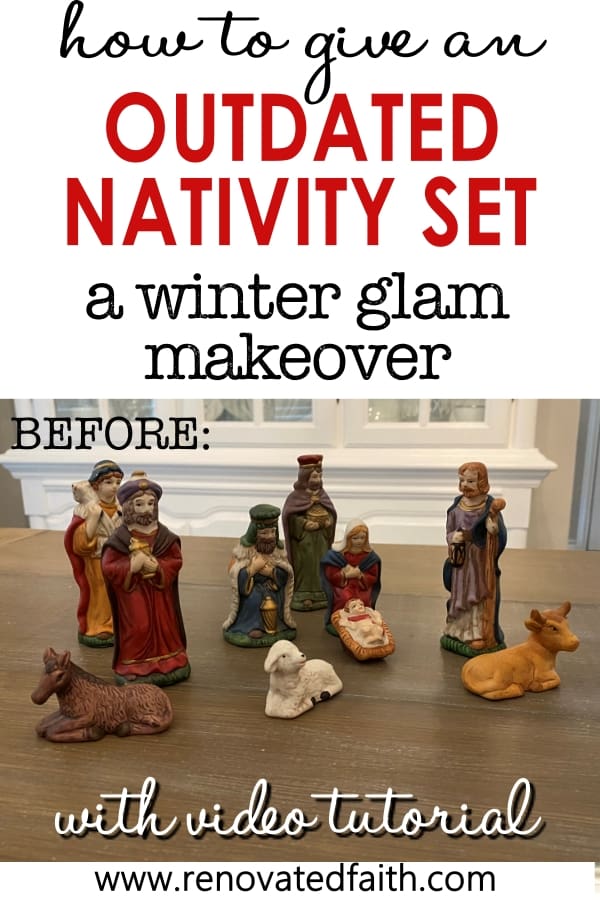
Is your nativity set? Whether a family heirloom or a Dollar Store find, this easy, step-by-step tutorial will show you how to do your own vintage nativity scene makeover in 2 simple steps! I’ll also show you how to update your Christmas village with the same process.
The process of unboxing the nativity set was almost ceremonial as a child. The beautiful white porcelain nativity set always adorned the center of our coffee table. The family nativity display would rest on a beautiful piece of blue velvet with the edges tucked underneath, almost making a nest for the figurines as they put their full attention on Christ.
When I picture a nativity set I picture white porcelain and decided to look at options online. White porcelain nativity sets are pretty pricey, I remembered from my experiments on spray painting glass white that I can create the exact same look with a thrift store nativity set!
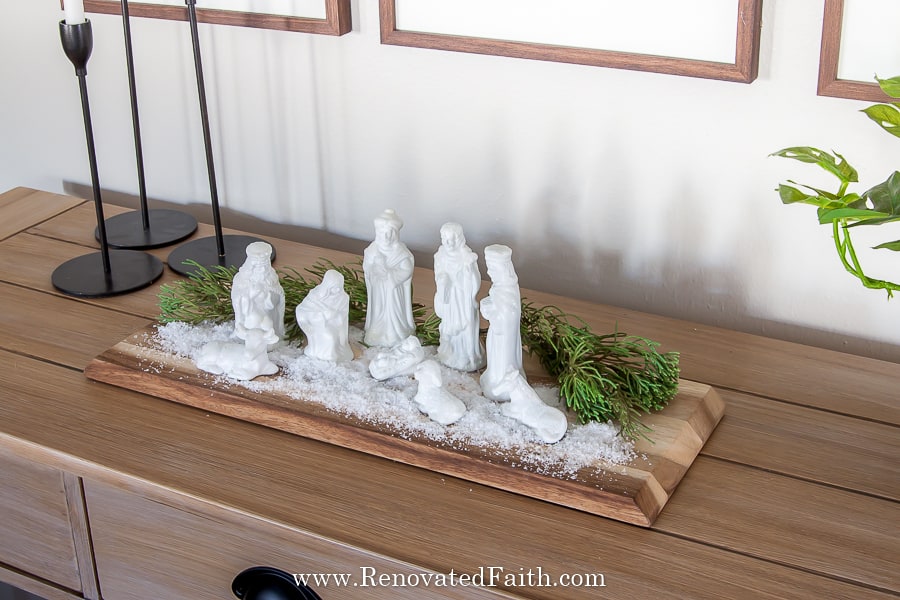
So, I got a super cheap, outdated nativity scene and gave it a whole new look in this tutorial! This saved me a ton of money and I could customize it to the precise look I wanted!
Maybe you have a family nativity set that stays boxed up each Christmas because it doesn’t go well with your modern decor. Why not give the same meaningful heirloom a whole new look you can be proud of? Giving it a makeover and actually using it is such a better alternative to it collecting dust in your attic every Christmas season.
NEW – How To Update a Christmas Village with Spray Paint
After writing this post about updating my nativity set, one thing lead to another (as DIY projects often do) and I did the same process to my childhood Christmas village. These little houses have some sentimental value to me because they were a winter fundraiser when I was in high school band. I had some fun memories in band (if you’re a band nerd too, you get it) and we would light these little houses every year and put tea lights in them.
I am so proud of their new look and they work great with battery-powered LED tea lights! See the reveal at the bottom of this post!
Quick Links to Information in this Post
- 1 How To Upgrade An Old Nativity Set With Spray Paint
- 2 NEW – How To Update a Christmas Village with Spray Paint
- 3 How to Spray Paint Over A Multi-Colored Nativity Set
- 4 Supplies Needed: Vintage Nativity Scene Makeover
- 5 Vintage Nativity Scene Makeover and Tutorial
- 6 RENOVATE YOUR FAITH: Finding Your Center
- 7
- 8 FREE Must-Have Spray Painting Tricks & Tips
- 9 Updated Christmas Village with White Spray Paint – The Reveal
- 10 More Posts Related to How To Upgrade An Outdated Nativity Scene With Spray Paint
- 11 Final Thoughts on This Easy Fix for An Outdated Nativity Scene
- 12 Spray Painted Dollar Store Nativity Set
How to Spray Paint Over A Multi-Colored Nativity Set
Anything can be spray painted and I mean ANYTHING – plastic, metal, stone, glass, you name it! However, some surfaces are harder to spray paint than others. Glass and ceramics can be spray painted, but it’s important to spray in several very light coats to avoid drips. I’ve done it dozens of times and this is all the key for a flawless finish (The Best Spray Paints for Glass, 2020).
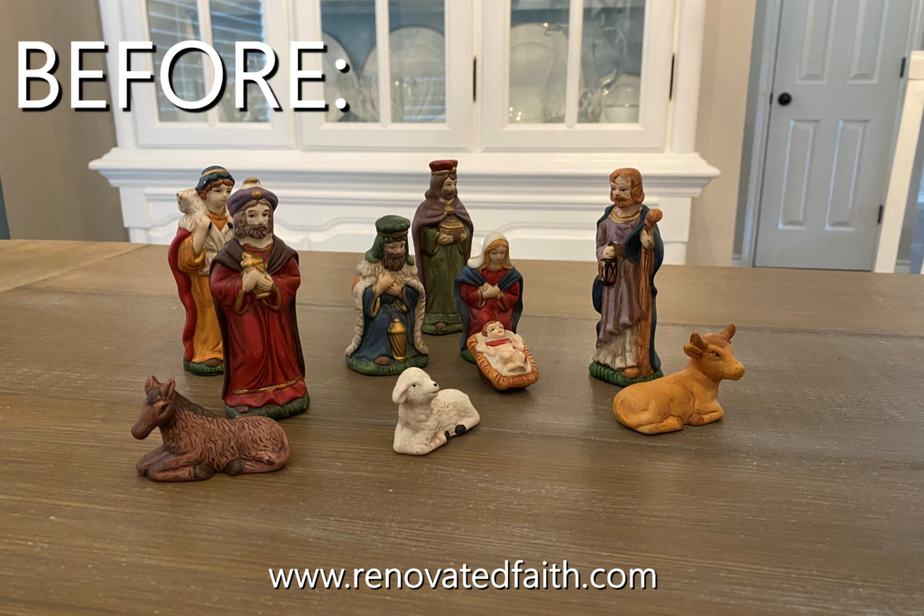
If your nativity scene is multi-colored, that is perfectly fine. Just as mine starts out in lots of deep reds, greens, and blues, the white spray paint can cover over any shade no matter how dark. It might just take a few coats.
Your main consideration for spray painting a nativity set is the surface texture. No matter if it is glass, ceramic, or porcelain, you just need a smooth surface to create the look we are going for.
Don’t forget to get your free printable on how to update the look of your tree without getting all new decor: The EASIEST Way to Flock a Christmas Tree!
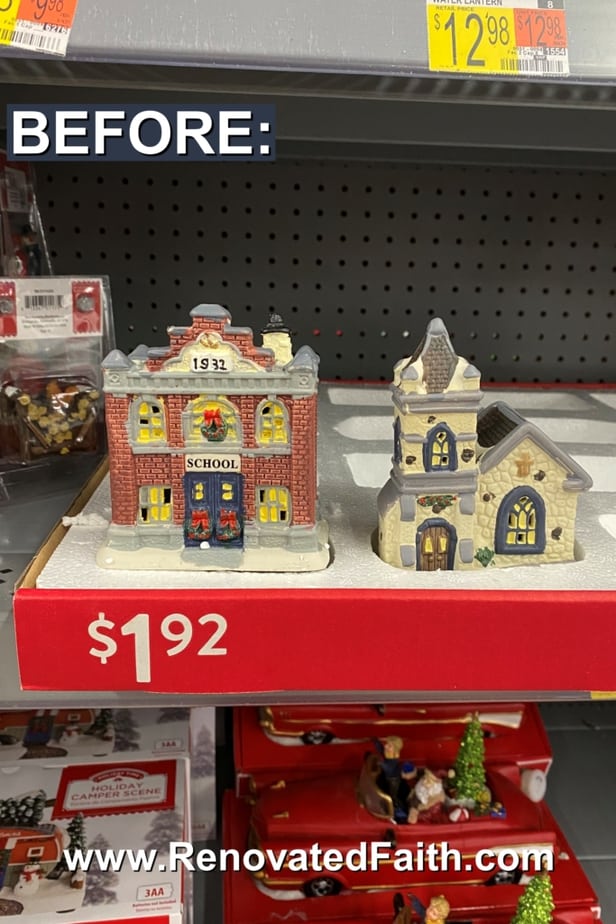
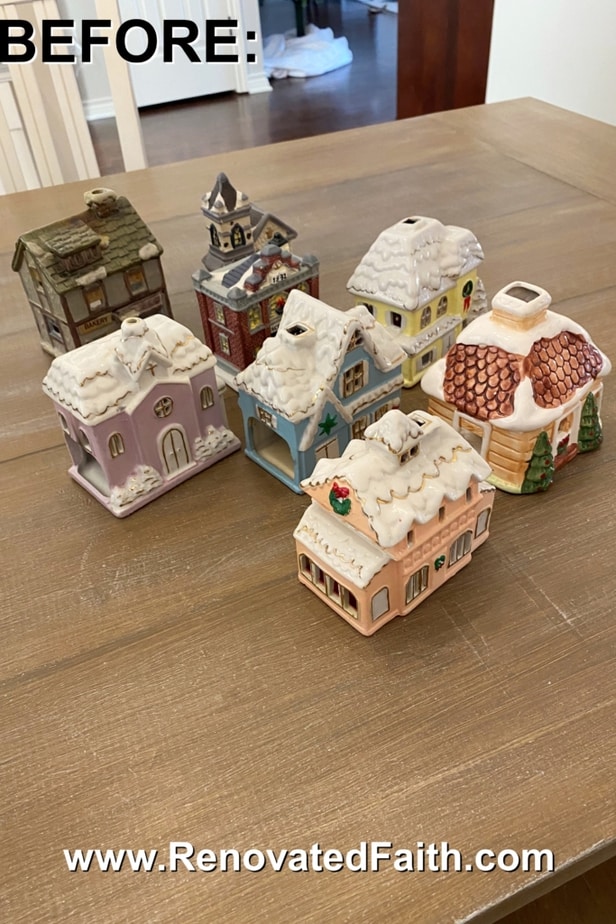
I got a couple of the Christmas village figures at Walmart and most of the ones below are over 25 years old!
Supplies Needed: Vintage Nativity Scene Makeover
Rustoleum Universal Spray Paint in White Satin
Mod Podge
Small Art Brush
Clear Glitter, Extra-Fine
Paper Plate or Newspaper
RELATED: My Best Spray Painting Hacks (Before and After Home Decor Makeovers with Spray Paint)
Vintage Nativity Scene Makeover and Tutorial
Here is a full step-by-step video showing how to spray paint a vintage nativity set from start to finish:
Step 1: How To Spray Paint a Nativity Scene
Stop! Before you do anything…take a before pic. When you are done, post the before and after shots on Instagram and tag me @renovatedfaith, so I can see the amazing work you’ve done! ❤️
To spray paint your vintage nativity set, you want to find a well-ventilated area and something flat like a box to put the figurines on. I used a piece of egg crate that I got from a home improvement store. It has served me well for spray painting dozens of items.
If all of your items are completely flat at the bottom, you don’t have to worry about spraying the bottom portion. However, my baby Jesus had some curved edges at the bottom that I knew I couldn’t get by spraying with it upright.
So, I put the baby Jesus upside down (talk about phrases you’d never expect to write) and sprayed the bottom first. I waited about 15 minutes, sprayed him upside down again and after 15-30 more minutes, I stood him upright with the rest.
Now it’s time to spray paint the whole set!
NEW TO SPRAY PAINTING? Spray paint is the closest thing to a magic wand when it comes to DIY projects, but I had to learn from lots of mistakes before getting it right. To download my BEST tips for spray painting anything, add your email address to the form at the bottom of this post and you will get a free printable checklist!
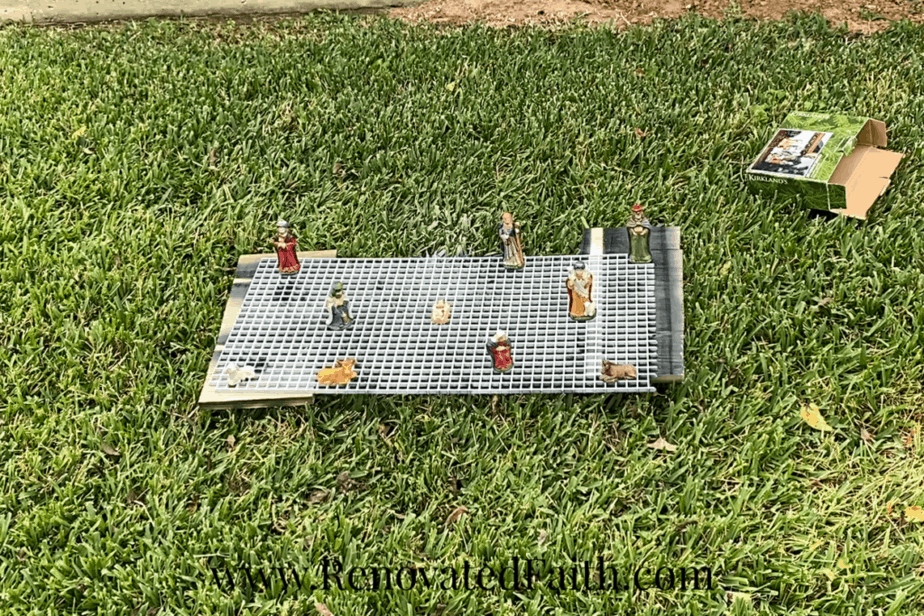
One of the secrets to spray painting is to paint in multiple light coats. This is even more vital with shinier sheens like gloss or semi-gloss because drips form on slicker surfaces easiest.
Arrange your figurines so they are at least 8-10 inches apart. Shake your can for at least 30 seconds and spray paint the first light coat, moving your spray paint can from side to side as you can see in the video.
IMPORTANT TIP: You will be tempted to get full coverage on this first coat. But don’t do it, my friend, or your nativity set will be covered in dried-on drips. No Bueno!
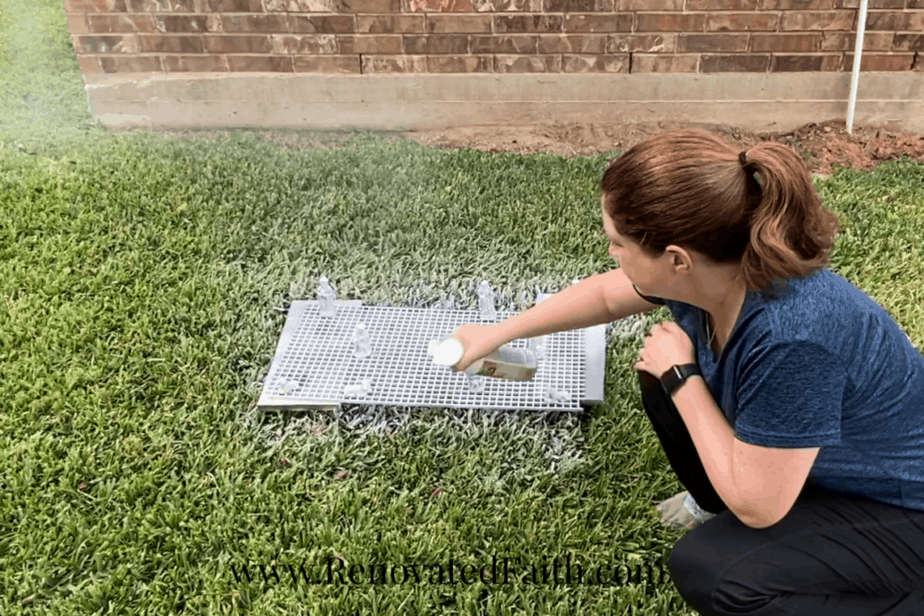
Continue spraying in light coats at 15-30 minute increments. It will take at least 3 light coats if your nativity set was pretty dark like mine, because you are going to solid white.
Once you get full coverage, don’t touch it for a good 6 hours to be safe. After that, you can move it indoors but wait on the next step until the next day.
Renovated Faith: What’s in a Name?
God never leaves a project half-done…He continually works on each one of us, as a lavish expression of His amazing love and grace. So many of these DIY projects remind me of how God renovates our hearts. If you are a work-in-progress, just like I am, check out the Renovate Your Faith Devotional at the bottom of this post for some encouraging words. Click here to get a weekly reminder of new posts by email.
Step 2: Adding Glitter To Your Nativity Set Makeover
Now that your nativity set has dried overnight, it’s time to add a little glitter! As I mention in the video, I debated on this step because I didn’t want it to look cheesy with the glitter, but now that mine is finished, I’m SO glad I did! The clear glitter gave it an added touch.
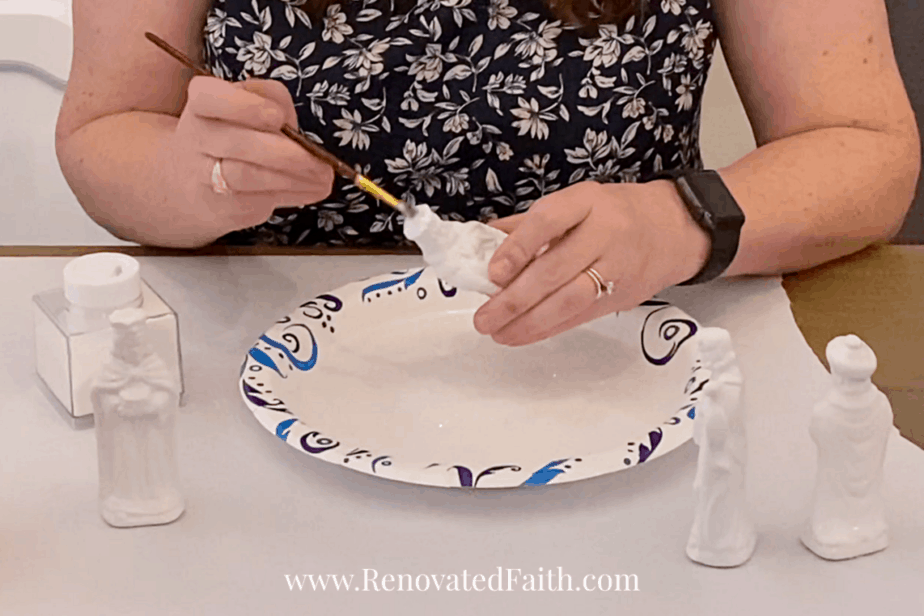
We are using mod podge to adhere the clear glitter to the figurines. Because I wanted to create the look of glistening snow, I only put mod podge on their shoulders, tops of their heads, and any other surfaces snow would rest on.
One figurine at a time, paint on mod podge where you want the glitter. Then, over a paper plate or newspaper, shake the glitter on. Be sure to use clear ultra fine glitter for this because it really looks stunning without being over-the-top.
For Baby Jesus, I put mod podge/glitter just on the hay right around Him. For some reason, it felt very wrong to put mod podge and glitter on Baby Jesus.
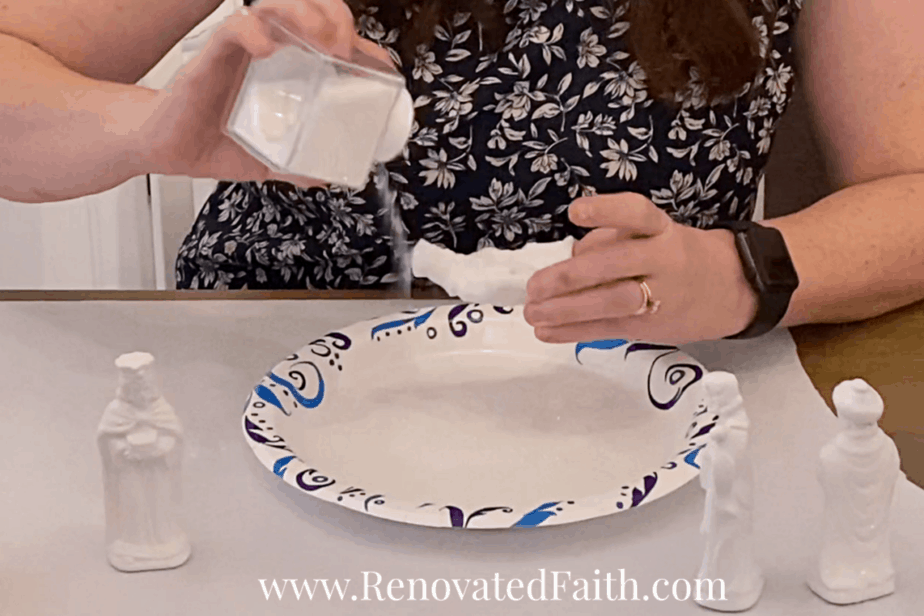
Step 3 – Removing Extra Glitter From Your Thrifted Nativity Scene Makeover (Optional)
After the nativity set has dried, you can head outside and blow cool air over the nativity set with a hairdryer to remove any extra glitter that isn’t actually glued on.
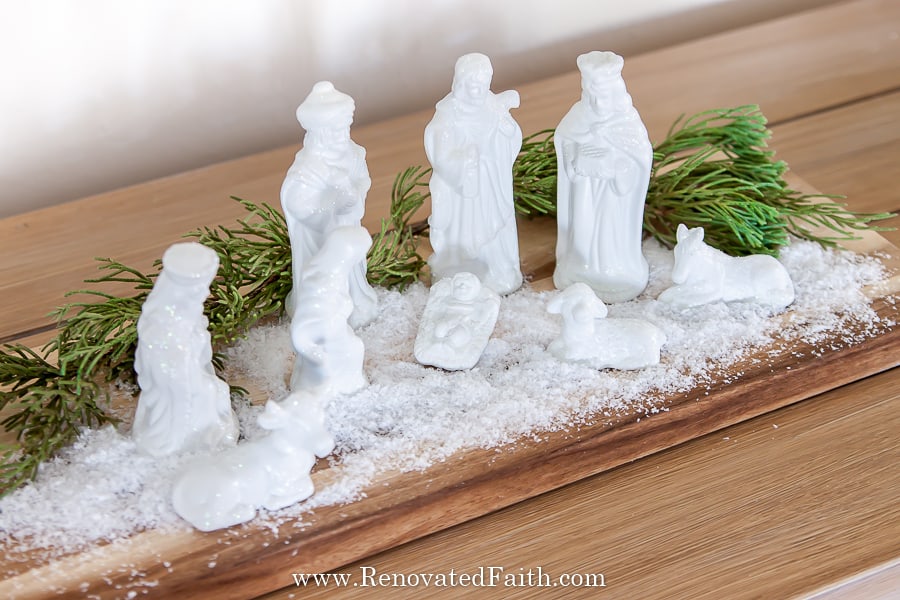
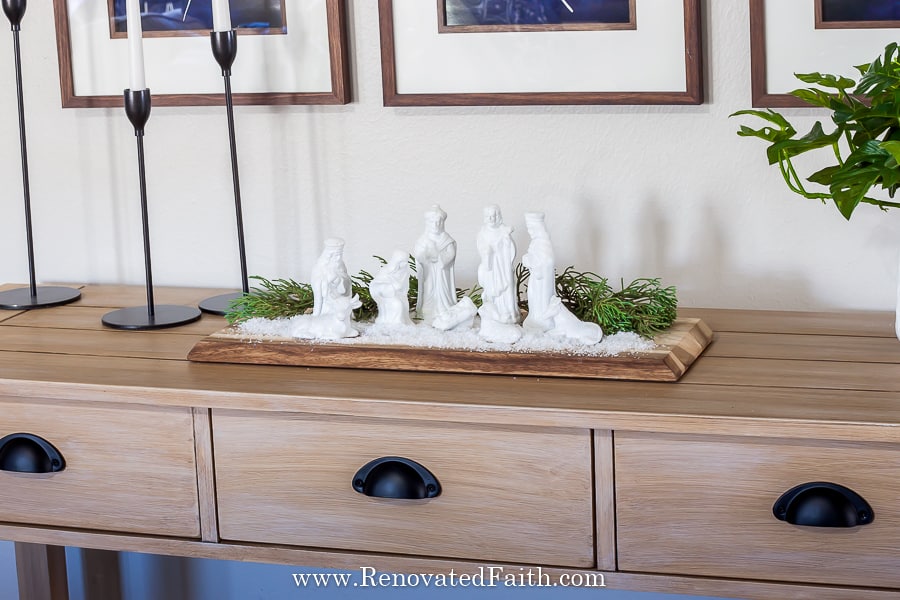
Now that your vintage nativity scene makeover is complete, you can add it to your Christmas decor. You can decorate it with greenery, fake snow, or glass containers of ornaments in the background. For the greenery, I literally cut some branches off a bush in my front yard.

RENOVATE YOUR FAITH: Finding Your Center
Nativity scenes come in a variety of shapes, colors and sizes but there is one thing they all have in common.
Every nativity scene is set up in a way that is centered on Christ. Even the animals are arranged so their gaze is on Baby Jesus and his new place in the world.
The manger scene gives us a visual representation of how we can live our lives as well.
The human soul can be defined, not only as our thoughts, but the parts of ourselves that make choices and have emotions. (The soul comprises our thinker, our feeler and our chooser).
If one were to visualize the soul as a circle, as Emily P. Freeman does in her podcast The Next Right Thing, there has to be something at the very center. And as all circles do, they revolve around a fixed point – a center.
We have a choice in what we put in the middle of that circle.
If our circumstances are our focus, that is what the rest of our soul will revolve around. Therefore, good circumstances lead to good feelings and bad circumstances lead to bad feelings.
This is often evidenced by the anxiety I experience when I feel my circumstances are out of control or even the short-lived happiness I feel when I check off tasks on my to-do list.
I don’t know about you but I’d like for my feelings, thoughts, and choices to revolve around something more permanent and much less fleeting than my current circumstances.
Jennie Allen once said, “Our body always moves in the direction our head is turned.” And I think the same can be said for the soul.
If we make the center of our lives or circumstances, we will surely get caught up in a tumultuous sea of emotions that react to whatever circumstances come our way.
But if our lives are centered on God, we can have peace in the midst of any circumstance. We can be sure of every step, knowing the God of the universe holds us steady in the midst of chaos.
When our gaze is set upon Him, we can have peace in any storm accompanied by a heavenly comfort that envelops us.
May the center of our heart, mind and strength be focused on the Lord our God, whose steadfast love surpasses anything we can experience on this earth.
Jesus replied: “Love the Lord your God with all your heart and with all your soul and with all your mind.” – Matthew 22:37
For tips on how to better focus on God, click here: Faith Archives
For more spiritual encouragement, click here for the rest of my project posts that also include Renovate Your Faith devotionals.
FREE Must-Have Spray Painting Tricks & Tips
Want to ensure your vintage nativity scene makeover has a flawless finish? Here’s where you can get my must-have spray painting tips! Get the password for the library with this spray painting checklist and all of my free printables including wall art, checklists, and templates by filling out this form:
DON’T FORGET TO TAKE A PICTURE OF YOUR UPDATED NATIVITY SET!
Now that you are done, I’d love to see how it turned out! ❤️ Post your before and after pic on Instagram @renovatedfaith .
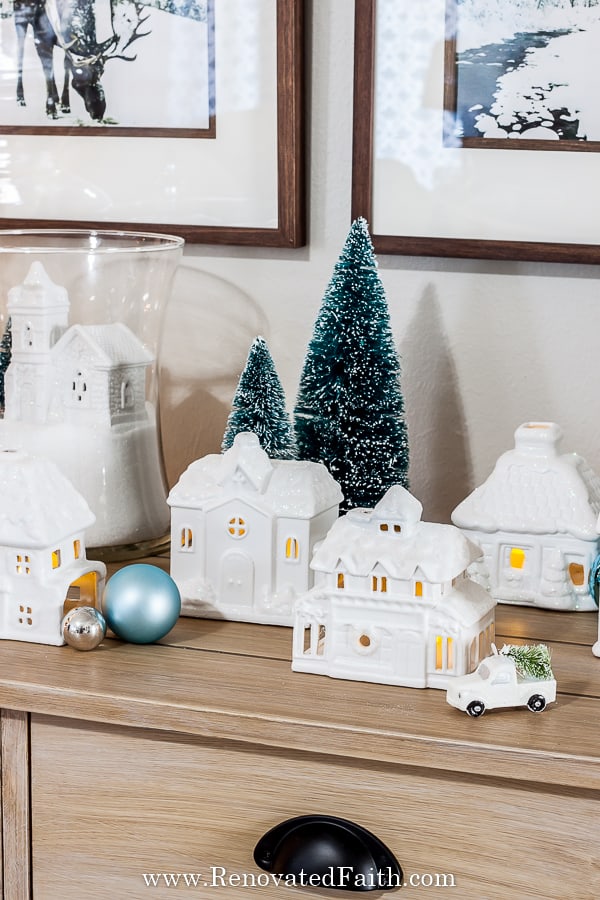
Updated Christmas Village with White Spray Paint – The Reveal
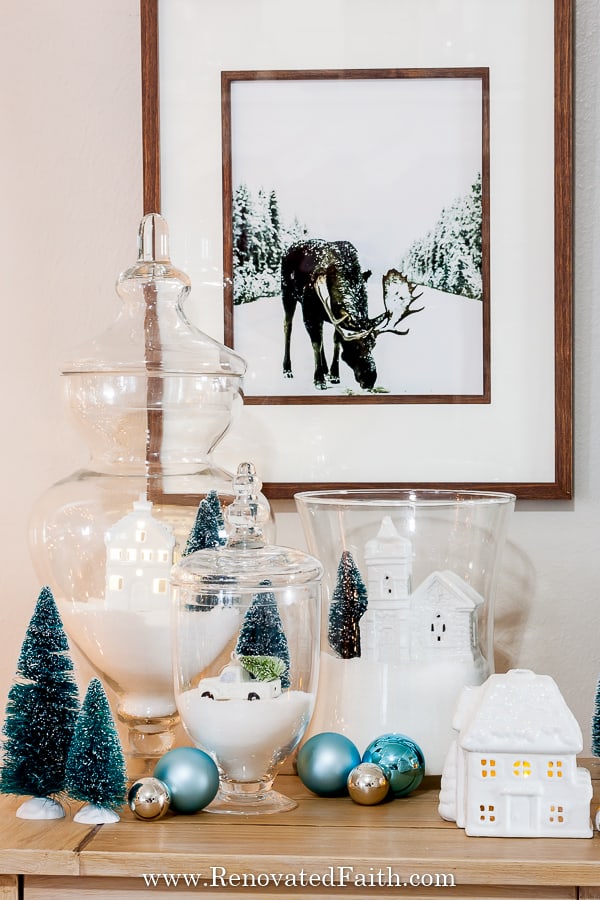
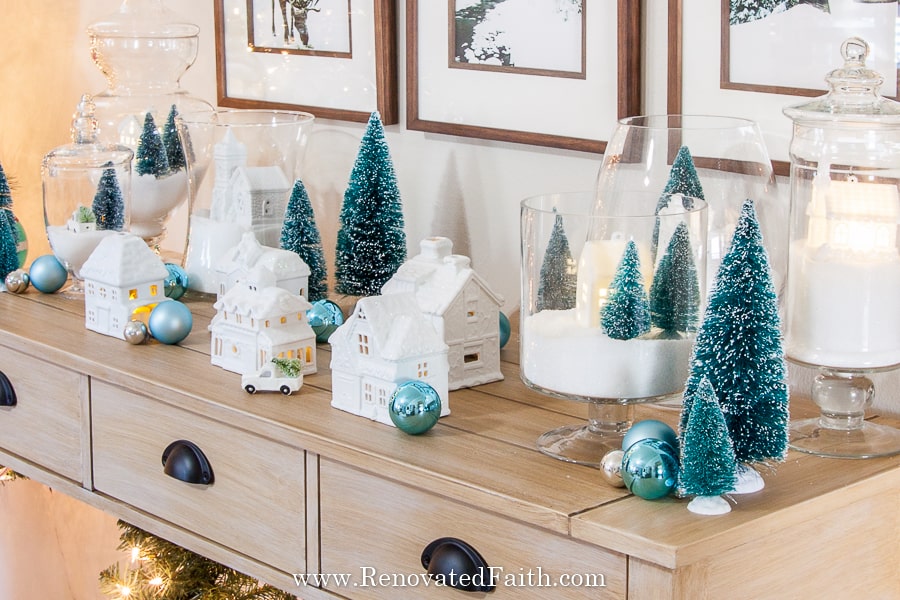
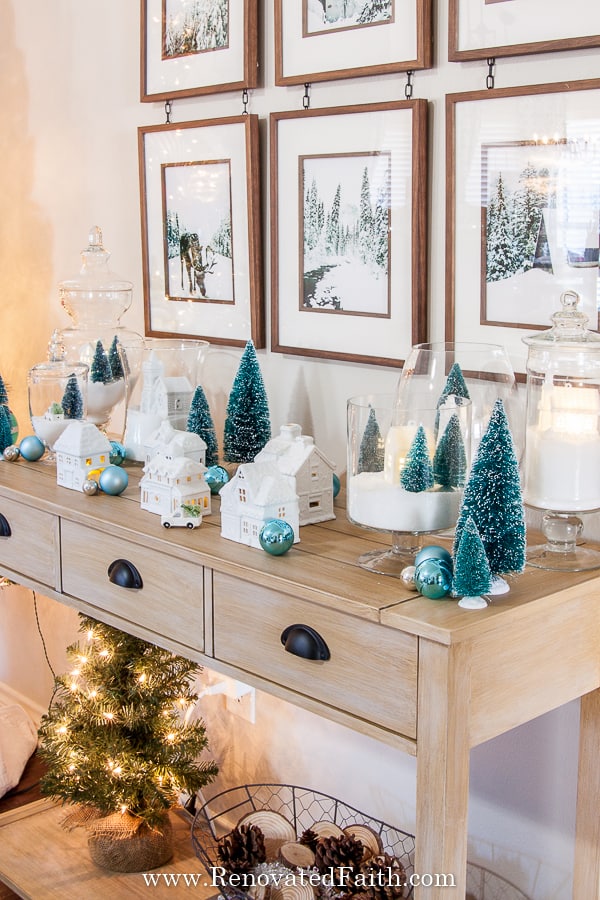
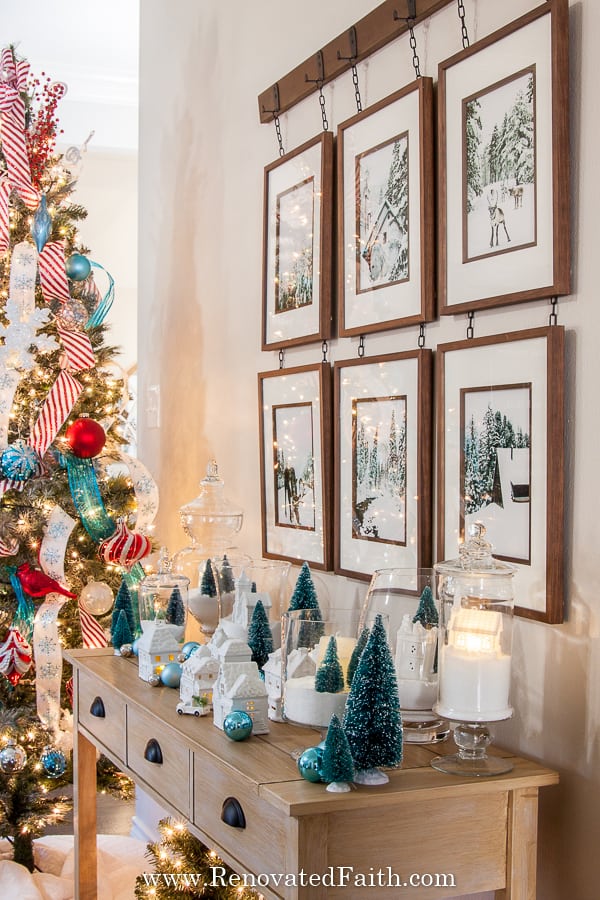
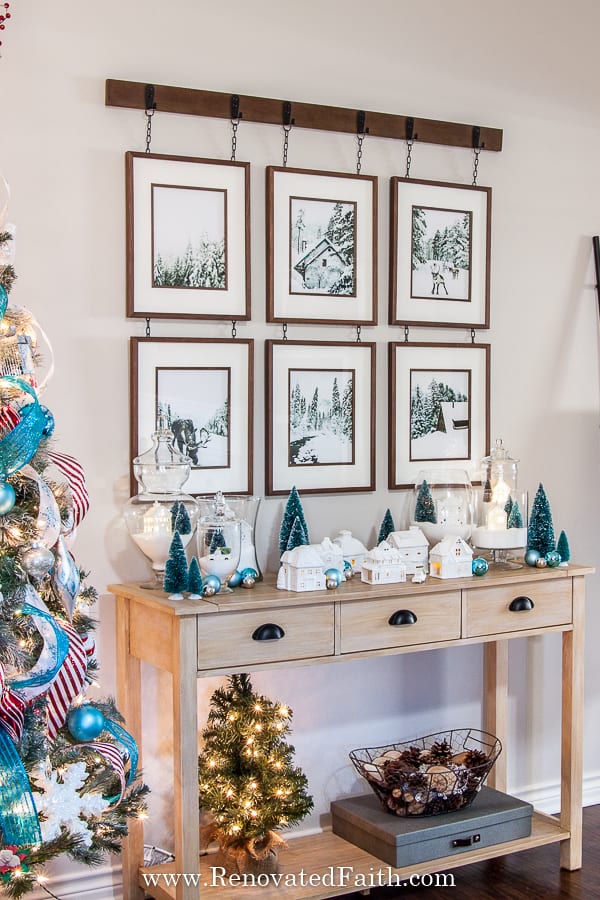
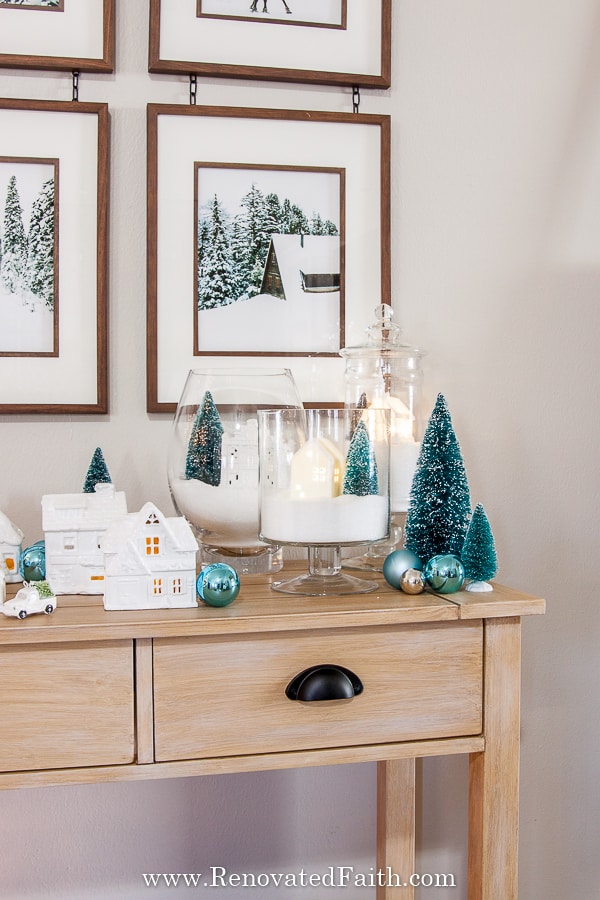
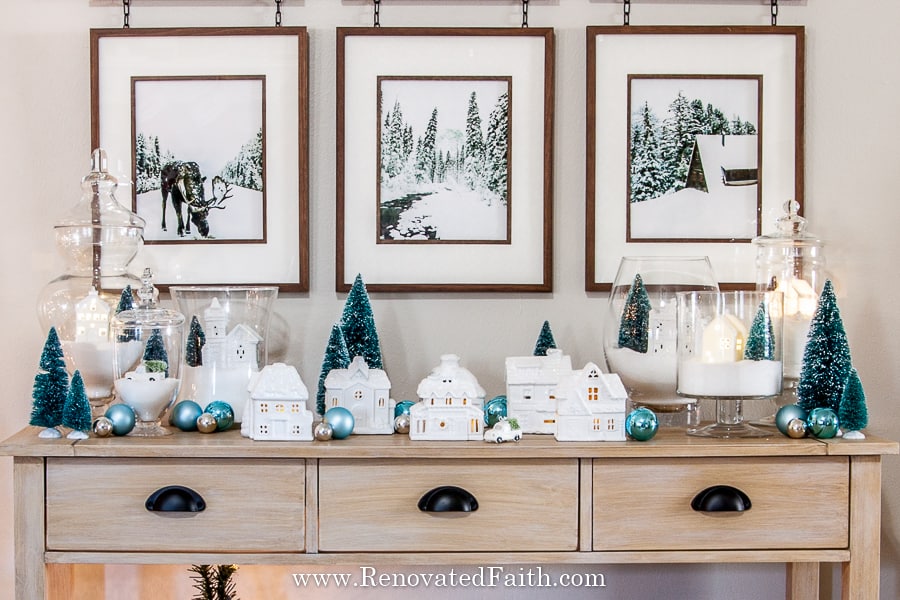
I did the exact same process of the Christmas village below. Most of these are family decorations that I had since the beginning of high school. But a couple were cheap figurines from Walmart. What do you think about their makeover??? Hopefully, after seeing the final product, my mom won’t be too mad that I spray-painted them.
More Posts Related to How To Upgrade An Outdated Nativity Scene With Spray Paint
The EASY Way to Add Ribbon To A Christmas Tree
How to Spray Paint Doors Knobs So They Last
The Best Spray Paint for Glass
Best Tips for Spray Painting (FREE CHECKLIST)
DIY Farmhouse Light Fixture Makeover with Spray Paint
Final Thoughts on This Easy Fix for An Outdated Nativity Scene
Don’t forget to download my Free Spray Painting Checklist for a Flawless Finish. To get your printable, sign up for my weekly newsletter which also gives you free access to my resource library full of wall art printables, checklists, and project plans!
Before this post, you might not have realized how versatile spray paint is for transforming home decor. I have found it is the closest thing to a magic want when it comes to DIY projects. With this tutorial, you can now update the look of an old family heirloom, giving it new life among the rest of your modern Christmas Decor. Or, maybe you love the look of a sophisticated white nativity set, but don’t love the high price tag or porcelain. Either way, this vintage nativity scene makeover Christmas village update will be a beautiful reminder of the true meaning of the Christmas season.
I love to hear your thoughts and questions! Scroll down to leave a comment and I WILL reply! ❤️
Blessings,

Be sure to follow the fun here!
Email Subscription | Instagram | Pinterest | Facebook | Twitter
How to Spray Paint a Nativity Set, YouTube Video
Spray Painted Dollar Store Nativity Set

Karin Peters is a DIY expert and the creator of Renovated Faith. She is a furniture painter, a home design consultant, and a tenacious problem solver determined to help you transform your house into a home. With 17 years of experience with DIY home improvement, she researches and analyses professional processes to adapt them to be easy and cost-effective for DIYers. She then tests every project and product before it appears on the site in a detailed, step-by-step format. After attending Texas A&M University, she received her Master of Divinity with Biblical Languages at Southwestern Baptist Theology Seminary. Her passions unite in Renovated Faith, which shows readers how to create a home that serves them so they can pursue their God-given purposes. About Renovated Faith | Editorial Policy | Facebook | Twitter | LinkedIn


This is a great idea for the nativity set. I have a white bisque nativity set. It has no finish on it. My idea was to spray paint it white to keep it clean. I’m not very sure that spray painting works on bisque. Any ideas about that? But if nothing else I love the idea of fresh fallen snow glittering on heads, shoulders or other small areas. I’m sure I can do that at least.
I love this idea. Thanks for sharing
I signed on originally for all your creations and painting tips, and I love them. But today, I want to commend you regarding how you used the nativity set to keeping Jesus the center of your being. You certainly are using your spiritual gifts.
Many blessings to you.
Robbie McKee in Mississippi.
Thank you so much for that Robbie. It’s so encouraging to know that! Many blessings to you from Texas!
Thanks for the idea! I can see putting the glitter on the village pieces too.
Where did you get the bottle brush trees in your village display?
I got them at Hobby Lobby! Thanks Lucinda!
Hello, Karin, I’ve enjoyed your column all year (in a long and unhealthy year for me) and I love your nativity and your village. I have a very similar creche that hasn’t left storage for a few years so I think I’ll transform it similarly and bring it out in 2022. Thanks for so much inspiration!
Please don’t think less of me that I’ve hidden it…I have a huge set that is out every year. This year I spread out the components. The Magi are far from the Babe, since it is said it took them two or three years to get there. All the animals are together on the side of the mantel to be included with the animals (grandchildren) in the yearly cousin’s shot. Unfortunately, half my grandkids are down with Covid but glad they only have sniffles. Mary, Joseph and Jesus are over on the piano alone but I like to think they had at least a moment like that. Finally, the shepherds are still a little drunk on the streaming glories they’ve just seen, wandering toward the stall following a star. Alas, they had no Google map.
I hope the above does not offend. I’m a little high on God’s many blessings on my undeserving soul, His firm touch on our marriage, our church and even our poor, benighted USA. He reigns.
Karin, I know it is the same with you. I always look forward to your projects, writing and wisdom. God has blessed you richly and you vibrate off the page with your humility and horse sense. Sister, you have been part of our Father’s healing in my life this year and boy, did I need it.
In His love, Grandma Tracy
I absolutely love it Tracy! I think I’m going to try that next year – it will give me more reminders of the Christmas story. One year I kept it more simple and got out only Mary, Josesh Jesus and the lamb – because it reminded me that Jesus was sent as the sacrificial lamb to take away the sin of the world. I can’t thank you enough for you encouraging words and great idea! I loved hearing from you! – Karin
Love the idea! So beautiful. Could you please tell me where you got your prints on the wall? Thanks!
I like craft stuff like this…but with all due respect, it’s not good. You’ve made them plain and boring. It’s like those nativity scenes where the characters are just random blobs of crystal or wood and don’t even look like people.
What a wonderful idea. I would have never thought of spray painting a Nativity scene. Beautiful how it turned out.The village do over is darling. You are so creative Karin. Those pictures handing behind the village set are outstanding. Thanks for sharing these great ideas. Blessings to you from Spring Texas, Patricia
Thank you so much Patricia. I so appreciate your encouragement. I miss you!
I love what you did with the outdated Christmas decor. I have that exact same nativity set from when I first got married. I have been setting that old set out on the bottom shelf of an end table for my grandkids to play with since I didn’t care if it got broken. I will definitely do this with mine as the white will go with my new famlyroom decor. Thanks for a great idea.
I’m so excited to hear that Karen. It’s such an easy way to give something so meaningful an updated look!
Beautiful! I would not have thought of doing that. Also, I have a different question. My very dark laminate kitchen counters (almost black) even though I initially wanted them dark, are just way too dark. Everything disappears on it and it makes the room way too dark. It is a decent sized area that would need to be covered/redone. Trying to come up with a rather inexpensive and durable option for coating and making the countertop lighter. Suggestions appreciated!!
I LOVE the after on both projects! It really updated the figurines and houses and they will match most any decor. Great update!
SO PRETTY, WHAT IS ON YOU TABLE TOP YOU SET THEM ON.
Hey Yvonne, It’s actually a wooden cheese tray from Target! 🙂
I love how the Nativity set and the Christmas village turned out. I have to ask about the pictures above the Christmas village in the pictures (6 winter scenes hanging from a wooden bar with hooks). I love it and I have the perfect place for it. Did you make it?
Hey Rosemary, I did make it and just finished the post: https://renovatedfaith.com/picture-hanging-rail/