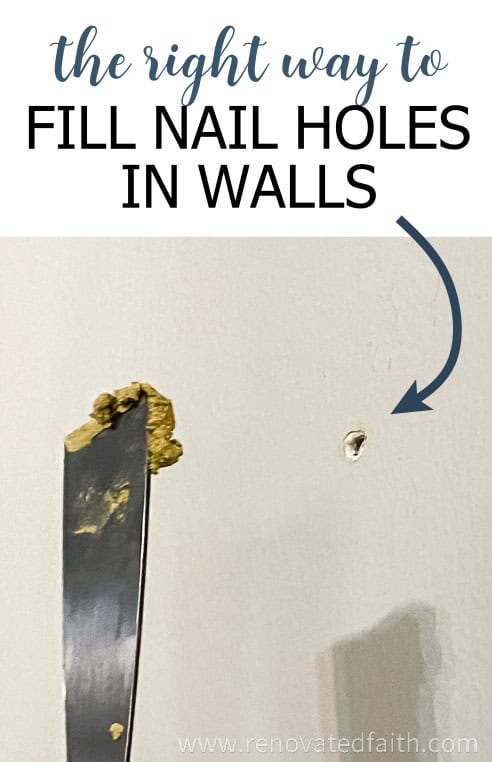
How to Fill Nail Holes in Walls (Easy Beginner Tutorial & Video)
Have you ever looked at your walls and cringed at the unsightly nail holes? This easy, step-by-step tutorial will show you how to fill nail holes in walls so they look brand new.
Whether you’re prepping for a fresh coat of paint, moving into a new home, or trying to ensure you get your apartment’s security deposit back, those small imperfections can make a huge difference.
You’re not alone if you’ve found yourself wondering how to fill those nail holes seamlessly without the need for professional help.
In this tutorial, we’ll tackle the common frustrations that come with fixing nail holes, like what filler to use, how to apply it so there’s no shrinkage and even matching wall texture. I’ll guide you through every step with easy-to-follow instructions and expert tips that ensure your wall looks as smooth and pristine as the day it was first painted.
After filling hundreds of nail holes and experimenting with different products and techniques, here’s what works best for me! Ready to make those nail holes disappear? Let’s dive in!
(As an Amazon affiliate, I earn from qualifying purchases. Please see my full disclosure HERE).
What is The Best Thing to Fill Nail Holes in The Wall?
There are so many DIY methods for filling holes in drywall, even with household items like bar soap, Elmer’s glue and toothpaste. They are all a great quick fix.
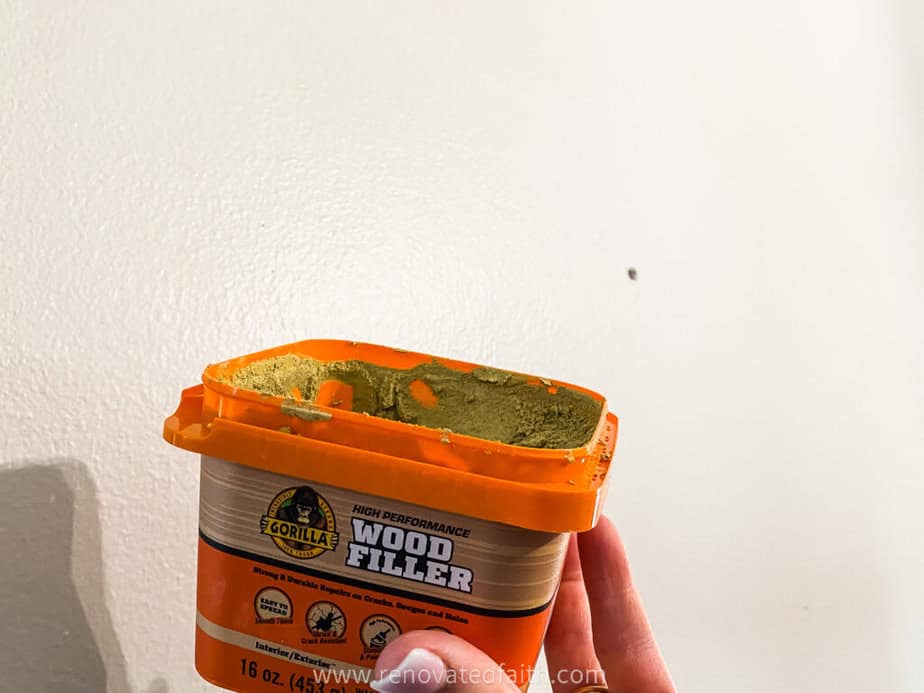
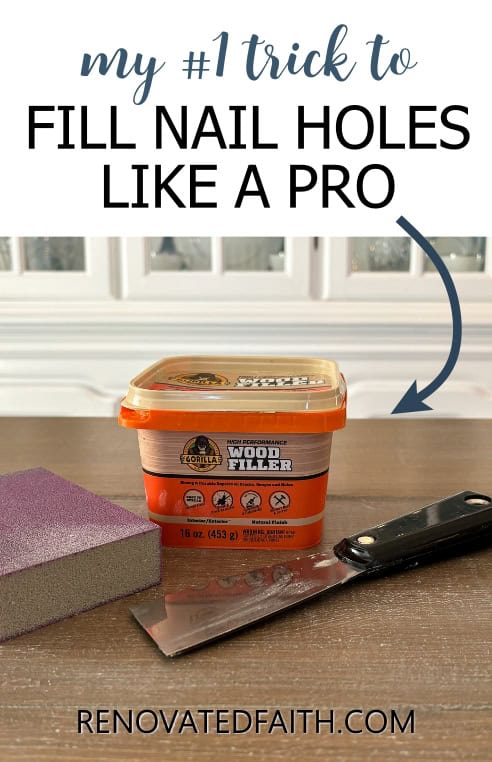
But for this tutorial, we are using a long-term solution and with my easy-to-use filler, Gorilla All-Purpose Wood Filler. I’ve used it on many furniture projects and it’s also rated for drywall.
This filler provides a durable smooth surface after sanding, it doesn’t need priming and has minimal shrinkage. It’s the only product I’ve found that does all three of these things well.
CLICK HERE TO FIND GORILLA ALL-PURPOSE WOOD FILLER
RELATED: A Beginner’s Guide to Refinishing Furniture | How to Fix ANY Furniture Damage Quickly & Easily
[toc]
For this project, I’ll be showing you how to fill the large holes left by drywall screws on the wall in my entryway. I’m in the process of refinishing my grandmother’s secretary desk which will go on this wall, hence, the need to get rid of these holes first!
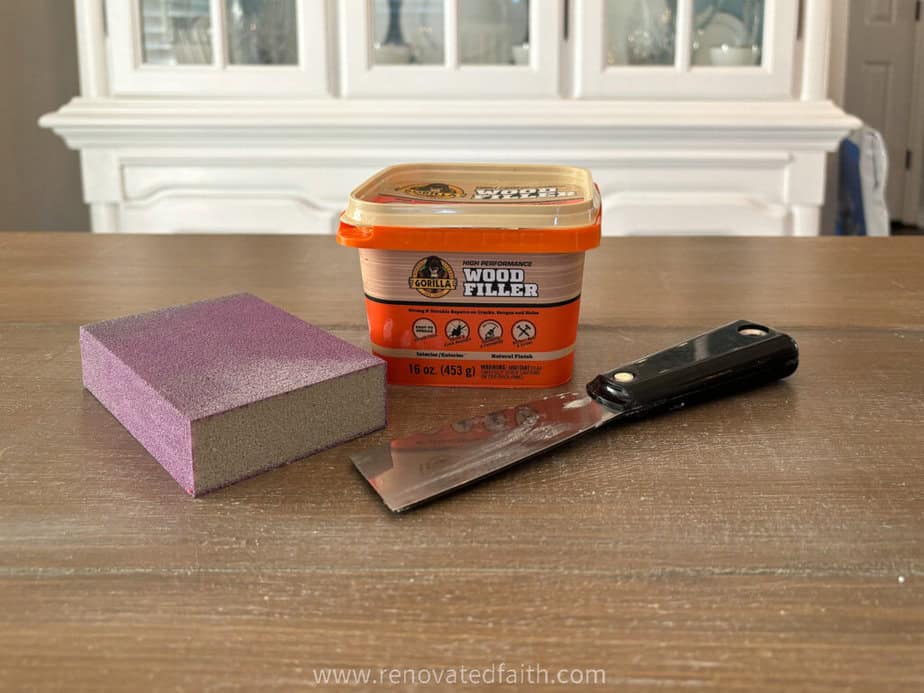
Supplies Needed: How to Fill Nail HOles In Walls
Gorilla All Purpose Wood Filler – AMAZON PRICE
Putty Knife – AMAZON PRICE
Fine Grit Sandpaper or Foam Sandpaper Block – AMAZON PRICE
Paper Towels
Don’t forget to download Free Wall Printables by signing up for the weekly newsletter here!
How to Fill Nail Holes in Walls So They Are Undetectable
This tutorial is for any size of hole up to the size of a quarter. For larger holes, you will want to use a wall patch. This is also a great post for filing in holes left by those command strips that didn’t come off quite like it said they would.
You can also see this tutorial in video form by clicking the video that pops up on your screen or by going to this link on Youtube: How To Fill Nail Holes Quickly & Easily, YouTube Video
Step 1: How to Remove Wall Anchors Without Causing More Damage
With small nail holes, simply remove them with the back of your hammer or needle-nose plyers.
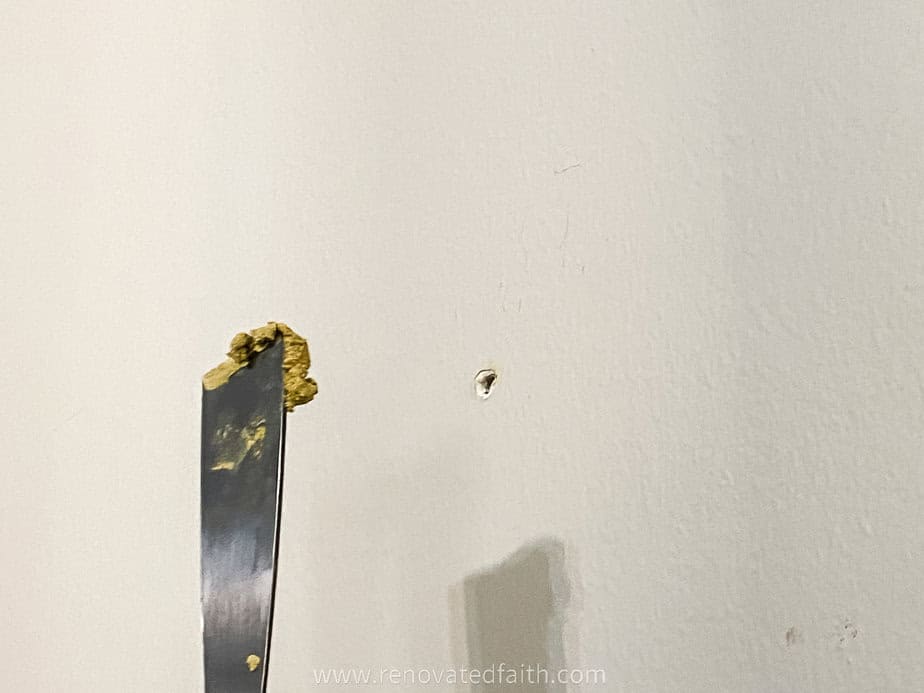
For this tutorial, I’m showing you how to patch a hole made by a screw and wall anchor. This is the wall I’m going to put my newly-painted secretary desk on and these two holes are right above where it will live against the wall in our entry.
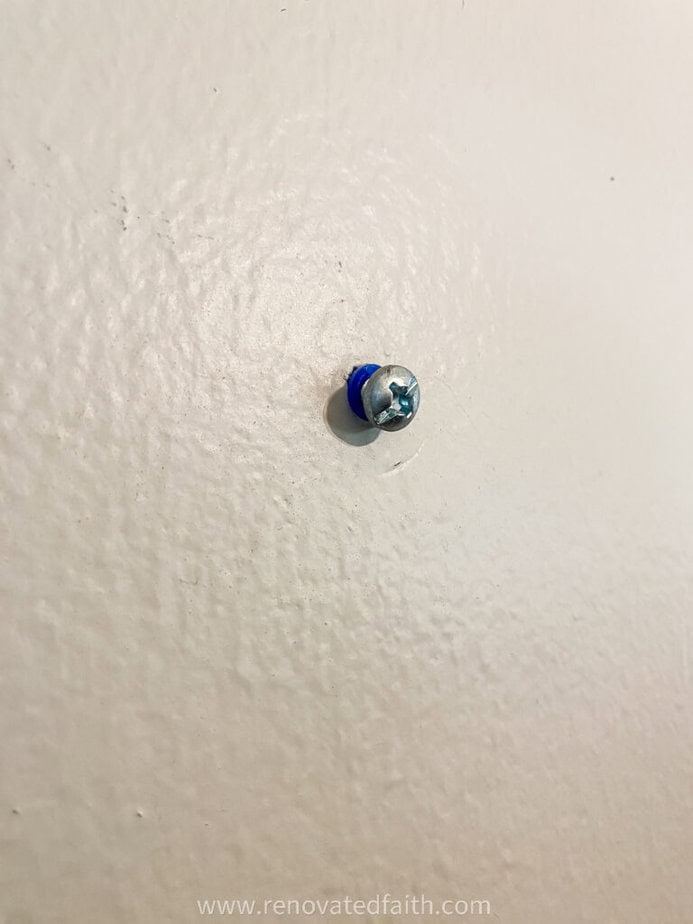
Use a screwdriver to remove most of the screw but leave about a centimeter of the screw still threaded into the wall anchor.
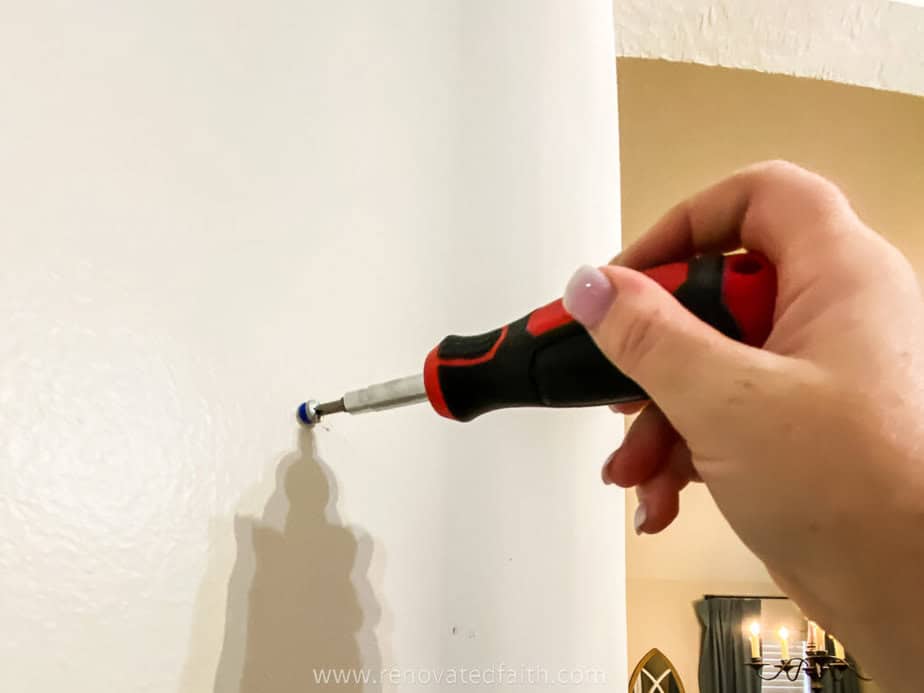
If some of the anchor is still left in the wall, use the screw to push it back behind the wall, and it will just fall into the wall cavity. If we tried to remove the rest of the plastic anchor, it would just do more damage to the wall.
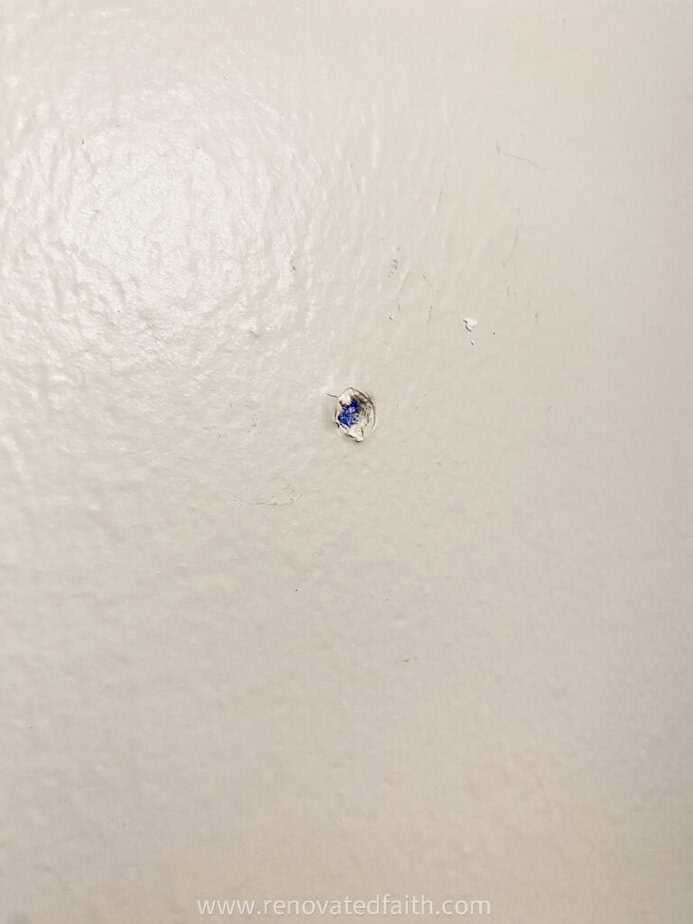
If there are any raw edges of the drywall, pull those off carefully. Now it’s time to use our wood filler!
Step 2: How to Fill Nail Holes With Wood Filler
My favorite product for filling holes in furniture and drywall is Gorilla’s All-Purpose Wood Filler. I love this product because it doesn’t shrink very much, sands smooth and doesn’t need a primer!
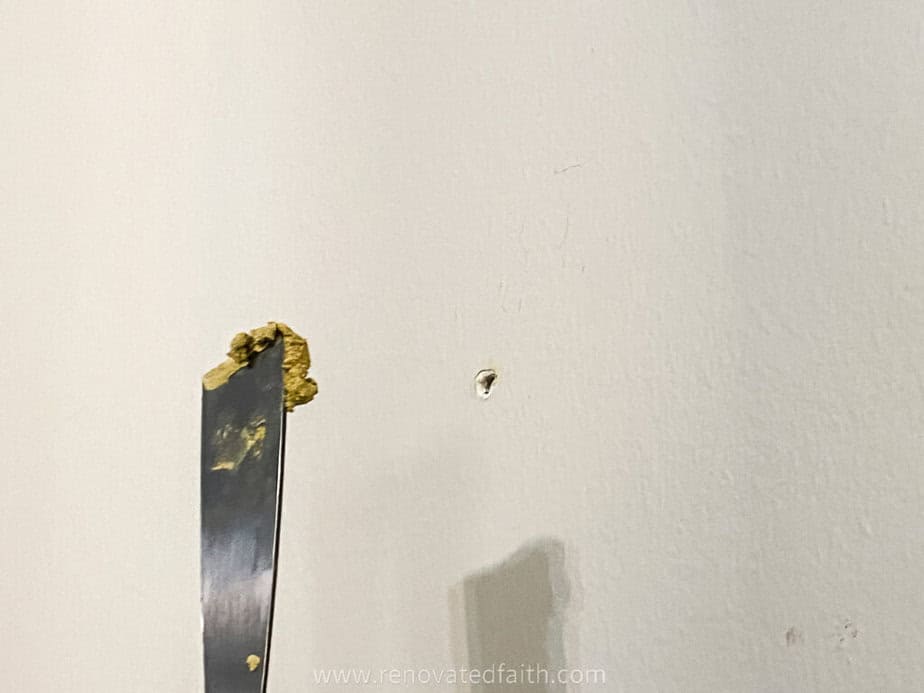
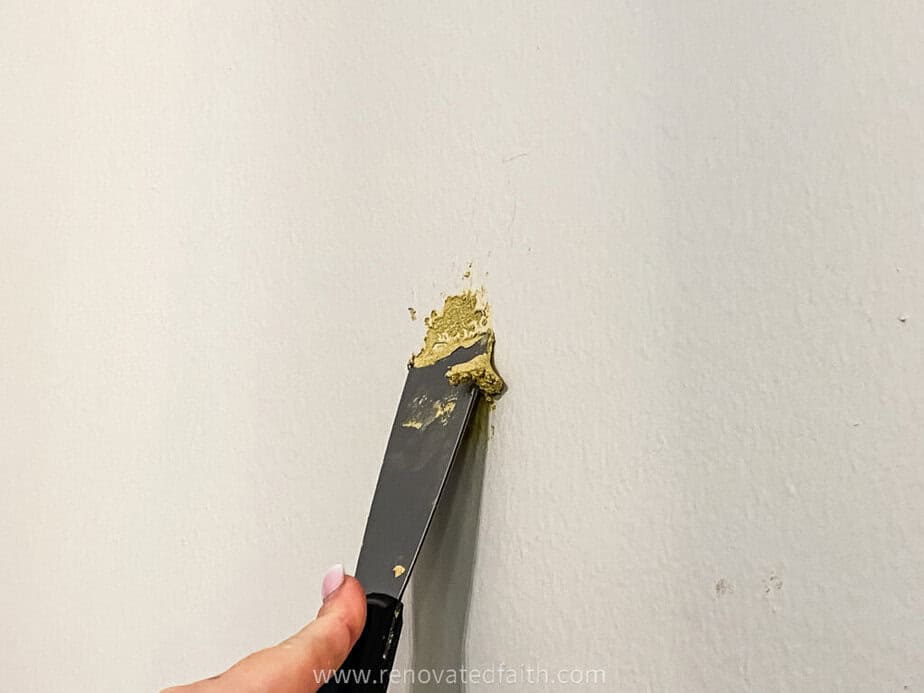
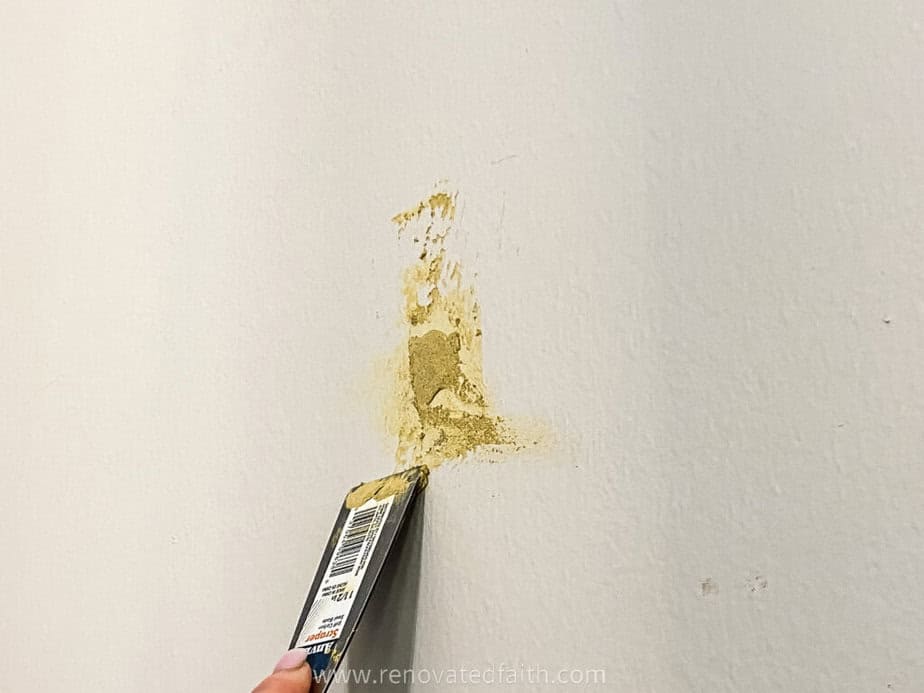
Use a putty knife to apply a generous glob of wood filler onto the hole. Don’t worry about applying too much!
Scrape the filler into the hole and across the surface. It’s fine to get a lot of it on the surface of the wall!
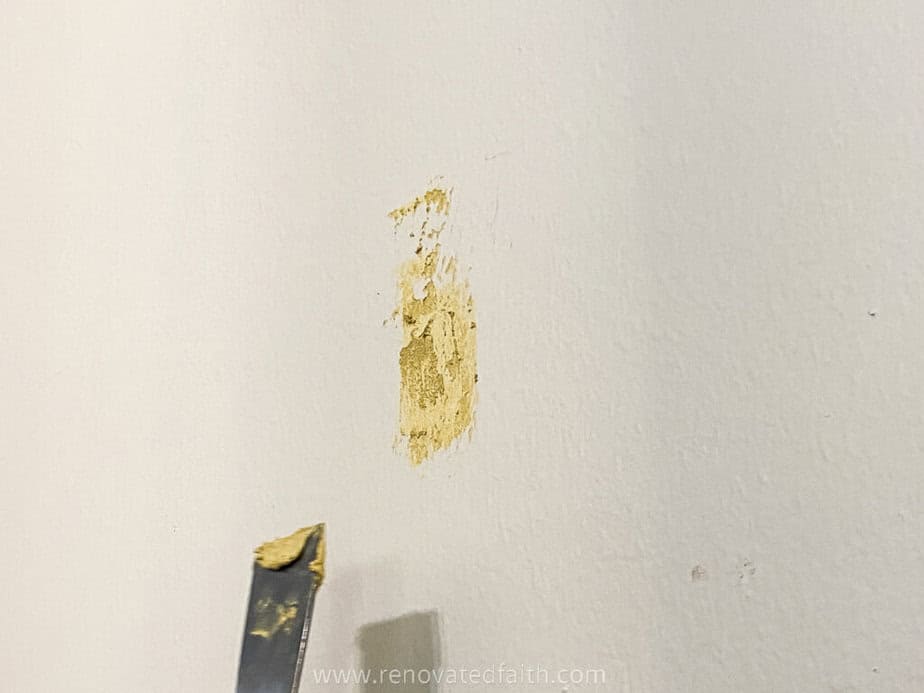
This is easier to see on the video, but make sure you are forcing wood filler into the wall as you scape downward. Use the putty knife to scrape so it’s relatively flat and smooth with the wall.
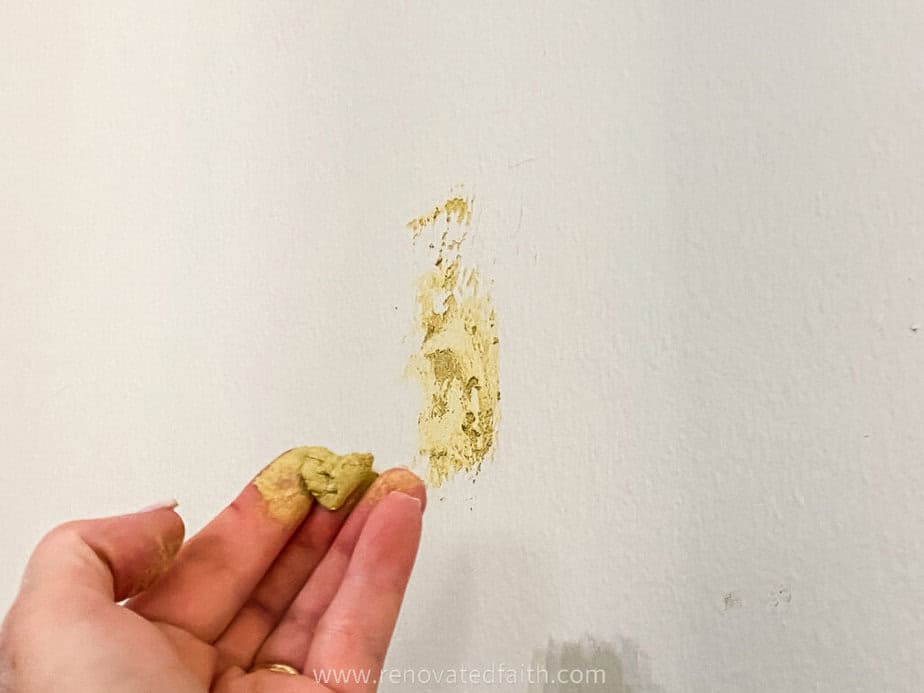
Next, take a little wood filler and roll it into a ball. Now push it over the top of the hole until it’s flat.
For small holes, use a smaller glob of wood filler, and for tiny holes, just skip the extra filler on top.
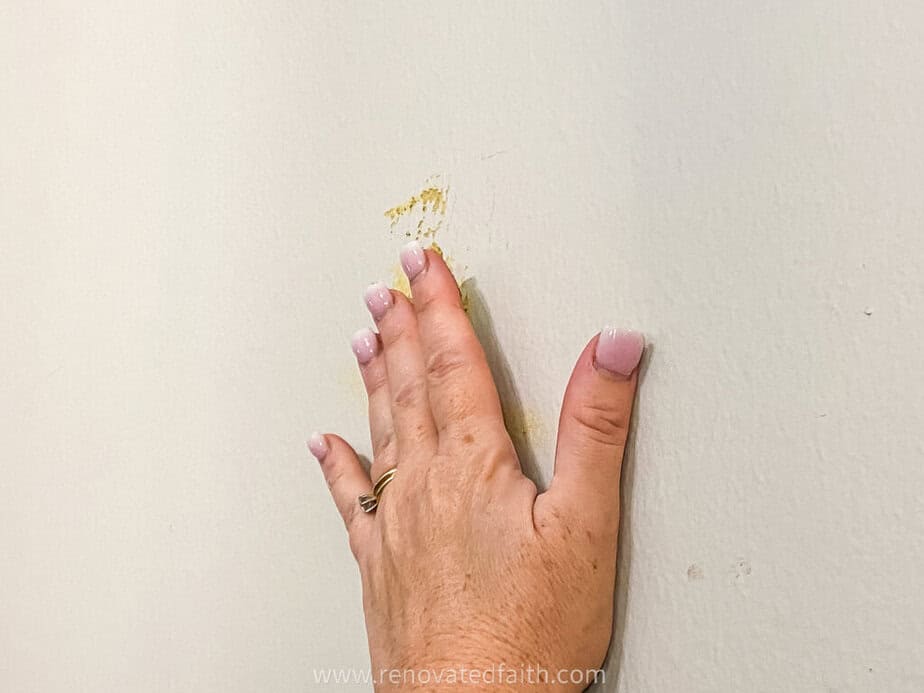
We are adding extra wood filler ON TOP OF the surface of the wall to compensate for any shrinking the from the wood filler when it dries.
If we just scrape it level with the wall and the filler shrinks, you’ll be left with a concave hole on the wall that everyone, including your dog, will still be able to see from across the room.
So, now you have a hole that is filled and then with a layer of filler on top.
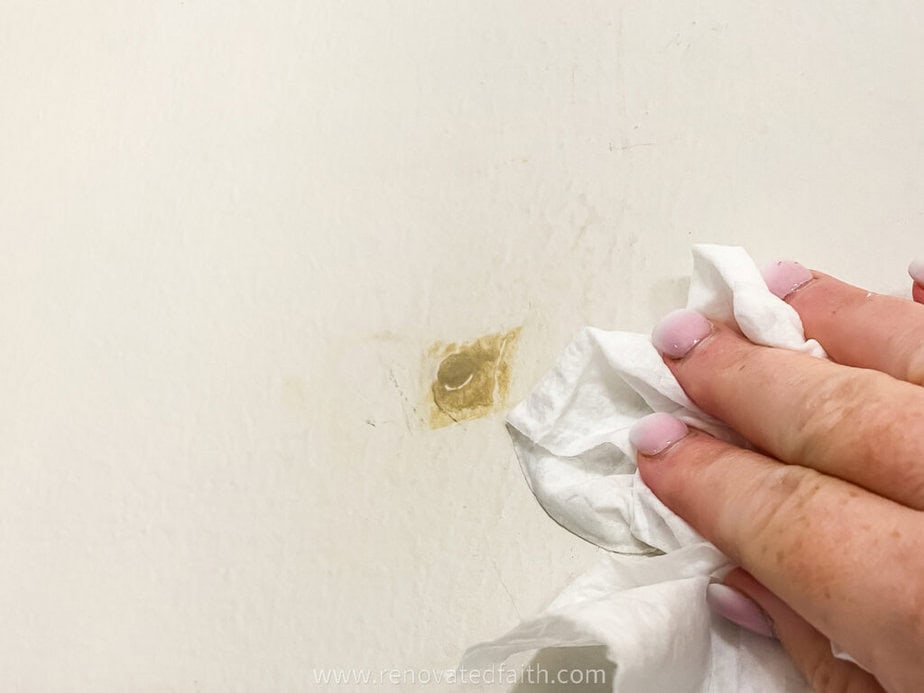
Next, we are going to deal with some of the excess putty on the wall. Use the putty knife to scrape all four sizes of your blob of filler just outside of where the hole is.
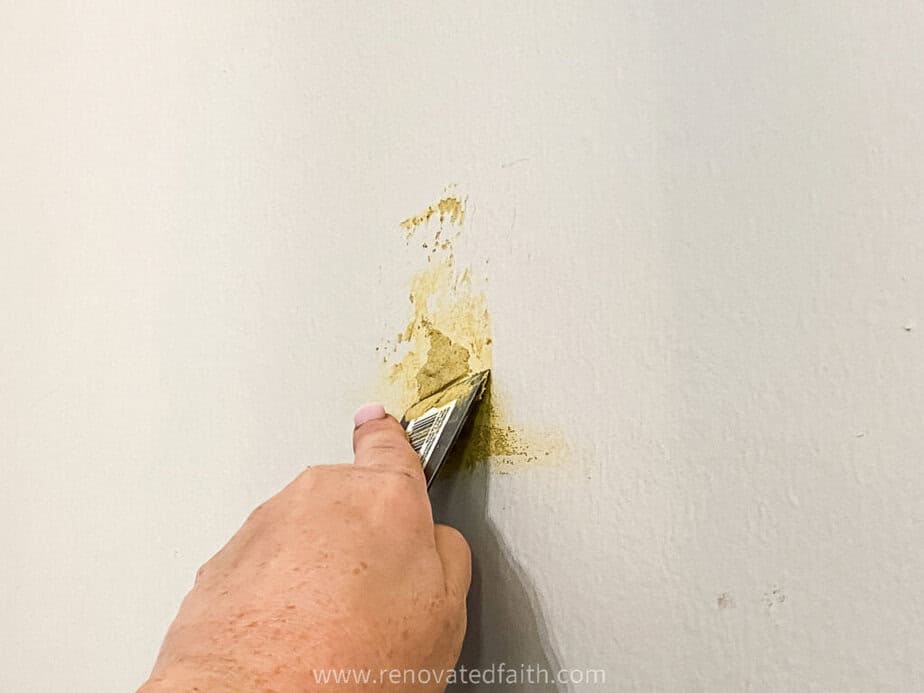
You’ll be left with something like this, below. Then, use a baby wipe or damp cloth to wipe off any of the excess wood filler on the wall. The less surface area we have to touch up with paint, the better!
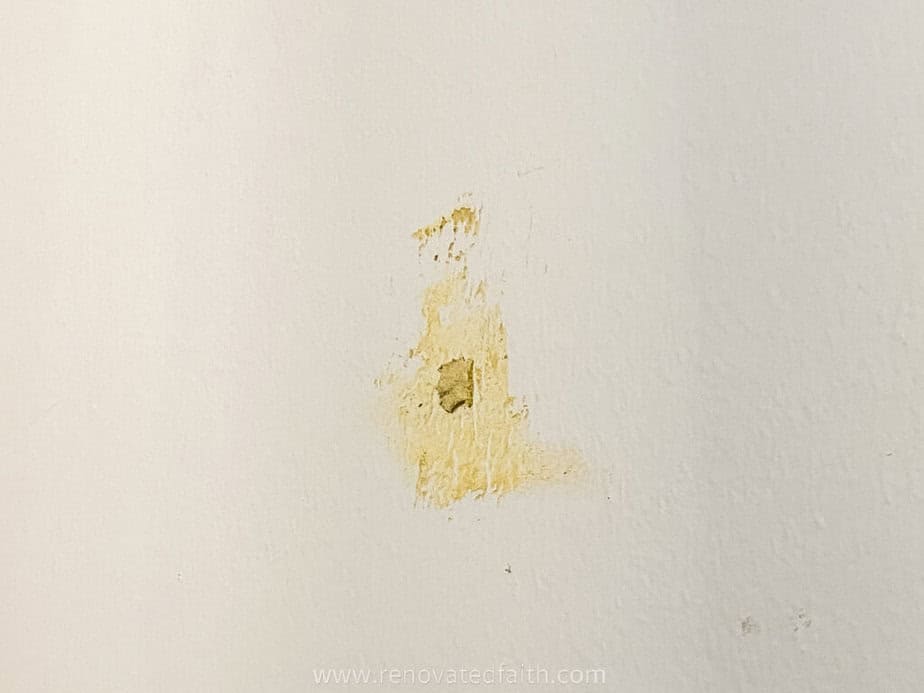
Now, you are left with a weird little square on your wall. Let this dry completely. The wood filler says to wait a few hours but I like to wait overnight so it can get as hard as possible.
Step 3: Lightly Sand The Filler So It Matches the Texture of The Wall
After the wood filler has completely dried, use a foam sanding block to gently sand the area so it’s flat. Sand a little at the time, stopping to check with your hand how smooth the wall is. Repeat this process until you can’t detect the filled hole anymore with your hand anymore.
For textured walls, sand only until the texture is similar to the rest of the wall’s texture. In other words, you don’t need to make it completely flat.
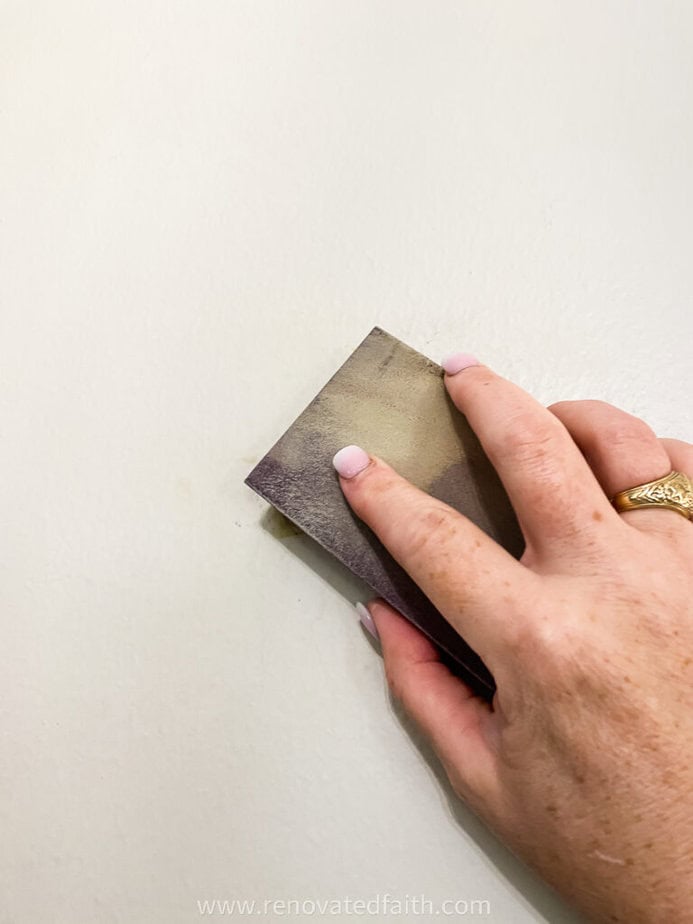
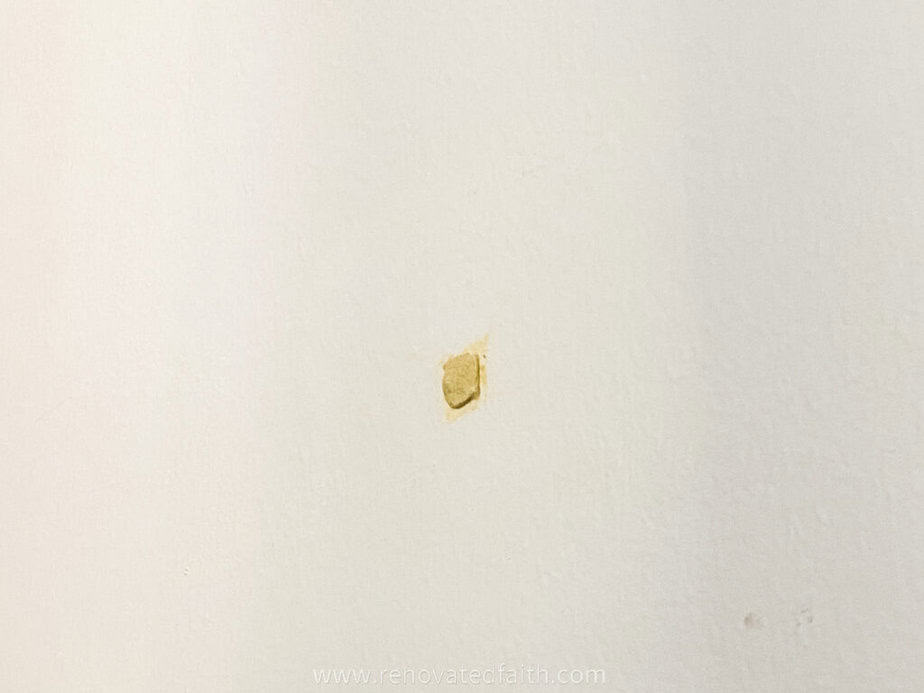
So this is what we are left with, and although it’s hard to tell, it actually feels like the rest of the wall when I run my hand across it. Use a damp rag to wipe away any sanding dust.
If your texture still doesn’t match, you can get a can of orange peel spray texture and spray only that area where you touched up. Look at the spray pattern and size on the back of the can to see what best matches your walls. Spray and give it plenty of time to dry : Orange Peel Wall Texture
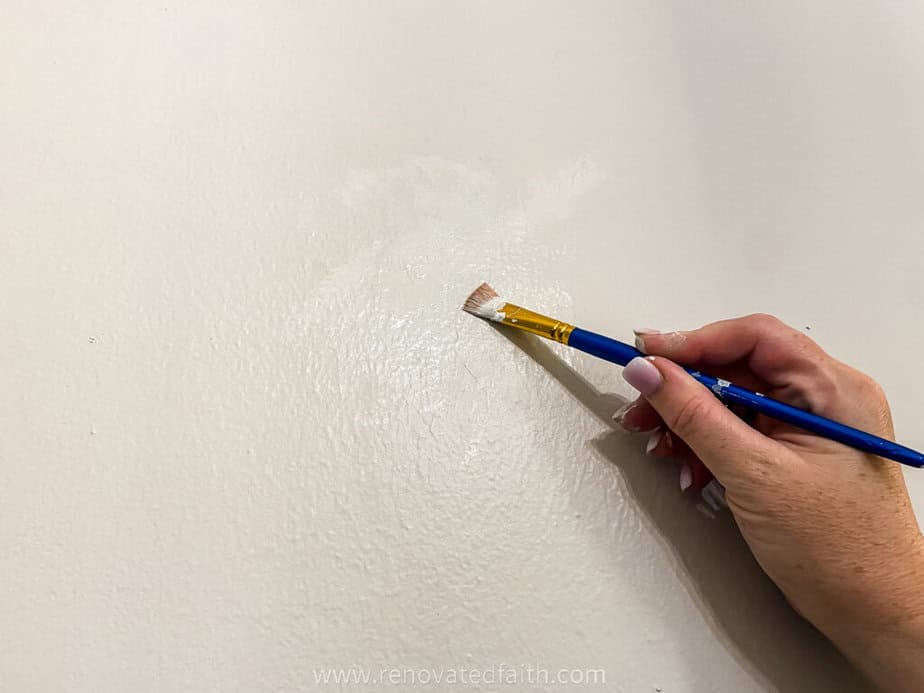
Congrats! You are finally done touching up your walls!
Not only did you have a smooth wall again, but you have professional results without a professional price-tag. Now you are ready for a new coat of paint or if you want to touch up without painting the whole room, check out this post:
HOW TO TOUCH UP PAINT ALREADY ON YOUR WALL
Renovate Your Faith: The Better Alternative to Life’s Quick Fixes
When I get overwhelmed or stressed, those are the times I am most vulnerable to a quick fix. Maybe it’s a new planner, a better diet, or a more comprehensive self-care routine, but reaching for a temporary bandaid won’t address the real problem underneath. READ THE REST HERE
FREE Printable Wall Art
Now that you know how to fill extra nail holes, you can help yourself to my free wall art printables with several options to choose from.
How to Fill Nail Holes in Walls Before Painting – RELATED POSTS
The Best Method to Perfectly Match Paint Already On The Wall
Easy Ways to Hang Gallery Wall Art Easily
How to Whitewash Your Brick Fireplace for Less Than $20
The Ultimate Guide to Painting Cabinets for Beginners
My Favorite Warm Greige Wall Color
Final Thoughts on Filling Nail Holes in A Wall
No matter the size of the hole, this tutorial shows you how to do a patch job the right way. There are several products for filling holes like joint compound, wood putty and even white glue. But the good news is that this wood filler compound and simple process will ensure your repair looks amazing and lasts a long time.
I love to hear your thoughts and questions! Scroll down to leave a comment and I WILL reply! ❤️
Blessings,

Be sure to follow the fun here!
Email Subscription | Instagram | Pinterest | Facebook | Twitter

Karin Peters is a DIY expert and the creator of Renovated Faith. She is a furniture painter, a home design consultant, and a tenacious problem solver determined to help you transform your house into a home. With 17 years of experience with DIY home improvement, she researches and analyses professional processes to adapt them to be easy and cost-effective for DIYers. She then tests every project and product before it appears on the site in a detailed, step-by-step format. After attending Texas A&M University, she received her Master of Divinity with Biblical Languages at Southwestern Baptist Theology Seminary. Her passions unite in Renovated Faith, which shows readers how to create a home that serves them so they can pursue their God-given purposes. About Renovated Faith | Editorial Policy | Facebook | Twitter | LinkedIn
2 Comments