
How to Make a Bath Caddy Tray (For Less Than $10)
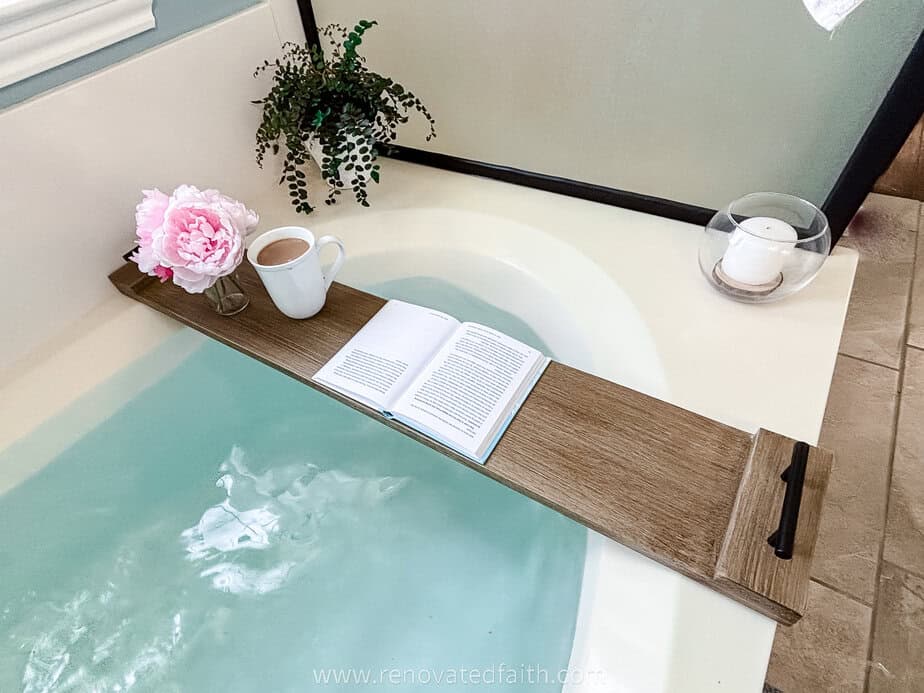
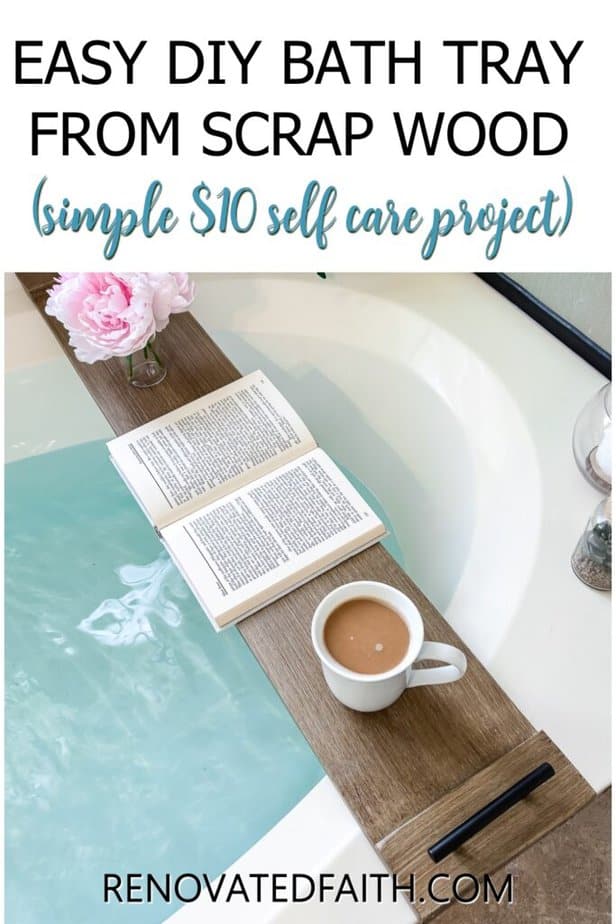
Transform your ordinary bathtub into a luxurious spa retreat where all your amenities are in reach with this simple tutorial on how to make a bath caddy tray.
I can’t think of a better way to relax at the end of a stressful day than by taking a warm bubble bath. I have always been, and will forever be, a “bath girl”. It’s such a soothing way to relax my mind and experience peace as my thoughts wander.
Creating a calming and functional bath space often begins with small touches like a handcrafted tray, but the true comfort of a bathroom comes from how well the entire space supports relaxation, convenience, and long-term usability.
Features that improve accessibility, enhance safety, and make everyday routines easier can elevate a bathroom from simply decorative to genuinely restorative, allowing it to serve as both a retreat and a practical part of the home.
Thoughtful upgrades such as improved lighting, easy-to-reach storage, comfortable fixtures, and a well-planned senior-friendly bathroom design can bring lasting value while preserving the sense of luxury that makes a bath feel indulgent.
When these improvements are chosen with both comfort and function in mind, the bathroom becomes more than just a place to unwind at the end of the day—it becomes a beautifully supportive environment designed to provide peace, ease, and confidence for years to come.
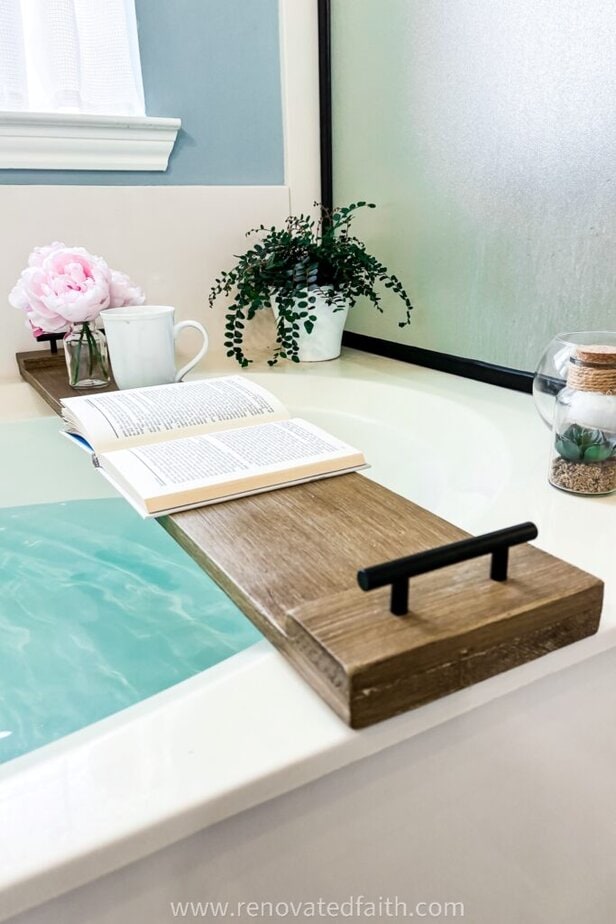
One way to optimize my relaxation time in the bath is with a bath tray. A bath tray provides more space to keep important bath essentials within reach. I like using it for a good book, a cup of coffee, a candle or anything else I’m using to relax.
Fortunately, in this tutorial, I show you how to build a wooden bath caddy that is customized to the size of your own bathtub. And the best part is that it won’t cost you an arm and a leg like the ones on Etsy!
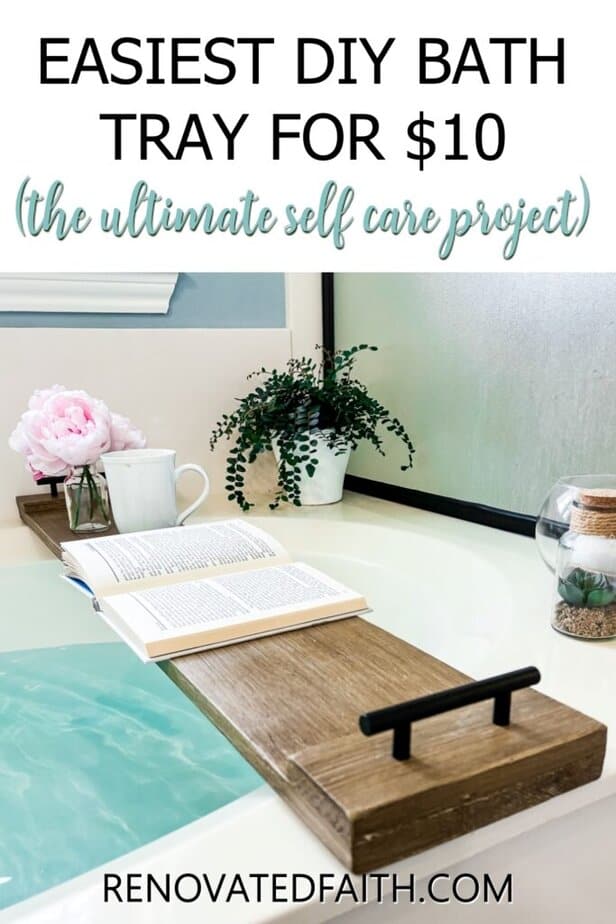
(As an Amazon affiliate I earn from qualifying purchases. Please see my full disclosure HERE).
Usually when an item can be described as relaxing and spa-like, it is associated with a high price tag. Out of curiosity, I went to Etsy to see how much a wooden bath tray would cost. Can you believe that most of wood bath trays are in the $70 range. $70?!?! For a piece of wood and some cabinet handles? Please!
Fortunately, I was able to use scrap wood and paint that I already had on hand. The only thing I had to buy for this DIY project were the cabinet handles on Amazon at $6.71. So yes, I was able to build my bathtub tray for less than $7! That’s a pretty great deal.
Supplies Needed: How to Make a Bath Tub Caddy Tray
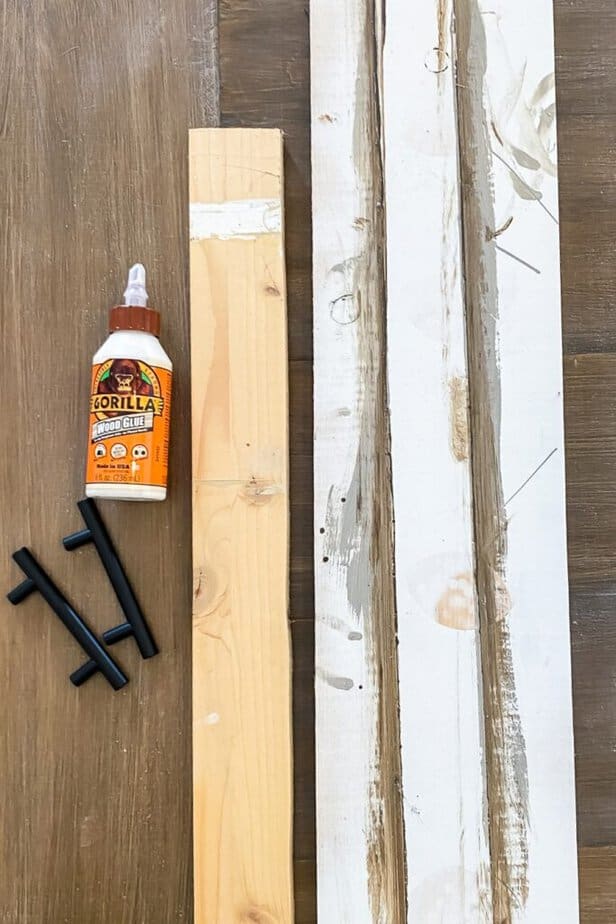
Scrap Wood – I used a 1×7 piece of pine and a 1×2 but you can use any width for your tray.
Paint – I used my Faux Pottery Barn Seadrift finish.
Cabinet Handles – I used these handles from Amazon
Primer (Optional) – Use what you have on hand or this is a good deal.
Paint Brush – These brushes are great and low-cost.
Clear Coat – I used a spray-on top coat that you can find here.
Tools – Drill, Tape Measure, Jig Saw, Sander (Find my Favorite Sander HERE) or just use sandpaper
RELATED: A Beginner’s Guide to Using a Jig Saw | The Best Sander for Furniture
How To Make a Bath Caddy from Scratch
You might be wondering why I used painted scrap wood for a wooden tray. The nice thing about my faux Seadrift finish is that it can go over painted or stained wood without stripping. These painted boards are what I happened to have on hand and the transformation is amazing!
Step 1: Mark The Length of Your Bath Tray To Your Bath Tub’s Length
I liked the idea of having a custom look to my bathtub tray so I made it the same width as the top of my bathtub.
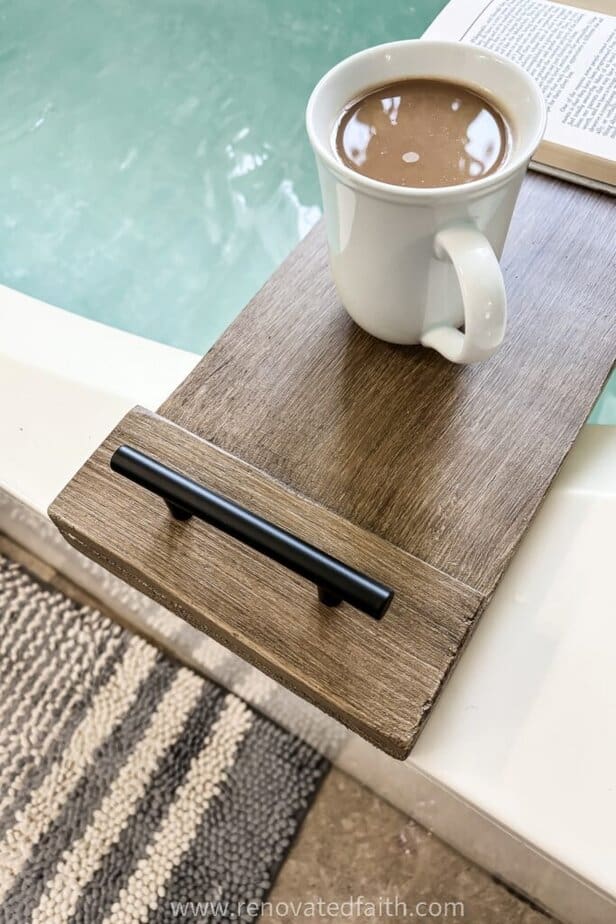
Hold your board up over the top of your bathtub to mark the width of your wooden tray.
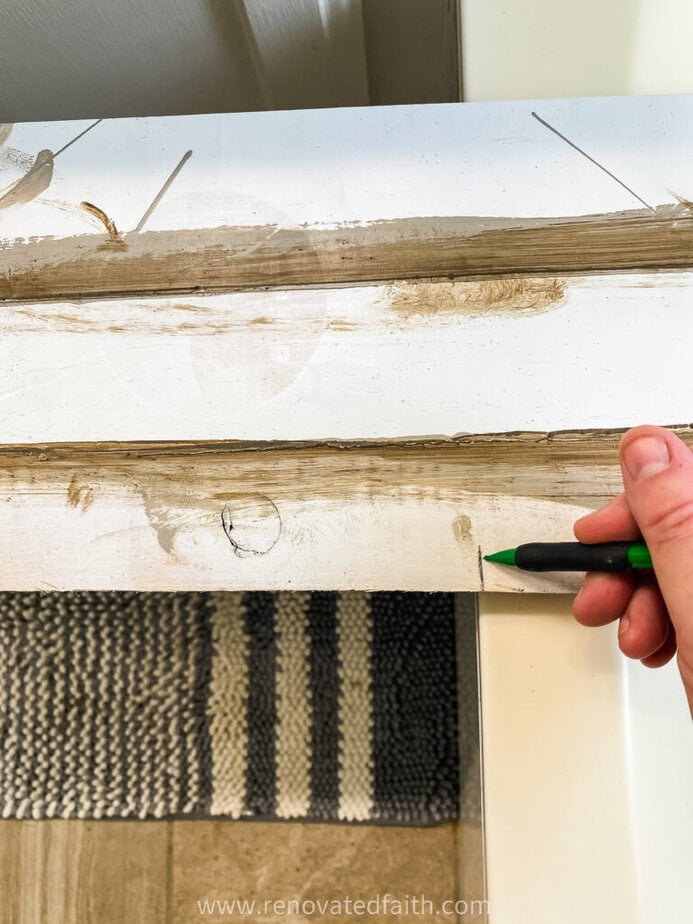
Step 2: Cut Your Bath Tub Tray to Length
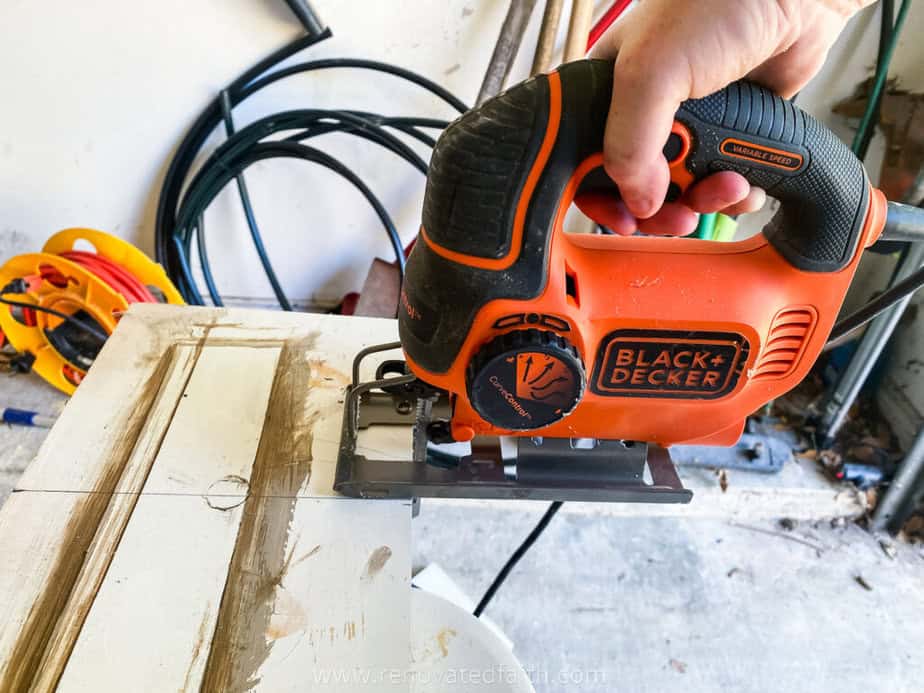
Use whatever saw you have on hand to cut your tray to the correct length. I marked a straight line with my speed square and made a straight cut with my jig saw.
I also make two cuts on the 1×2 to the width of the wooden tray.
Step 3: Mark The Location of the Handles
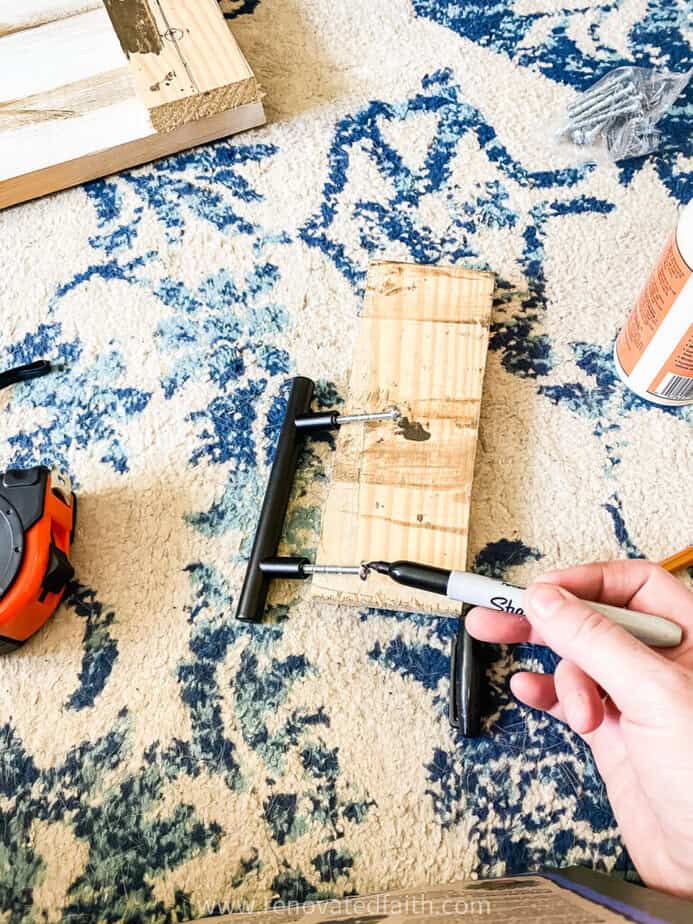
Use a sharpie to mark the tops of the screws as they are screwed into the handle.
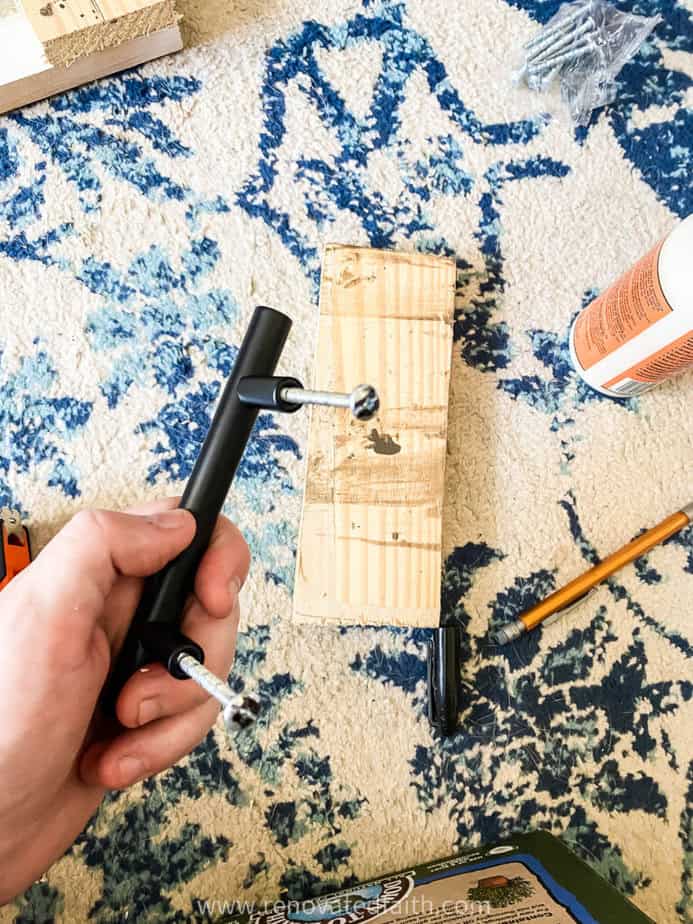
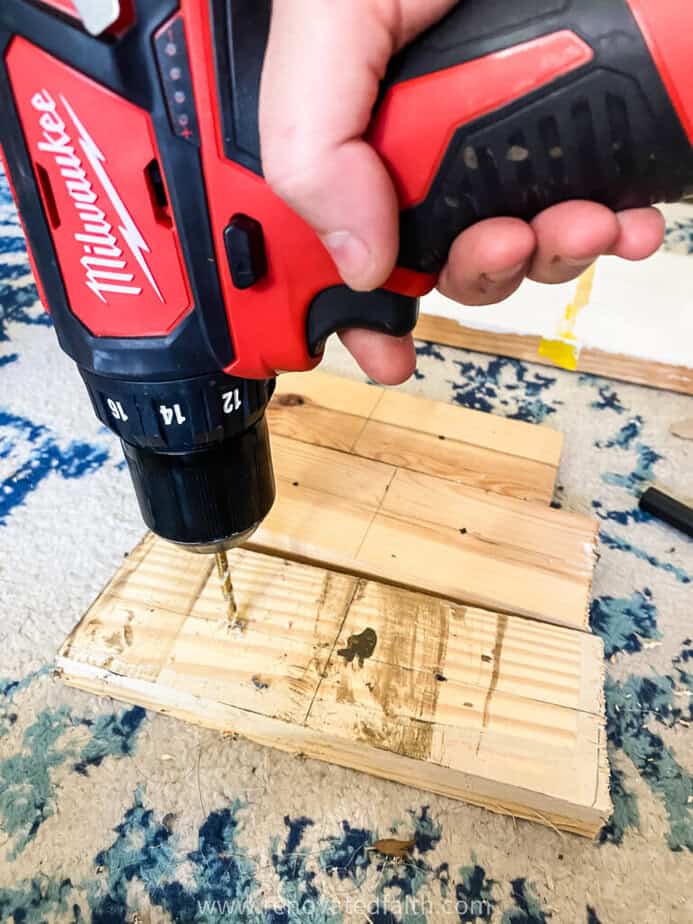
Place the screws as shown so that the sharpie ink is transferred to the wood. This will show us exactly where we need to drill.
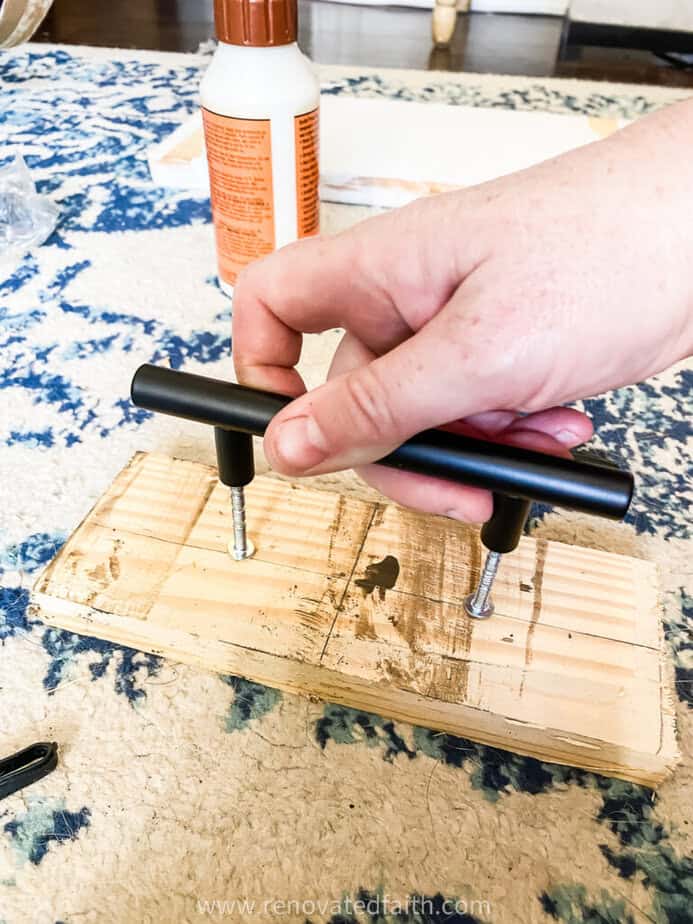
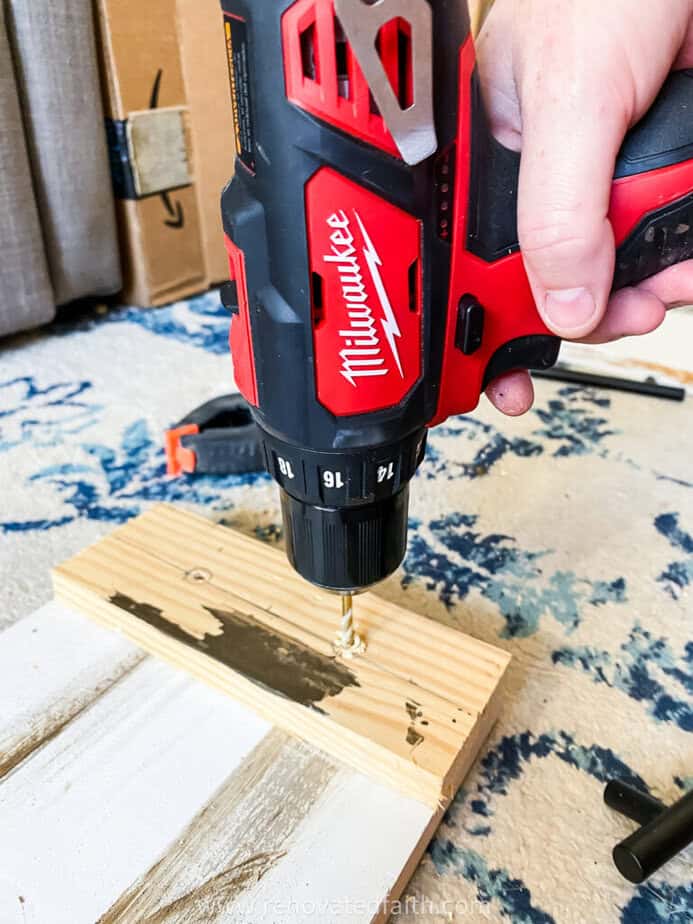
Drill a hole where you can see the sharpie marks.
Step 4: How to Assemble a Bath Tub Tray
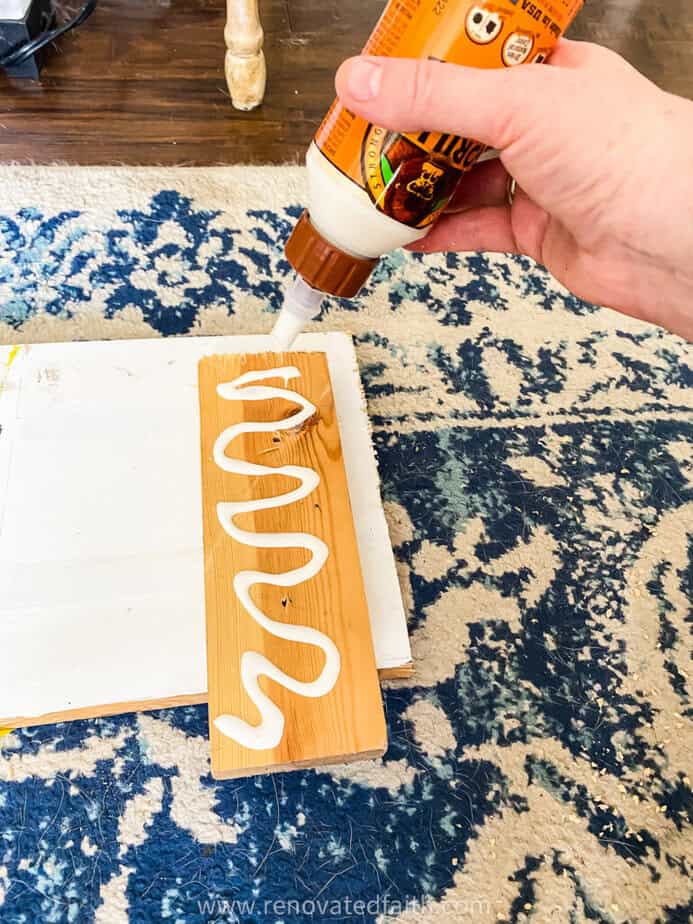
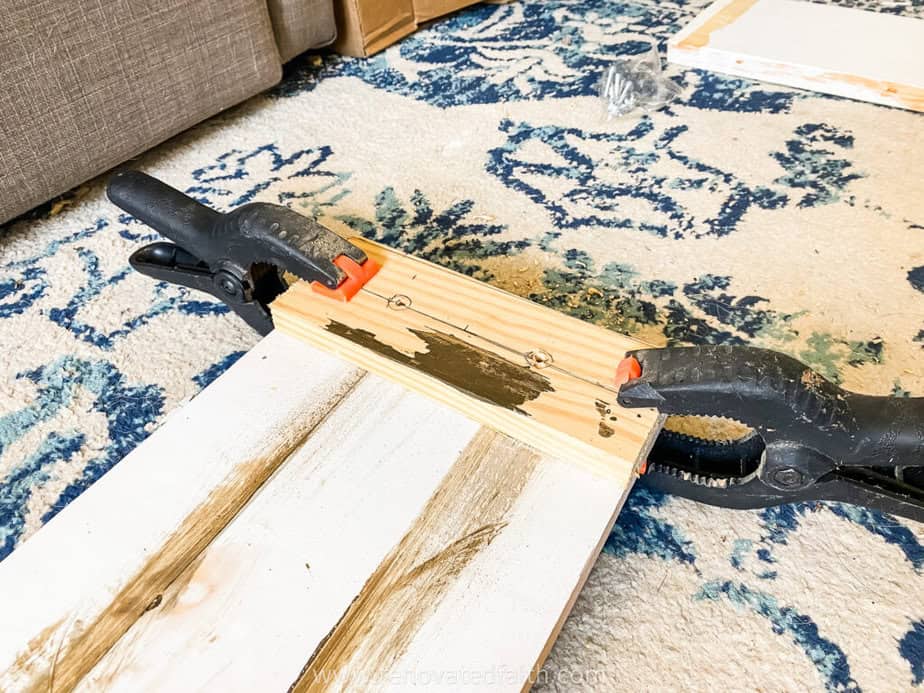
Now it’s time to glue the end pieces to the top of the tray with wood glue. (Please excuse the amount of dog hair on my rug.)
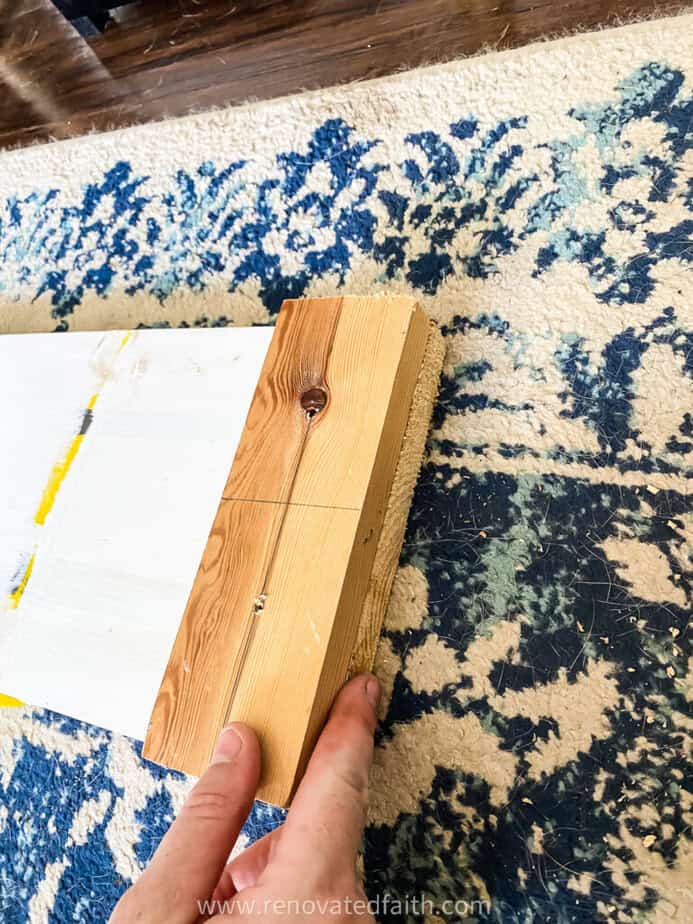
After you have lined up the edges, you can use clamps to help them dry in place. If you don’t have clamps, put a piece of wax paper and a heavy book on top. Let the wood glue dry completely.
After the wood glue dries, you can drill through the holes to the bottom piece of wood.
Step 5: Sand Your Bath Tray
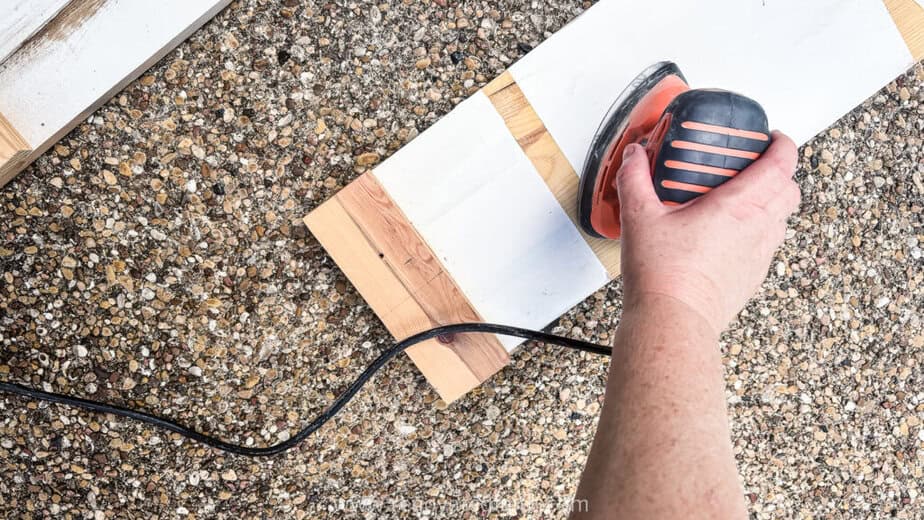
Sand each surface of your bath tray to remove any rough edges that could splinter. Getting a splinter during a bath kind of cancels out the whole comfort aspect of our bath tray.
Now that’s it is sanded and the sanding dust is wiped off, you can see my assembled bath tray.
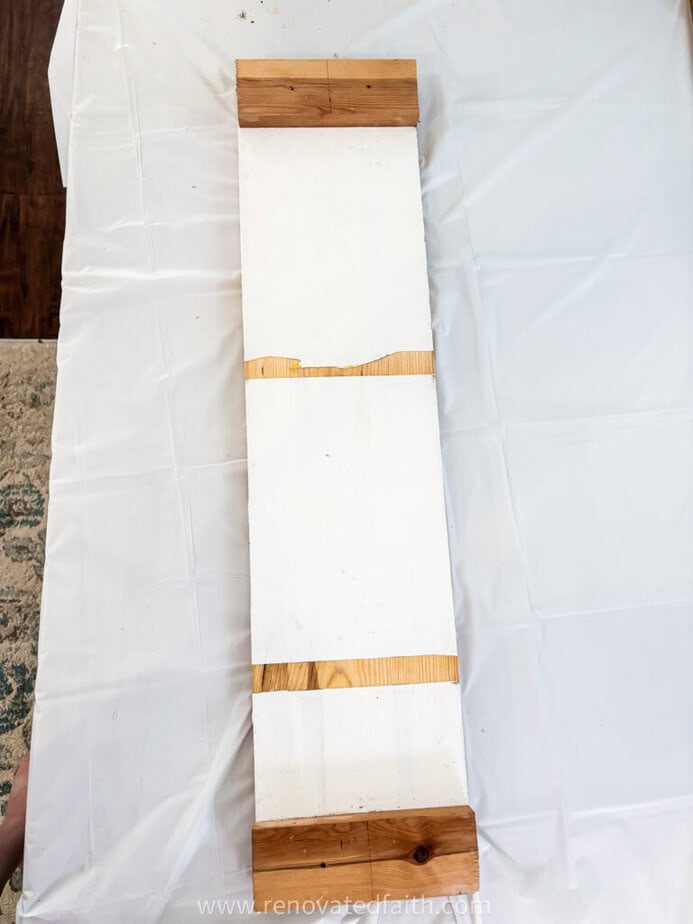
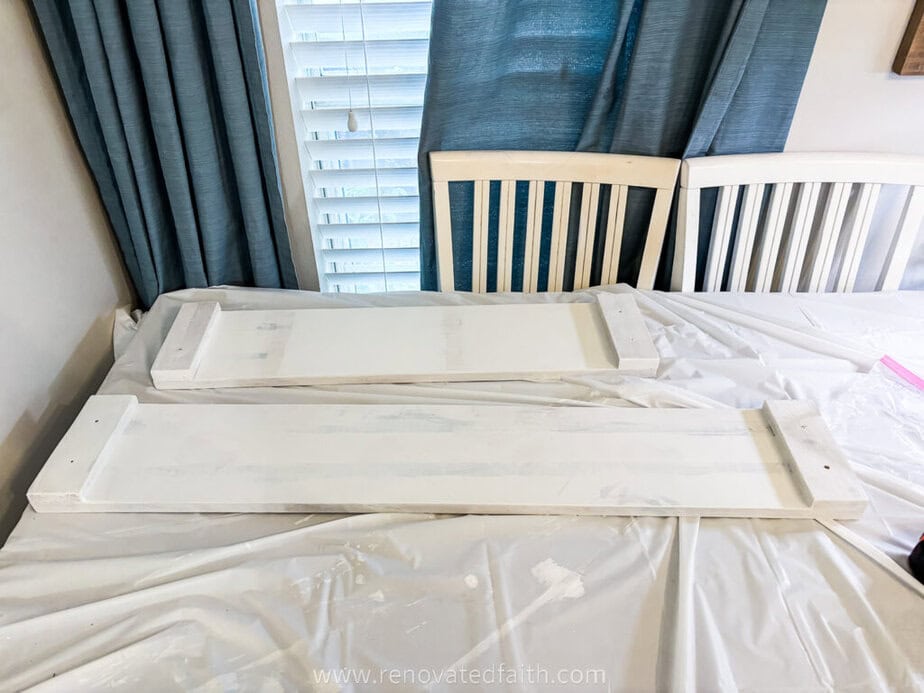
The longer bath tray is for my garden tub in our master bath. The shorter one is for my daughter’s standard-sized tub in our guest bath.
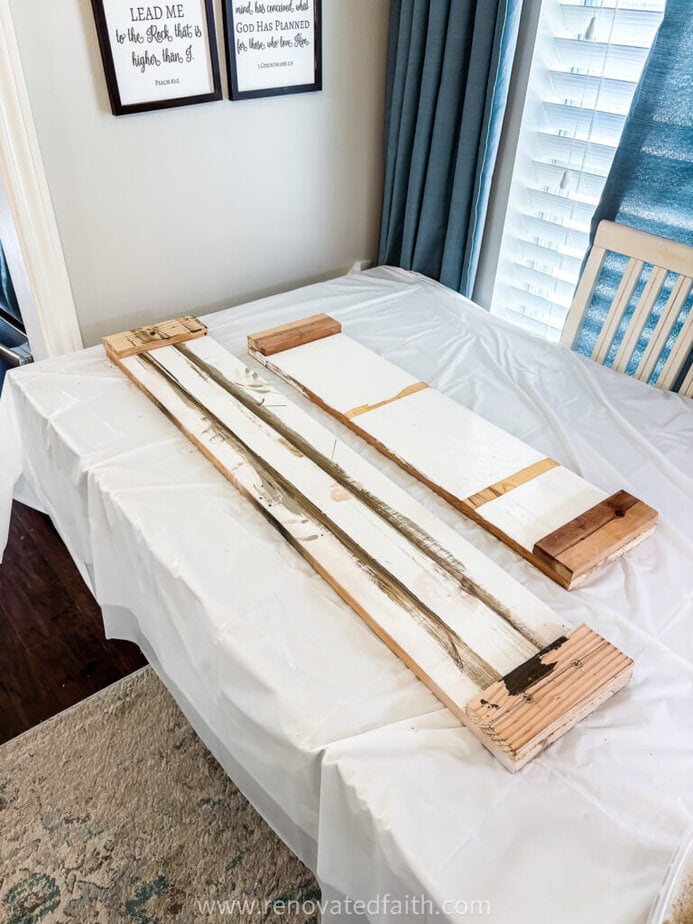
At this point, the thought crossed my mind that I should have maybe made a wider bath tray for the size of my garden tub. But then, I decided this size was fine because I didn’t want the tray to be too heavy to move or too awkward to store.
Step 6: Prime Your Bathtub Tray (Optional)
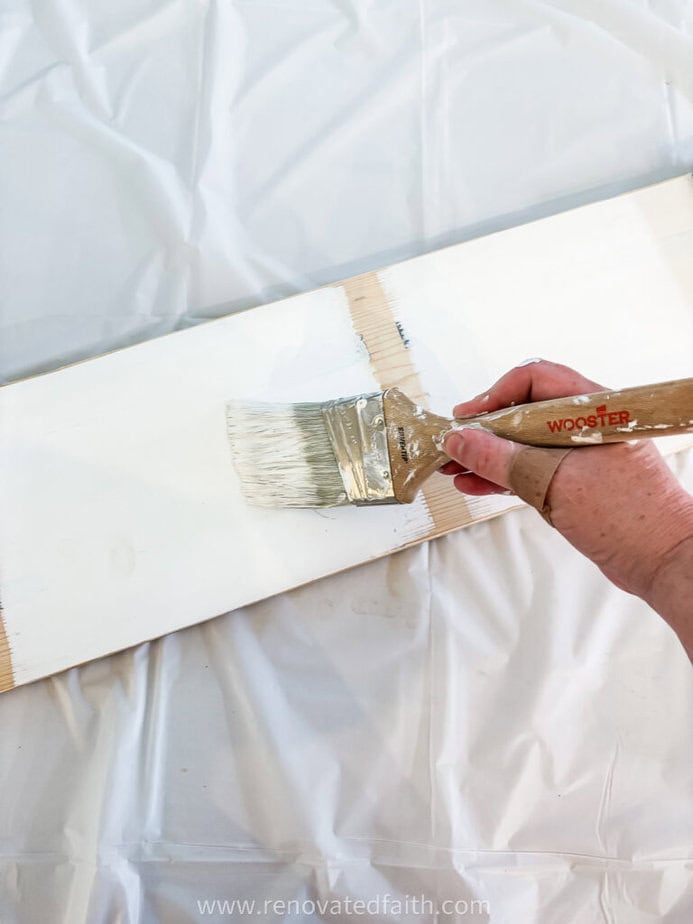
I like to prime most things I paint, but honestly, if you are working with scrap wood, you don’t need to prime. But if you are using one of my faux finishes, a primed surface gives you a better result.
Step 7: Faux Finish Your Bathtub Tray
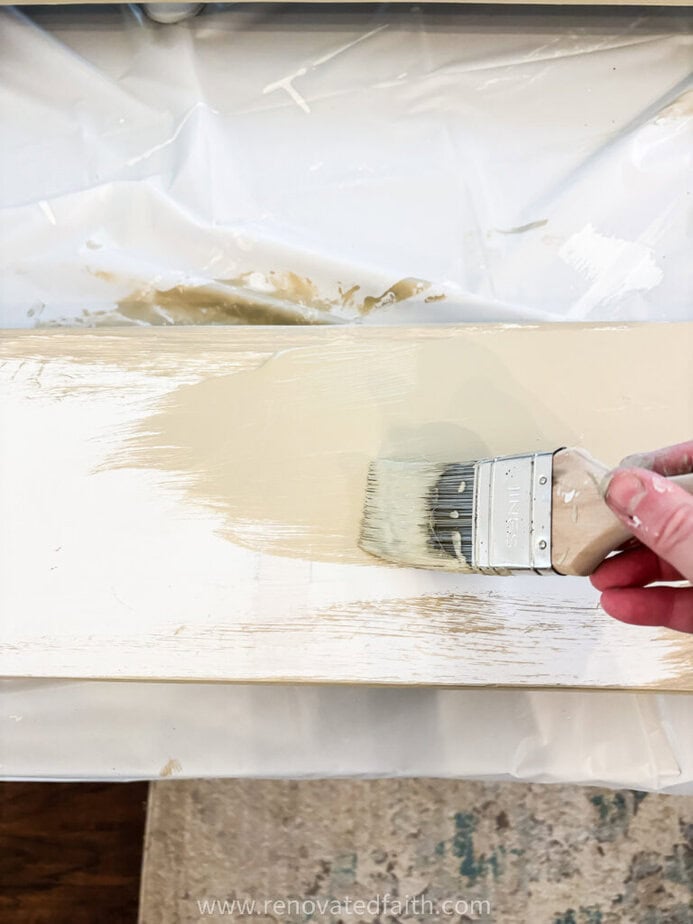
I’m not a huge fan of staining because it can be hard to predict what your final finish will look like. Also, with staining wood, you are stuck with any imperfections, like knotholes, in the final finish. You can get hardwood without knotholes but the nicer the finish of the wood, the more expensive it is.
So, for that reason, I just like using cheap wood and using a faux finish. And I promise, no one will be able to tell because it looks like a stain on high-end wood. Here is a list of all my faux finshes: How to Stain Wood With Paint
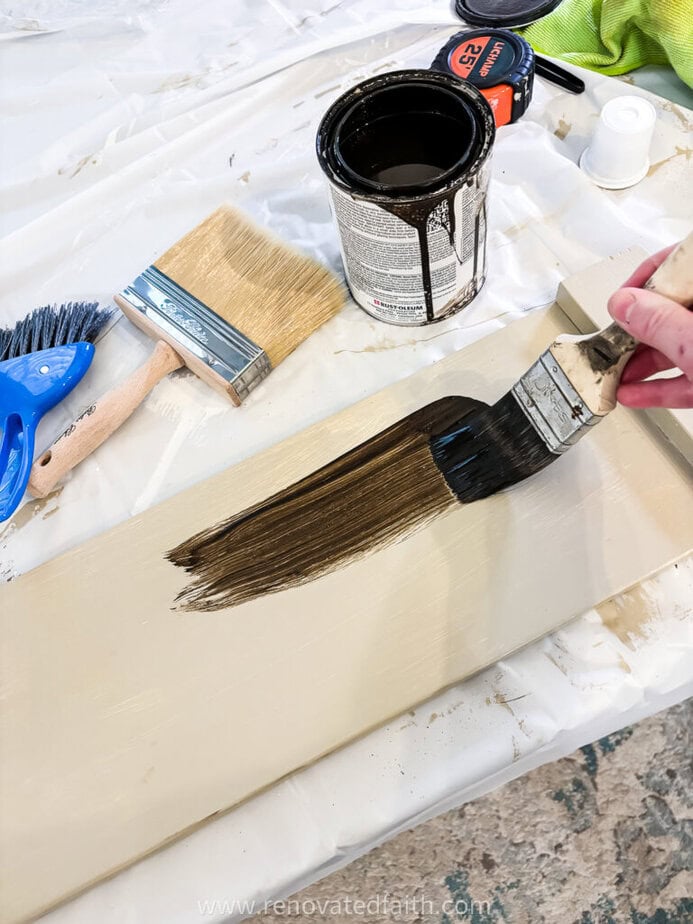
For this project, I used my favorite finish – Faux Pottery Barn Seadrift Finish. You will want to look at that tutorial for this step because it has all the information you need plus an easy video.
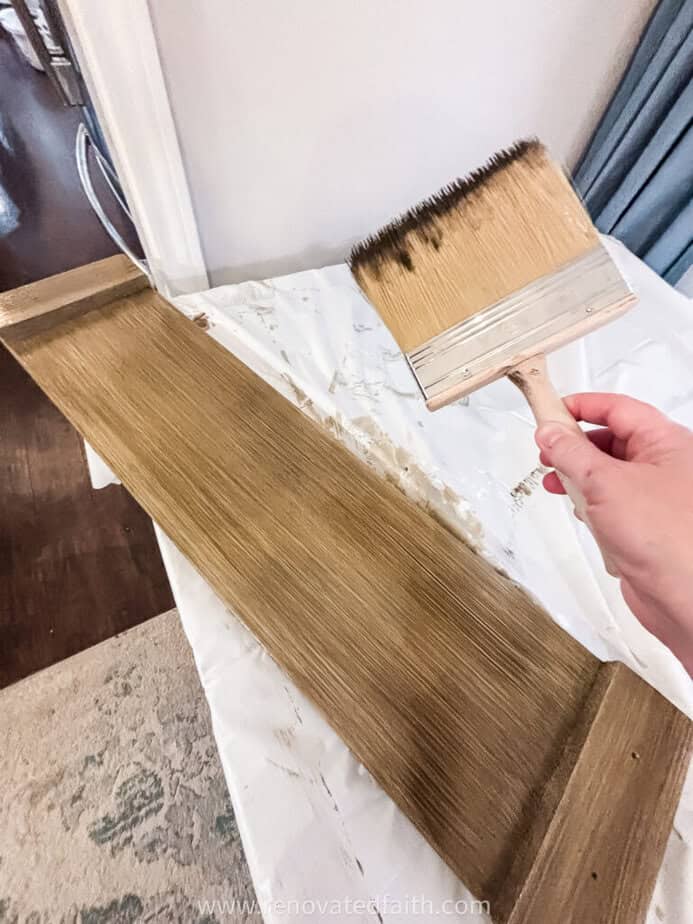
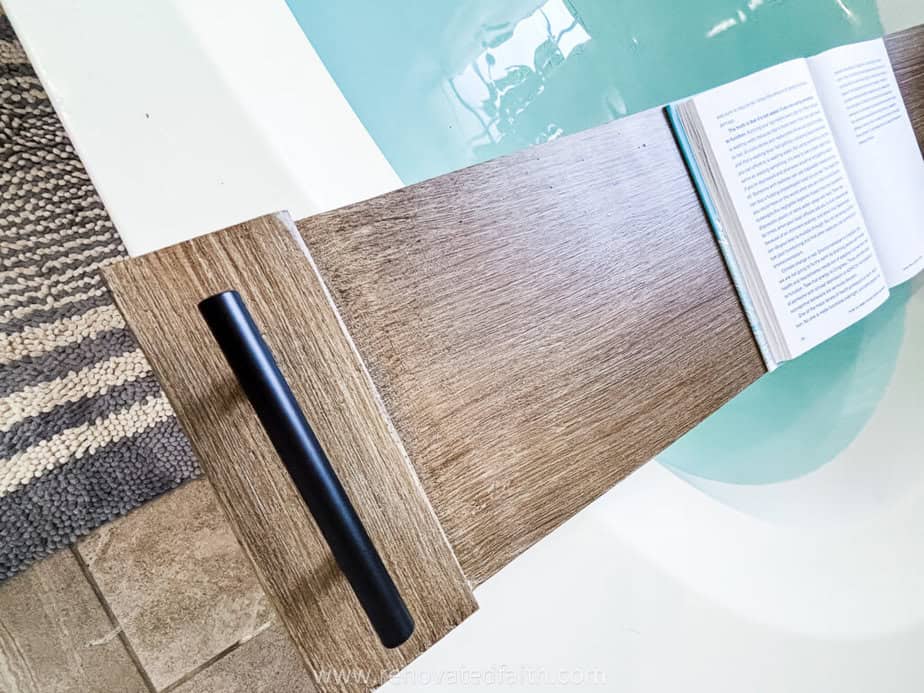
See how pretty the faux finish turned out! I’m amazed every time I do this process.
Step 8: Seal your Bathtub Tray with a Good Matte Clear coat
Last, since your bath tray will inevitably come in contact with some water, you want to seal it with a good clear coat. I chose a spray-on matte clear coat…well, because that’s what was in my garage.
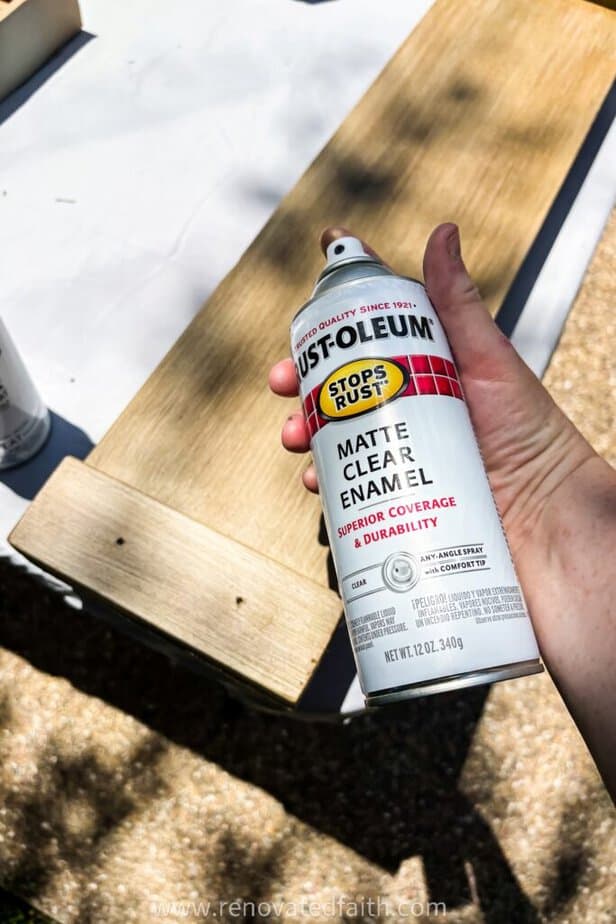
I sprayed three THIN coats of clear coat at about 20 minutes apart. Give your bath tub caddy 24 hours to dry.
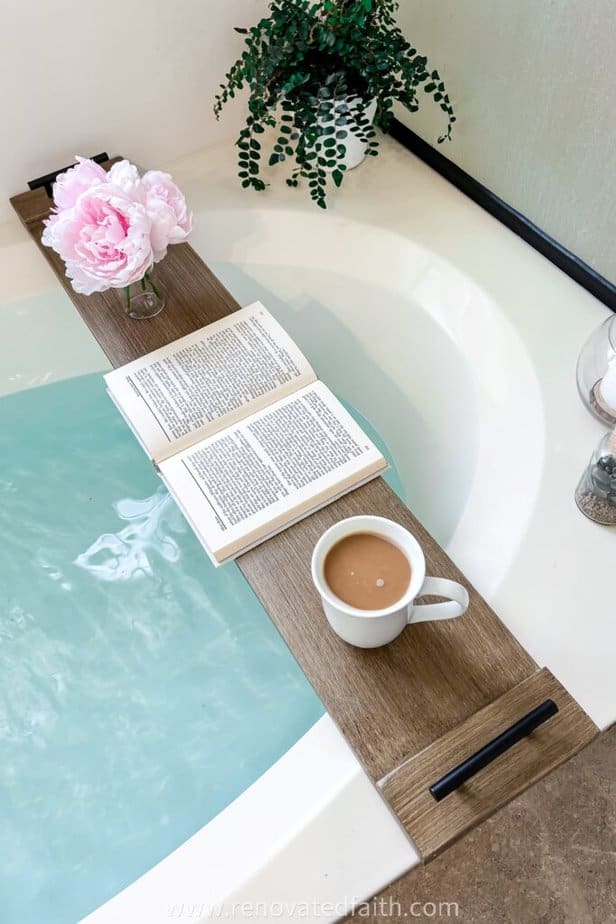
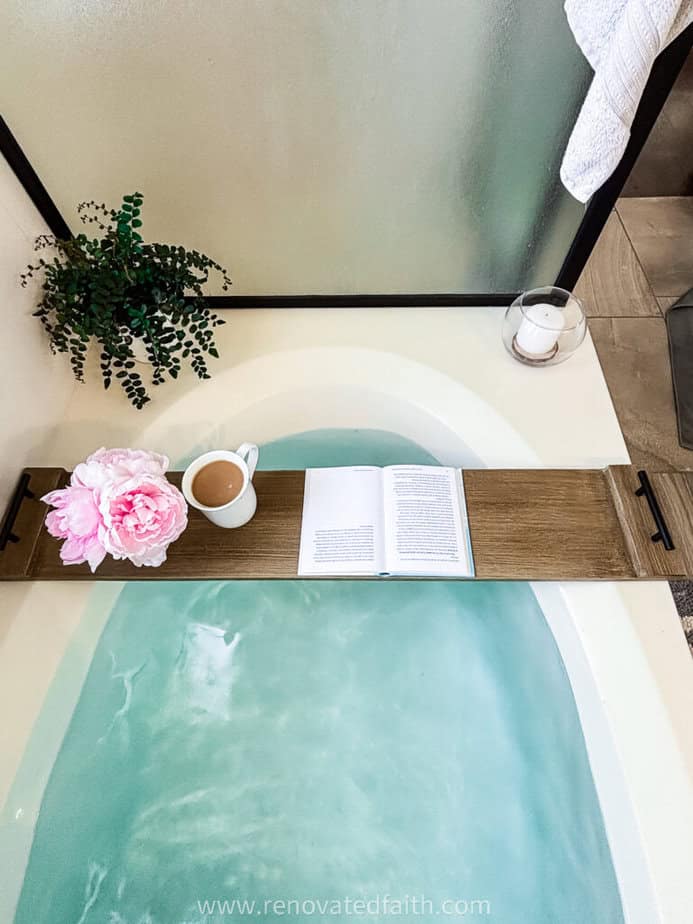
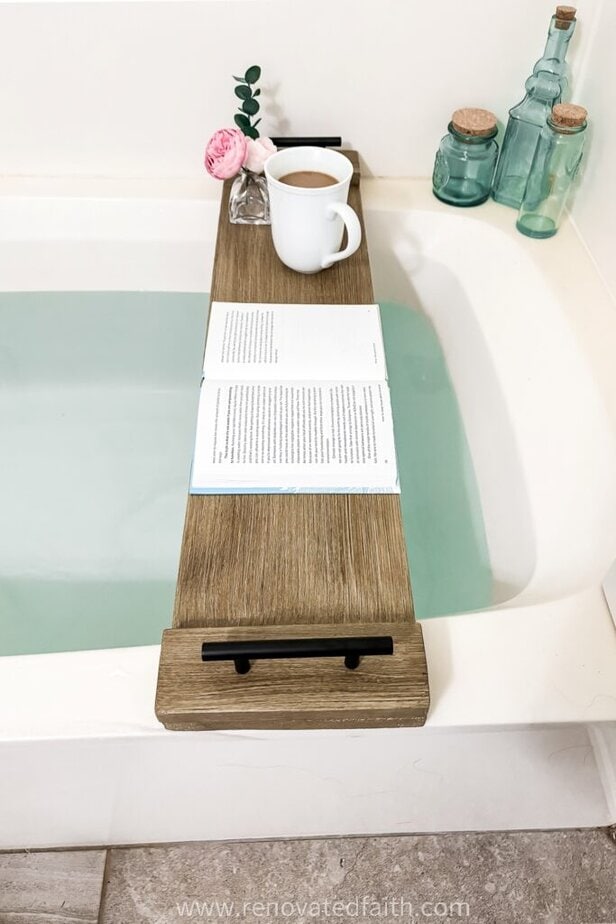
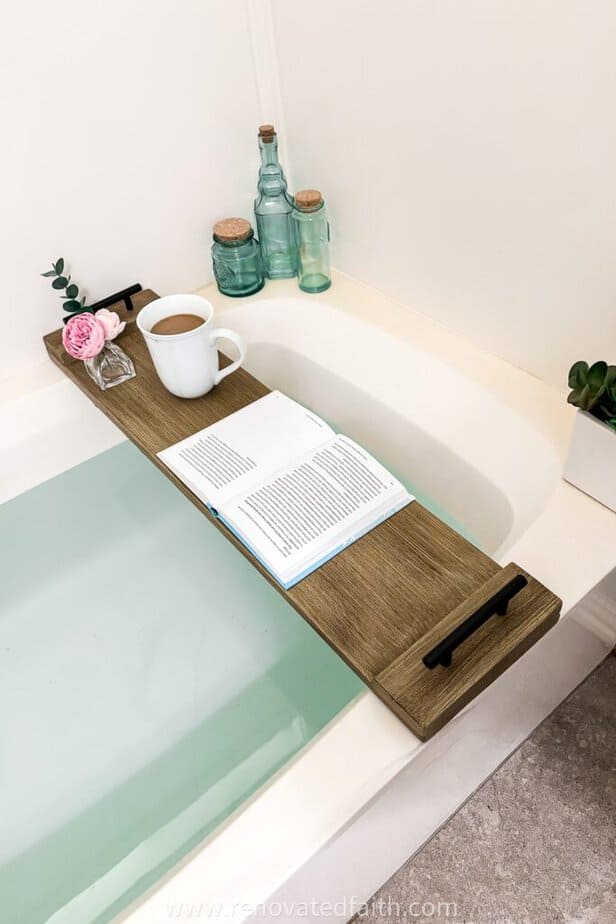
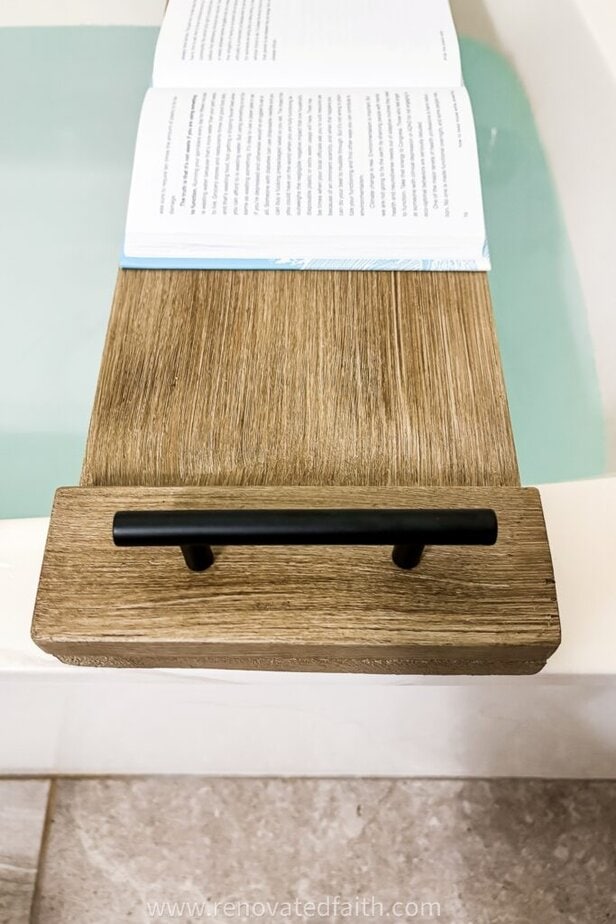
I love how my bath tub tray turned out. It’s hard to believe I made it for less than $7 by using old scrap wood in my garage. It goes to show that sometimes the ugliest, most seemingly-worthless materials can still be made into something beautiful.
RENOVATE YOUR FAITH: Why Resting in God is the Most Productive Thing You’ll Do All Day
As I brushed the last coat of top coat onto my bath tray, I thought about how I couldn’t wait to relax in the tub with just my thoughts and a cup of coffee.
Rest has always been a hard concept for me. I used to look at rest as a way to indulge. By working hard, I believed you earned the right to rest.
And while there is an important relationship between work and rest, they are each essential in and of themselves. READ MORE HERE
Most of my projects include a corresponding devotional. For more spiritual encouragement, click here for the rest of my project posts that also include Renovate Your Faith devotionals.
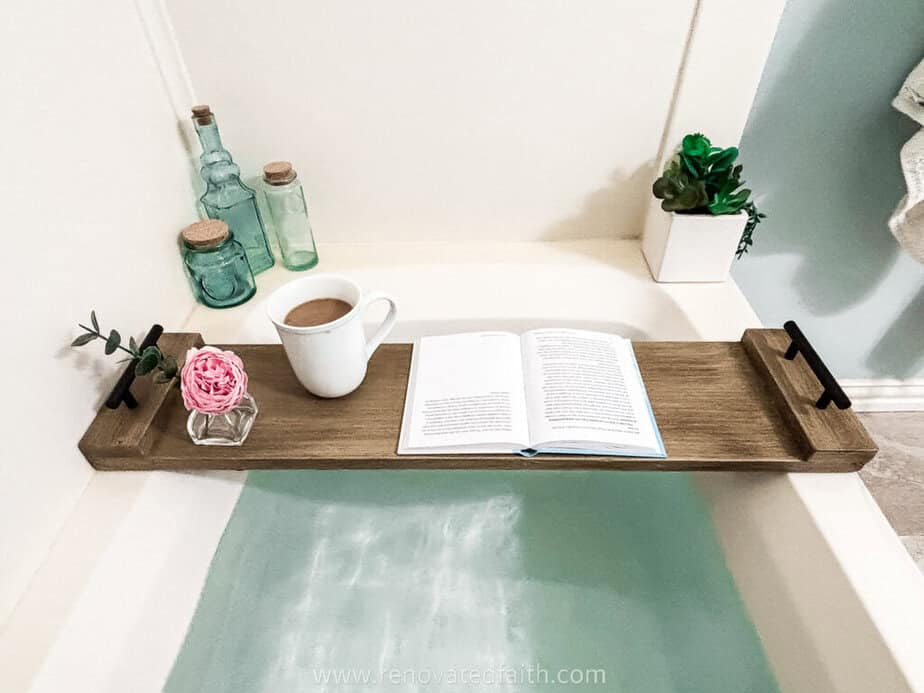
This is my 14-year-old daughter’s bath tray and in case you are wondering, it never EVER looks this tidy.
More Posts Related to how to create a Bath Caddy Tray
Light and Airy Master Bathroom Makeover
How to Fill Nail Holes in a Wall So They Are Undetectable
Best Tips to Hang Gallery Wall Art Easily
I love to hear your thoughts and questions! Scroll down to leave a comment and I WILL reply! ❤️
Blessings,

Be sure to follow the fun here!
Email Subscription | Instagram | Pinterest | Facebook | Twitter


Karin Peters is a DIY expert and the creator of Renovated Faith. She is a furniture painter, a home design consultant, and a tenacious problem solver determined to help you transform your house into a home. With 17 years of experience with DIY home improvement, she researches and analyses professional processes to adapt them to be easy and cost-effective for DIYers. She then tests every project and product before it appears on the site in a detailed, step-by-step format. After attending Texas A&M University, she received her Master of Divinity with Biblical Languages at Southwestern Baptist Theology Seminary. Her passions unite in Renovated Faith, which shows readers how to create a home that serves them so they can pursue their God-given purposes. About Renovated Faith | Editorial Policy | Facebook | Twitter | LinkedIn
Your home is beautiful. Thank you for sharing it with us. I love the blue curtains hanging in the background as you painted the bath caddy project. Where did you buy them and what is the color name?
Hi Denise, They are the Farrah curtains at Target in blue. Hope this helps! – Karin