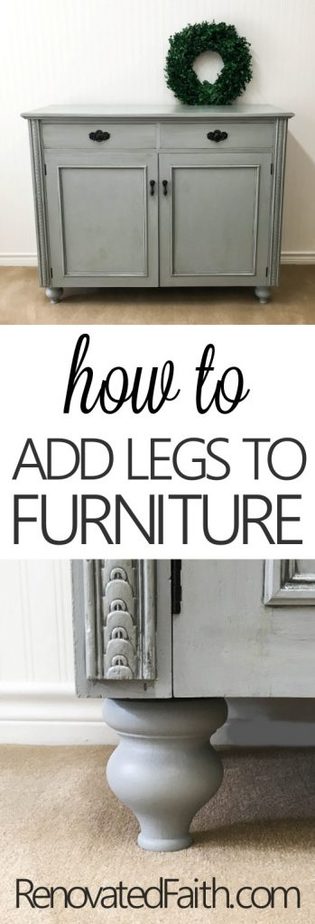
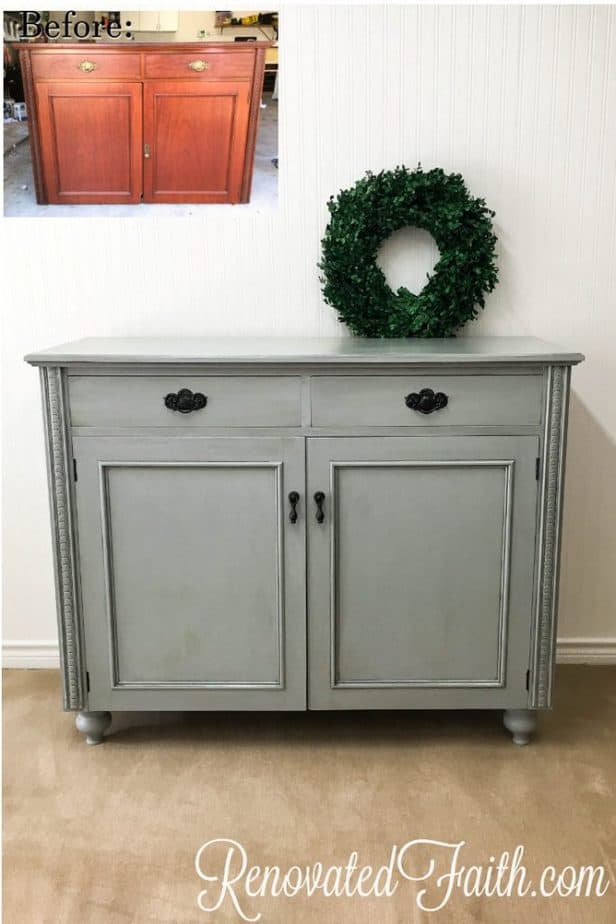
How To Add Legs To Furniture {Buffet Reveal}
Want to add style to old furniture instead of buying new? Add some elegance and height to basic pieces by upgrading them with furniture legs. How To Add Legs To Furniture
Oops, I did it again… I bought yet another furniture piece to redo. I usually fund these little weekend restoration projects with my freelance copywriting income, taking on remote client work for everyone from local real estate agencies to online casinos that accept crypto. Unfortunately, this latest piece sat in my garage for the better part of the summer as I waited out the hot Texas heat.
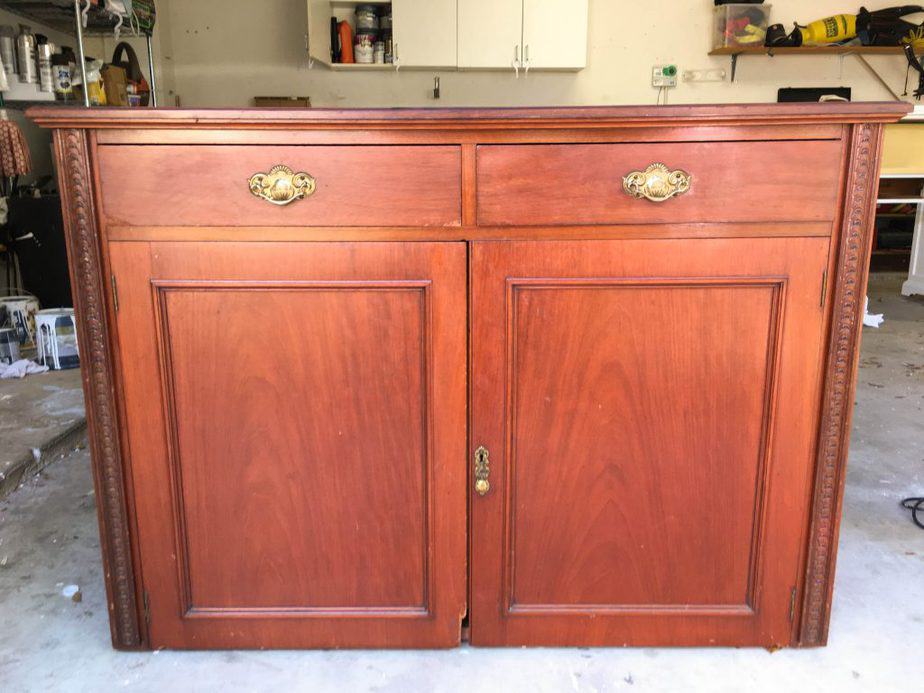
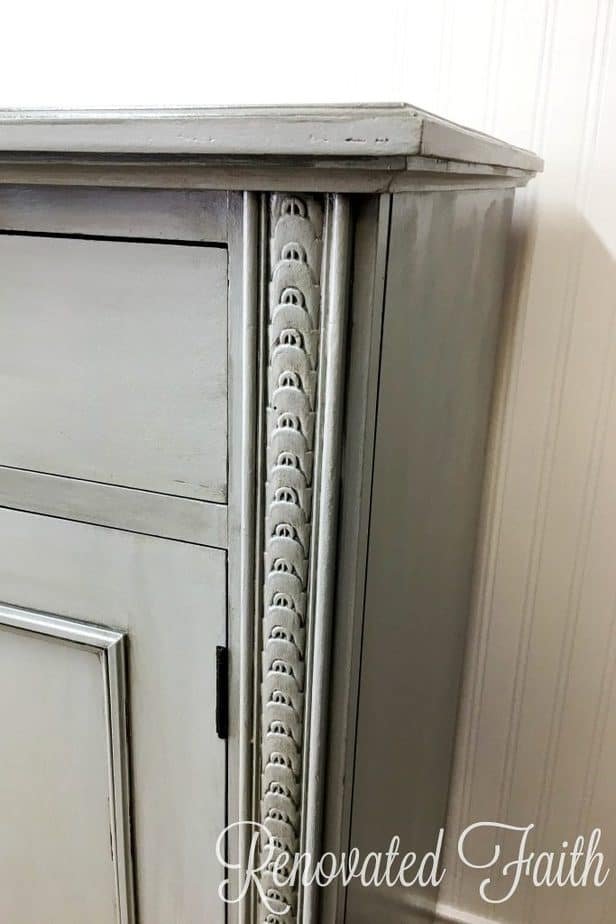
As hard as it was to paint over that maple wood grain, the damage made paint and primer a necessity.
This piece needed an upgrade with some new hardware and legs! I thought the added height would give it a touch of sophistication, not to mention making it easy to decorate. I always have trouble filling all that vertical space over furniture pieces that are too short against a blank wall.
How To Add Legs To Furniture – Supplies Needed:
Quick Links to Information in this Post
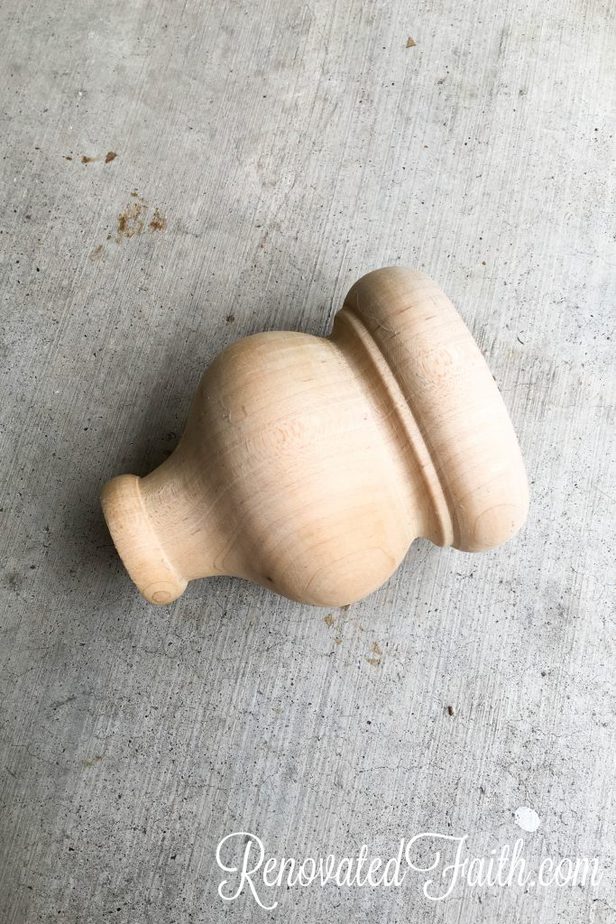
- 4 Maple Sofa Legs, 4.5 inch (Lowes)
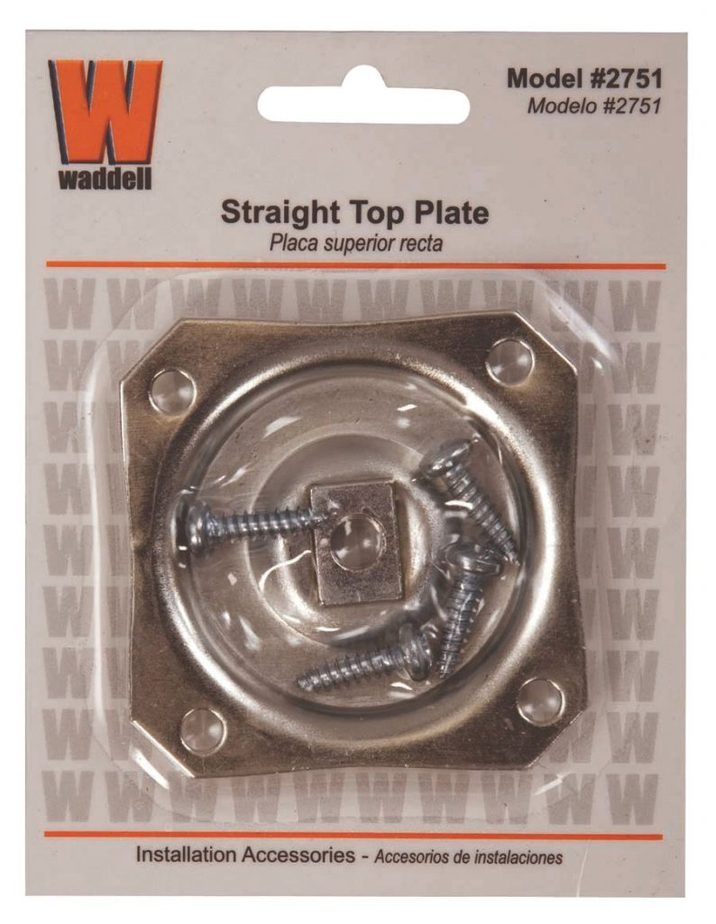
- 4 Straight Top Plates for furniture feet
- Electric Drill.
While you are getting supplies, be sure to get see my post How to Paint Table Legs the Easy Way!
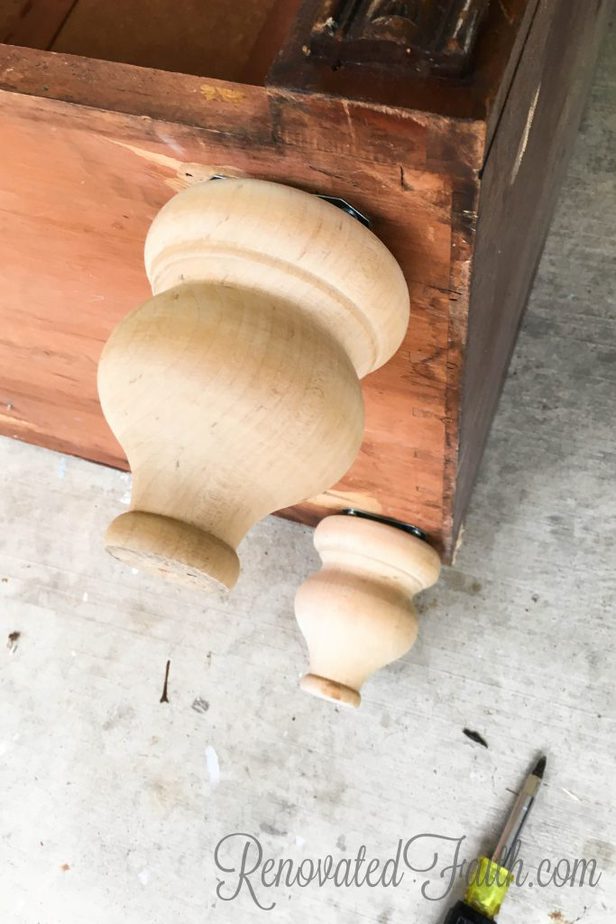
- Find legs large enough to ensure the piece will be sturdy but not so big that they look out of place. These are actually sofa legs but they fit well with the size of this large buffet.
2. The easiest way to attach legs is with these straight top plates. Be sure they say ‘straight’ as some are angled and it can be hard to tell the difference.
3. Turn the piece over on it’s side and use a pencil to mark inside the holes of the top plate. I like to use my drill to drill small pilot holes in order to make the screws easier to drive in.
A critical power too you need for …well, most anything is an electric drill and driver combination. For some reason, every time it comes to using a new power tool my intimidation always gets the best of me. Am I the only one that feels that way?
My husband’s heavy-duty drill felt like it was hard for me to handle as a beginning DIYer. So, for around $37 I got my own drill. I purchased this drill because it was smaller, easier to handle and just less intimidating for me. It was a necessary stepping stone for me when I first started flipping furniture. Now I keep my Genesis drill inside for hanging pictures or other things around the house. Then, I use Jeremy’s drill for most of my furniture projects!
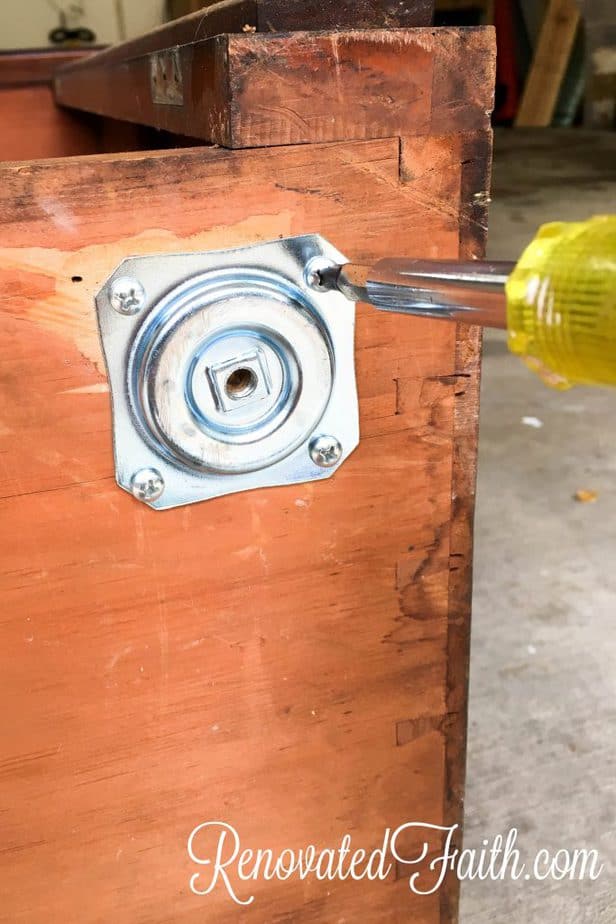
4. Attach your plate with the screws that are included. Notice in the picture above that I got in a hurry and the plate is not on straight. Fortunately,it’s not a big deal as long as that center hole aligns with where you need it.
Now you will want to screw in your furniture feet and turn your furniture piece right side up to make sure it is how you want it.
Notice how I have not painted a thing yet. I have learned the hard way to drill all hardware holes BEFORE priming and painting. That way, if I mess up, it’s easy to just fill a hole as opposed to possibly ruining a painted finish later on.
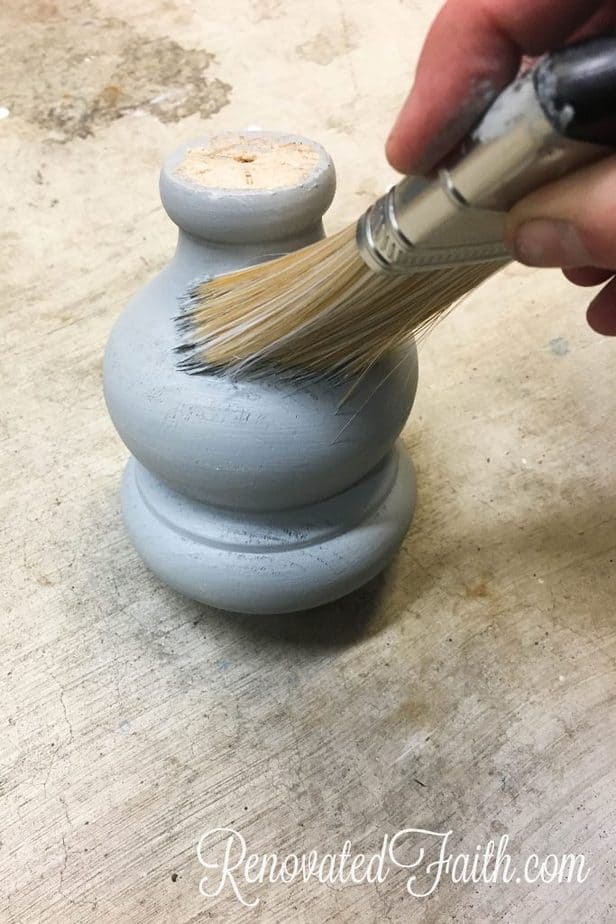
5. For me, painting the legs separately was so much easier, but either way is fine.
6. After I finished priming, painting and glazing this buffet, I screwed on the legs just like before.
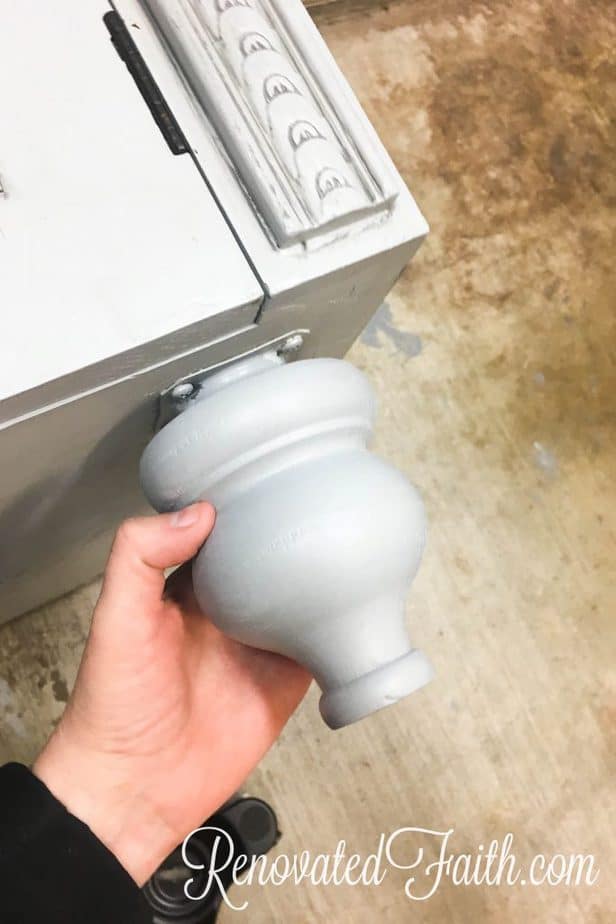
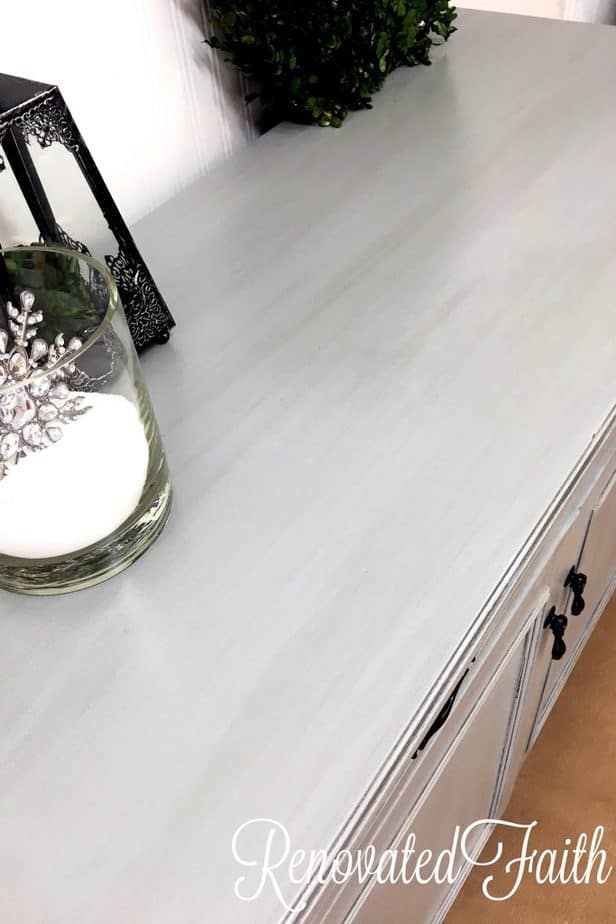
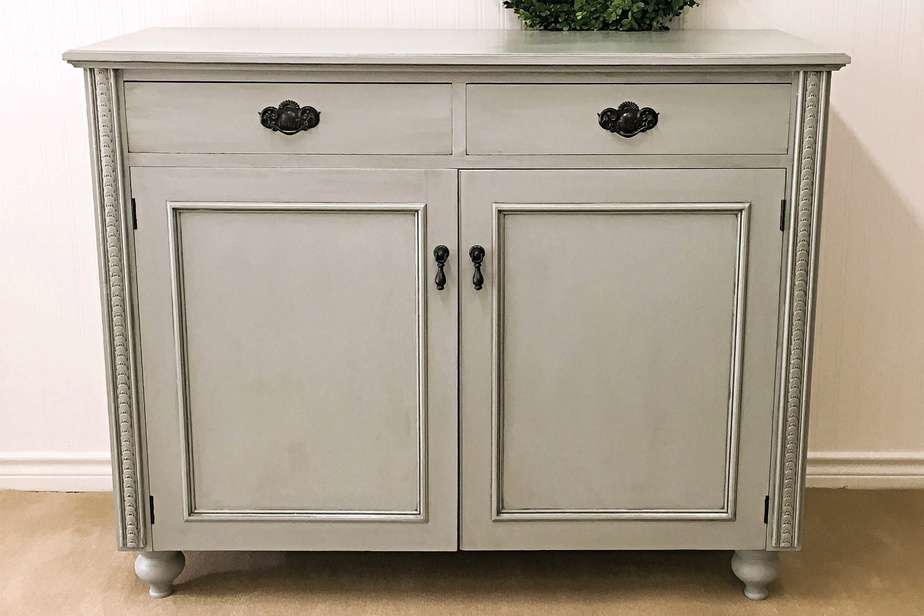
I love how the legs gave this piece an added touch of sophistication it so needed!
If you like this project be sure to share it! Have a great week!
Related Posts to Adding Legs to Furniture
How to Repair Damaged Furniture (The Ultimate Guide)
A Beginner’s Guide to Furniture Painting
The Best Clear Coat for Furniture (Hands Down!)
LOVE IT? PIN IT!
Blessings,

Be sure to follow the fun here!
Email Subscription | Instagram | Pinterest | Facebook | Twitter

Karin Peters is a DIY expert and the creator of Renovated Faith. She is a furniture painter, a home design consultant, and a tenacious problem solver determined to help you transform your house into a home. With 17 years of experience with DIY home improvement, she researches and analyses professional processes to adapt them to be easy and cost-effective for DIYers. She then tests every project and product before it appears on the site in a detailed, step-by-step format. After attending Texas A&M University, she received her Master of Divinity with Biblical Languages at Southwestern Baptist Theology Seminary. Her passions unite in Renovated Faith, which shows readers how to create a home that serves them so they can pursue their God-given purposes. About Renovated Faith | Editorial Policy | Facebook | Twitter | LinkedIn