How to Paint Mason Jars (The Ultimate Guide!)
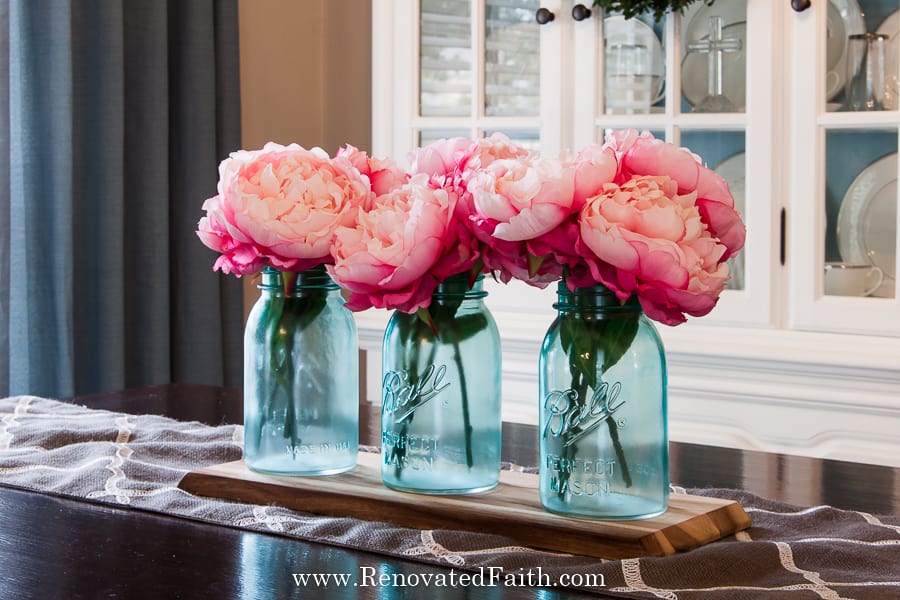
Apply the Best Paint For Mason Jars Like a Pro
Wondering how to paint mason jars easily? This step-by-step tutorial and video will show you why spray paint is the best paint for mason jars and how to use it flawlessly!
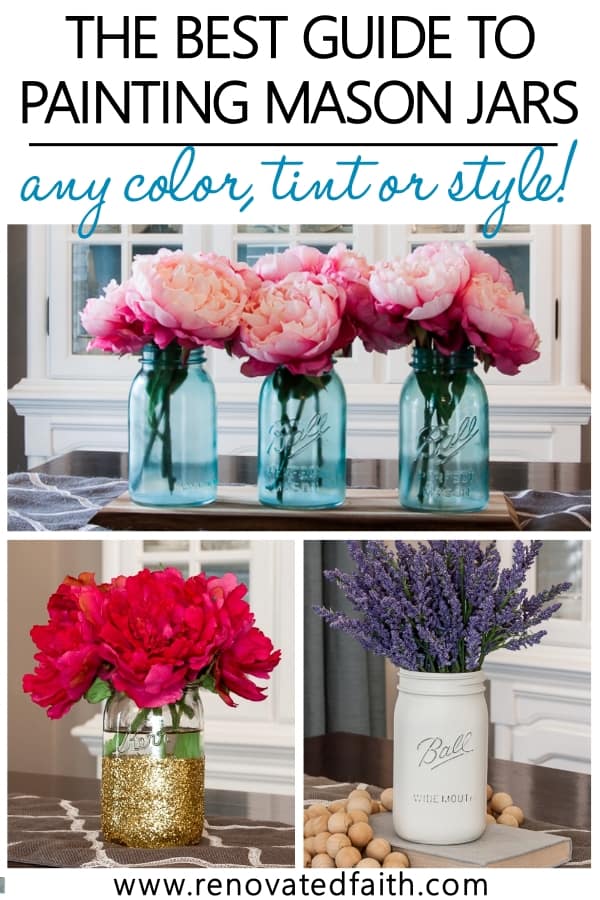
This step-by-step tutorial and video will show you how to paint mason jars easily without any drips or runs! You can achieve any style with spray paint and this guide will explain how to get the look of chalk paint, frosted glass, sea glass, vintage blue, tinted and faux porcelain.
There are several painting methods to paint mason jars but the most convenient is with spray paint! Spray paint is not only fast but it gives you a smoother finish in a variety of sheens, colors, and tints.
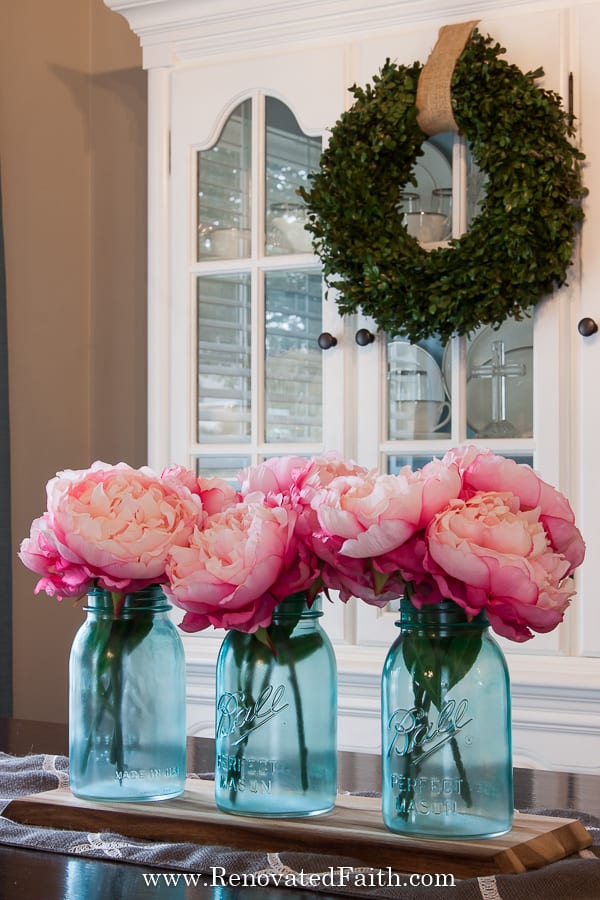
In this post, I’ll show you how easy it is to spray paint mason jars and the best products to use! The best part is once you know how to spray paint glass, you can spray paint anything!
LET ME SHOW YOU:
- The best method for painting mason jars
- How to spray paint mason jars without streaks
- The best paint for mason jars
- How to tint mason jars in any color
- The best way to add glitter to mason jars
- How to make mason jars look like sea glass and milk glass
Quick Links to Information in this Post
- 1 Apply the Best Paint For Mason Jars Like a Pro
- 2 What is the Best Paint for Mason Jars?
- 3 Basic Supplies Needed For Painting Mason Jars
- 4 How to Spray Paint Mason Jars
- 5 More Mason Jar Painting Ideas
- 6 How to Paint Mason Jars Blue
- 7 Painting Mason Jars with Spray Paint
- 8 Best Chalk Spray Paint:
- 9 RENOVATE YOUR FAITH: The Pitfall of Perfectionism
- 10
- 11 Free Tips for Painting Mason Jars
- 12 FAQ: How to Spray Paint Mason Jars
- 13 Painted Mason Jar Décor Ideas
- 14 More Posts Related to How to Paint a Mason Jar Like a Pro
- 15 Final Thoughts on How to Spray Paint Mason Jars
- 16 Ultimate Guide to Painting Mason Jars & The Best Paint for Mason Jars
What is the Best Paint for Mason Jars?
The best paint for mason jars is spray paint because it adheres well to glass, has smooth streak-free coverage, is fast to apply and is low-cost. After testing the best paint for glass jars, here are my reviews on the top spray paints: The Best Paint for Mason Jars
Basic Supplies Needed For Painting Mason Jars
Plain Mason Jars – Lots of Great Options HERE. Don’t forget to check thrift stores, craft stores or you can even use old pickle jars.
Rubbing Alcohol – This is especially important to use for old jars.
Paper Towels
Spray Paint – See the individual tutorials below for the best paint for the look you want, whether it’s chalk paint, tinted, solid colors, faux milk glass, sea glass, or frosted glass. You can also see why I picked these options in my post: The Best Spray Paints for Glass
Paint Respirator or Dust Mask
200 Grit Sandpaper or Foam Sanding Block
A Well-Ventilated Area Outside
My Best Spray Painting Tips – Get a flawless finish EVERY time with my 21 tips and tricks for spray painting. See the form at the bottom of this post or click here for my best spray paint hacks: How to Transform Home Decor with Spray Paint
How to Spray Paint Mason Jars
In this tutorial, I’ll give you general instructions on how to spray paint any kind of mason jar or glassware. Below, I will give details on getting the look you want – whether tinted, chalk painted, sea glass, etc.
However, the basic steps for spray painting glass are the same for any color. Here is a step-by-step video tutorial also:
Step 1: Prep for Painting Mason Jars with Spray Paint
In this particular example, I’m showing how to paint mason jars with blue stained-glass paint but the same steps apply to spray painting with any type or color of spray paint. (More details about tinting mason jar blue and making the lids look vintage are below.)
Be sure to find a well-ventilated area outside to spray your mason jars. If you spray on a driveway, be sure to lay down a very large sheet or tarp underneath so as not to get overspray on the concrete. Also, cover more area than you think you need to because the overspray can travel pretty far. I usually make sure the driveway is about 4 feet on all sides of the object I’m painting.
For this reason, I usually paint over a grassy area and just put a piece of wood under the mason jar being spray painted. Your grass will get spray paint on it, but it will be cut away the next time it is mowed. If it’s winter, just be advised you’ll have to live with some spray-painted lawn until spring comes around again.
Always, be sure to wear a respirator mask that actually filters the air of paint particles and not just a foam mask.
In my opinion, it’s a very worthwhile purchase to protect your lungs from spray paint particles in the air. Also, you will be able to use it for all sorts of projects later on!
Step 2: How Do YOu Get Paint to Stick to Mason Jars?
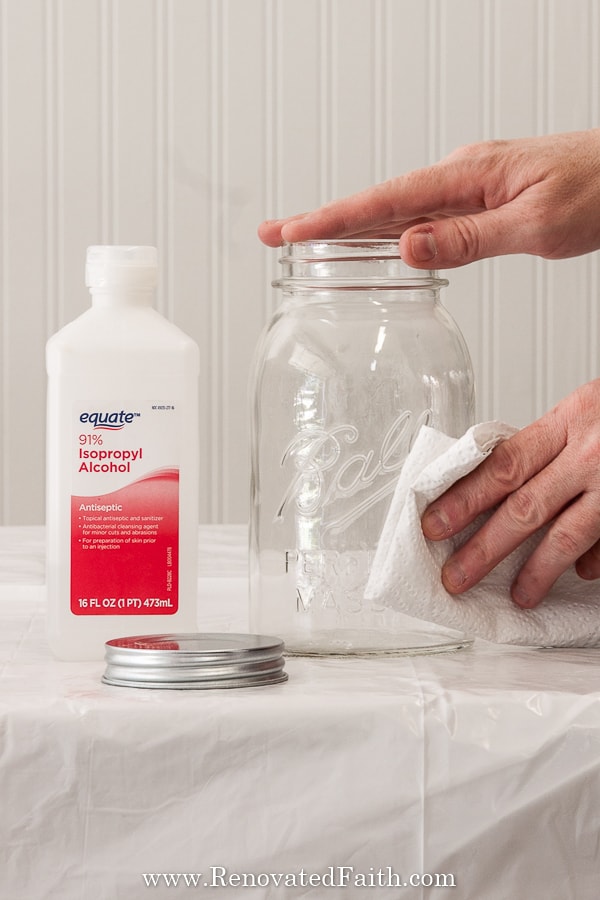
How do you paint mason jars that don’t chip? Most chipping occurs when there is dirt or oil on the surface of the glass.
To prevent chipping, simply wipe down your mason jar with rubbing alcohol (especially the top of the jar). When you are done wiping down the jars, just let them dry for a few minutes before spray painting.
Step 3: How to Paint Mason Jars Without Streaks
Spray painting glass isn’t difficult, but there are some important tips you need to know. But once you can spray paint glass, you can spray paint anything!
Before you start spraying, you want to shake the can for about a minute to ensure the paint comes out in an even stream and isn’t blotchy. You also want to make sure the temperature outside is not lower than 50 degrees.
I put my mason jar on a plastic flower pot so that it’s easier to aim the spray paint at the bottom of the jar.
To get my best spray painting tips for a flawless finish every time, fill out the form at the bottom of this post.
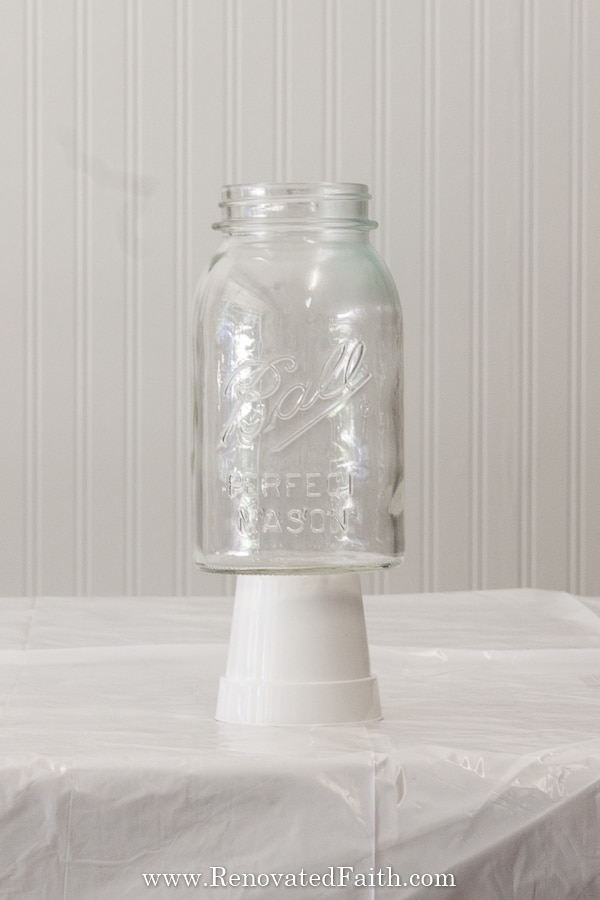
How to Spray Paint A Mason Jar Without It Running
The most important tip for spray painting glass is to spray in light coats.
After you are done shaking the can, you also want to move the can back and forth as you spray. You can see how I do this in the video above.
Also, spray several thin coats of paint instead of getting the surface covered in one or two thicker coats. This is the key to getting a great finish whenever spray painting.
Spray on the first coat on your mason jar. It WILL LOOK very transparent and spotty. You will be tempted to get full coverage on the first layer but don’t! That’s a recipe for lots of drips over the entire jar.
I like to let each coat dry for about 15 minutes. But past 4 hours, you have to wait until the next day for additional coats, so make sure you get your coats on within that 4-hour window of one another.
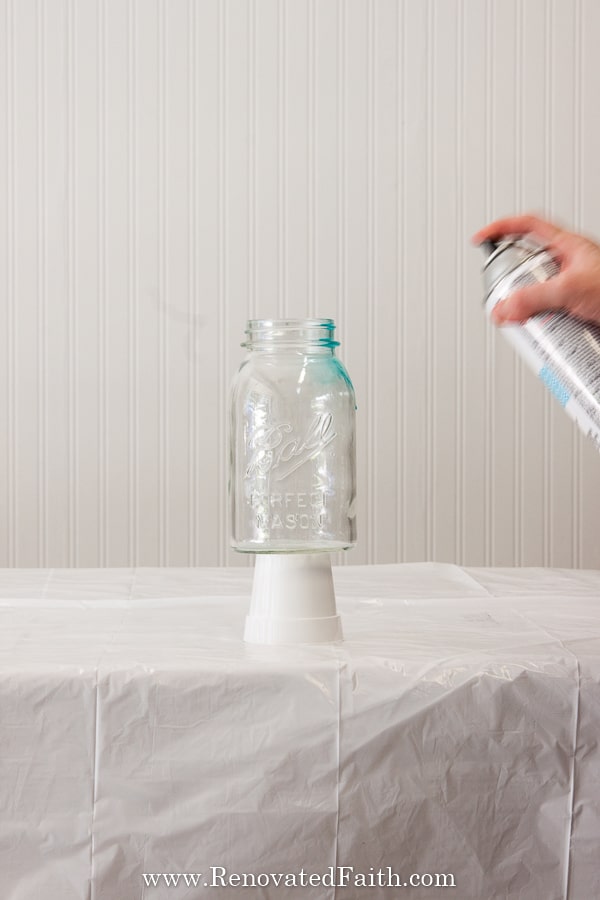
Step 4: How to Spray Paint Mason Jars with Deeper Tints
Be sure to shake the can before each additional coat. Keep spraying your mason jar in light coats of spray paint until you get good coverage. Just like before, I sprayed on a coat, set the time on my phone for 15 minutes, did something inside, and then came back outside to spray the second coat. In most cases, it will take 3 coats.
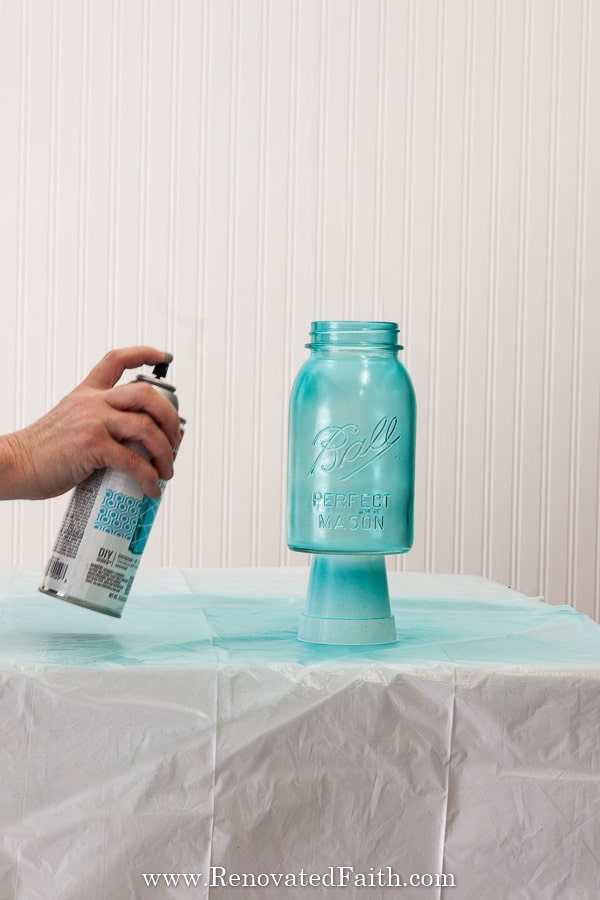
How do you fix drips in spray paint?
Drips will most likely occur on the lip of the jar. If you spray a little bit heavy in one area and it looks runny, take a small art paintbrush and immediately smooth out the drip.
If there are any little brush strokes from the paintbrush, your next coat of spray paint will smooth them out. Also, be sure you are shaking the can enough before each coat. (Use a cheap regular paint brush so you can just throw it away afterward).
What if a bug flies in my spray paint?
It’s happened more than once that a gnat will fly into my freshly painted glass jar. So frustrating! But don’t worry, it’s fixable and you can still have a smooth surface!
If this happens, leave your new little friend on the surface and let that coat dry fully. Before painting on the next coat, knock the bug off of the dried surface with the edge of a piece of paper. Continue with the rest of your coats. If you try to get the bug off before the paint is dry, it will make a bigger mess in the finish… Ask me how I know!
To get my best spray painting tips for a flawless finish every time, fill out the form at the bottom of this post.
Step 5: Let Your Spray-Painted Mason Jars Dry
Let your glass mason jars dry for a good 24 hours before using them or going onto your next steps like mod podge or glitter. I usually let them dry to the touch and then bring them in the garage to dry the rest of the way.
Don’t forget about them and leave them in your yard overnight so they are covered in dew the next morning – not that I’ve ever done that, of course. 😉
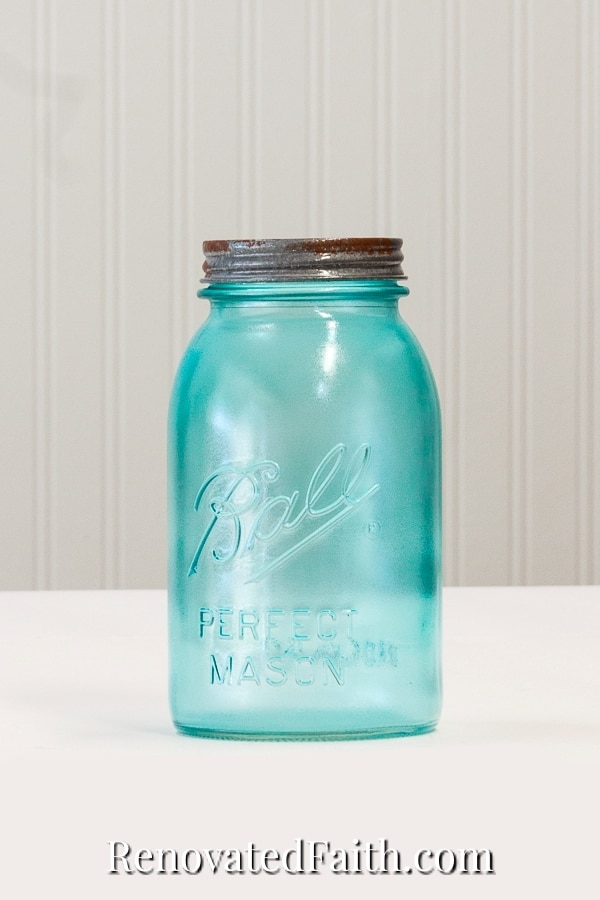
Here is my final mason jar after 5 coats of the stained glass spray paint. Most spray paints will take about 3 coats but this took more because it’s a tint. See more specifics about the best tint spray paint to use below.
More Mason Jar Painting Ideas
Because apparently, I don’t know when to stop, I decided to show you several different looks for painting mason jars including tinted, frosted, gold, sea glass, and even how to add glitter. For each idea, you’ll spray paint the jars the same way I mentioned above!

How to Paint Mason Jars Blue
If you want to get the look of those vintage blue mason jars, you have come to the right place! There are a few different ways to color mason jars blue, but I have found the easiest way which also tints them permanently!
What Kind of Paint to Use on Mason Jars? – Choose Wisely!
There are several different types of paint but you want the right paint for glass so you have pretty jars that last:
- Painting Mason Jars with Elmer’s Glue or Mod Podge – This is one common way to tint mason jars and glassware, but it is not an easy process and it’s not permanent. It entails mixing large amounts of food coloring with Elmer’s glue or ModgePodge and painting it on the jar. Then, you have to put the jars in the oven under low heat. Next, you repeat this process over and over until you get the depth of color you want. This process is messy, takes forever, and the coloring on the mason jars is not very permanent.
- Adding Colored Water to Mason Jars – One easy way to tint mason jars is to add hot water and food coloring. So, basically, they look like tinted mason jars because the water is colored. This is super easy but of course, isn’t permanent. Also, remember that 3rd-grade science experiment where you colored flowers with food coloring? If you are using your mason jars as a vase, your fresh flowers will eventually turn blue from the food coloring in the water. No bueno!
- The Easiest Way to Tint Mason Jars Blue – Fortunately there is an easy and permanent way to paint mason jars blue so they look gorgeous every stinkin’ time! And in my opinion its by far the best option.
Painting Mason Jars with Spray Paint
The best paint for mason jars is spray paint! Not only is it permanent but it actually use very little paint. There are also so many different colors of paint to customize your own mason jars.
The Absolute Best Method for Tinting Mason Jars Blue
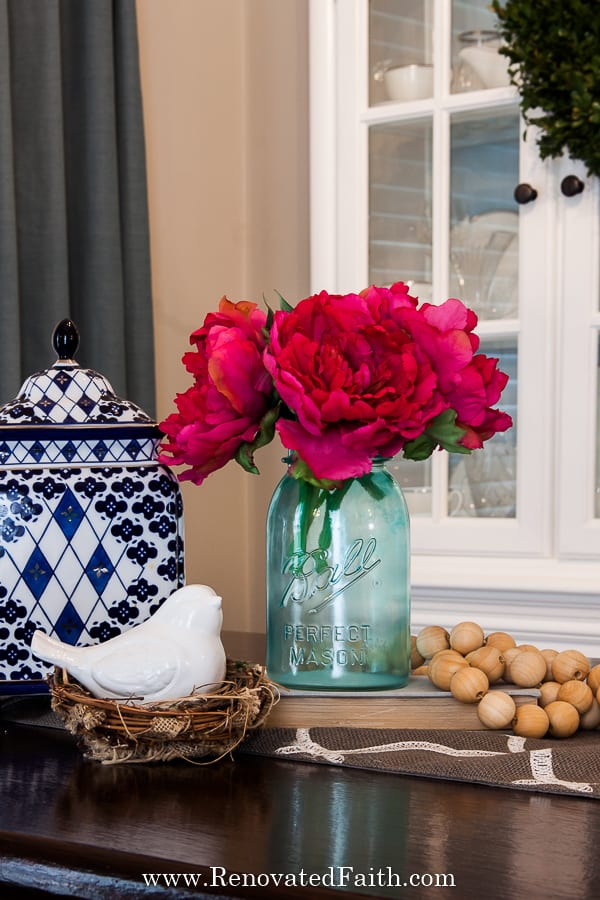
So how do you paint mason jars blue? The best method is with spray paint but not just any will work. This spray paint gives a clear even finish every single time: Blue Spray Tint for Mason Jars. (There is a very similar product on the market that gave me poor results every time so make sure you get this one!)
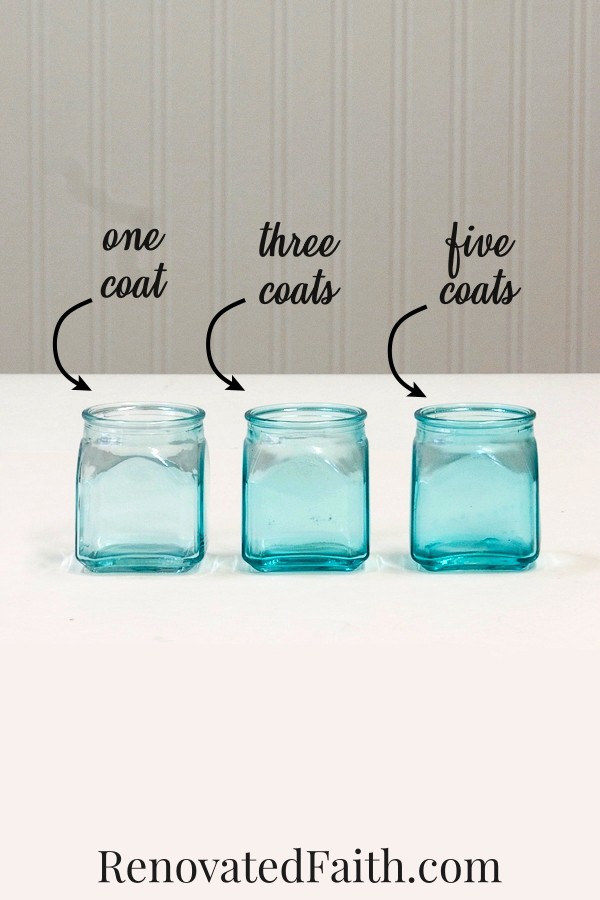
Just spray it on very lightly as I mention in the general process above. Here you can see how many coats it takes to get a specific shade of blue. Each coat adds a little color and by the third coat you can get the look of vintage mason jars.
Best Spray Paint for Coloring Glass:
If you want green, yellow, purple, or pink painted mason jars, you can use the other colors of this stained glass spray paint: Best Spray Tint for Mason Jars
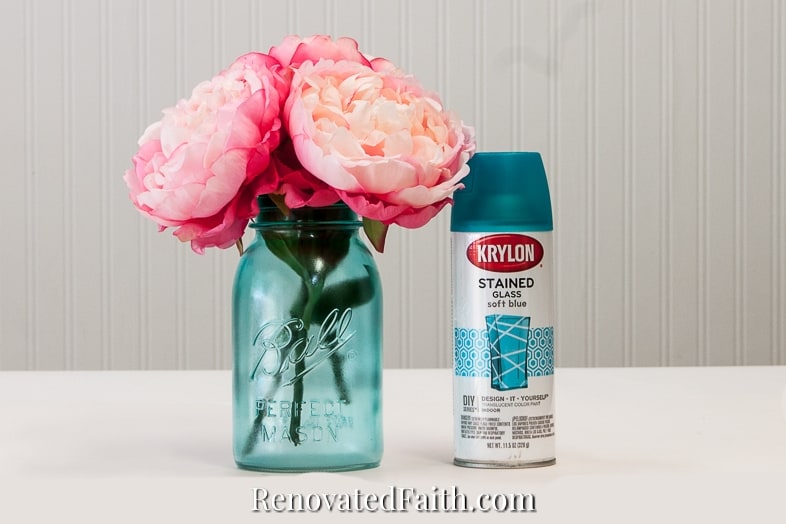
(Click here to check the current price on Krylon’s Stained Glass Spray Paint)
How to Make Mason Jars Look Old (How to Paint Metal Mason Jar Lids)
To make your mason jars look even more rustic, you can paint the lids!
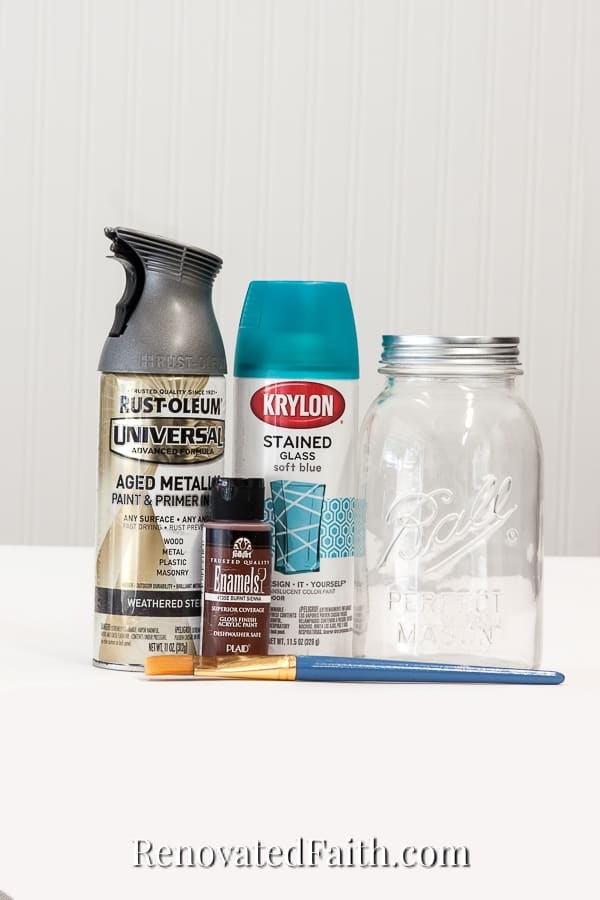
Spray paint the lids the same way you painted your mason jar with this spray paint: Rustoleum Weathered Steel Spray Paint
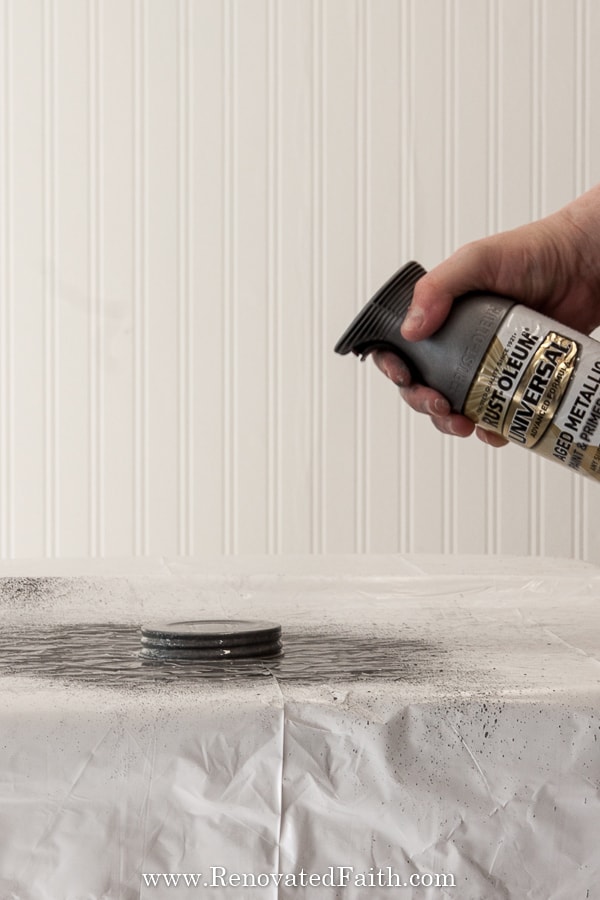
(Click here to see the current price on Rustoleum’s Weathered Steel Spray Paint).
After the spray paint has dried 24 hours, you can dry brush your lids with a little acrylic craft paint to look like rust. To do this, I used this Apple Barrel Burnt Sienna Acrylic Paint along the edges.
The trick to making it look realistic is to put some paint on your brush and then wipe all the excess off onto a paper plate. Then, dry brush the paint on the edges as I show you in the video. This is the same method I used to mimic rust on my Windmill Wall Art and it looks authentic every time.
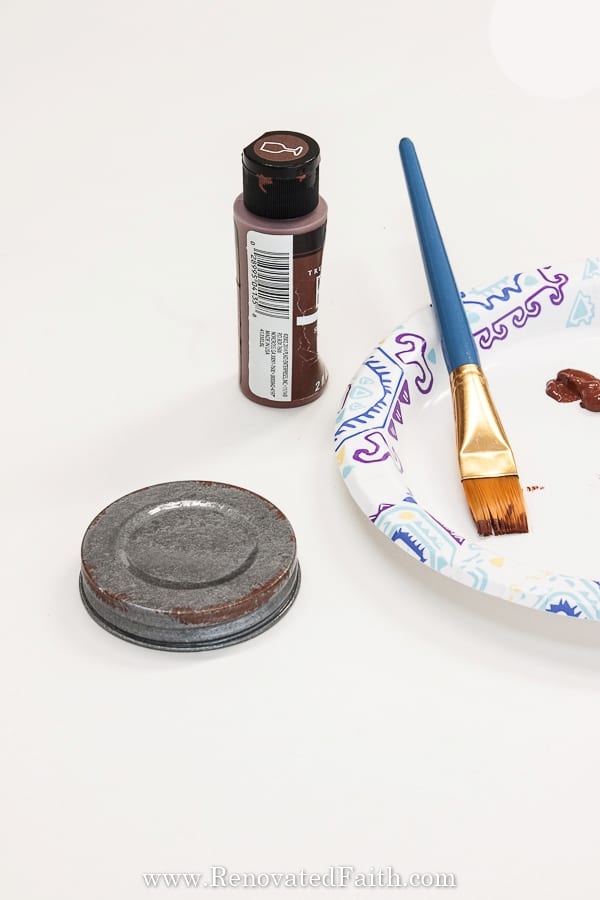
(Click here for the current price of rust-colored acrylic paint.)
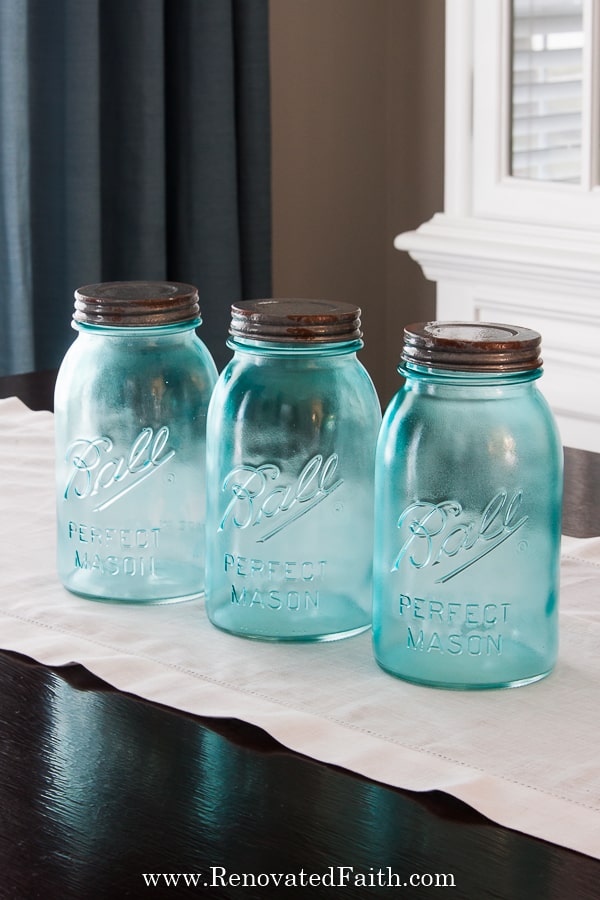

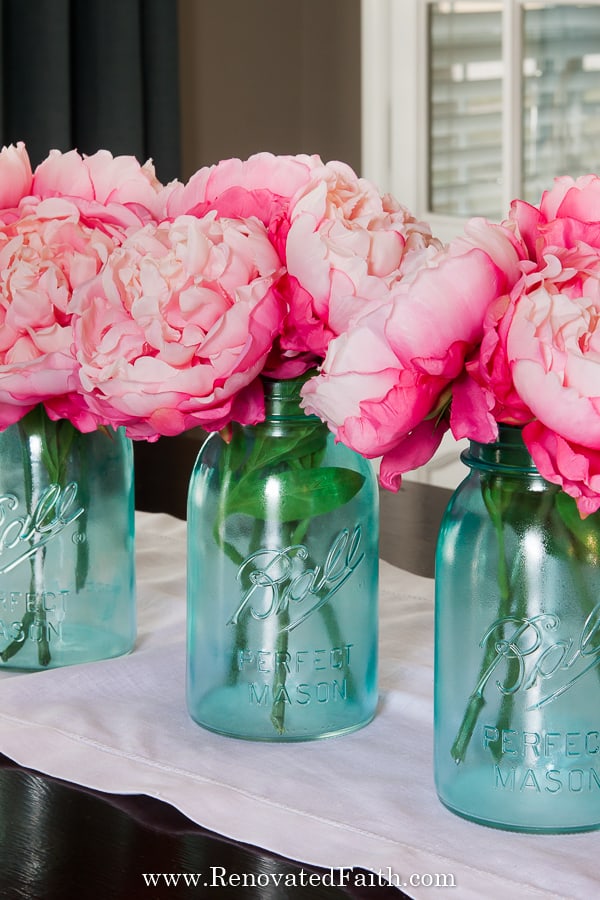
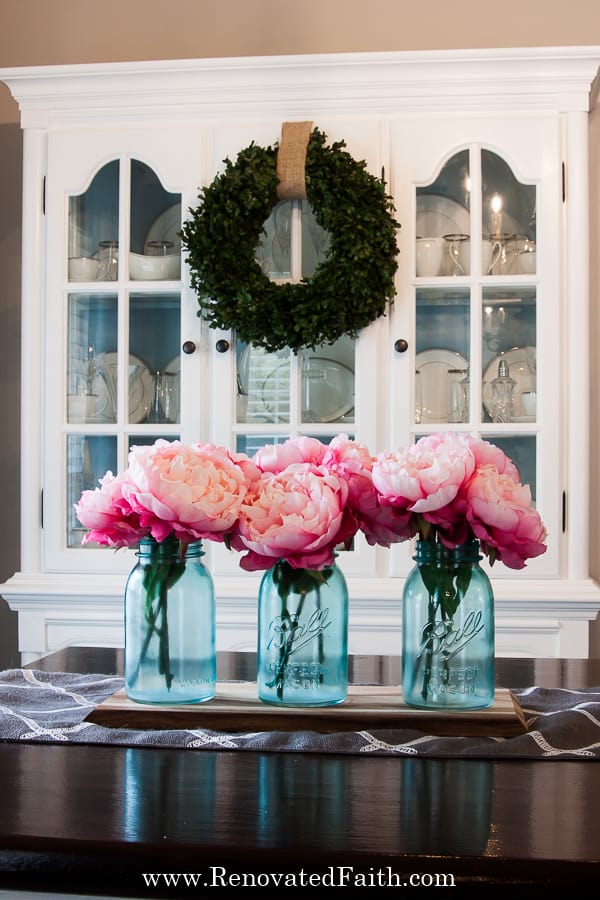
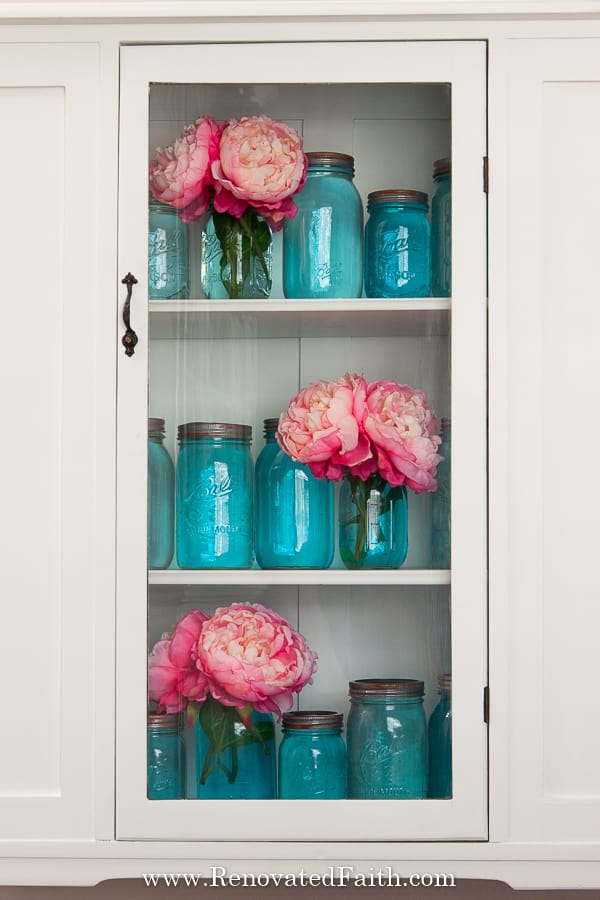
I used the same process when painting my grandmother’s china hutch. You can see the full reveal here: How to Paint Furniture White (China Hutch Reveal)
How to Paint Mason Jars with Chalk Paint
You can absolutely brush chalk paint onto mason jars. But you will have to use a matte finish clear coat as chalk paint is not very durable (See why I don’t use chalk paint on furniture here).
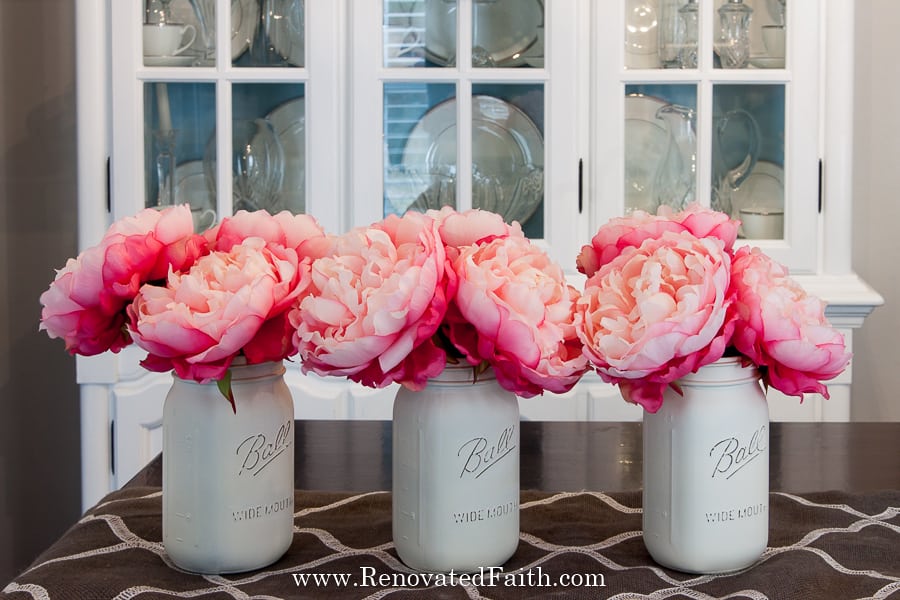
Another easier and more durable option is actually a spray chalk paint. It gives you the matte look of chalk paint but adhere’s really well to the glass without brush strokes. Also, I don’t really see a need for a matte clear coat as it is very durable. Plus, it’s very sandable!
How to Paint and Distress Mason Jars with Chalk Paint
Use a good chalk spray paint on mason jars using the same general process I outline above. Again, use light coats until it is covered.
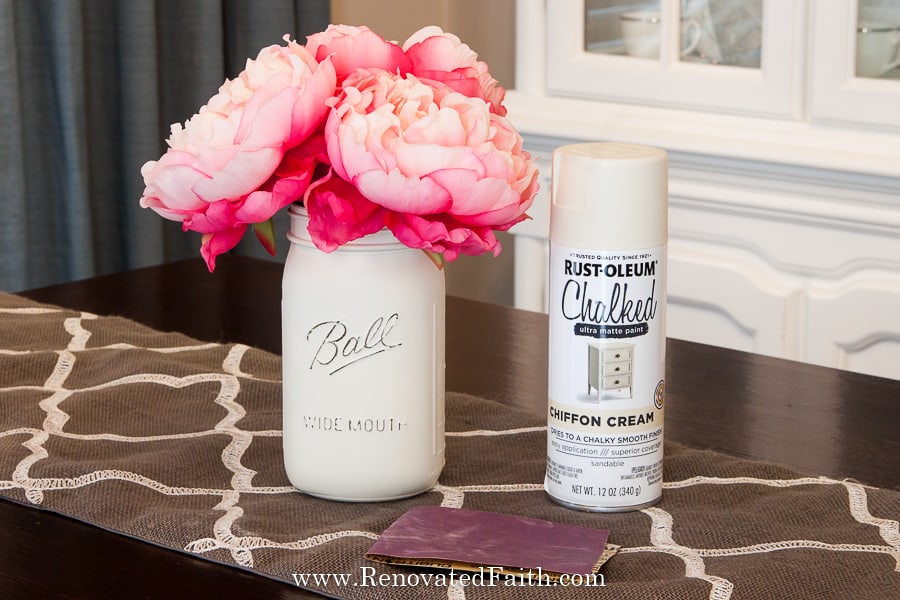
Best Chalk Spray Paint:
Rustoleum Chalked Spray Paint (see the current price here)
This chalk spray paint comes in several chalk paint color options but if you don’t see the color you want, use this spray paint: Matte Spray Paint with More Color Options. Rustoleum’s Painter’s Touch line in a flat sheen will look identical to chalk paint and give you more color options for spraying mason jars. I tested both and came out with the same results!
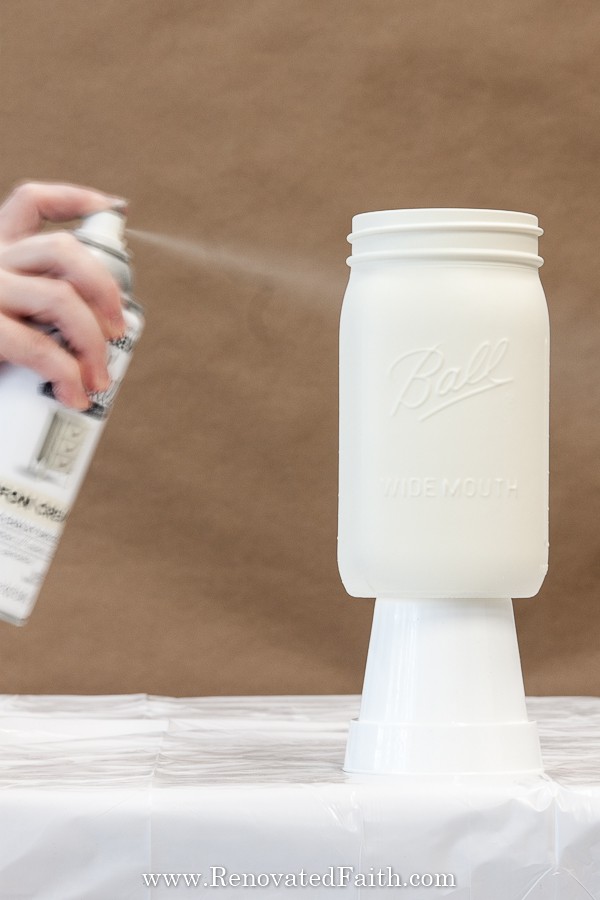
How to Paint Mason Jars Rustic
Both lines of spray paint I mention above distress really well! After your jar has dried 24 hours, use a piece of sand paper with a high number (fine grit) to distress your jar. I lightly sanded over the raised lettering of my chalk painted mason jars to give them a distressed look.
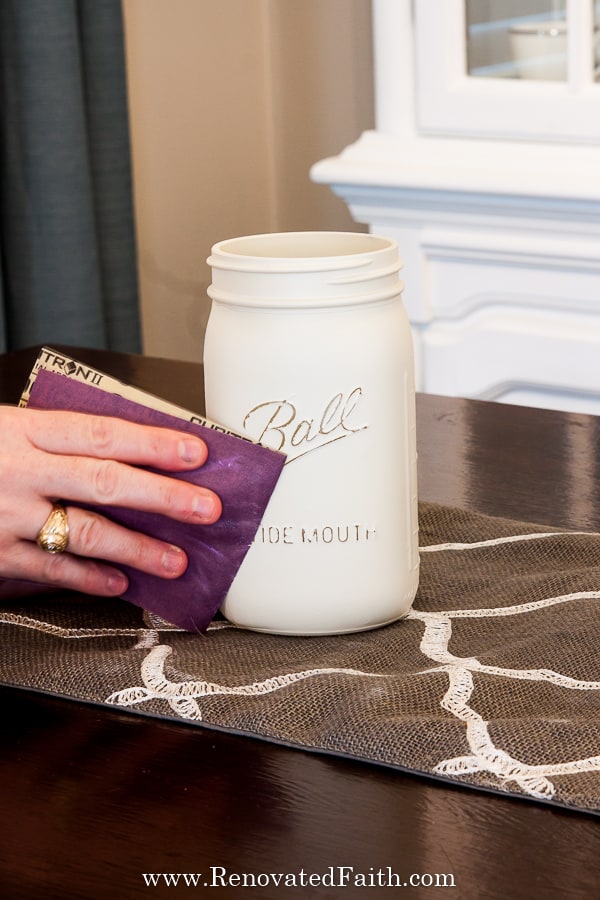
Should you clear coat distressed mason jars?
After sanding my mason jars, the spray paint seemed to be really durable and wasn’t peeling where the jars were distressed. If you want to make sure the glass surface is extra durable, you can spray it with a matte top coat(see the current price here) after sanding.
If you already have mod podge on hand, you can use that as your clear sealant and brush it on with a foam brush. The fastest protective coating is a clear spray in whatever sheen you prefer.
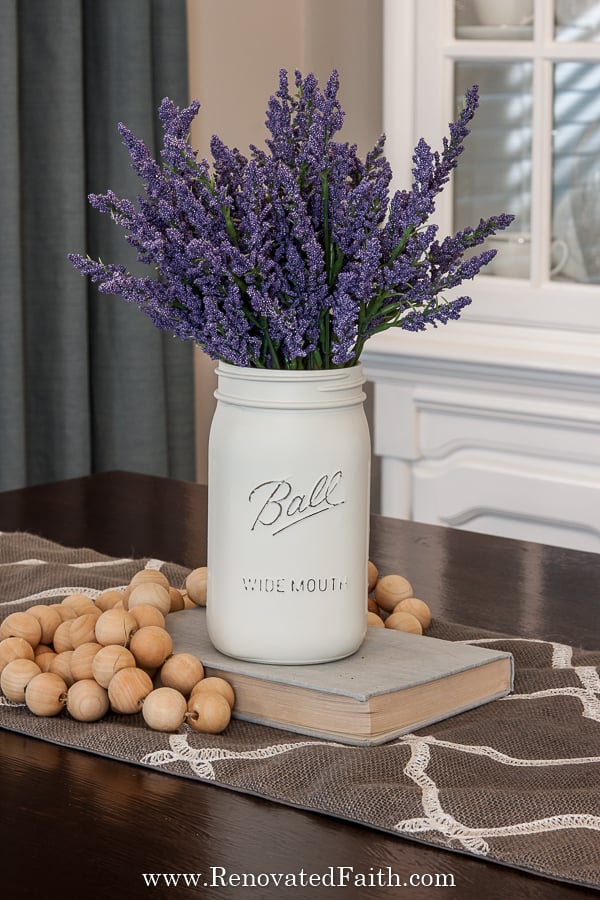
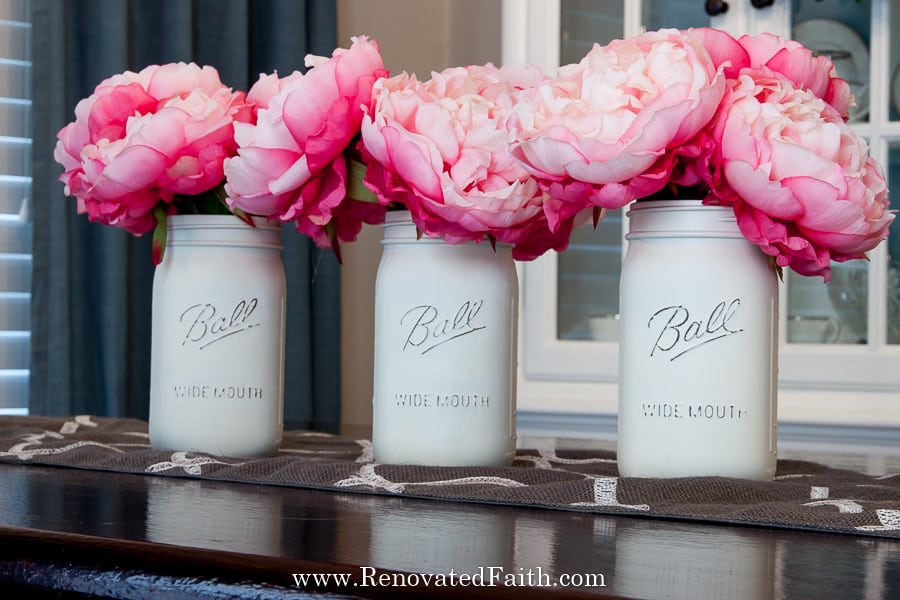
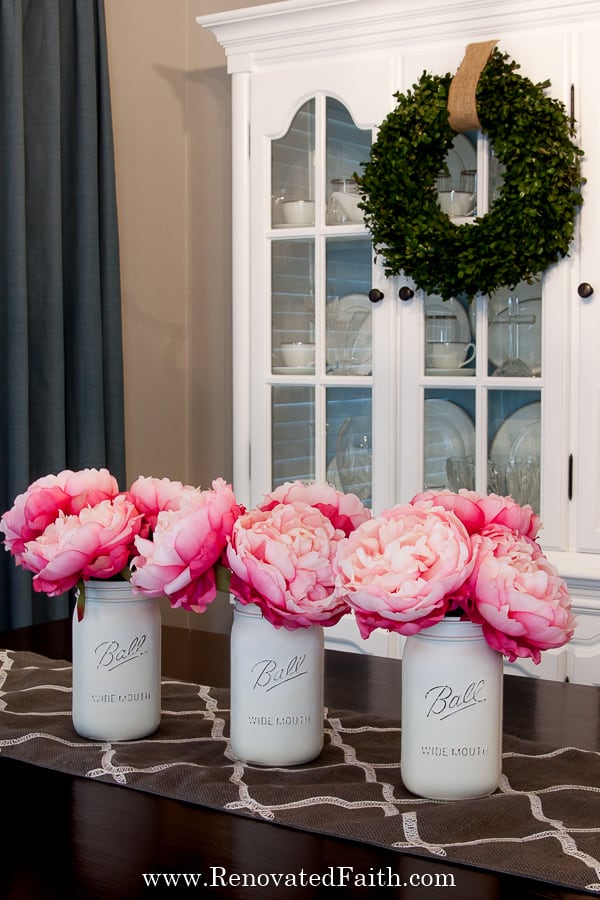
DIY Faux Milk Glass with White Spray Paint
To get the look of milk glass, you can use this white paint: Rustoleum High Gloss. Just spray in light coats as I described above in my instructions for spraying mason jars.
Once you are done, let it dry for 24 hours. Now you have a budget-friendly vase that looks the same as vintage milk glass. (To get the look of hobnail glass, you can check out this tutorial here: Dollar Store DIY Hobnail Milk Glass )
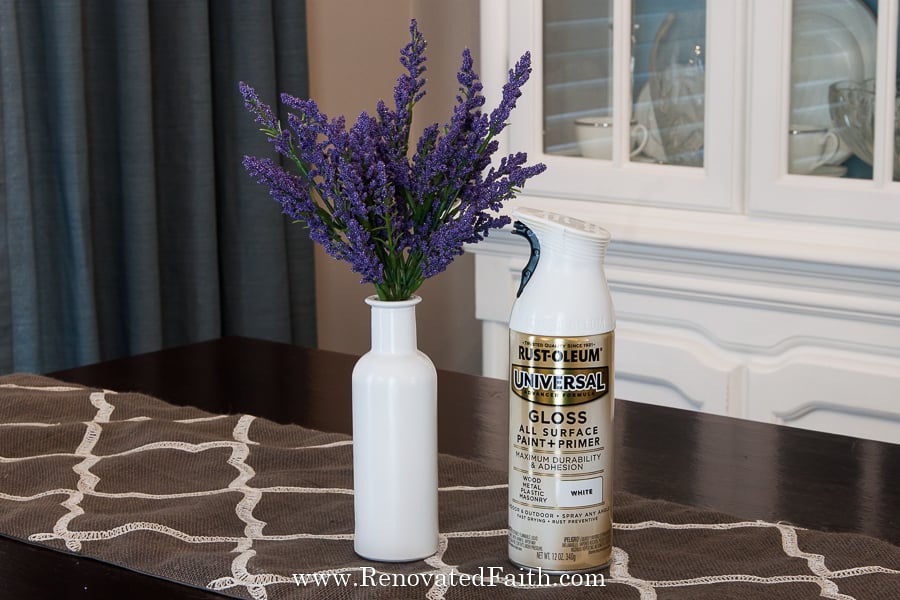

(Click here for the current price on the best Faux Milk Glass Spray Paint.)
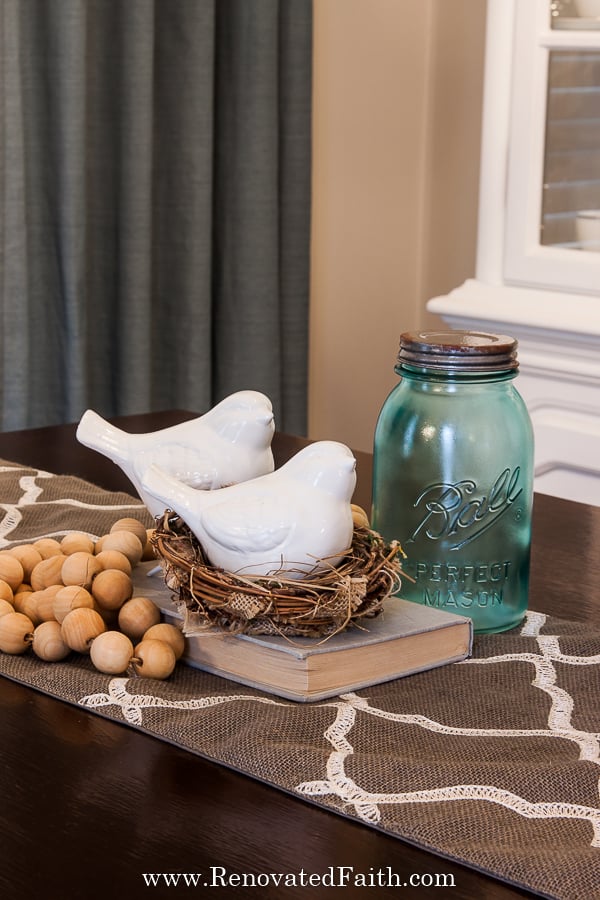
You can also paint ceramic items to look like porcelain using the same spray paint. That’s what I did with the birds below. Can you believe they used to be bright orange and green? It’s amazing the difference a coat of paint can make!
How to Spray Paint Mason Jars Gold
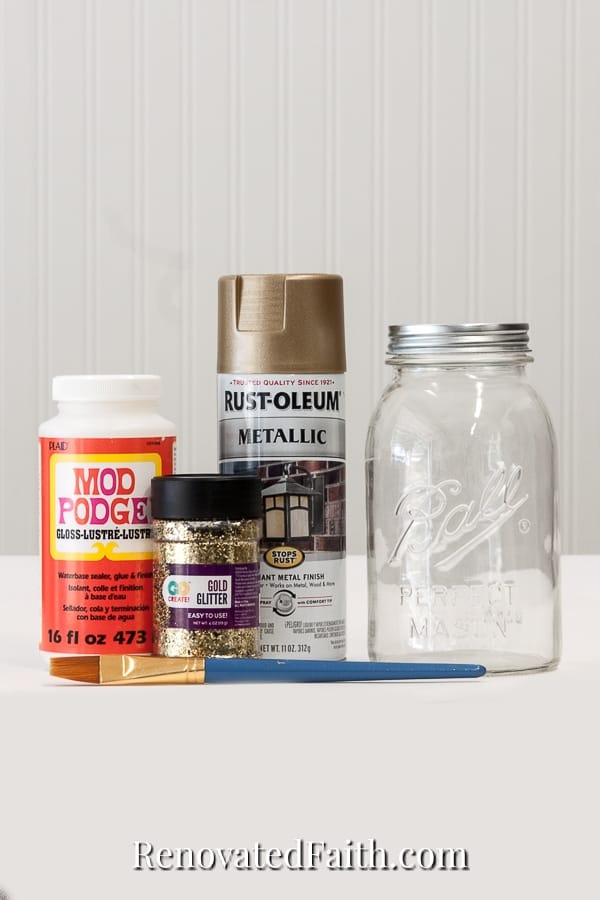
Spray painting mason jars is the best way to color them gold because you can get a consistent finish and it’s also super easy. The gold I used below is this: Gold Spray Paint for Mason Jars.
Just spray it on it light layers of paint as I show you with the blue paint in the video. Gold mason jars are such a fun touch for weddings, baby showers, or flower vases around the house.
To get my best spray painting tips for a flawless finish every time, fill out the form at the bottom of this post.
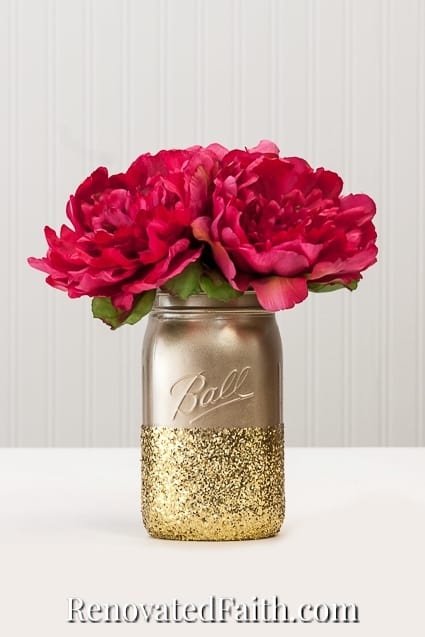
(Click here for the current price on the best gold spray paint for mason jars.)
How to Paint Stripes on Mason Jars
If you want to paint stripes on your mason jars with gold or any other paint color, simply add painter’s tape (I like this brand) to the areas you want to be striped. Do this after wiping the jar down with alcohol. Do several light coats.
About thirty minutes after the jar has dried, take off the painter’s tape. That will allow you to do any touch-ups before it completely dries. Let the jar dry completely for 24 hours.
How to Paint Mason Jars with Metallic Paint
You can also paint mason jars silver, copper, or rose gold. My favorite line of metallic paints is Rustoleum Universal Metallics which you can find here: Best Metallic Finish Spray Paint for Mason Jars
How to Glitter a Mason Jar
On the gold mason jar above, I also added some glitter! You can do this over some spray paint or just over the clear glass itself like the picture below.
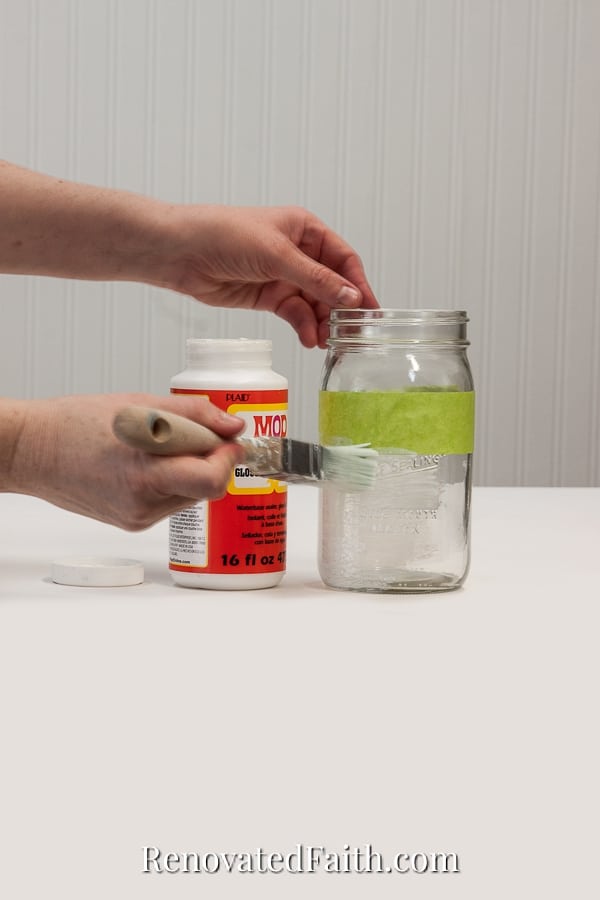
To glitter a mason jar, you will need mod podge (see the current price here), a foam paint brush, and glitter. You can pick chunky glitter if you like the look of mine below!
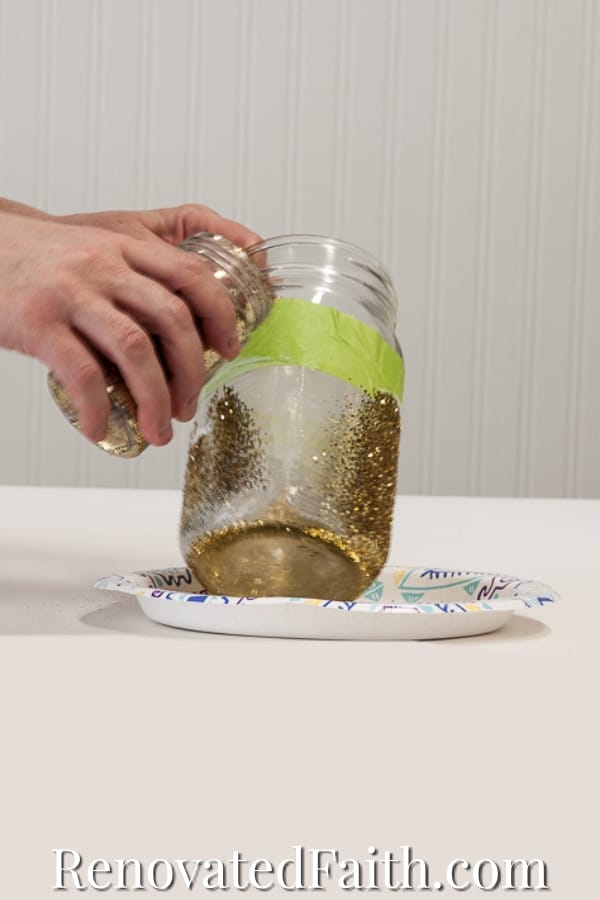
If you are putting glitter straight onto a clear jar, you can use painter’s tape to help you make a line of where the mod podge and glitter will stop. After wrapping your painter’s tape all the way around, just paint on the mod podge with a brush.
After painting the mason jar with mod podge, shake the gold glitter on the mod podge until you can’t see the glass. I strongly recommend you do this over a plate and outside!
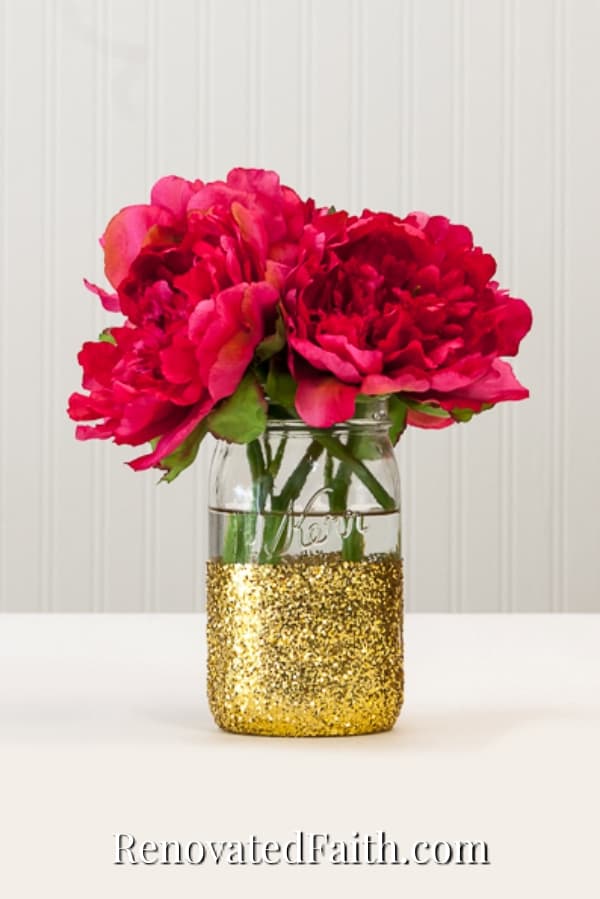
Let the jar dry for 24 hours and when it’s done drying, brush a dry brush over the glitter to remove any excess before bringing it inside.
How to Paint Frosted Mason Jars
Many people will use Elmer’s glue to frost mason jars but I have a much better option: Rustoleum Frosted Glass Spray Paint. Just spray this on as I show you in the video in very light coats. It took three coats to get the amount of “frost” as the vase below.

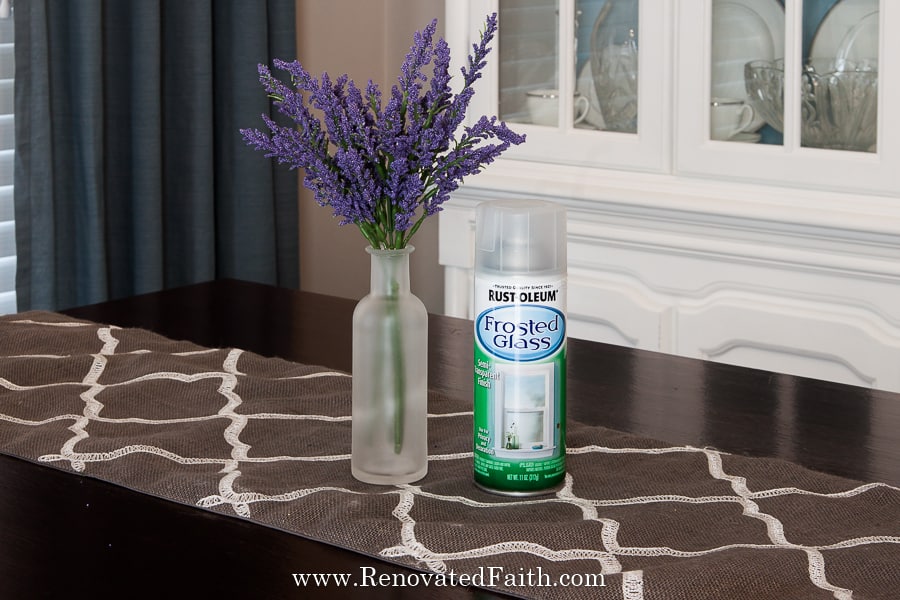
(Click here for the current price on Rustoleum’s Frosted Glass Spray Paint.)
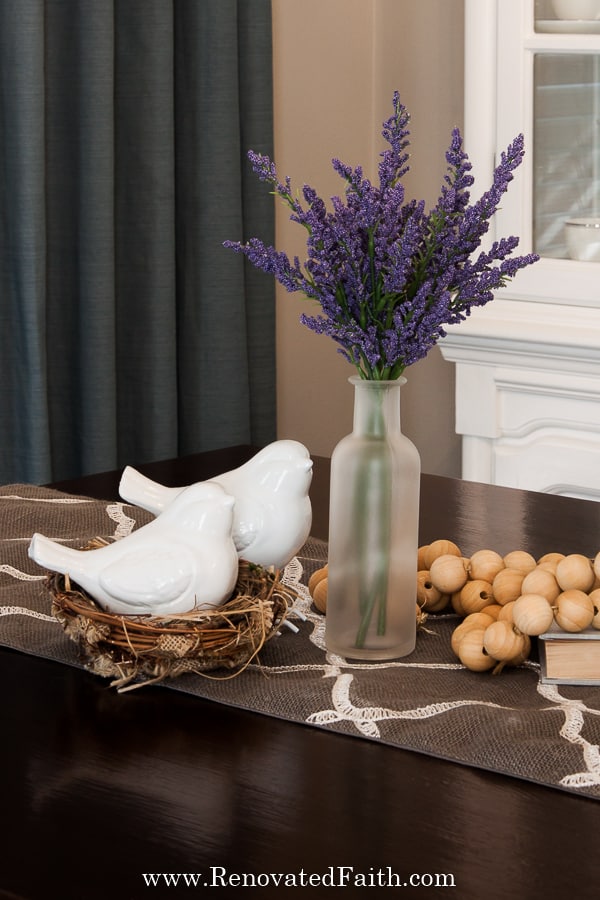
How Do You Make Mason Jars Look Like Sea Glass?
I tried spray paint that was specifically created to spray on a sea glass effect. But after two cans, I had SO much trouble with the paint splattering that I decided it was not a good option for sea glass. (I even shook the can for two minutes straight.)
However, I found a fail-proof way to create sea-glass by combining a couple of the spray paints I used above. First, spray on the Stained Glass Spray Paint (See the current price here). Do not use the spray paint that says “Sea glass”.
After spraying on the stained glass spray paint, then use a coat or two of the Frosted Glass Spray Paint (See the current price here) to give it an opaque look.
For the shade of green as the vase below, I sprayed on two coats of the green stained glass (not sea glass) spray paint and then one coat of the frosted glass spray paint.
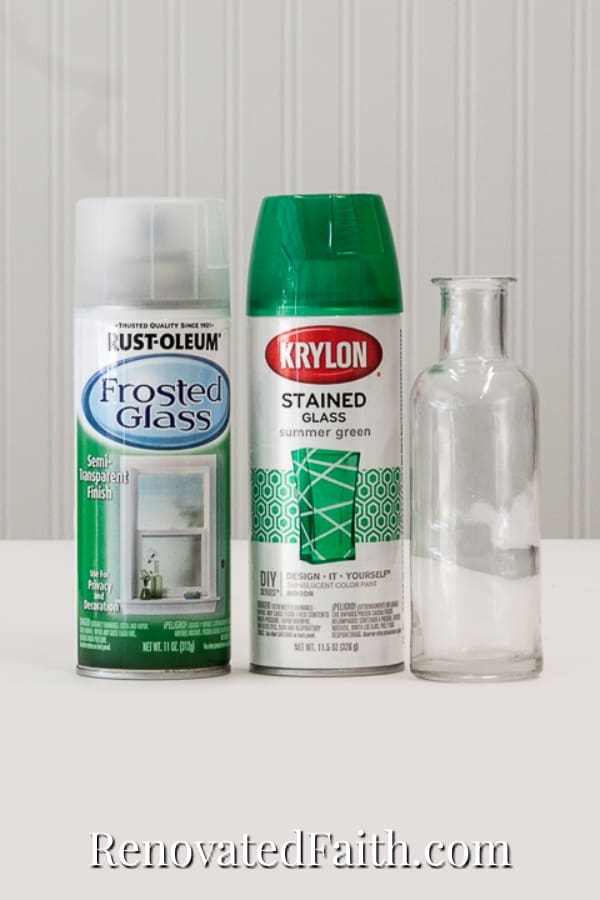
Green Stained Glass Spray Paint | Frosted Glass Spray Paint
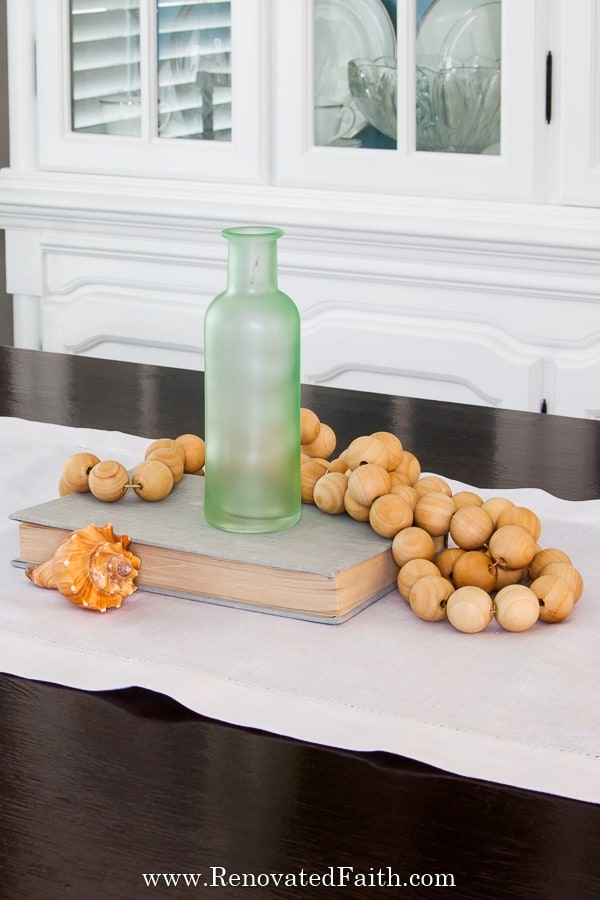
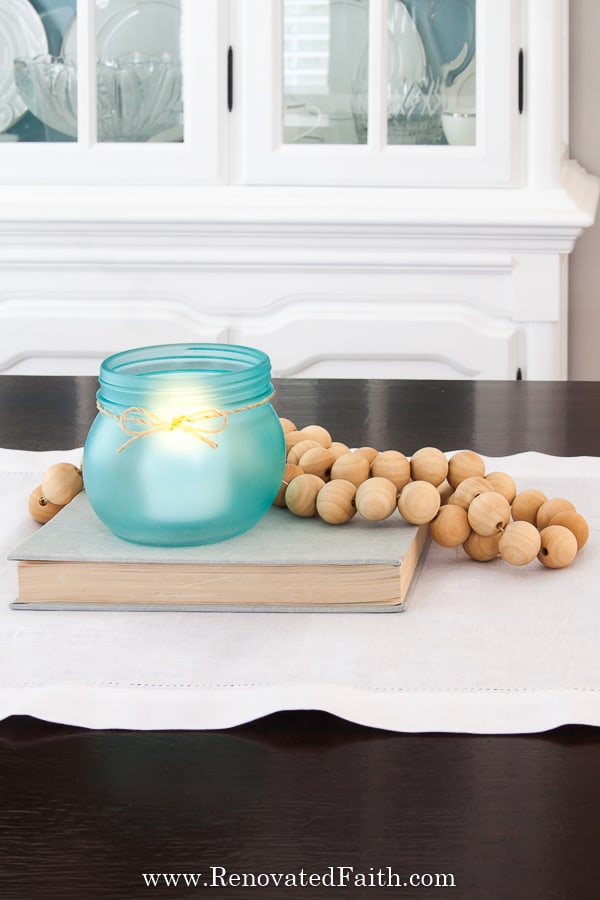
How to Paint Mason Jars for Candles
To get the shade of the blue candle holder, I sprayed on three coats of the blue stained glass (not sea glass) spray paint and then one coat of frosted glass spray paint. Then, I just tied on some jute twine, added a candle and now it’s a super cute sea glass candleholder!
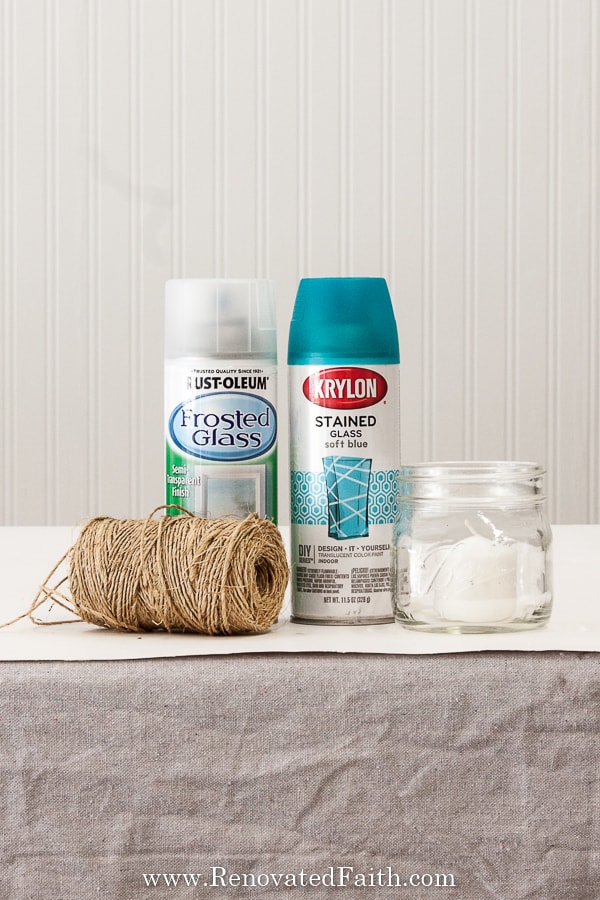
Blue Stained Glass Spray Paint | Frosted Glass Spray Paint
DON’T FORGET TO TAKE A PICTURE!
Now that you are done, I’d love to see how it turned out! ❤️ Post your before and after photos here!
RENOVATE YOUR FAITH: The Pitfall of Perfectionism
As a perfectionist in recovery, I find that it’s still easy to default to my old ways. As I took videos and photos of the mason jars in their various colors, it was difficult to not get wrapped up in getting the perfect shot. Before I knew it I was retaking video after video, because the first one wasn’t ‘just right’.
The “p” word still haunts me from time to time because too often I use the excuse that I want to do something with excellence. But hat reasoning only allows my perfectionist tendencies to have free reign in this brain of mine.
However, a friend pointed out to me lately that there is a BIG difference between doing something with perfection versus doing something with excellence. And the difference is in your focus.
With perfectionism, the focus is on yourself and how you are perceived. However, when someone is doing something with excellence, the focus should be on others and how to better serve them.
Whenever I test this theory, I am quick to find that I’m much more joyous when my focus is on serving others. I’m much less stressed when I focus on taking pictures with the intent to help readers understand the process as opposed to wanting perfect images for perfection’s sake.
When I focus on His kingdom and His capacity to work through even me, my perfectionist tendencies lose their power to paralyze me with thoughts focused on my own performance.
Instead, I’m given the freedom to allow Him to work through me to serve and love others around me. I can allow even blog posts, photography, and craft projects to each be life-giving acts of worship instead of a crippling appeal to my own selfish desires. And when I have the intention to serve God and others, the final product is always more beautiful.
Thank you, God, for giving us the freedom to serve you and others through the gifts you give us.
“But seek first his kingdom and his righteousness, and all these things will be given to you as well.” Matt. 6:33
For more spiritual encouragement, click here for the rest of my Renovate Your Faith Posts.
Free Tips for Painting Mason Jars
If you aren’t used to spray painting, I have good news! Find out all my best tips and spray painting hacks by downloading this free checklist of Best Spray Painting Tips and Tricks. Get the password for the library with all of my free printables including wall art, checklists, and templates by filling out this form:
FAQ: How to Spray Paint Mason Jars
How do you Paint Mason Jars without Streaks or Drips?
When painting mason jars you might be tempted to get full coverage with the first coat of spray paint. But since excess paint makes drips, this is a recipe for lots of drips and streaks on your glassware.
Instead, do very light coats, with a 15 minutes dry time in between. This will ensure that you get light even coats for a beautiful finish on your mason jars or glassware. If a drip does form as you are spray painting, quickly brush it off with a small paintbrush. Any brush strokes will be minimized on the next coat of spray paint.
Do You Need to Prime Mason Jars Before Painting?
All of the spray paints I have listed above have a primer already included with the paint. Before painting, I recommend wiping the glass down with rubbing alcohol as this removes any dirt or oils that might prevent the paint from sticking to the surface.
Can You Put Water in Painted Mason Jars?
Because we are spray painting on the outside of the mason jars, you can put water in these for vases or floating candle holders! However, I would not use them to drink out of for obvious reasons.
How to Paint Mason Jars Glossy
Some people will add paint to the inside of the jar so the outside of the glass still looks glossy. This same look is really easy to achieve by adding a gloss clear coat to teh outside of the jars.
You can add it within 4 hours of your last coat of paint. If you don’t, be sure to wait 24 hours before adding the clear coat. My favorite glossy clear coat for mason jars is this one: Rustoleum American Accents in Clear Gloss
How to Remove Spray Paint Off Mason Jars
To touch up mason jars, use a q-tip and a couple of drops of Peppermint Essential Oil (I like this kind for removing paint) and it will come right off. I also use this same brand to remove spray paint off my hands. Unfortunately soapy water doesn’t work because spray paint is oil-based.
How to Paint Mason Jars for a Baby Shower
You can tint mason jars pink using this Cranberry Red Stained Glass Spray Paint (see the current price here). Just use one coat to get a pinker color in the same way I show you in the video. You can also tint them blue or add glitter for a fun and low-cost addition to your baby shower decor!
Should You Paint Inside or Outside of Mason Jars?
Some people prefer painting mason jars by pouring paint on the inside and brushing it around. This can get really messy and uses a lot of paint. Also, if you paint mason jars on the outside with spray paint, it is not only easier and faster, but the color will be permanent and water-proof without requiring much paint.
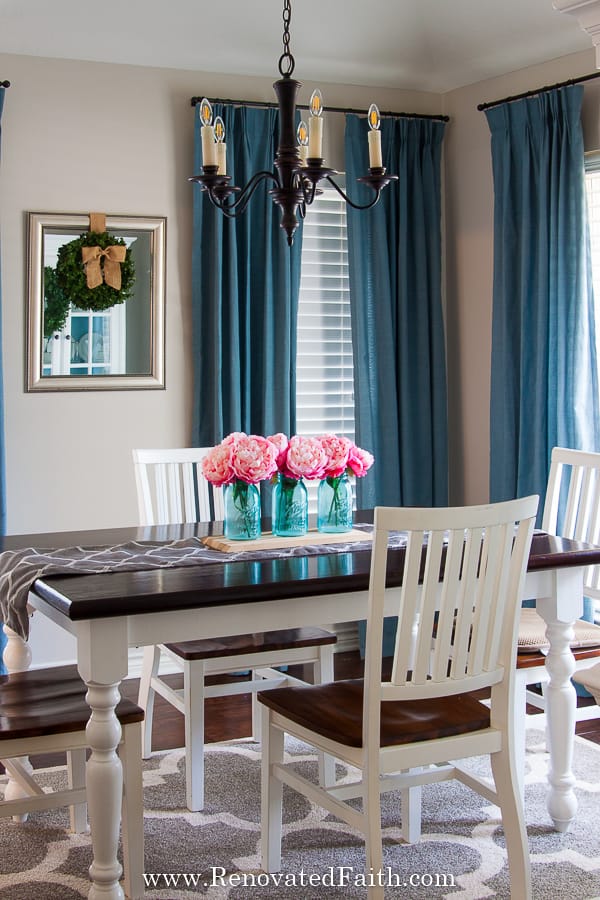
Painted Mason Jar Décor Ideas
Here are some fun mason jar projects with spray paint. You can decorate them for almost any occasion or type of home decor including industrial coastal, or farmhouse style mason jars.
These also make a low-cost option for pretty vases or birthday parties. Add removable vinyl initials or a patch of chalkboard paint to label them later or decorate them with different things as a fun activity for a little girl’s birthday party. There are so many different things you can make with painted mason jars.
Farmhouse Ideas for Painted Mason Jars
Mason Jar Crafts
How to Spray Paint Mason Jars for Farmhouse Decor
DON’T FORGET TO TAKE A PICTURE!
Now that you are done, I’d love to see how it turned out! ❤️ Post your before and after photos here!
More Posts Related to How to Paint a Mason Jar Like a Pro
Best Spray Painting Tips and Tricks For a Flawless Finish Every Time
The Best Spray Paints for Glass
How to Update Door Knobs with Spray Paint
A Beginner’s Guide to Refinishing Furniture (The Easiest Ways To Get A Pro Finish)
DIY Farmhouse Windmill the Easy Way
How to Turn Acrylic Paint Into Fabric Paint
Best Christian Books for Women (That Will Change Your Life!)
Final Thoughts on How to Spray Paint Mason Jars
Whether you are chalk painting a mason jar for your bathroom shelves or glittering one for a baby shower, painting mason jars is an easy way to decorate on a budget. Now that you how how to spray paint mason jars, you have so many options and know the best spray paints to use without spending a lot!
I love to hear your thoughts and questions! Scroll down to leave a comment and I WILL reply! ❤️
Blessings,

Be sure to follow the fun here on Social MEdia!
Email Subscription | Instagram | Pinterest | Facebook | Twitter
How to Paint Glass Jars with Spray Paint, YouTube Video
Ultimate Guide to Painting Mason Jars & The Best Paint for Mason Jars

Karin Peters is a DIY expert and the creator of Renovated Faith. She is a furniture painter, a home design consultant, and a tenacious problem solver determined to help you transform your house into a home. With 17 years of experience with DIY home improvement, she researches and analyses professional processes to adapt them to be easy and cost-effective for DIYers. She then tests every project and product before it appears on the site in a detailed, step-by-step format. After attending Texas A&M University, she received her Master of Divinity with Biblical Languages at Southwestern Baptist Theology Seminary. Her passions unite in Renovated Faith, which shows readers how to create a home that serves them so they can pursue their God-given purposes. About Renovated Faith | Editorial Policy | Facebook | Twitter | LinkedIn



Wonderful post
Thanks
Amazing tips and tricks. I love how you incorporate God and your faith into your projects!😊🙏
Thank you so much for taking the time to comment Kim! I’m so fortunate He has given me a job where I can do what I love and talk about Him in the process! Thanks again! – Karin
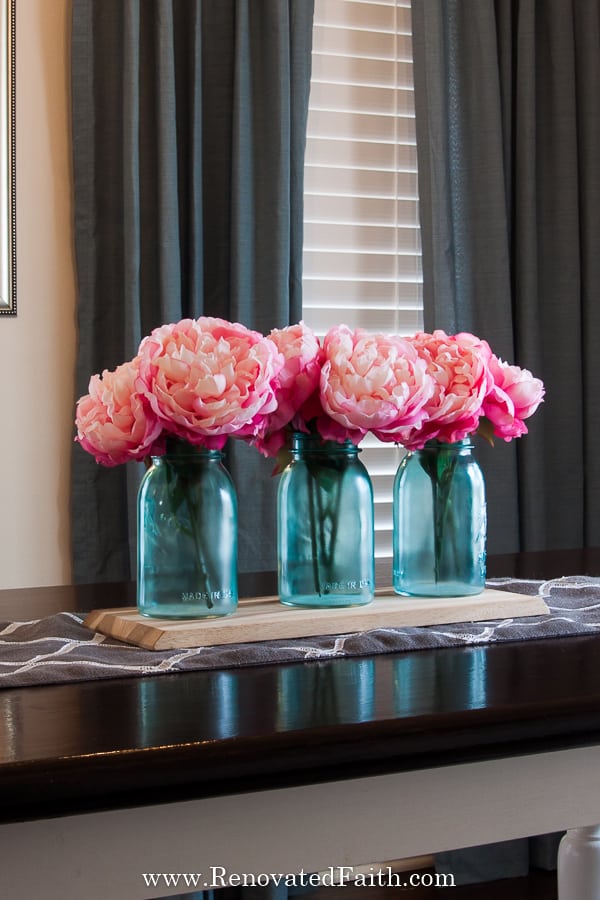
Love your post, thank you for sharing! I’m in the process of painting 6 off white mason jars. I’m inside for 15 min while the second dries. I was refreshing your post and the flowers you used are beautiful. Are they real or did you purchase them from somewhere? What kind are they? Thanks in advance!
I actually got them in the Joanna Gaines section of Target and they were cheaper than what I’d usually buy at Micheal’s. Thanks Kristi!
These look amazing, Karen! I pinned this post so I can try it later when the weather warms up! You make it look so darn easy…