
How to Fix Dog Scratches on a Wood Door (So They Never Reappear!)
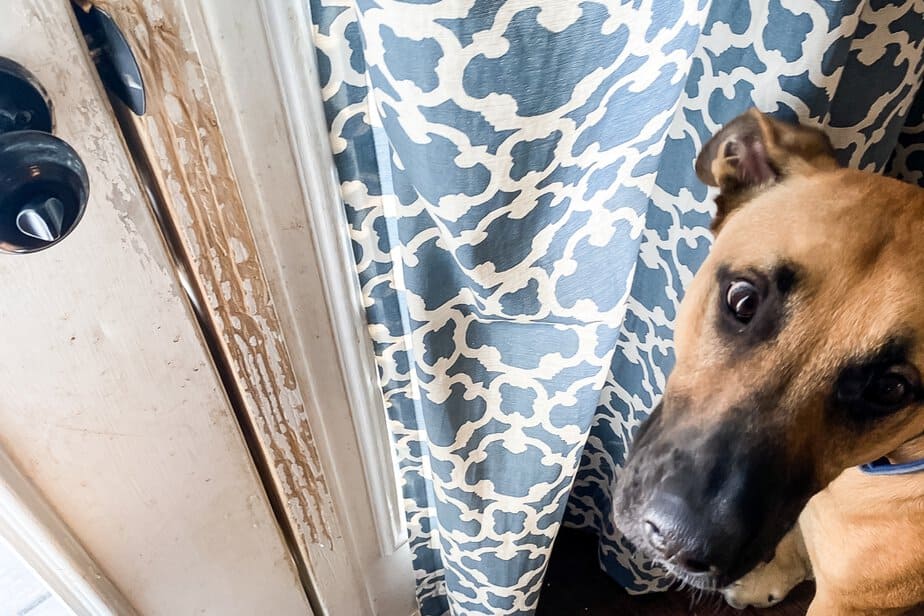
Learn how to fix dog scratches on wood door surfaces with this easy step-by-step tutorial so your door looks like new in no time!
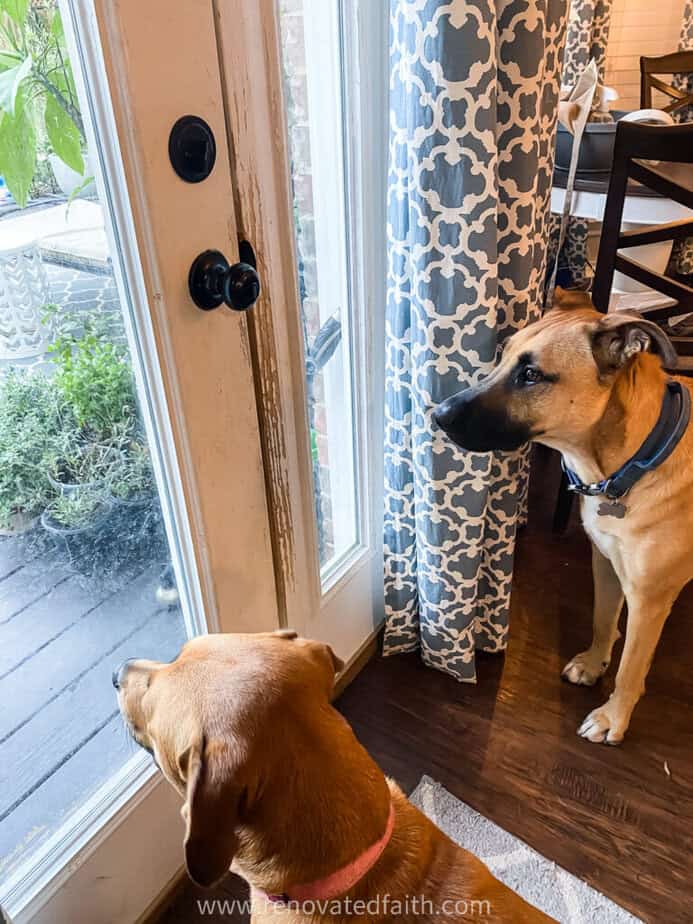
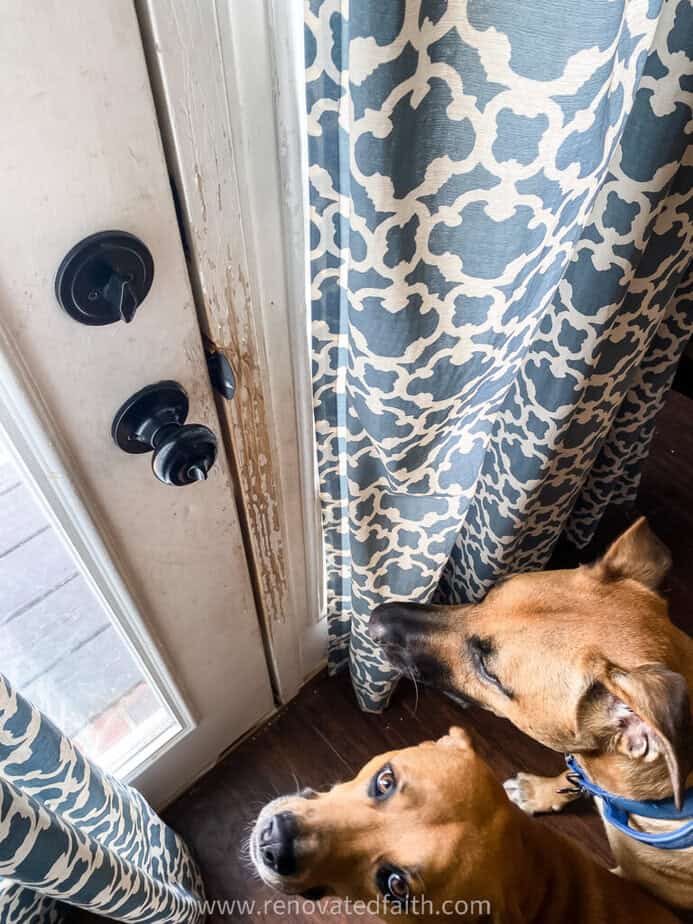
What would we do without our dogs to save us from the perils of everyday life – a lizard scurrying on the deck, a butterfly landing on a rose, and, of course, the most elusive of all backyard animals – squirrels. How would we survive without their constant protection from the dangers surrounding us in our own backyard?
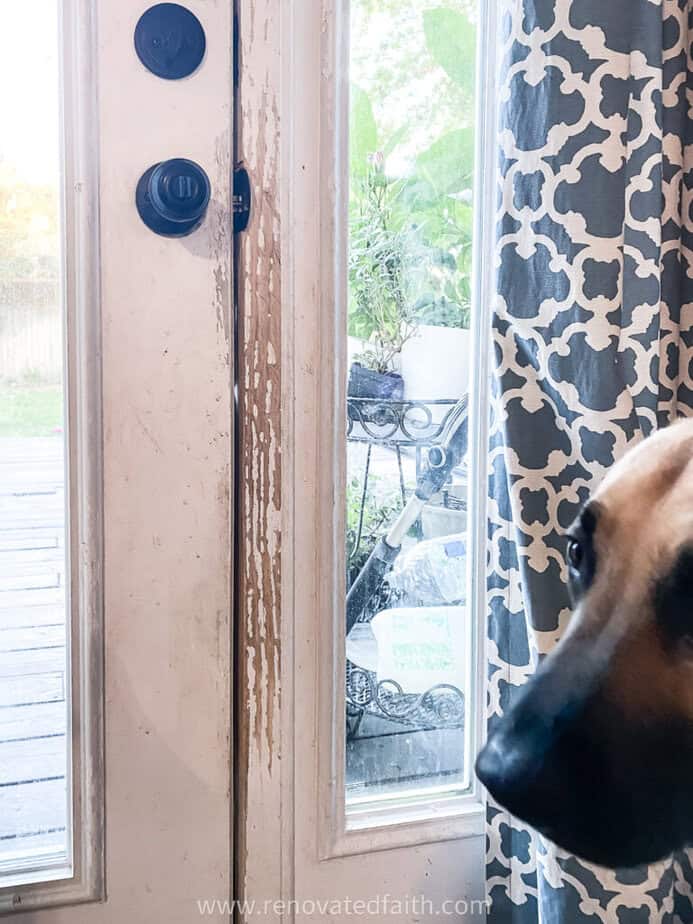
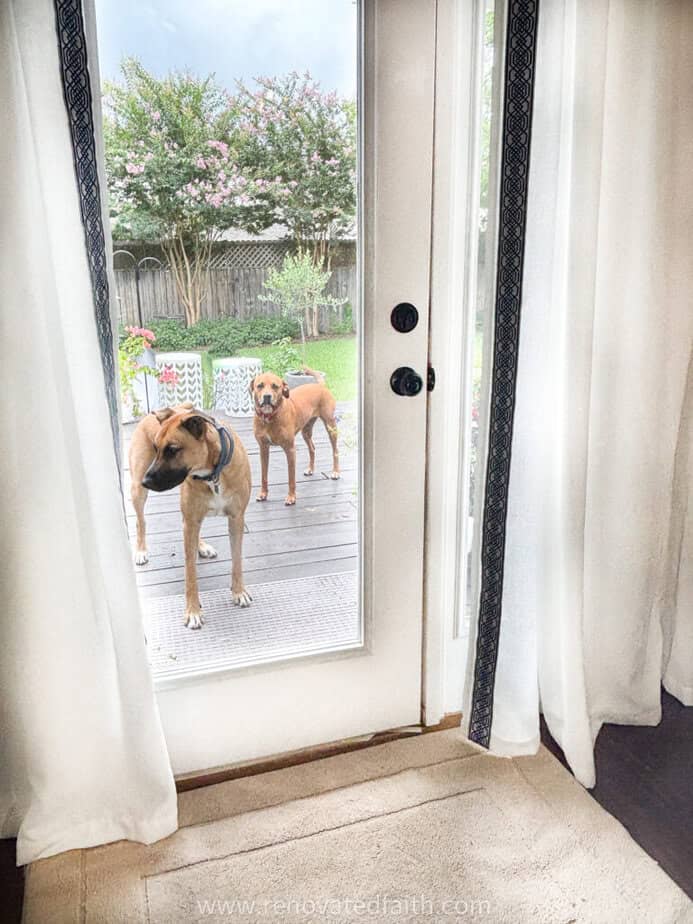
In all seriousness, dogs are such a gift in our lives but even with all the love they lavish on us, they can create havoc in our homes. See exhibit A below and the perpetrators: Ellie and Toby
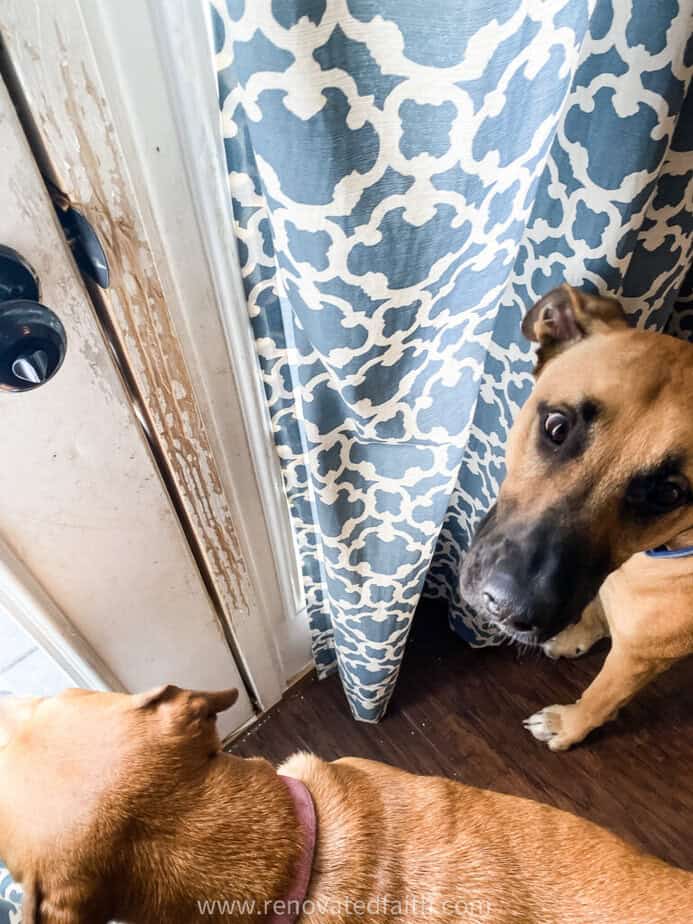
Any pet owner knows that a dog’s nails can make deep gouges in doors, furniture and even wood trim.
Whether your four-legged friend has separation anxiety or just a high prey drive, they can do a lot of damage to a wood door over time.
(As an Amazon affiliate I earn from qualifying purchases. Please see my full disclosure HERE).
But this post will show you all you need to know about repairing scratches in wood doors whether they are painted or stained. Feel free to jump to a section below:
Why Regular Wood Filler Won’t Work on Deep Scratches
For deeper scratches caused by dog nails, regular wood filler is a quick fix, but it won’t protect the door from further damage. If your dog continues to scratch at the door after you repair it, you want the filler to be as strong or stronger than the exising wood surface.
If not, your dog’s nails will just dig the wood filler right out of those old scratches and you’re back to where you started. Fortunately, in this post, I’ll show you how to use wood repair epoxy, which is much harder than wood and will hold up longterm even if you find your dog still scratching at the door.
Supplies Needed: How to Fix Dog Scratches on a Wood Door
FOR DEEP SCRATCHES:
Electric Sander or Sanding Sponge
FOR ALL SCRATCHES:
Paint or these Scratch Repair Markers for Stain
RELATED: How to Match Paint for Touch-Ups (When You Don’t Know the Exact Shade)
How To Fix Dog Scratches on a White Door
Step 1: Clean And Sand The Door
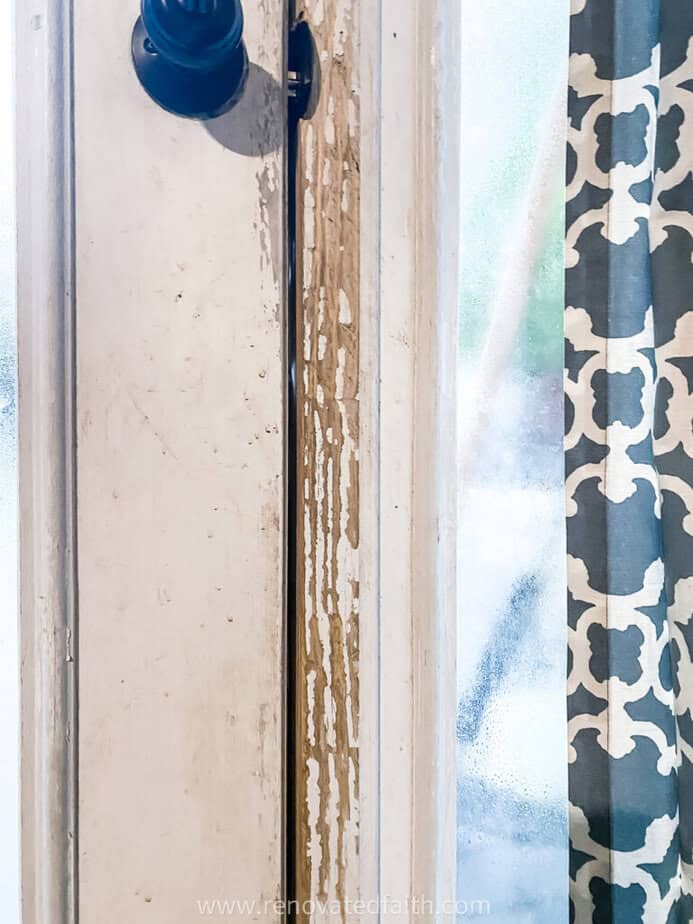
Here’s how our back door looked after Toby and Ellie’s repeated efforts to save us from squirrels in the yard.
BEFORE:
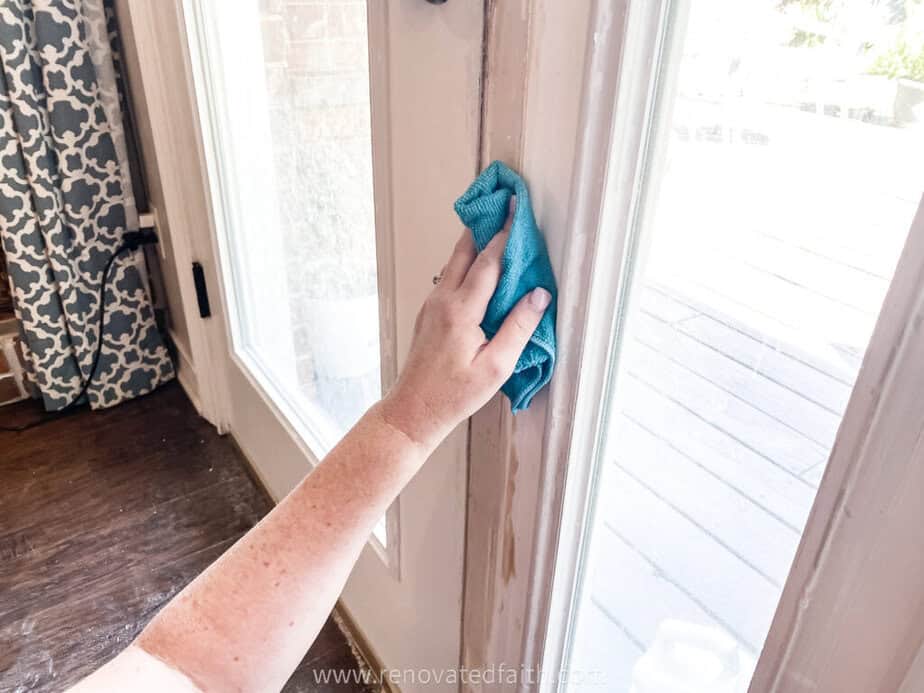
Wipe down the area with a damp rag and a little dish soap. This ensures that we remove any dirt or oily residue that might keep the wood filler and paint from adhering.
You can use a sanding block or sander to lightly sand the scratched area. But only sand enough to remove any loose wood pieces or peeling paint. Don’t sand the rough scratched areas smooth because that unevenness will actually help the wood filler to adhere in the grooves.
Step 2: Mix And Add Epoxy Putty to the Scratches
For this project, I used PC Woody’s epoxy putty (click here for the current price).
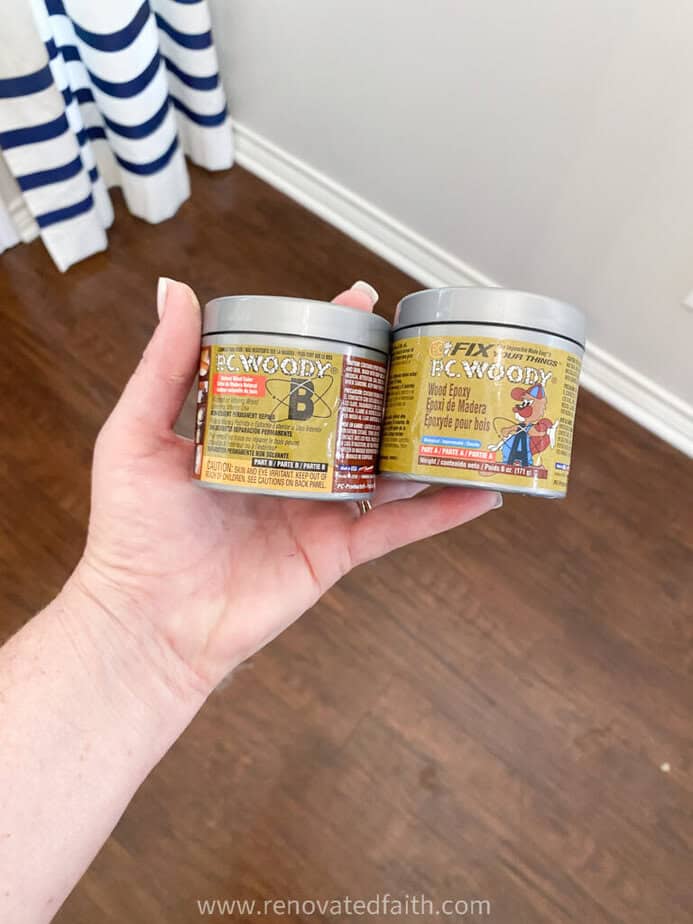
You’ll need both of these containers of epoxy putty because you mix the two before applying it to the door. Epoxy makes a very strong bond and hand surface once it is dry.
TIPS FOR MIXING YOUR PUTTY – Don’t touch the putty with your bare skin because once it sticks to your hand it’s hard to wipe off, and then you have a huge mess on your hands – literally. Instead, wear disposable gloves and use your putty knife to mix the two parts into a plastic bowl. Mix with the putty knife until it’s one solid color.
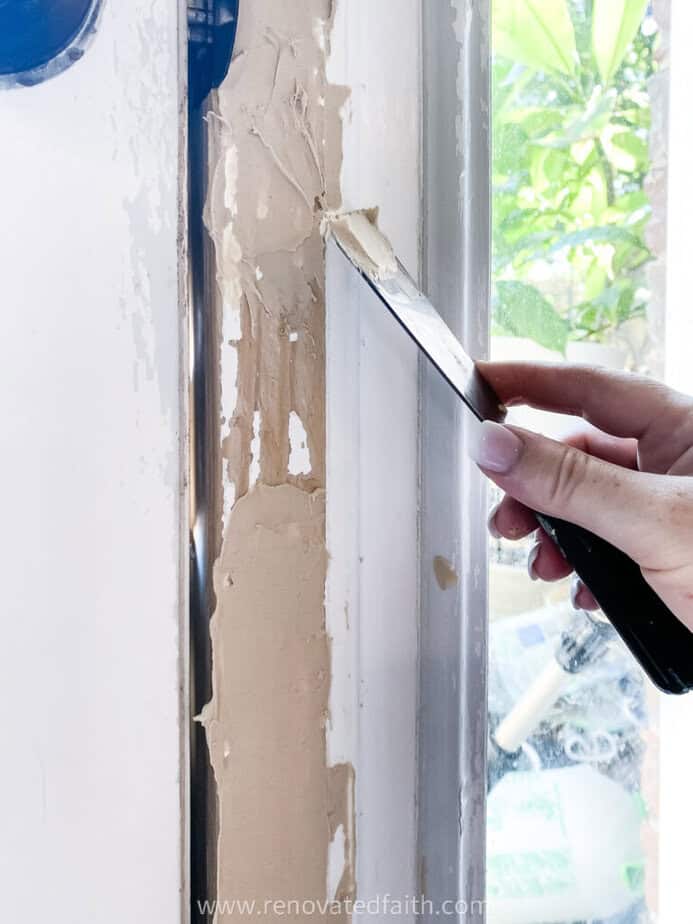
Now that your epoxy putty is mixed, use your putty knife to apply the putty a little at a time to the scratches
IMPORTANT: As you apply the epoxy, remember to put it into the scratches so there are no air bubbles between the putty and the wood.
Once you have filled all the grooves with putty, continue applying enough putty to create a layer that is raised above the surface of the wood. (This allows for any possible shrinkage and will give you a nice flat surface after you sand.)
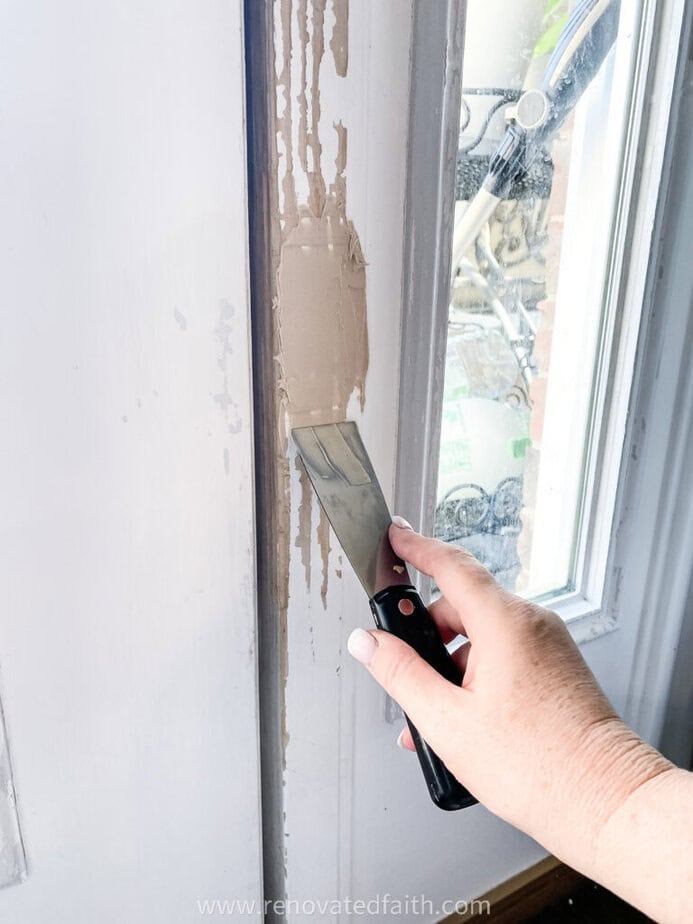
Notice that there is a lot of putty on the door and it’s messy along the edges. That’s ok! We will sand it down nice and flat when it’s dry.
Be sure to let it dry for at least 48 hours. You want it to be completely cured and hard before we sand. (I know this isn’t the quickest fix, but trust me, you’ll be so happy with the look and durability of your door!)
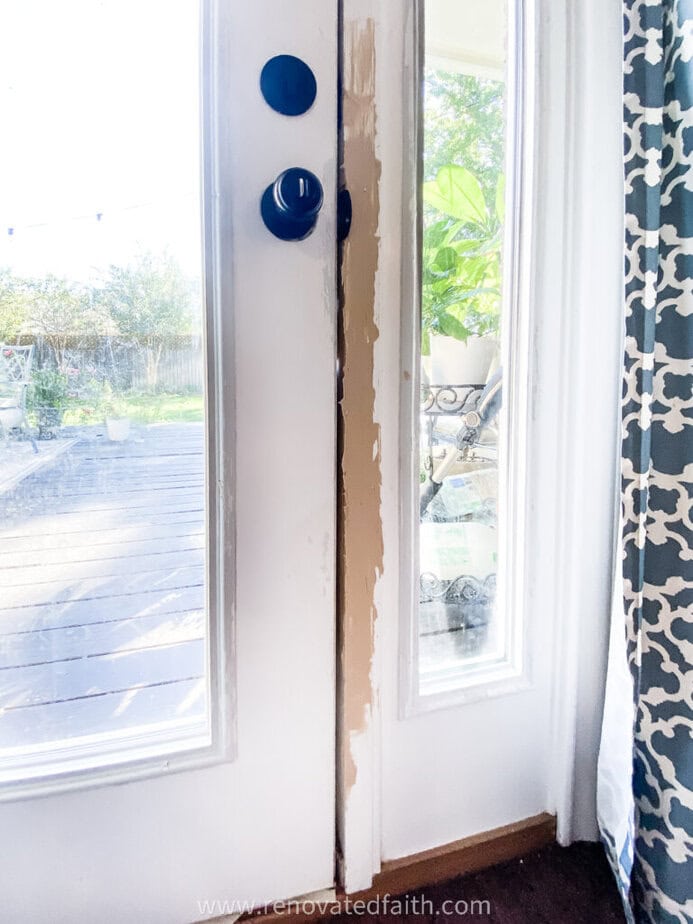
Step 3: Sand The Surface of the Door
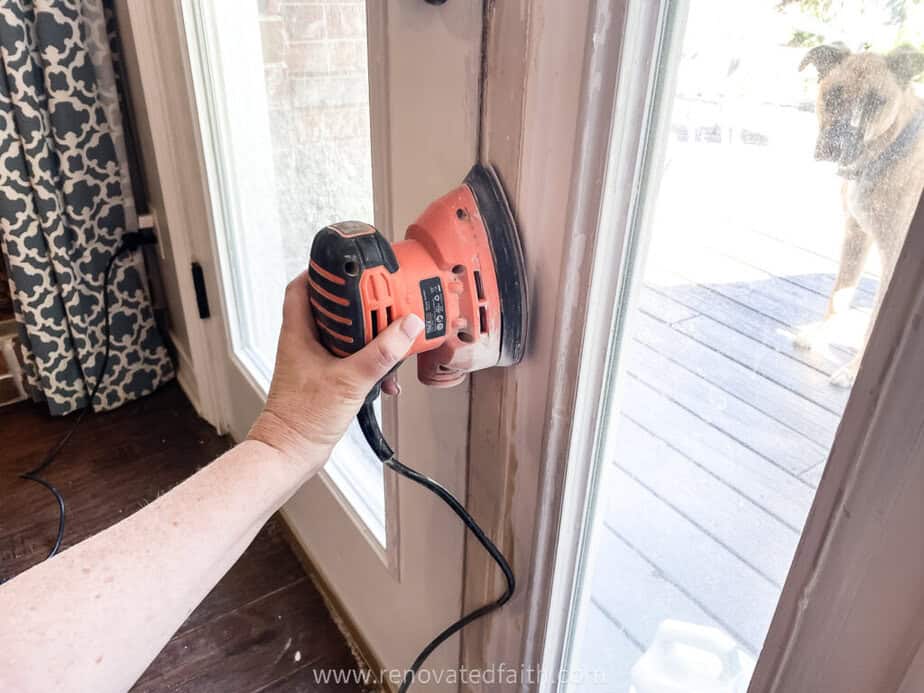
Use an electric sander or foam sanding block to sand the surface of your door. Take your time and take a break every so often to run your fingers along the surface to make sure you don’t oversand and sand into the scratched area (this usually is just an issue when using wood filler.
RELATED: The Best Sander for Furniture & DIY Projects (How to Use An Electric Sander)
Once you have sanded the area to a smooth surface, wipe off the sanding dust with a damp cloth. Now, you are ready to paint!
Step 4: Paint the Door to Match The Existing Paint
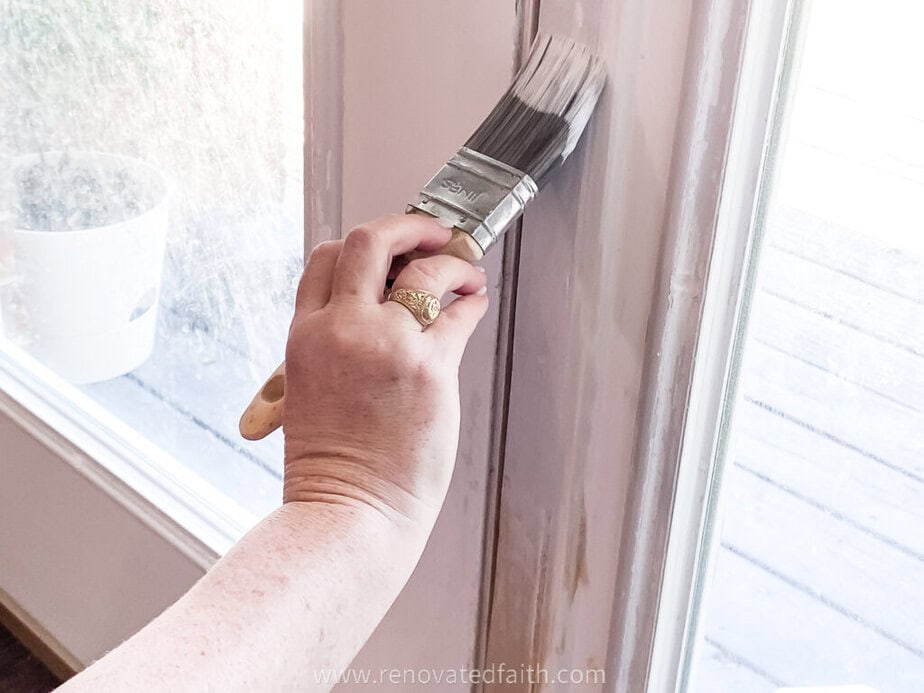
If you have a good paint, you don’t need to worry about a primer. After testing 24 top paints, I’m using Benjamin Moore Advance.
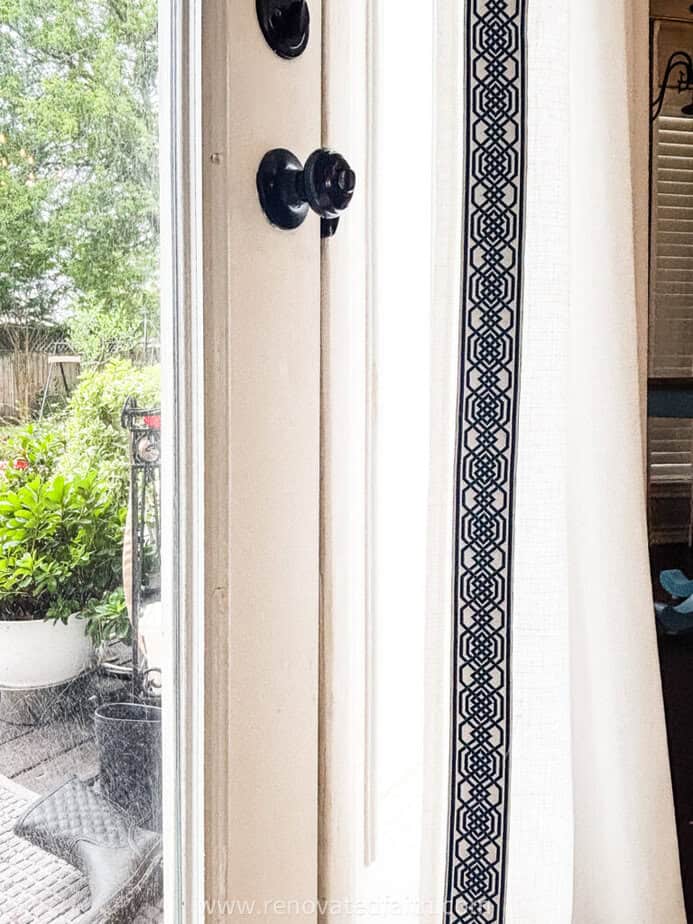
Paint the sanded area and I like to dry brush the surrounding areas to help the new paint blend in with the rest of the door. For more details on this and other ways to get the right door paint, click here: How To Do Paint Touch Ups (When You Don’t Know The Original Color)
Should You Use A Top Coat?
It doesn’t hurt to add a clear coat as a protective layer over the paint. I didn’t for this project because I know my paint is extremely durable. Adding a top coat definitely can’t hurt if you are concerned about how you door’s surface will hold up.
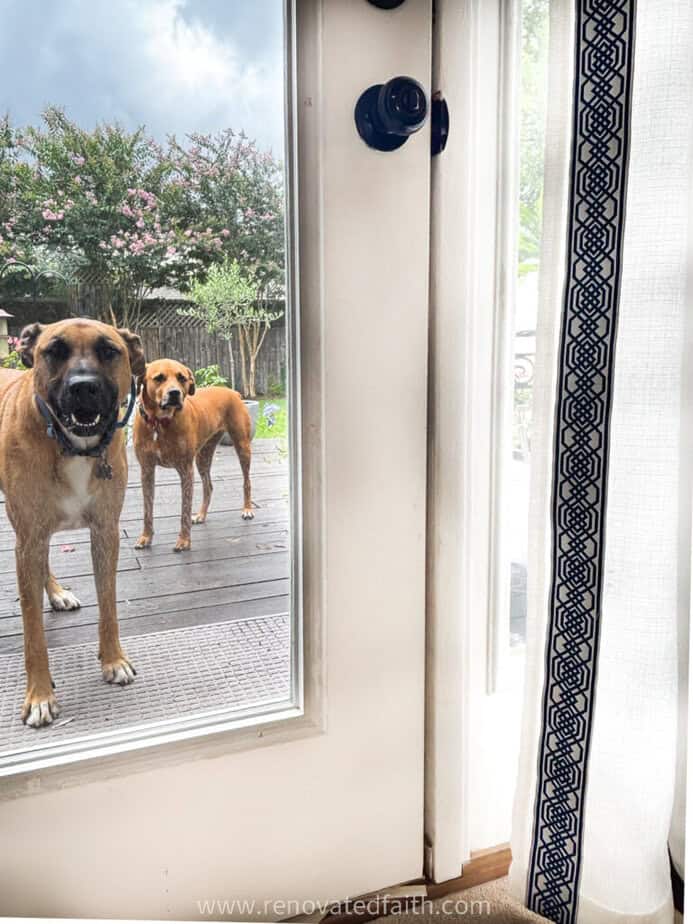
RENOVATE YOUR FAITH: Do Dogs Go To Heaven?
Whether they’ve chewed your favorite shoe or left their mark on your wood door our dogs bring so much joy, loyalty, and love into our lives that it’s hard to imagine a single day without them. Our dogs love us unconditionally, make us laugh, and comfort us through our hardest days — but their time with us is never long enough. If you’ve ever wondered whether dogs go to heaven, find hope-filled answers that just might bring some peace to your heart by clicking here: READ THE POST HERE
Most of my projects include a corresponding devotional. For more spiritual encouragement, click here for the rest of my project posts that also include Renovate Your Faith devotionals.
How to Fix Dog Scratches On A Wood Door That’s Stained
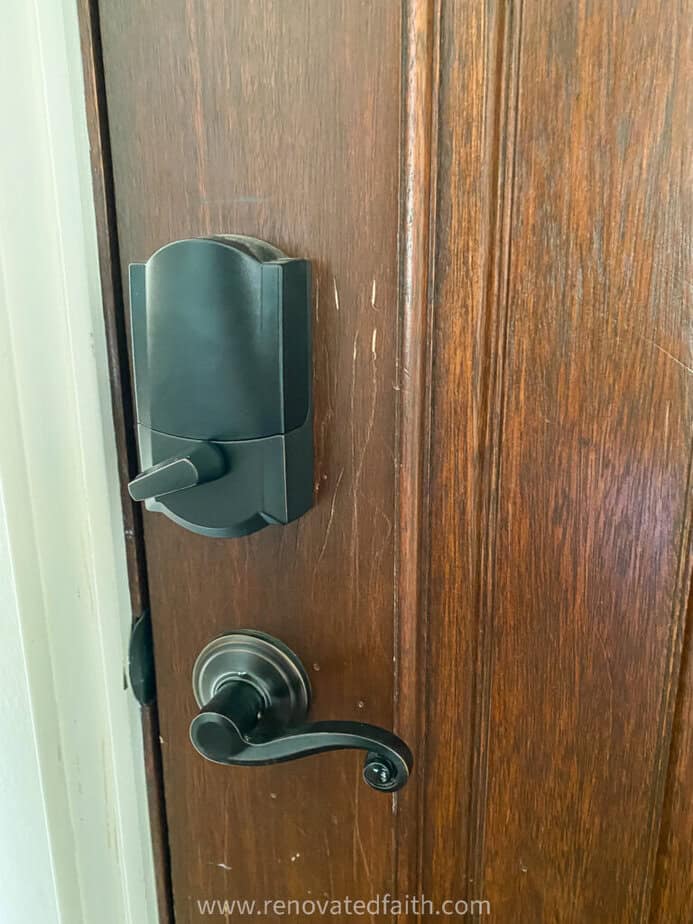
For surface-level stains on a stained door, all you need is the right stain marker and a few tips to make your door look like new. Fortunately, because the stained wood grain has lots of color and texture variations, you usually don’t have to worry about filling scratches on stained doors.
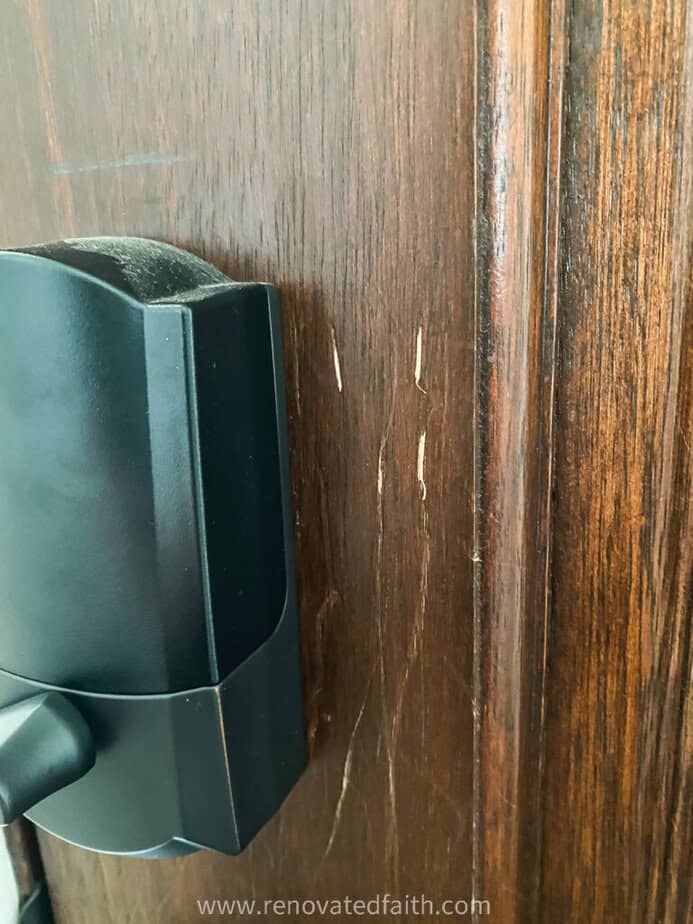
I highly recommend this wood door scratch repair kit (click here for the current price!)
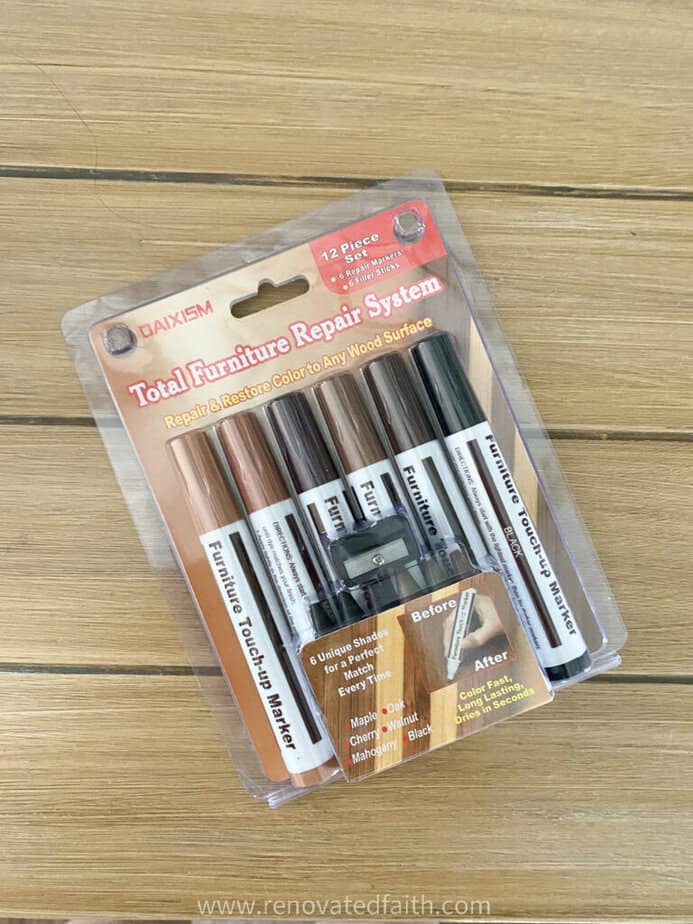
Not only does it have restoration pens, but it also has wax filler crayons so you can find a good match to scratch marks on doors, trim, or even wood floors.
Step 1: Use a Wood Stain Marker on Light Scratches
Start with lighter stain markers first to try to cover over the scratches. If one isn’t dark enough, move onto the next one until you get a good match to the original stain.
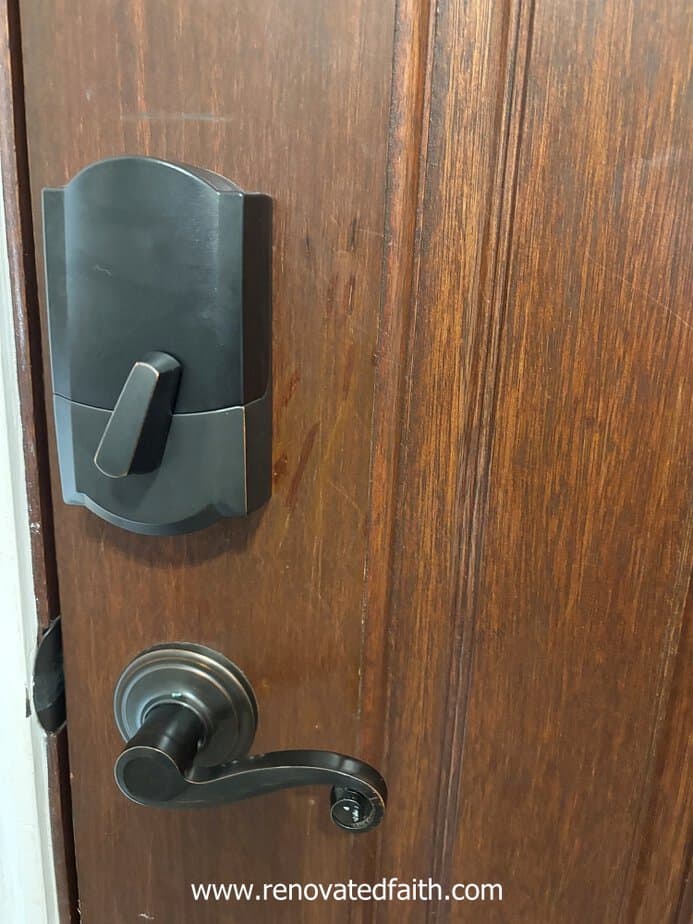
Step 2: Remove Excess Stain
Use an old rag to wipe the surface of the wood to remove any excess stain outside the scratched areas. The stain will stay in the scratched area even after you wipe off the excess.
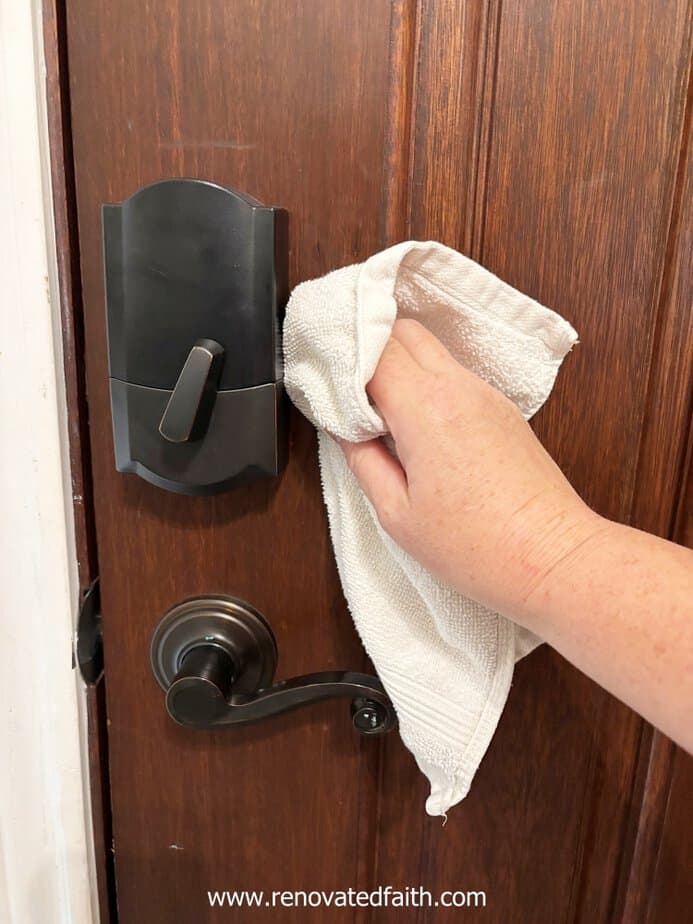
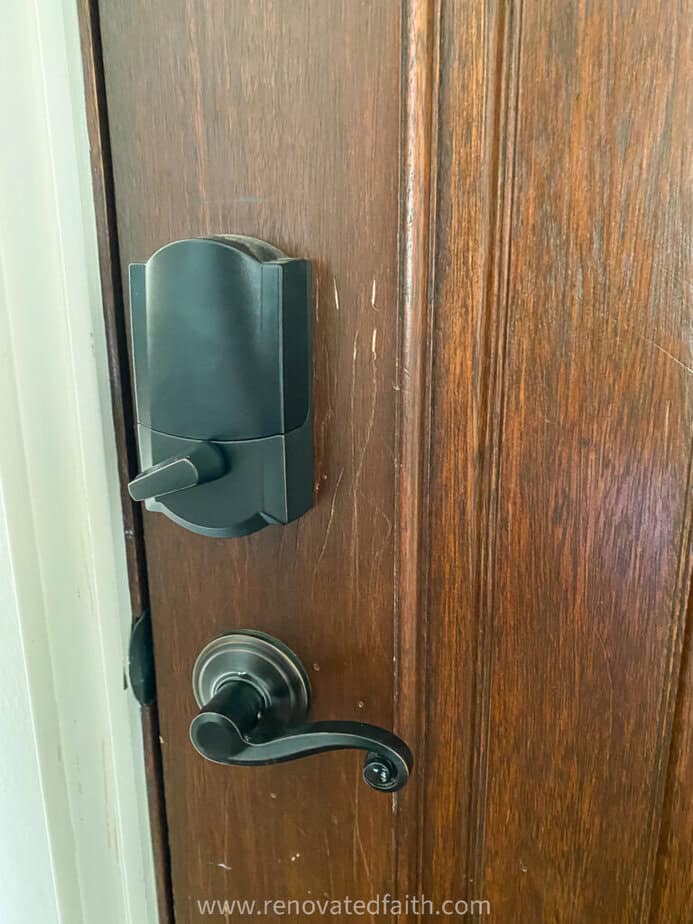
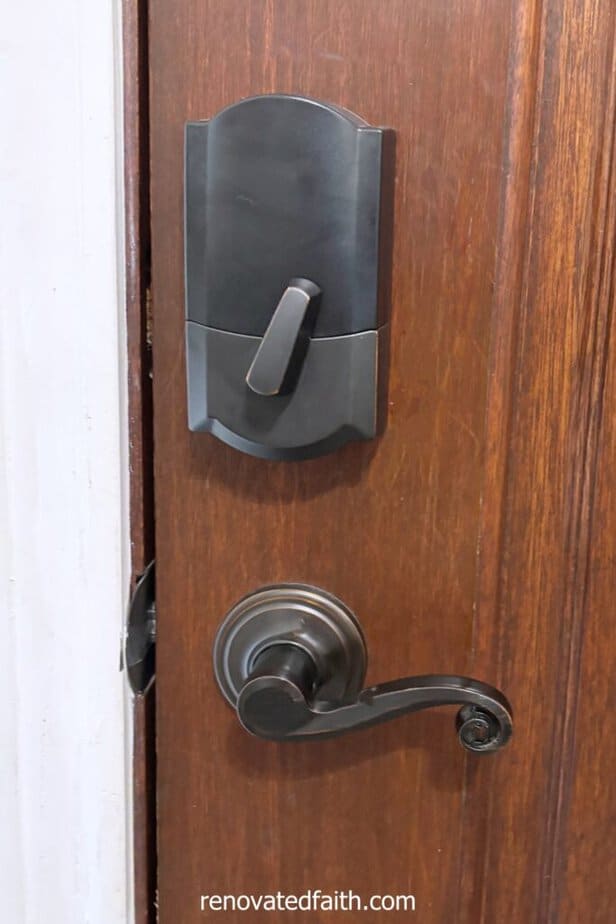
Here’s how my door turned out after using the wood stain markers! That only took a minute or two and look at the difference it makes.
More Posts Related to How to Remove Deep Scratches from Wood Doors
Best Tips to Hang Gallery Wall Art Easily
Where Do Dogs Go When They Die (According to the Bible)?
How To Make a Desk Out of A Door
The Best Way to Paint Metal Exterior Doors So They Look Like Wood
How to Repair Furniture Like A Professional
Easy DIY Door Mat Tutorial (With Interchangeable Layered Mats!)
How to Spray Paint Door Knobs (So They Outlast Your House!)
Best Clear Coat for Furniture (Top Brands Tested and Ranked!)
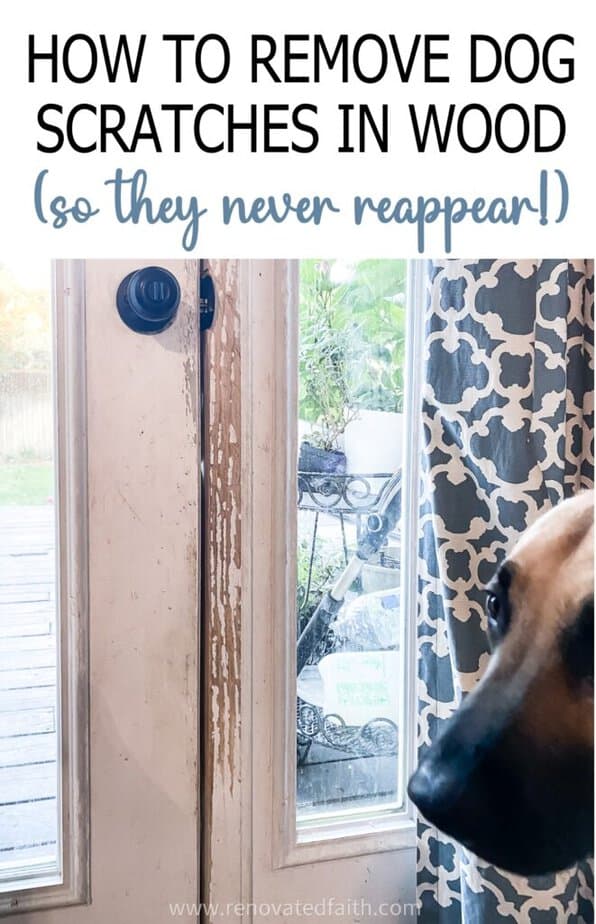
Final Thoughts on How to Fix Dog Scratches on a Wood Door
With a little patience and the right approach, dog owners can keep their wood doors looking beautiful even with a furry friend in the house. This post shows you everything you need to know to repair dog scratches on painted and stained wood doors.
If your dog frequently scratches at entryways, consider installing pet doors to eliminate the behavior at its source, protecting your door’s finish from repeated wear. You could also add an acrylic panel to the bottom of doors to protect the wood.
Regularly trimming your dog’s sharp nails is equally important, as shorter nails dramatically reduce the risk of new scratches over time. These simple steps will keep your doors and woodwork looking great for a long time to come.
I love to hear your thoughts and questions! Scroll down to leave a comment and I WILL reply! ❤️
Blessings,

Be sure to follow the fun here!
Email Subscription | Instagram | Pinterest | Facebook | Twitter


Karin Peters is a DIY expert and the creator of Renovated Faith. She is a furniture painter, a home design consultant, and a tenacious problem solver determined to help you transform your house into a home. With 17 years of experience with DIY home improvement, she researches and analyses professional processes to adapt them to be easy and cost-effective for DIYers. She then tests every project and product before it appears on the site in a detailed, step-by-step format. After attending Texas A&M University, she received her Master of Divinity with Biblical Languages at Southwestern Baptist Theology Seminary. Her passions unite in Renovated Faith, which shows readers how to create a home that serves them so they can pursue their God-given purposes. About Renovated Faith | Editorial Policy | Facebook | Twitter | LinkedIn
Thank you for this post. Our 8 month weim has scratched all our stained wood doors!