
Create a Seadrift Pottery Barn Finish: DIY, Step-by-Step Guide
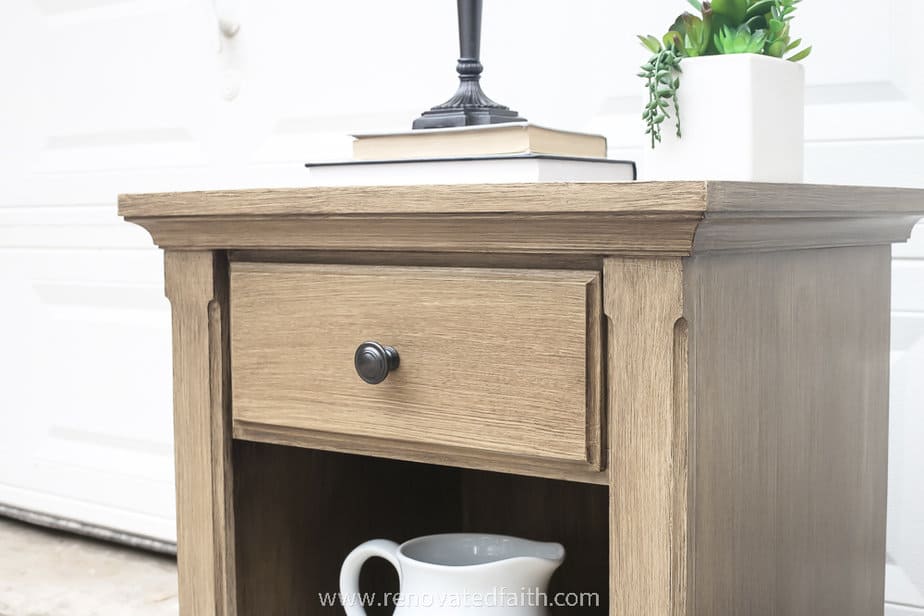
Step-by-step guide to creating a Seadrift Pottery Barn finish with paint & glaze. Transform furniture with this easy faux wood technique!
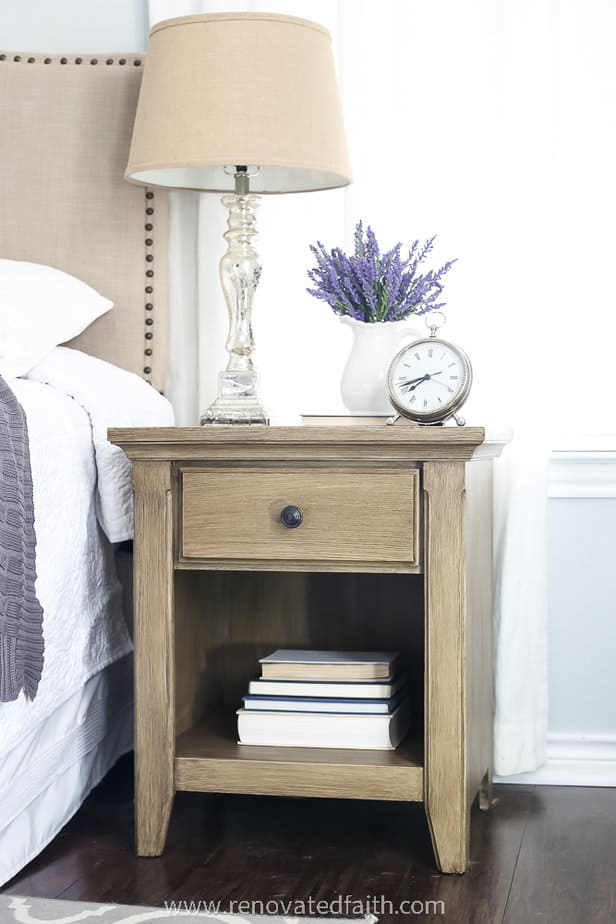
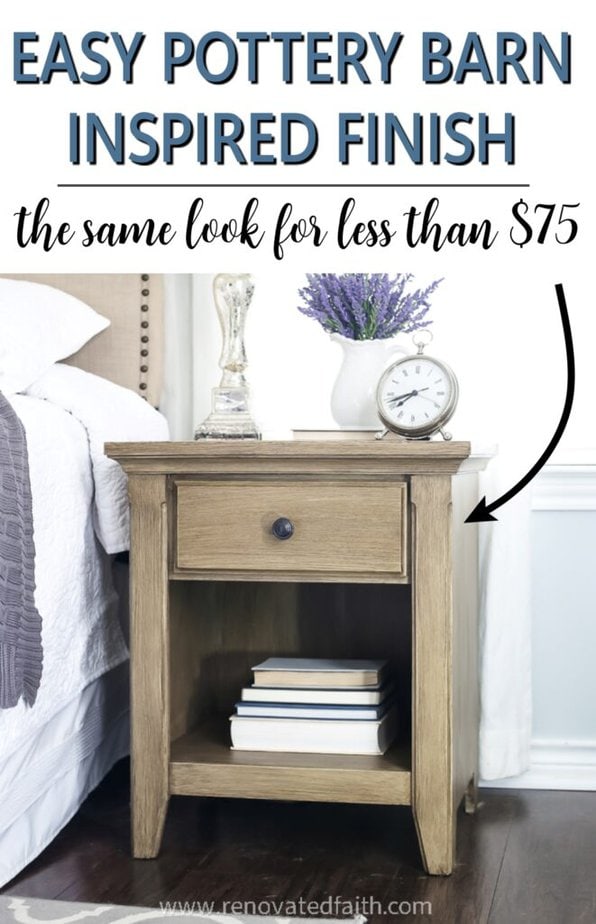
My absolute favorite stain finish is the Pottery Barn seadrift finish, and with this easy step-by-step tutorial, you don’t have to spend a lot to get the same look. Turn any outdated piece into a furniture gem with this Seadrift Pottery Barn Finish DIY tutorial and video!
I’m not new to faux finishes, as I love creating my own faux stains. In fact, I’ve painted them on dozens of furniture pieces throughout the last 15 years. But out of all these faux finishes, I think this is my new favorite technique. In this post, you will:
• Learn the easiest step-by-step technique to master the Pottery Barn Seadrift finish on your own furniture piece using basic paint and glaze.
• Discover the benefits of DIY-ing this finish yourself and avoid common mistakes.
• Get answers to common questions so you can confidently tackle this project so it looks like it came right out of a Pottery Barn store.
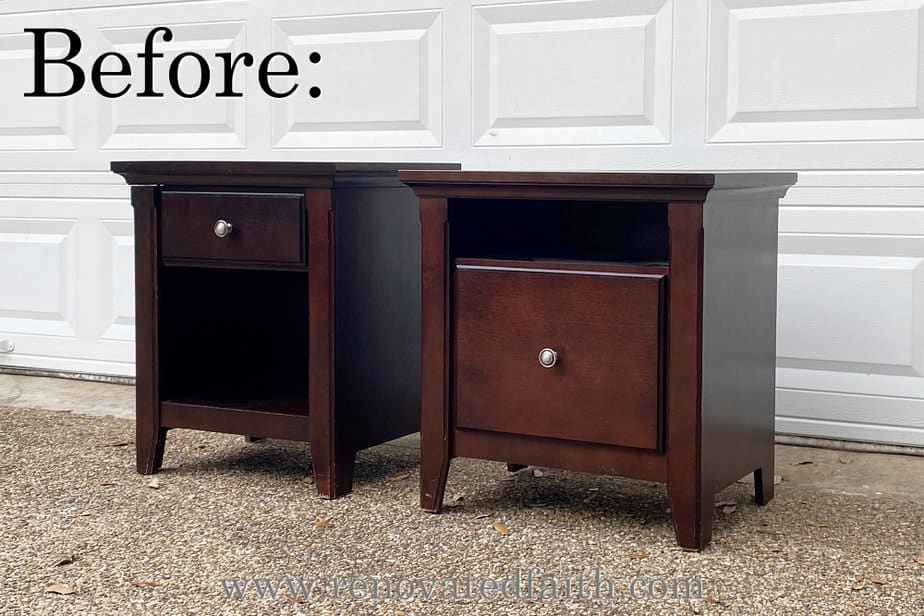
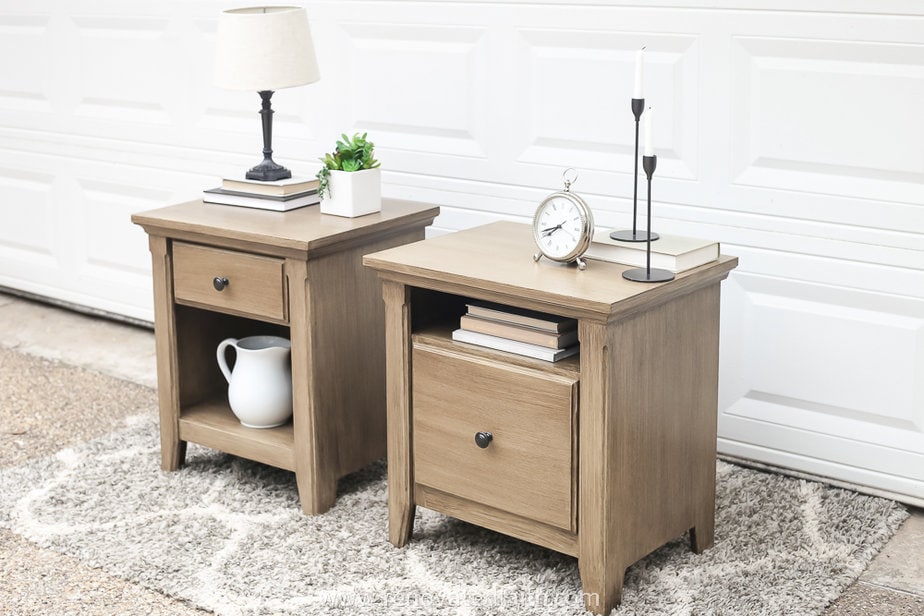
These are 20-year-old Target nightstands that we got when we first got married. They are made of solid wood, but the tops aren’t in the best shape and I’m tired of the old espresso finish.
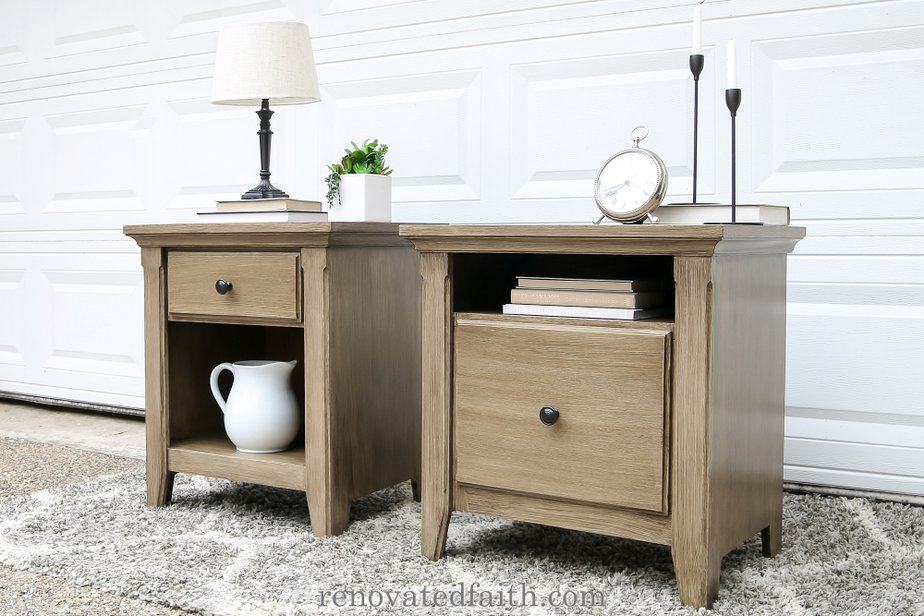
So, What Is A Pottery Barn Seadrift Finish?
A Seadrift finish is Pottery Barn’s most popular stain shade — a medium, beachy neutral tone that’s warmer than Gray Wash but lighter than Linwood. You can easily create it with paint using a base coat, glaze, and clear topcoat instead of buying pre-stained furniture.
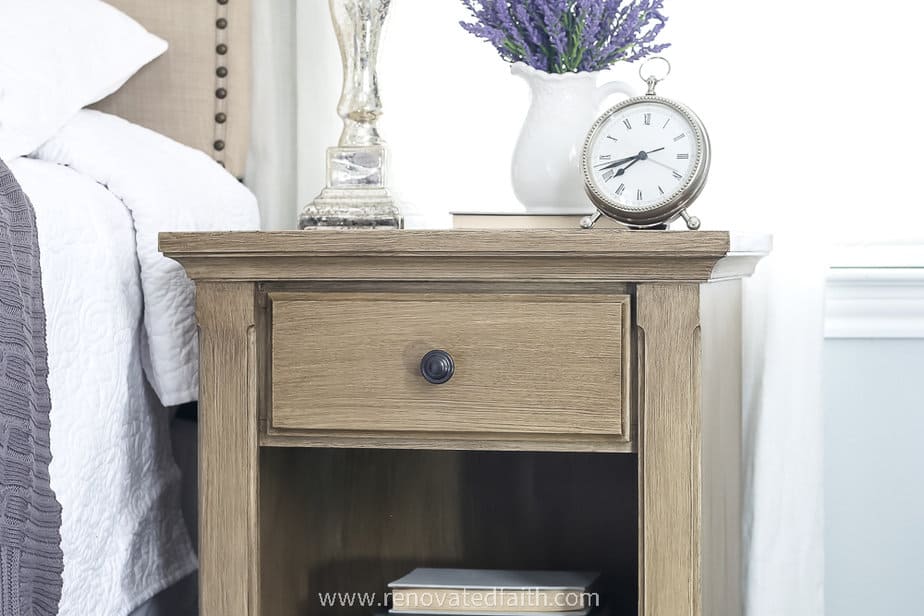
Why Use A faux finish with paint instead of Stain?
I love creating faux wood finishes with paint because they are much more predictable than traditional stains. Also, you can go over any existing paint or stain without using a furniture stripper.
Applying a faux finish to a solid wood piece of furniture, whether painted or stained, gives you the best of both worlds. The best part is that you get the same look as a high-end furniture piece without the extra cost, and this finish is more durable.
This finish will stand up to daily abuse and still look gorgeous for a very long time.
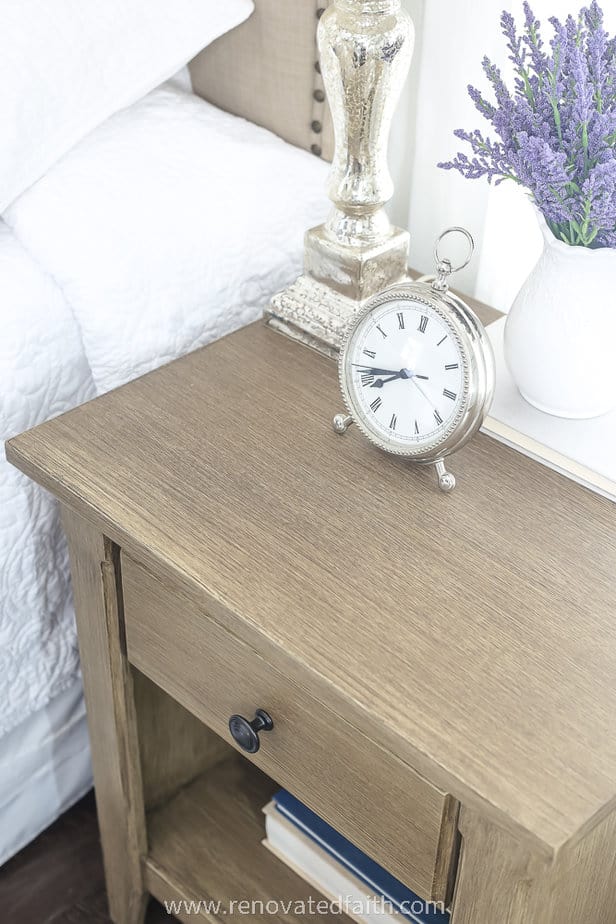
How Do You Paint a DIY pottery Barn Finish on Furniture?
This process is a great option for giving furniture new life, whether this is your first time painting or you are an old pro.
Also, you can practice this technique on a sample board to build confidence before painting your furniture piece.
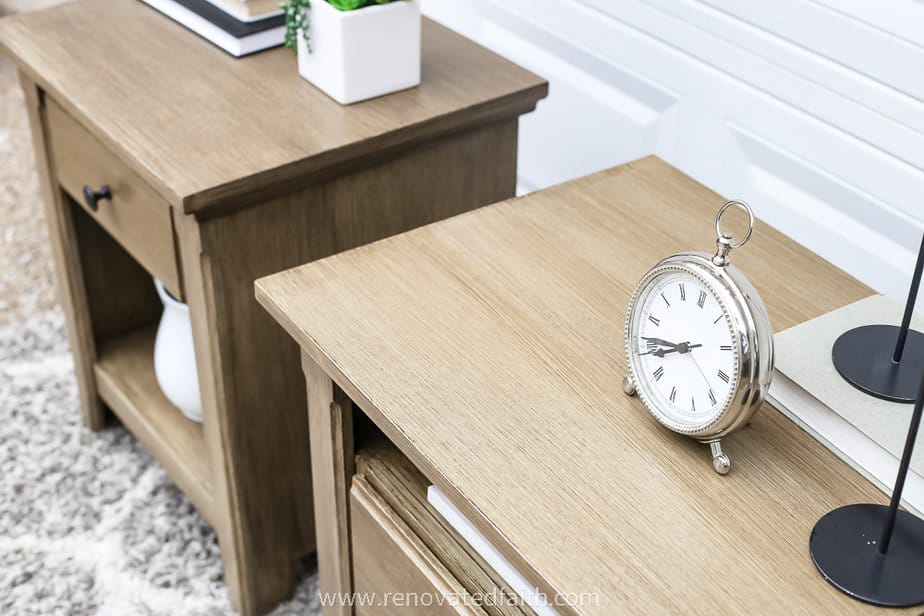
How to Get a Pottery Barn Seadrift Finish (6 Steps)
- Clean
- Lightly Sand (takes less than 5 minutes)
- Prime
- Base Coat
- Glaze
- Clear Coat
If it sounds like a lot, I promise it’s easy! With a little hard work, you can have the furniture of your dreams without the high price tag.
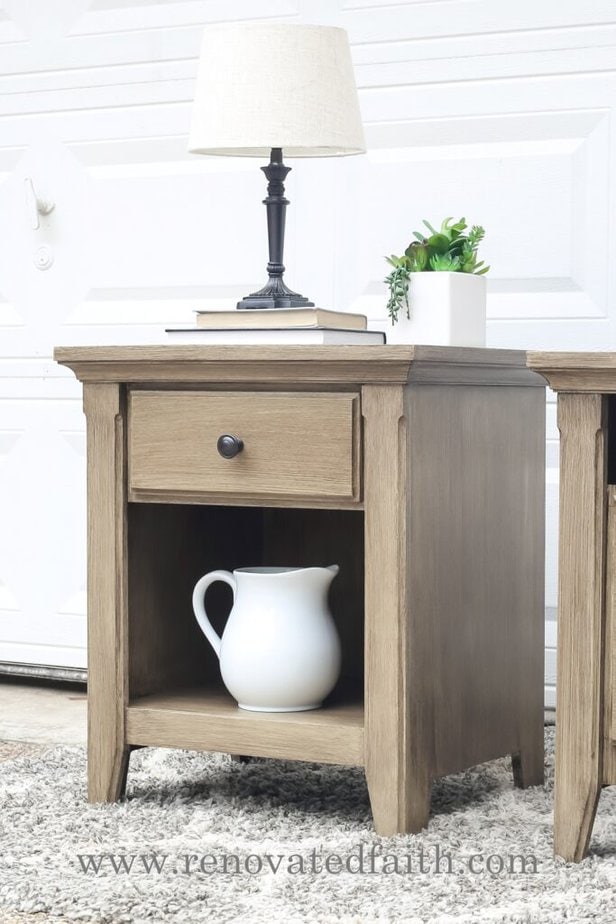
Supply List – How to Paint a DIY Pottery Barn Finish:
Rustoleum Decorative Glaze in Java – 1 quart : HOME DEPOT PRICE
Latex Paint Sample (Base Color) – Get the small sample container of latex paint in Sherwin Williams Universal Khaki in a Satin Sheen at Lowe’s. If you go to the Home Depot paint counter, ask them to color match their Behr paint sample to that color as they have the code in their system.
Krud Kutter Pre-Paint Cleaner: AMAZON PRICE
Electric Sander – AMAZON PRICE | HOME DEPOT PRICE
Sanding Pads for your Sander AMAZON PRICE |
*Instead of a sander, you can use sandpaper or a foam sanding block like this one.
Paint brush: CLICK HERE FOR MY FAVORITE BRUSH OR A CHEAPER OPTION HERE
Cheap 2″ Brush for Oil-Based Primer* (See link above) OR get Mineral Spirits to clean your good brush
Blue Small Broom/Brush – AMAZON PRICE
Cover Stain Primer (1 quart) – AMAZON PRICE
Varathane Waterbased Clear Coat AMAZON PRICE | HOME DEPOT PRICE
Foam Brushes – AMAZON PRICE
Free Must-Have Furniture Painting Tips (Click Here to for this FREE Printable!)
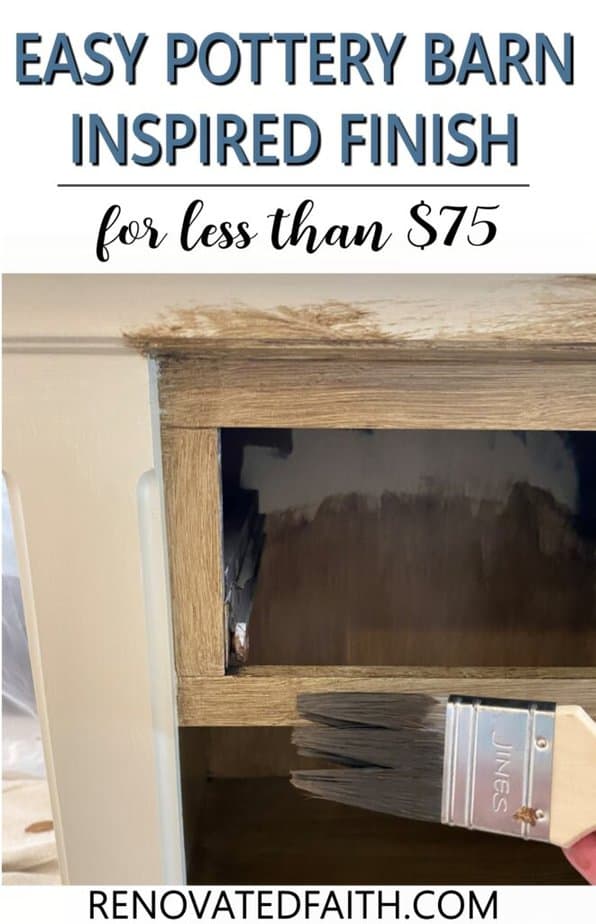
Easiest Seadrift Pottery Barn Finish, DIY Tutorial
If the instructional video doesn’t pop up, click here: How to Paint a Seadrift Finish, YouTube Video
Step 1 – Clean The Furniture Surface
Remove any old hardware and put it in a baggie for safekeeping until you are done. Start by cleaning your furniture piece with Krud Kutter Pre-paint Cleaner.
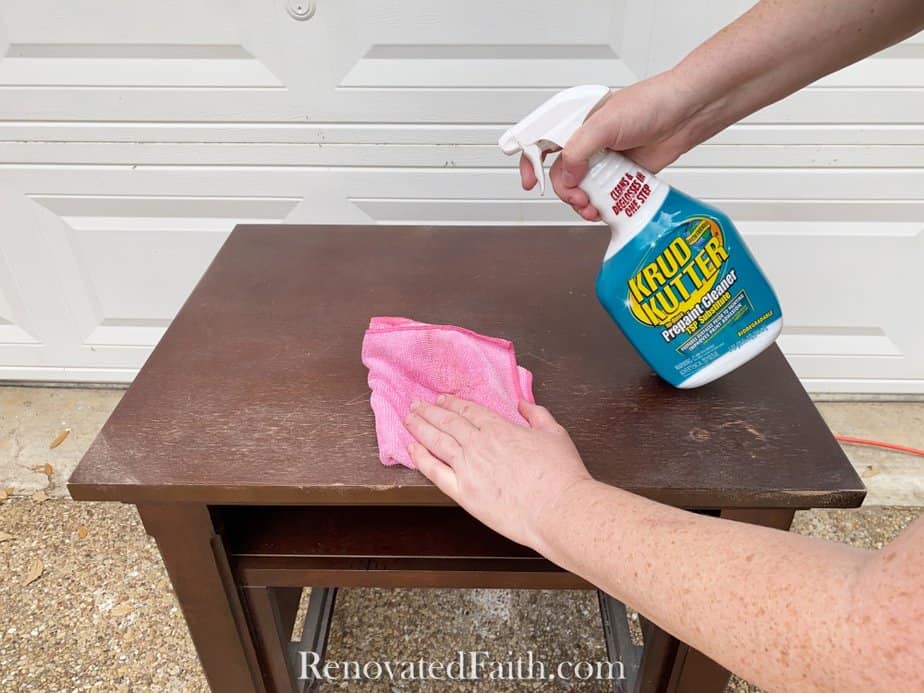
Spray it on a rag and wipe in circular motions. This step is especially important for wood tables because grease and dirt can keep your base coat from adhering well.
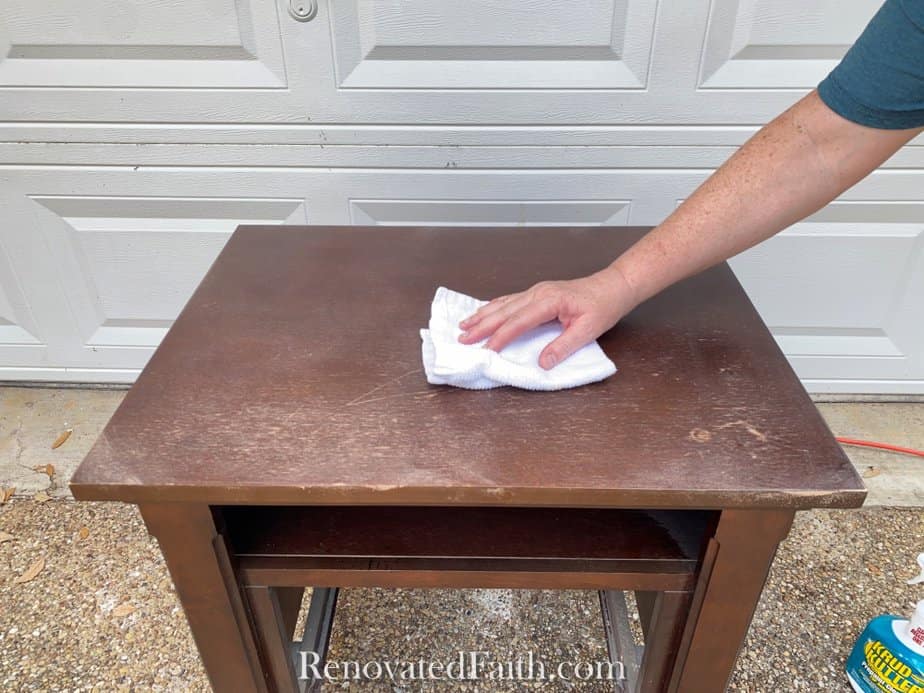
Once you cleaned the furniture piece, wipe it down with a damp rag to remove any residual cleaner.
Step 2 – Lightly Sand Your Furniture Piece
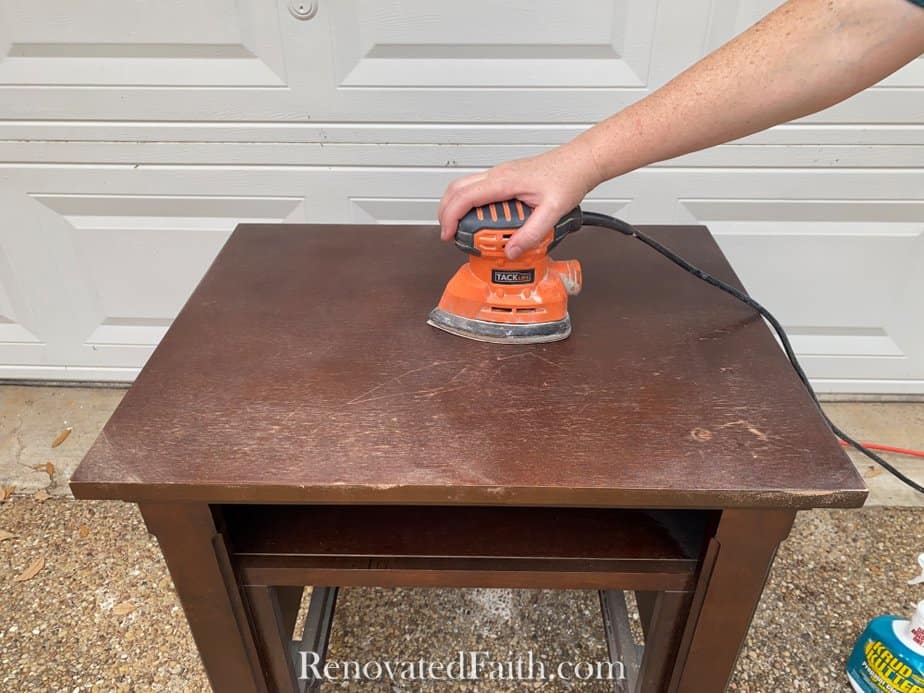
Sanding will give us a consistent, smooth surface for our DIY Pottery Barn Seadrift faux finish. But the good news is that we are just lightly sanding to scuff up the surface. You are not trying to remove the old paint or stain.
RELATED: How to Sand Furniture in Less Than 5 Minutes | The Best Sander for Furniture
Run your sander over the surface in a circular motion until you have a smooth finish. Once you are done remove any dust with a tack cloth or moist rag.
Step 3 – Prime Your Furniture Piece:
Because we are using an oil-based primer, you have to clean your brush with mineral spirits. Because I don’t like to mess with mineral spirits, a simple solution is to just use a cheap brush for oil-based primer and throw it away when you’re done.
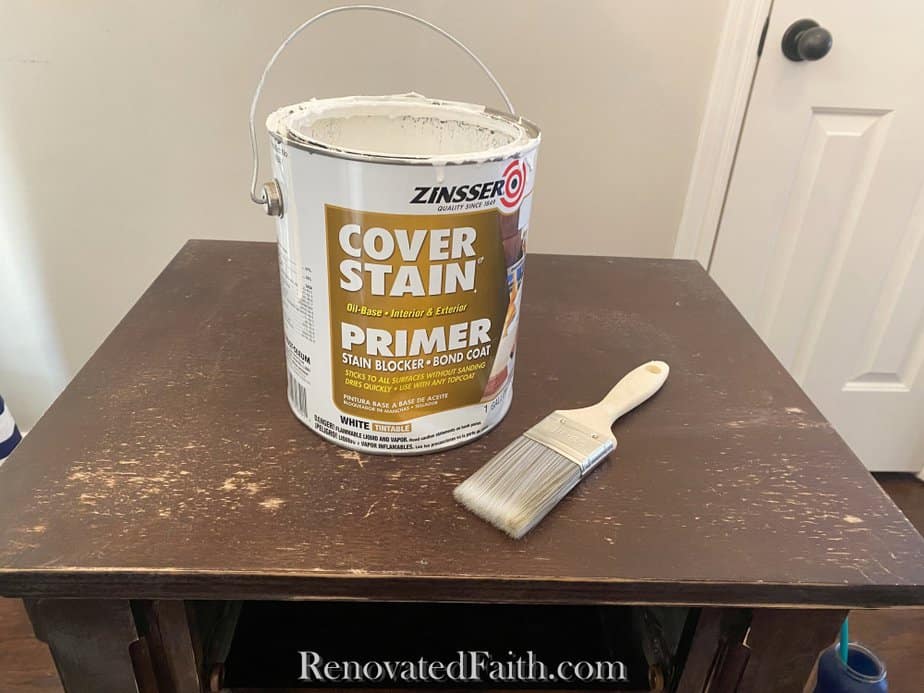
Brush on the primer in the direction of the grain in long strokes. Normally I use a roller for flat surfaces of furniture, but the brush marks from the primer are going to give us the desired effect of faux wood grain. It will be subtle but will add to the effect of our final faux stain finish.
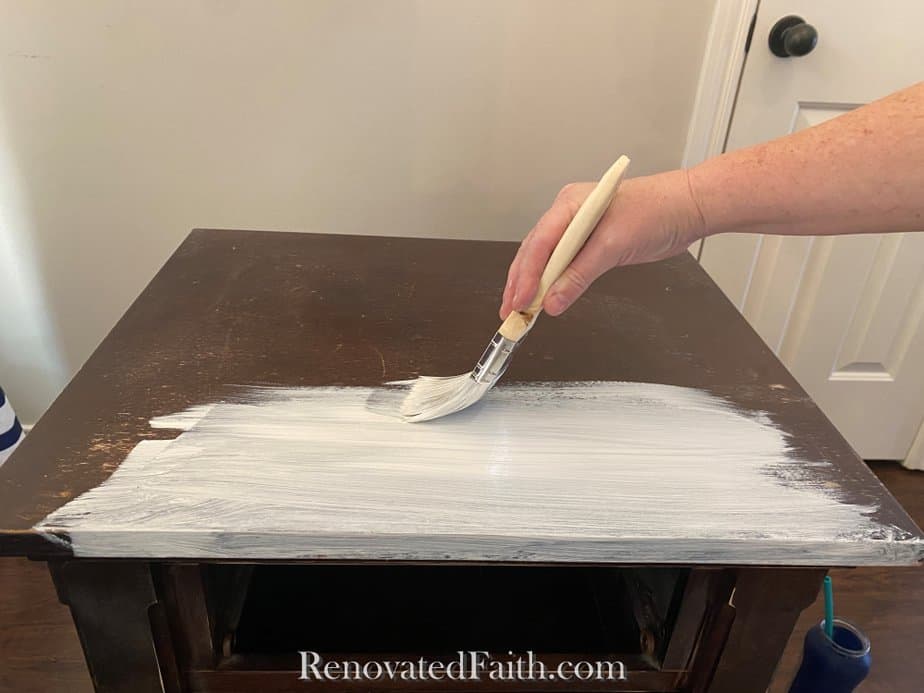
Be sure to check for drips immediately after painting on the primer coat.
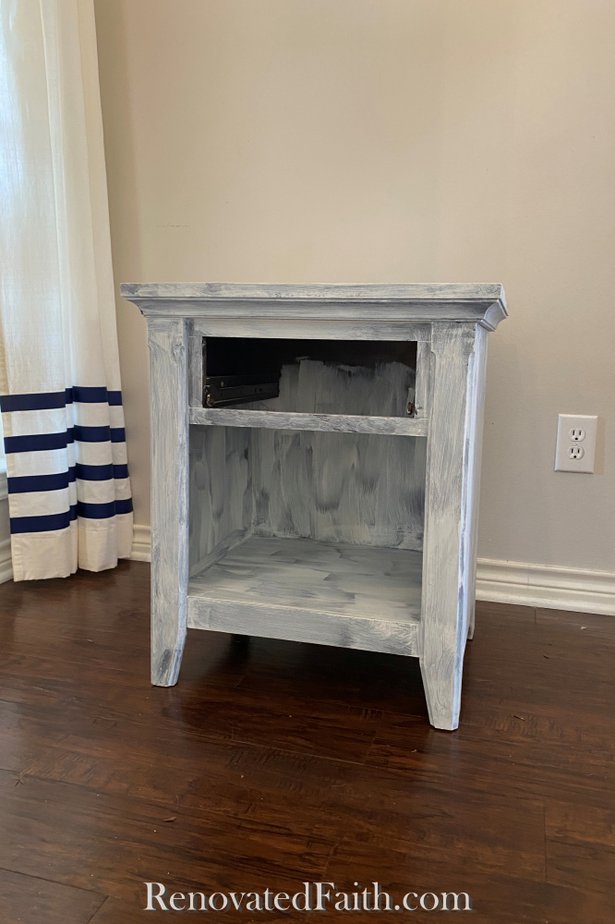
Let your primer dry for two hours before adding the base coat. You won’t get solid coverage with one coat of primer. It will be splotchy like the pic above, but that’s ok! We are about to add the base coat.
Step 4 – Paint on the Base Coat for Your DIY Pottery Barn Finish Dupe:
Use your brush to paint on your base paint, again in the direction of the grain, just like you did with the primer.
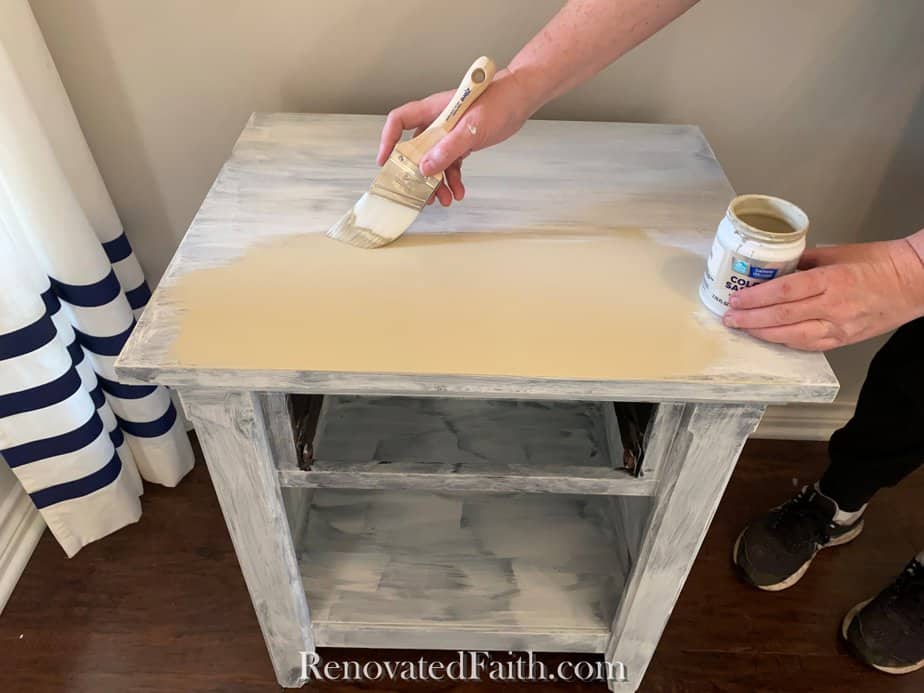
If you get some streaks of white from the primer coming through, that’s not a big deal and it will just add to the overall look.
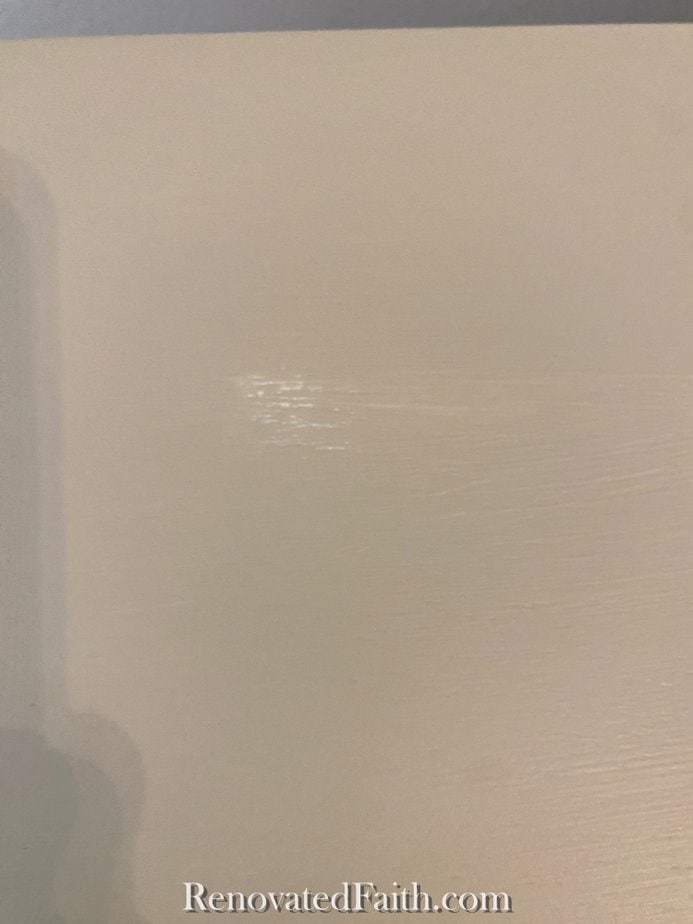
Let the base coat dry for 4 hours.
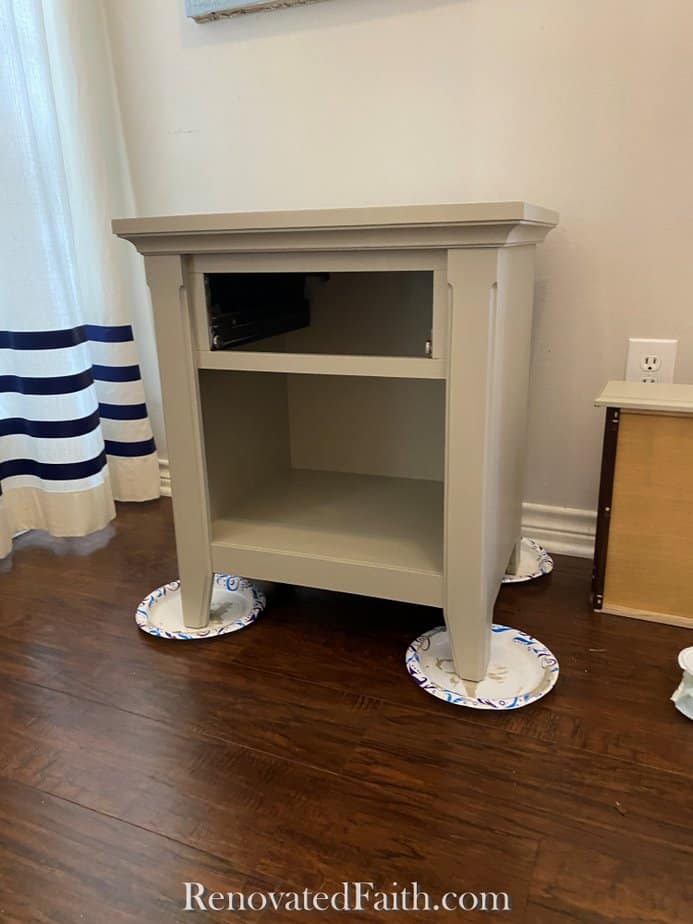
Step 5 – Add The Glaze to Create a Pottery Barn Finish Dupe:
Now is the fun part!
To apply the glaze, we will do the below step in small sections – namely one flat surface of your furniture piece at a time.
For the side tables, I ended up doing the left side, top, then right side, and last the front. But you can do any order makes the most sense for you. Then do any drawer fronts but always take the drawer out of the furniture piece before you start.
Stir the glaze with a plastic spoon or paint stirrer.
First we just want to get a little bit of the glaze on the surface we are working on – enough to cover it. Use your brush to paint on the glaze in long strokes in the direction of the grain.
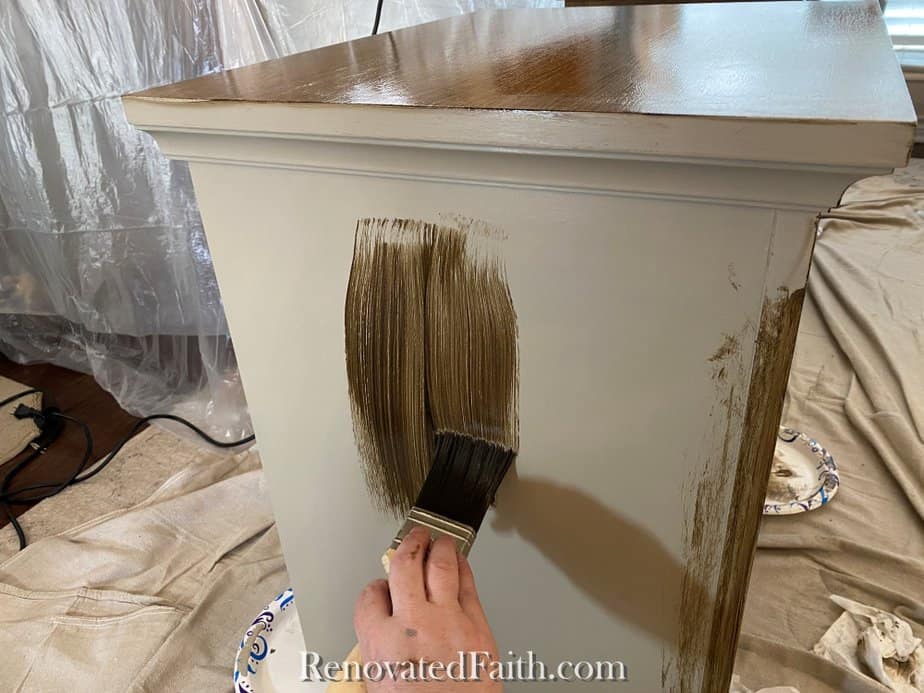
At this point you just want to get the surface covered with glaze.
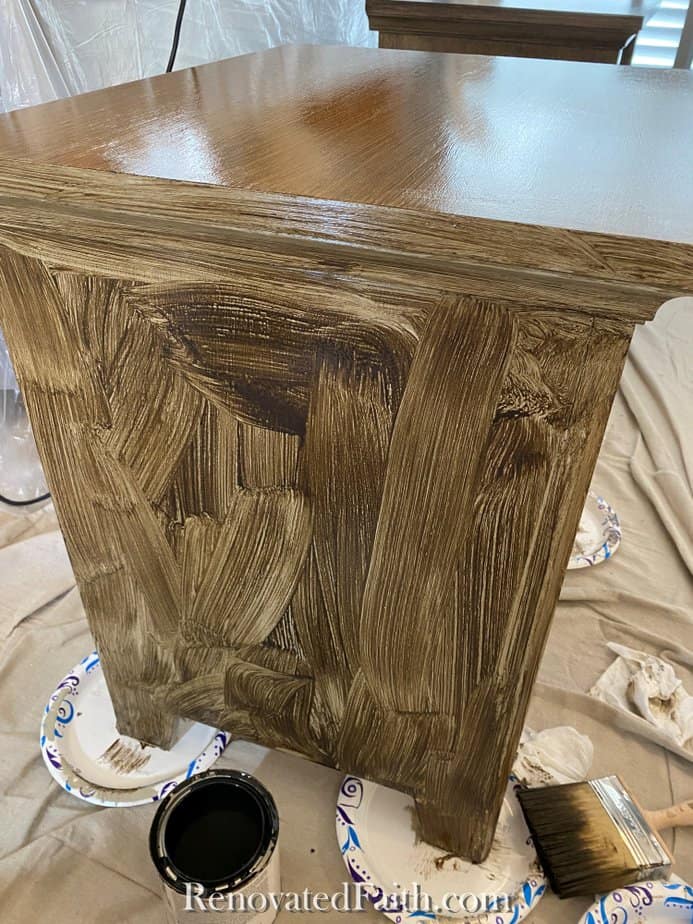
Now, take your blue brush and make long strokes along the grain without picking up your brush. You can see how I do this in the video too.
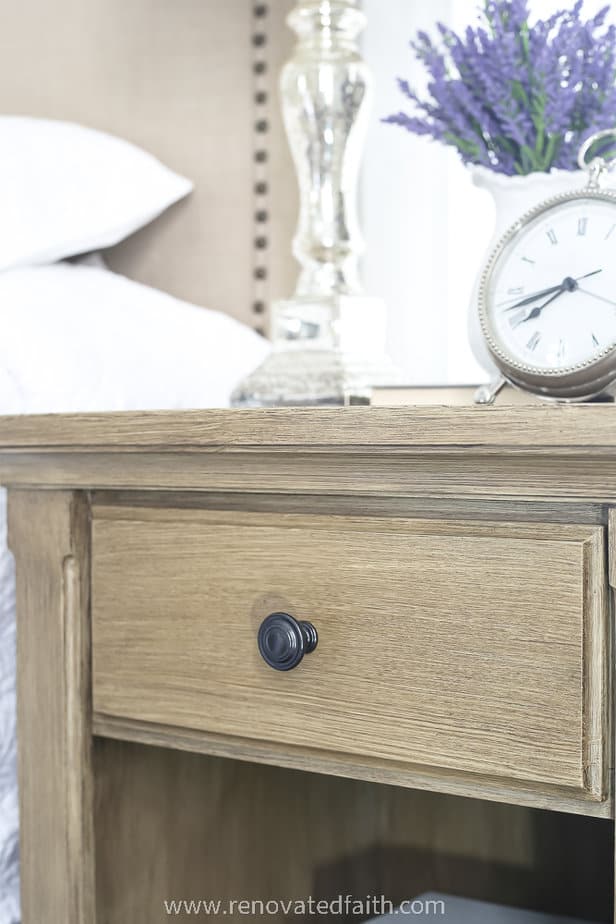
The blue brush will give us the desired effect of the faux wood grain. Keep brushing until you get the look you want.
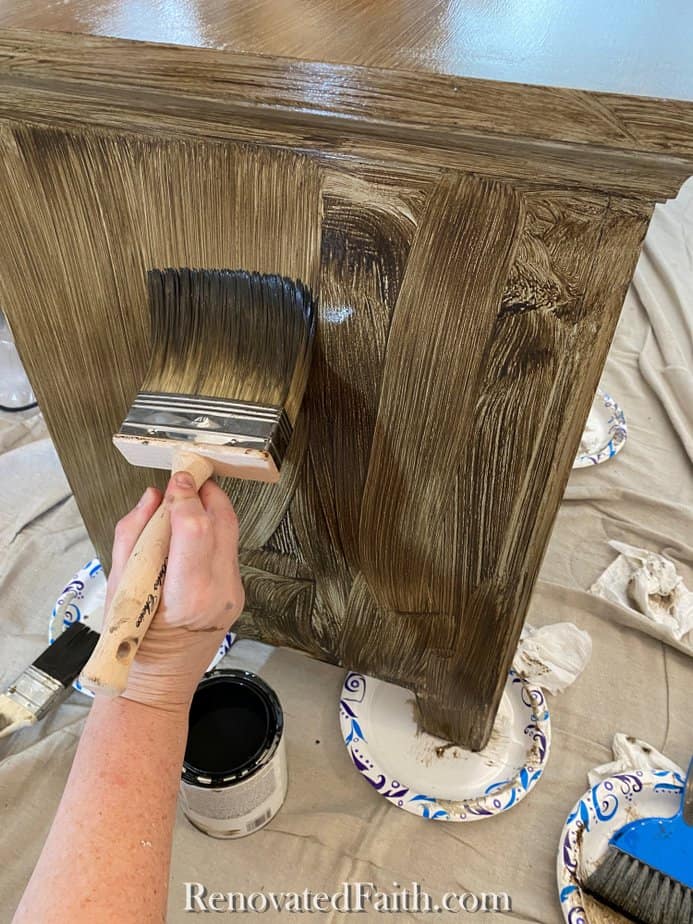
If your finish looks too dark, dab some excess glaze off of your blue brush onto a paper plate or paper towel. Keep working the brush over the surface and dab off more glaze if it is still too dark.
Now, to give your paint finish a softer look but more detailed texture, you can use the blue brush in the same way as the blue brush. Just softly do long strokes from the top to the bottom.
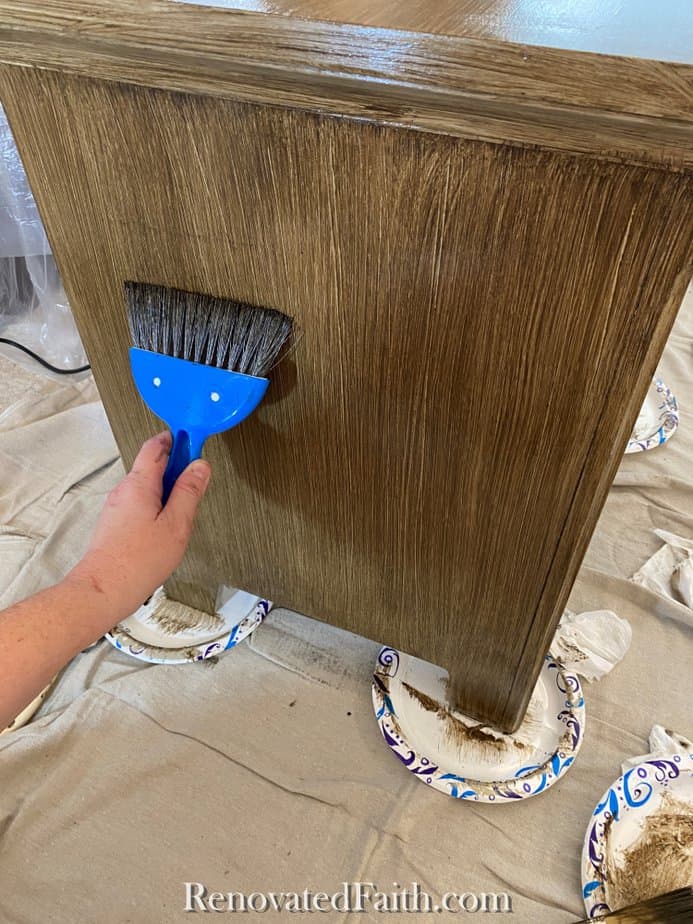
When you decide you are done with that surface, decide you are done. In other words don’t touch it anymore until you are positive its completely dry.
I’ve messed up faux finishes before trying to get them just perfect when they were already partially dry. Fortunately, this glaze stays moist for a long time and is very forgiving.
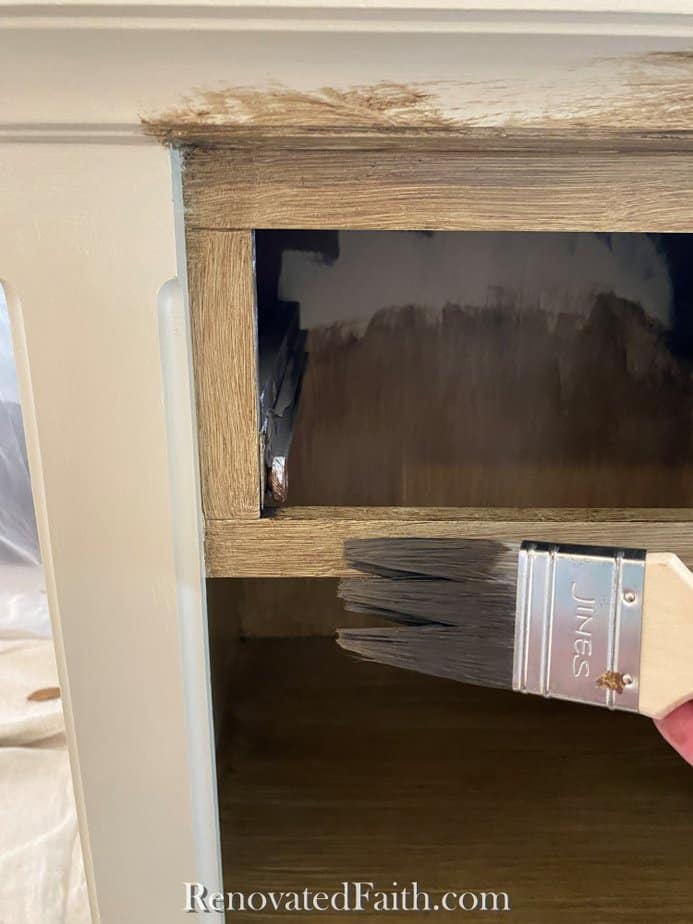
Right after you are done with surface, go back to the last surface you did and see how the two are meeting up. Sometimes you get a buildup of glaze and you get this with the edge of a smaller brush.
The great thing is that imperfections add to the look of the faux finish because wood grains are certainly not perfect.
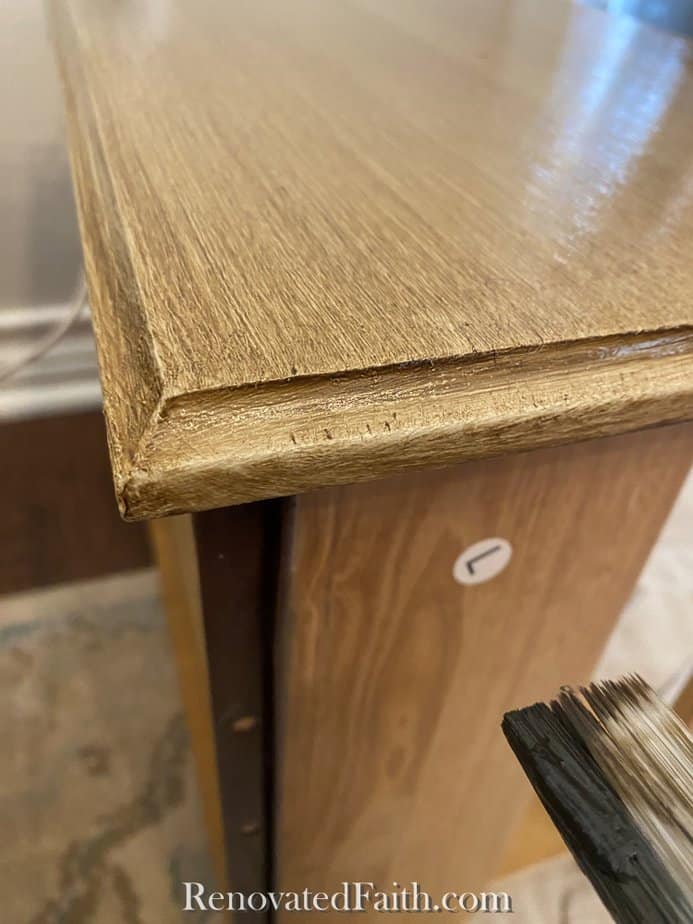
Let this finish dry over night to make sure it’s ready for the clear coat.
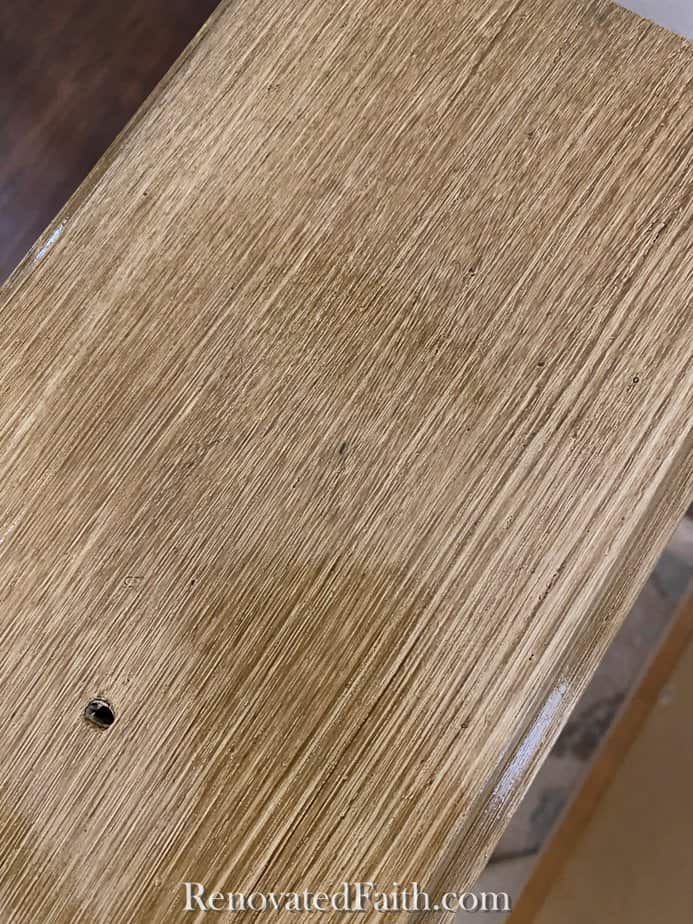
A tiny gnat from my houseplants landed in the finish while it was still wet. If this happens, resist the temptation to get it out of the wet finish. You can just dust the poor gnat off after the surface is completely dry!
What if you want to create the look of separate planks?
If your want to do a faux finish with different planks, you can use painter’s tape and this tutorial: Easy Restoration Hardware Finish With Paint
Step 6 – Add a Top Coat to Protect Your Pottery Barn Faux Finish
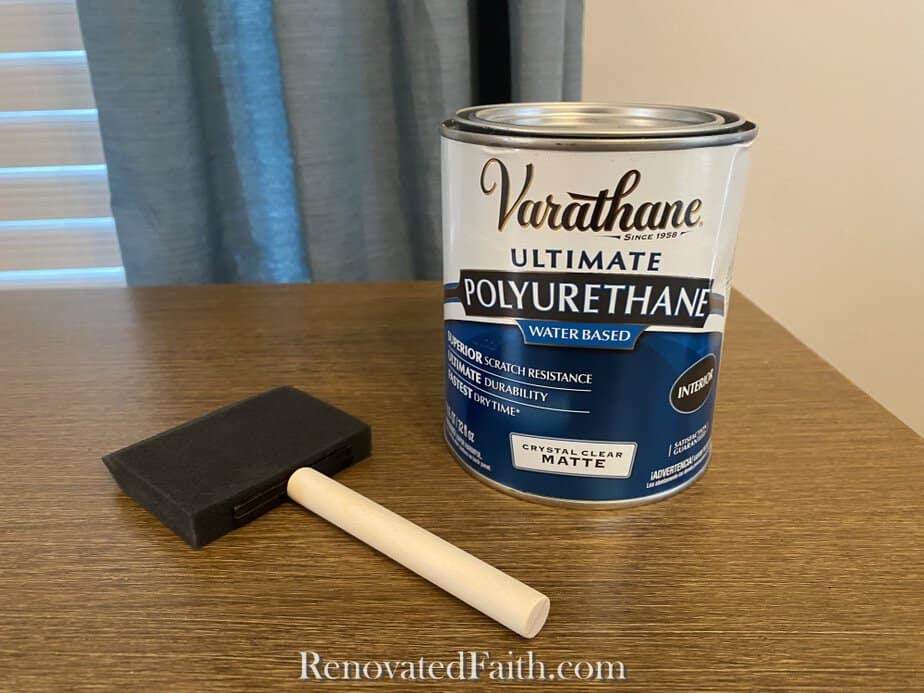
After testing many different products, I am really happy with Varathane’s water-based matte polyurethane.
RELATED: The Best Clear Coats for Furniture (Clear Wax Alternative)
The clear coat will seal in your beautiful faux finish and protect your furniture piece. Open the can and stir your clear coat (don’t shake the can!)
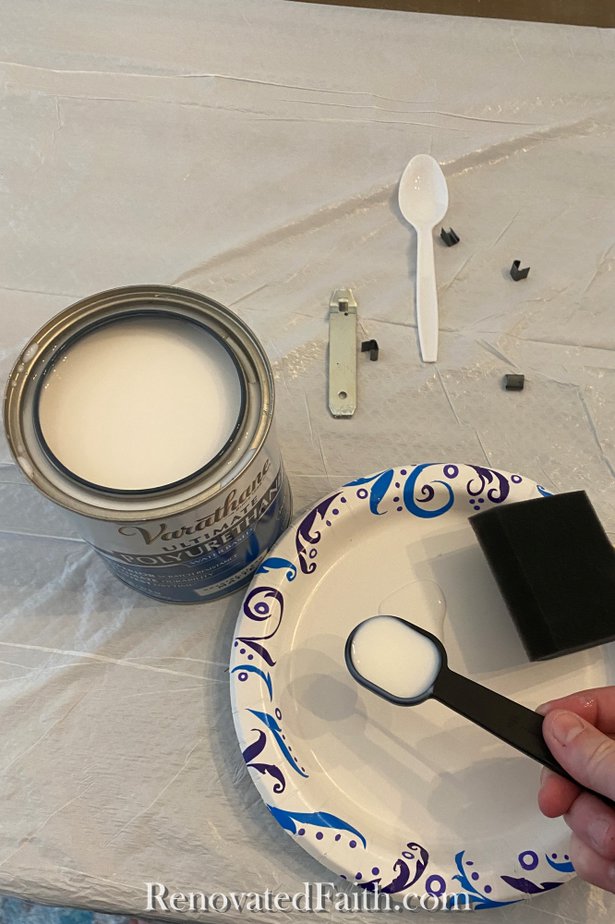
Put some clear coat on a paper plate and use your foam brush to brush on the clear coat in long strokes with the grain.
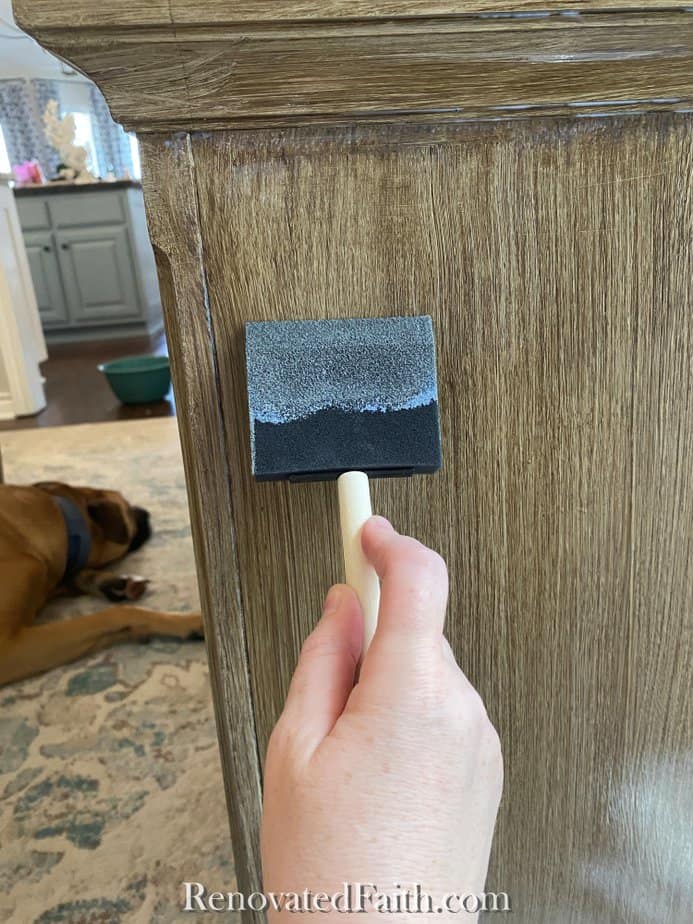
I like to use 3 thin coats 1-2 hours apart for high-use furniture pieces. Also, the can might say to sand between coats, but don’t. You could possibly sand into your faux finish.
I use a foam brush for each coat and throw it away afterward because they are cheap. You can also put the wet brush in a baggie and put it in the fridge for a couple of hours. It will still be wet when you do your next coat!
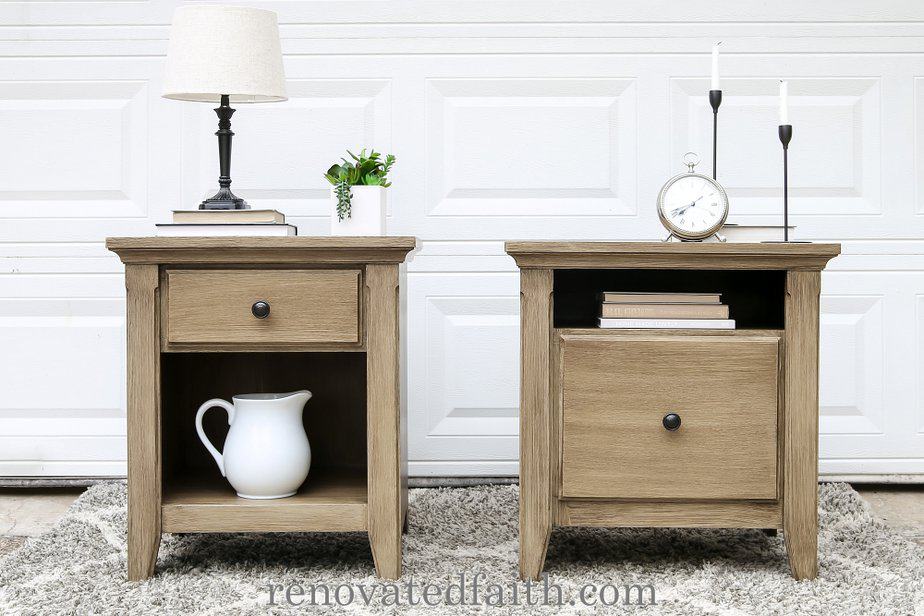
And while that clear coat dries, furniture isn’t the only thing that can use a little renovating.
Renovate Your Faith – Why The World Needs You To Be You
If you have been around a four-year old for any length of time, you soon come to realize their expertise in question asking…endless, relentless questions.
Here are a few of the questions that stick out in my mind:
- Why did my pet ants decide to go to heaven instead of making their tunnels?
- How did I watch Ipad when I was in your tummy?
- When is the cheeseball I planted outside going to grow into a cheeseball tree?
However, there’s one question that would stop me in my tracks… Read this short devotional by clicking here
Click HERE for More Renovate Your Faith Devotionals
FAQ: Pottery Barn Finish DIY Guide
Is the Pottery Barn Seadrift finish the same as the Sausalito or Driftwood Finish?
The Pottery Barn Sausalio and Driftwood finishes are very similar (if not the same) to the Seadrift finish. With this tutorial, you can easily get a PB sausalito or PB Driftwood dube with this same process. The Pottery Barn Fog finish is also similar but slightly warmer and less detailed. I’d do the same process but skip the blue brush to get a faux Fog finish
What paint color is closest to pottery Barn Seadrift finish?
The closest paint shades to the Pottery Barn Seadrift Finish are Behr Shitake and Sherwin-Williams Antler Velvet. But a single paint tone can’t replicate the look of a stain because stains have several color shades. That’s why this PB Seadrift dupe technique has a base coat and a glaze coat. The base coat shows through the transparent glaze/paint finish to create the look of stain. Also, the brush strokes give the texture of wood grain.
Do I have to strip the old stain or paint first?
Fortunately, this technique and every other tutorial on my blog do not require using a furniture stripper. It’s much easier and just as effective to lightly sand the existing finish and use a primer instead of stripping off the old paint or stain.
How long does the glaze take to dry?
It’s dry to the touch in an hour or two, but I recommend letting it dry overnight before adding the clear coat. Even then, lightly touch the glaze coat after it’s dried overnight and make sure it doesn’t feel tacky. Sometimes humid weather can affect dry time and waiting overnight will help to ensure your piece is dry enough for the top coat to be applied safely.
What clear coat and polyurethane options work best for protecting seadrift faux finish on high traffic furniture pieces?
Many polyurethanes can cause streaks and potentially ruin the furniture piece you’ve spent so much time on. I was able to test several top clear coats for furniture and the winner in all categories was Varathane’s water-based clear coat. It is very durable, doesn’t leave any streaks and does not yellow. It is currently protecting the finish of at least 6 furniture pieces in my house.
How long does seadrift faux finish last and when do you need to refresh or reapply the glaze coating?
If you use the clear coat as shown in this tutorial, you will never need to reapply the glaze layer because the top coatprotects the faux finish from everyday life. If you did get a scratch in your furniture piece, you can use some of your brown glaze mixture on an art brush and lightly touch up that area so it blends in.
Can you apply seadrift finish over laminate or veneer furniture instead of solid wood pieces successfully?
You can absolutely use the Seadrift finish on any laminate or IKEA furniture. Use the exact same process above, making sure to sand the surface well. Your goal is not to sand off the laminate later, but you want to scuff it up so that it’s no longer shiny and so the primer can grip it easily. You also want to make sure you use the Cover Stain primer in this tutorial or another primer; Stix also works well on laminate, and it is water-based. You can see how I painted a laminate console table in my raw wood finish here: Easy Raw Wood Finish
What paint colors pair best with seadrift finish for complete room design and coordinated furniture looks?
Neutrals are always easy, versatile and have tons of longevity. For a good white paint color for walls, I like alabaster as it leans slightly warm and pairs well with the Pottery Barn Seadrift finish. Agreeable Gray is a great warm neutral if you don’t want to go with a white, and you can see it here in 40 real homes: Sherwin-Williams Agreeable Gray Review
Related Posts to This DIY Pottery Barn Finish
How To Paint a Door to Look Like Wood Stain {12 Shade Options}
How to Paint Furniture to Look Like Wood (12 Shade Options!)
The Secret To A Restoration Hardware Finish (On ANY Furniture Surface!)
How to Apply Paint that Looks Like Stain (9 Shade Options!)
How to Paint Laminate Furniture to Look Like Wood (Easy Beginner Guide)
How To Paint a Door to Look Like Wood Stain {12 Shade Options}
Easiest Raw Wood Finish with Paint (No Stripping Needed!)
Painting Metal to Look Like Wood Is Easier Than You Think (My Foolproof Method!)
How to Paint Plastic to Look Like Wood (The Ugly Fountain Makeover You Have to See)
How to Use Gel Stain on Furniture Makeovers
Seadrift Pottery Barn FINISH DiY Guide – Final Thoughts:
With these simple steps, you can turn any old furniture piece into a gorgeous showpiece without the high price-tag. Also, you can know the final results will hold up to the wear and tear of daily use!
Be sure to comment below if you have any questions at all and I will be sure to get back to you!

Karin Peters is a DIY expert and the creator of Renovated Faith. She is a furniture painter, a home design consultant, and a tenacious problem solver determined to help you transform your house into a home. With 17 years of experience with DIY home improvement, she researches and analyses professional processes to adapt them to be easy and cost-effective for DIYers. She then tests every project and product before it appears on the site in a detailed, step-by-step format. After attending Texas A&M University, she received her Master of Divinity with Biblical Languages at Southwestern Baptist Theology Seminary. Her passions unite in Renovated Faith, which shows readers how to create a home that serves them so they can pursue their God-given purposes. About Renovated Faith | Editorial Policy | Facebook | Twitter | LinkedIn
Karin,
While I did not do a seadrift finish on a bedside table I am working on, I want to thank you for posting the best explanation on how to do this type of finish. The table I have is some kind of light wood that simply would not accept a darker stain no matter what I did. Gel stain was too thick and I had a hard time working with it. I was ready to pull out the paint and be done with it. Instead, I bought a polyshade type stain and finish in one and it worked on my table! It’s still a work in progress, and I will post a before and after picture when I can. Thank you Thank you Thank you!!!
Just finished doing an orange-y Goodwill coffee table and it came out beautifully. I didn’t have that little brush and tried to use an old broom head which didn’t work as well so I followed around with an old dry paint brush and constantly dried with paper towel. It achieved a softer grain look, the color is a little more brown than my PB seadrift buffet but complements it well. I’m going to do some old picture frames next!
That’s so exciting to hear! I’m so glad it turned out ok. I just did the seadrift finish on a breakfast table and my coffee table and I completely skipped the little blue broom step because it gives it a softer look, just like you said. Thank you for taking the time to comment, Tammy!
What was your base coat paint brand and color
Could you possibly share the ratio? For instance, how much water, paint, and glaze?
Thank you!
Lisa
Hey Lisa, The glaze for this project comes pre-mixed so you don’t have to worry about that. Thanks!
Is there another alternative to the oil based stain primer? Is there a water-based stain primer that we can use doesn’t smell?
This looks beautiful! Do you have any recommendations for doing this technique on dinning table and chairs??
It works breat on tables and chairs would be great too but I would do one spindle at a time if it’s a chair with a lot of details. For a table top, do the top and have the brush strokes go lengthwise. Thanks Corinna!
Hi Karen, I am excited to try this technique, however being in Canada I can’t find the Rustoleum Decorative Glaze. Wondering if the Rustoleum Chalked Decorative Smoked Glaze would work?
Thank you
Lynn
Thank you so much for these instructions, Karin! Your nightstands look beautiful and so does the shelf I tried it on. If I wanted to do something in the PB Aptos finish, do you think I should use a lighter base paint or a lighter glaze, or both?
Hi there:
You mention a “deck brush” for getting the faux wood look. Is the a certain one you use or would recommend? Couldn’t find it in the shopping list! Thanks!
Hey Leanne, Thank you SO much for bringing that to my attention. I was referring to the blue little broom brush. I hope that helps!
Karin, what a wonderful tutorial this was. Makes me wish I had something to refinish. The tables turned out gorgeous. You are so talented. .
Hi Karen,
Thank you for the tutorial. Does the base coat paint need to be furniture,trim quality paint or is the sample paint quality good enough?
Hey Parissa, Great question! I have had good restults with the Sherwin Williams sample containers of paint at Lowe’s and at Home Depot I usually use their Behr Marquee sample containers. I feel like those two brands are pretty consistent with the actual products in the gallon cans.
Will this work over items that have already been painted or will I have to remove all the old paint? Thanks for your help!
Hey Ashley, It will absolutely work on pre-painted furniture. Just follow the directions as usual. Thanks!
What kind of brush is the blue one? Where did you purchase?
In the supply list, I list a mini broom on Amazon. Thanks Devin!
Hi! I LOVE your nightstands! They look gorgeous! I’m going to paint a piece in this Seadrift color! Question, do you put one or two coats of the SW universal khaki before the Java Brown glaze? THANK YOU 🙂
Hey Krista, I just do one good coat of the Universal khaki base coat. If you don’t have 100 percent coverage, it’s fine! Thanks for your question!
Hi Karen, how much coverage do you use with the paint? I have two smaller night stands and not sure if one sample can will work for both? I’m a new painter:) Thanks
You should be ok with one sample container with base coat but I think for peace of mind, I’d get two samples of paint. I hope this helps!
Those are beautiful. What a great upgrade. I can see why you want to do this finish again on other pieces. I’m going to have to find something to try this finish on. Thanks for a great tutorial.
You are so welcome! It’s probably my favorite finish of all the ones I have done. I plan on putting it on at least 2 more furniture pieces and am debating on whether to do an entire secretary in it. Thanks for your kind words Penny!
Good morning, Karin,
I love the look of this Seadrift finish! I have never seen this technique done before! I also appreciate that this is a ministry for you, and I am always encouraged that you let your light shine for Jesus in every post!! Please be encouraged and know that you are a blessing!!
Hey Karen, Thank you so much for your kind words. They are MUCH appreciated. Let me know if you ever need anything!
What glaze did you use?
Hi. I have orangey pine end tables and coffee table Broyhill Fontana that I picked up free. They are like new! But they have a matte finish that I think is poly or varathane. Do I have to sand the topcoat and remove it down to the wood? Also, is there a water-based stain primer that we can use that doesn’t smell— asthma issues here. Thanks so much!