How to Paint Furniture to Look Like Wood (12 Shade Options!)
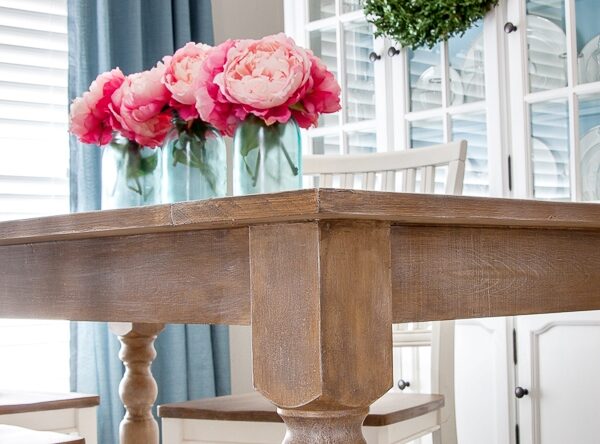
This guide will show you how to paint furniture to look like wood using several faux stain options to get the look you want.
You see that gorgeous stained wood furniture piece in Pottery Barn or Restoration Hardware but like many people, don’t want to spend a designer price tag. But the good news is that you can get those same finishes on your old furniture pieces without using a furniture stripper!
These faux wood finish options use paint instead of stain to get the look of modern furniture pieces.
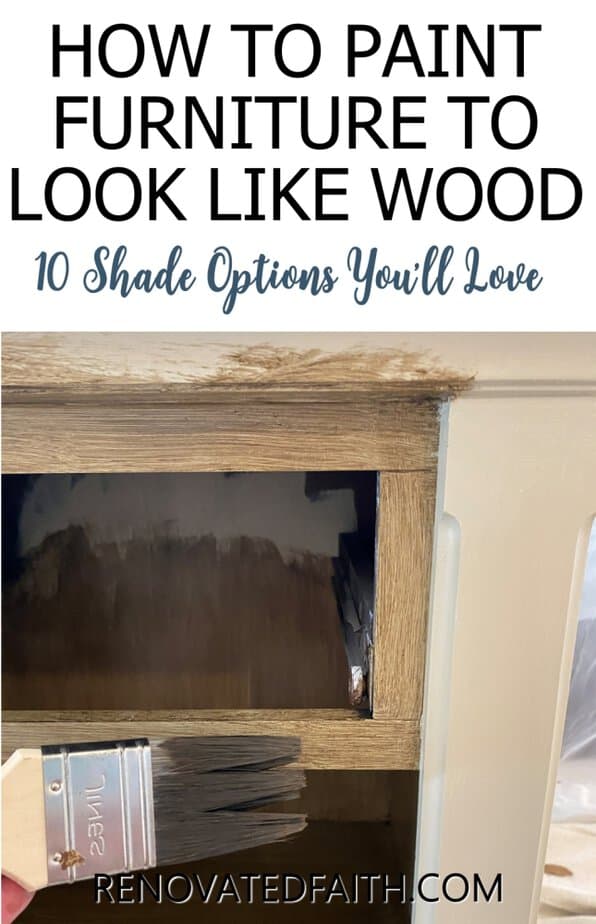
Whether it’s your first time painting furniture or you are an old pro, I’ll show you easy steps to help you get the look of wood grain with latex paint! And the best part is that it will cost you a fraction of the cost of the same pieces in designer furniture stores.
Not only will your new furniture finish be gorgeous, but I’ll make it super durable and “life-proof” by applying the best protective top coat!
Quick Links to Information in this Post
- 1 Why Use Paint to “Stain” Furniture
- 2 Can You Paint Something To Look Like Wood?
- 3 How to Paint Furniture to Look Like Wood – Process Overview
- 4 How to Paint Furniture to Look Like Wood Color Options Guide)
- 5 Modern Faux Stain Options
- 6 Traditional Faux Finishes with Paint
- 7 How to Paint Furniture to Look Like Wood (Step-By-Step Guide)
- 8 Renovate Your Faith: What to Do When You’re Overwhelmed
- 9 FAQ – How to Paint Furniture to Look Like Wood
- 10 RELATED Posts to Paint That Looks Like Wood Stain Finish
- 11 Final Thoughts
Why Use Paint to “Stain” Furniture
Over the last 15 years, I have experimented with hundreds of faux finishes, and one of the main reasons I like using latex paint is that it’s fail-proof.
I can put the same faux finish on any piece of furniture and it will look how I want it to. With traditional wood stains, you have to first strip down the piece to the bare wood, and then, because woods absorb stains differently, you might not get the look you want!
Paint is the best option for a faux finish because it can mimic the look of real wood over any finish, whether painted or stained. That means you never have to use a furniture stripper! Also, the latex paint samples I use are cheap, and you don’t need a lot of it!
Can You Paint Something To Look Like Wood?
Painting a faux wood grain requires more than just taking a can of brown paint and painting it on a furniture piece. Because what you’ll have won’t look like wood – it will just be a sad solid brown furniture piece.
When you think about wood grain, there is more than one shade of brown involved. With my faux wood grain tutorials, we can achieve the same effect of all those brown wood tones moving in one direction.
No matter your style, this guide gives you lots of options with detailed instructions along the way, and you will love the results!
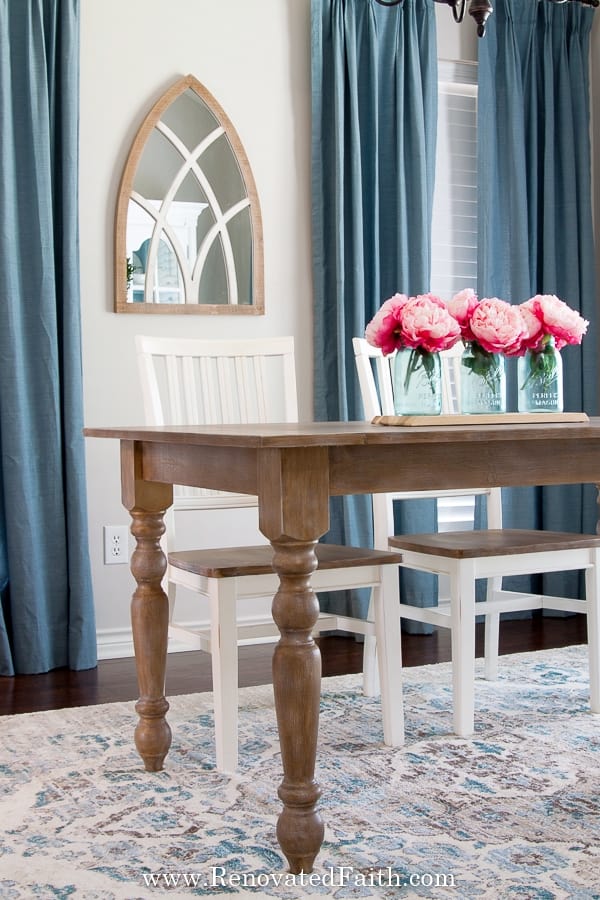
How to Paint Furniture to Look Like Wood – Process Overview
Here is an overview of what most of the faux grain tutorials include:
- Prep and Prime the Furniture Piece
- Paint on a Base Coat with a Paint Brush – The base color gives the grain lighter undertones. Normally I use a foam roller on flat surfaces to avoid brush strokes but for this process we don’t mind brush strokes because they will resemble the texture of wood grain in the paint finish.
- Paint on the Glaze Coat—Each faux stain tutorial is slightly different, but with each one, you add a brown glaze coat of paint. This coat is slightly transparent. Between the brush strokes, that base color will show through a little bit, and that’s what gives us the look of wood grain! Some of the tutorials require two glaze coats to get the desired look.
- Add a protective top coat. I’ll show you the best top coat and how to apply it so your furniture is “life-proof.”
Don’t forget to download my free printable handout: Must Have Painting Tips for A Professional Finish
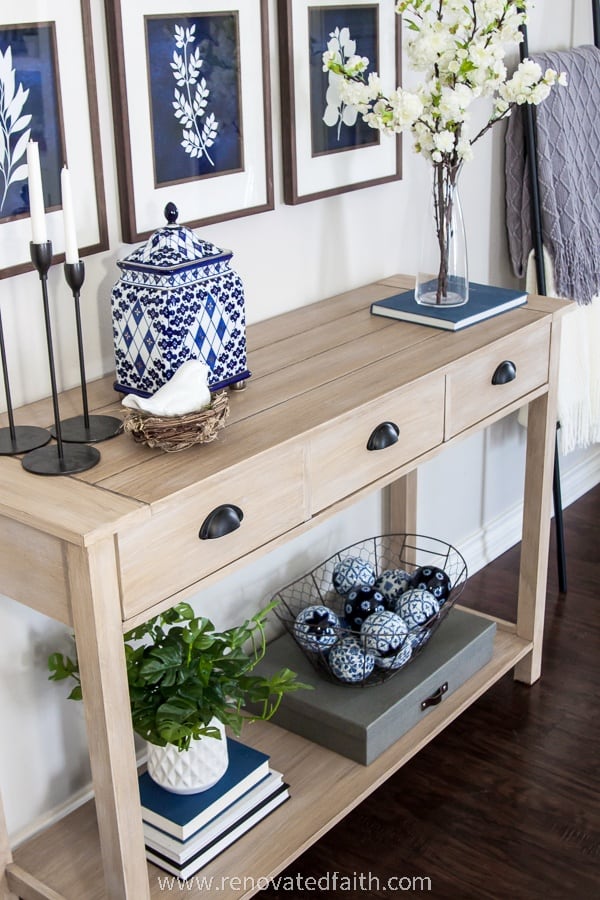
How to Paint Furniture to Look Like Wood Color Options Guide)
Here is a list of all my best faux stain shades, including modern and more traditional options:
Modern Faux Stain Options
1. Faux Pottery Barn Seadrift Finish
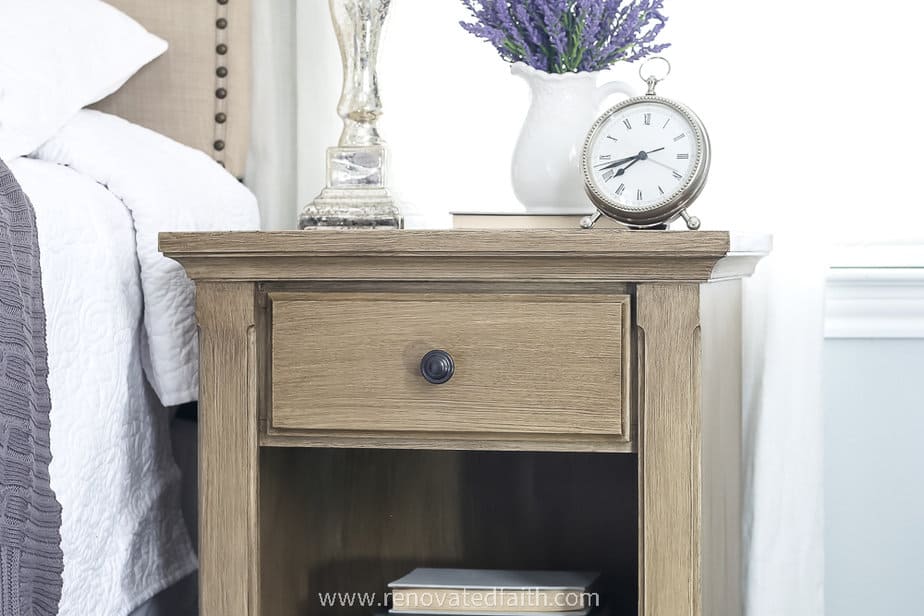
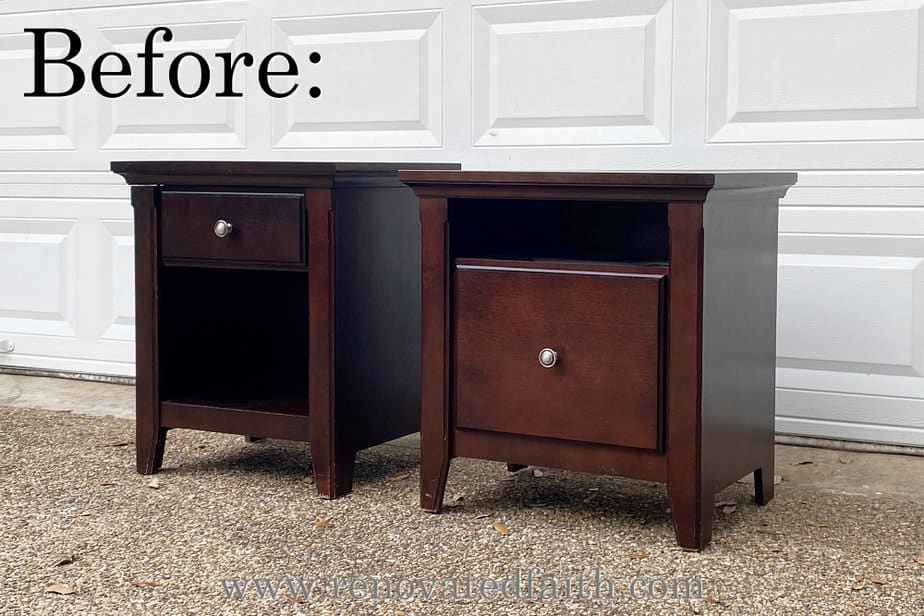
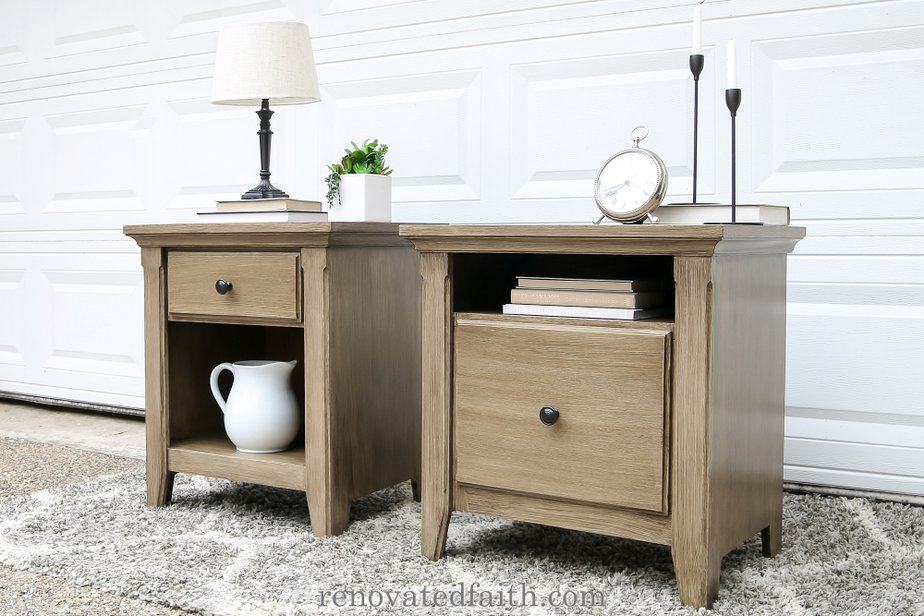
This is my newest faux finish and probably one of my favorites. I painted my Target nightstands in this finish and they look AMAZING!
For this process, I added a base coat over the entire piece, brushed on a glaze with a regular brush, and then smoothed it out with a larger deck brush in long strokes.
I then used a small broom to go over the finish once to give me a more detailed grain. This is an optional step, but it really helps to give it the same grain texture as the Pottery Barn Seadrift finish that you see on their Sausalito dresser.
Click here to see the full tutorial: Faux Pottery Seadrift Finish with Paint
2. Faux Restoration Hardware Finish
This finish is similar to the last one. However, it has a gray undertone because of the white dry brushing in the final step. Dry brushing is when you add a very small amount of paint to a chip brush and apply it lightly.
I like to think of this finish as close to many of the Restoration Hardware finishes or Pottery Barn’s Gray Wash.
Click here to see the full tutorial: Easy Restoration Hardware Finish with Paint
Here is the before:
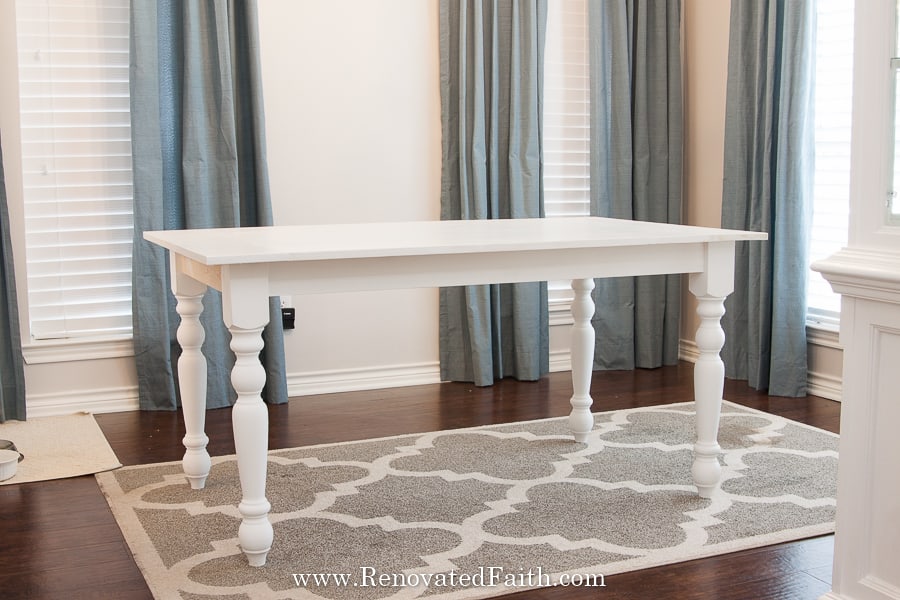
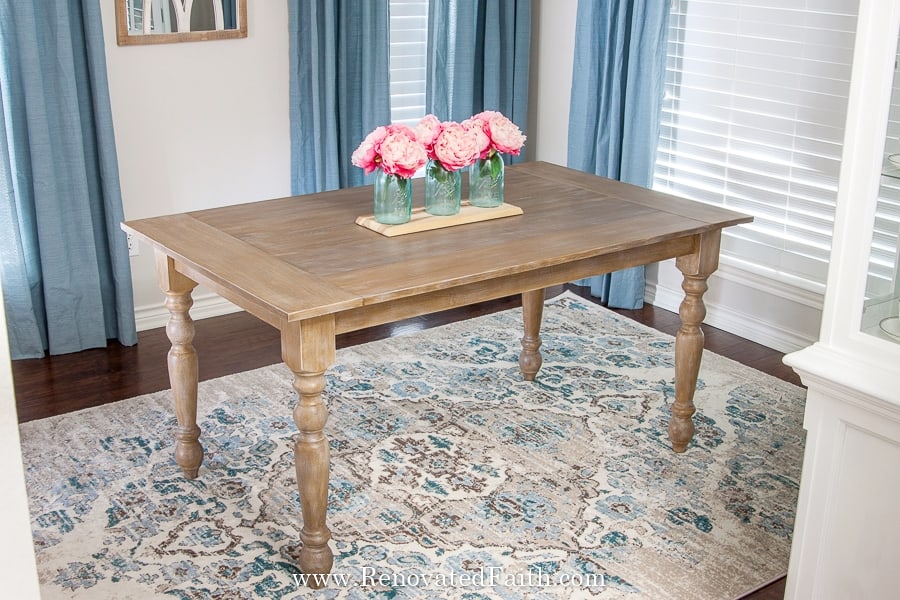
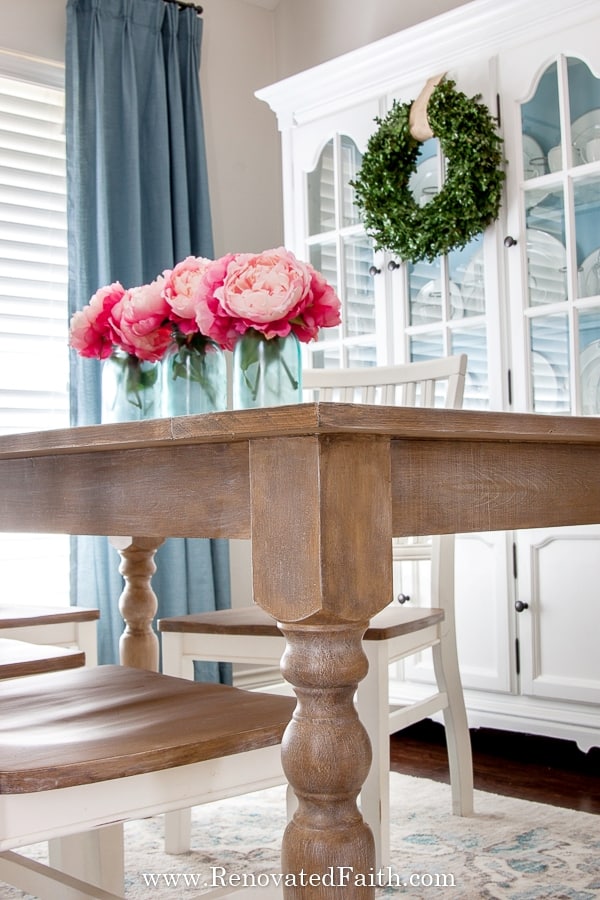
3. Restoration Hardware without the Final Dry Brushing
Dry brushing gives you a more weathered wood finish, but you can do the Restoration Hardware finish without the final dry brush step and get a little bit more traditional finish like the one you see here:
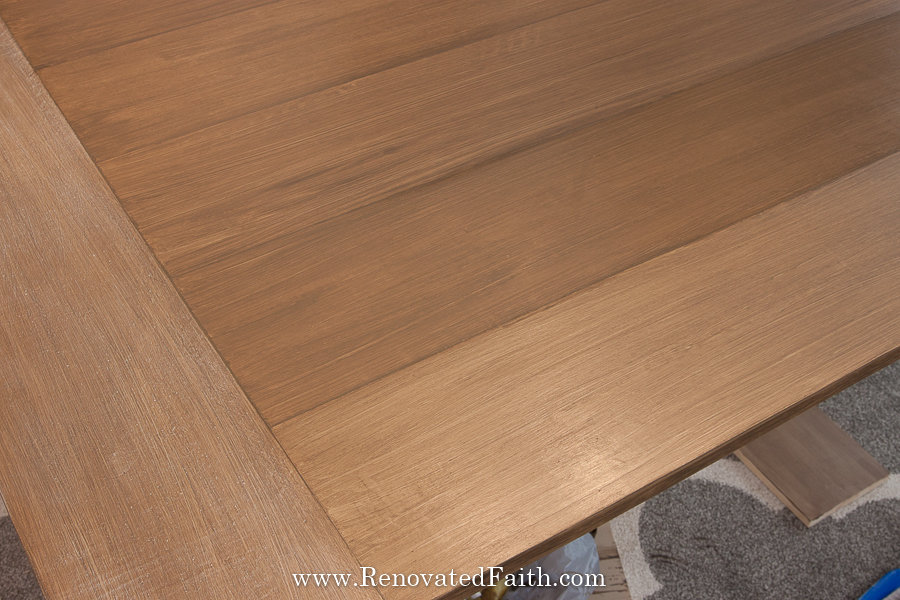
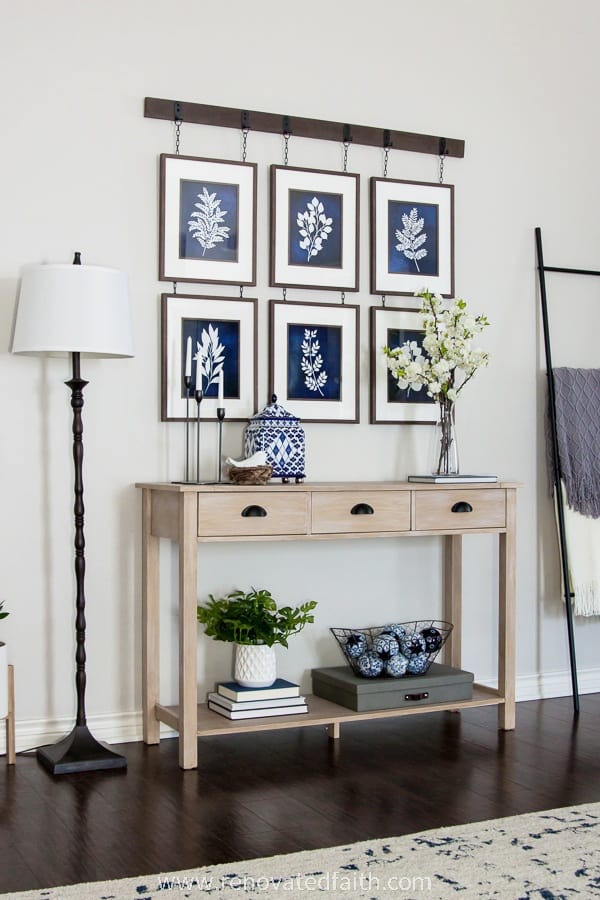
4. Raw Wood Finish with Paint
Another favorite of mine is this raw or natural wood finish with paint that resembles Pottery Barn’s Linwood Finish.
Click here for the full tutorial: Raw Wood Finish Tutorial for Furniture

The little end table below is also refinished in the raw wood finish.
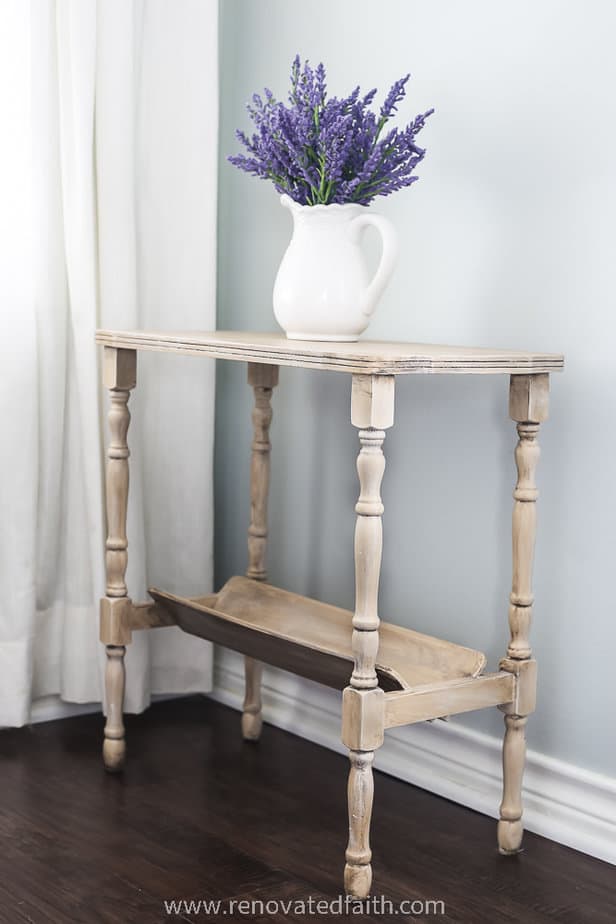
The raw wood finish is lighter than the Seadrift and Restoration Hardware finishes.
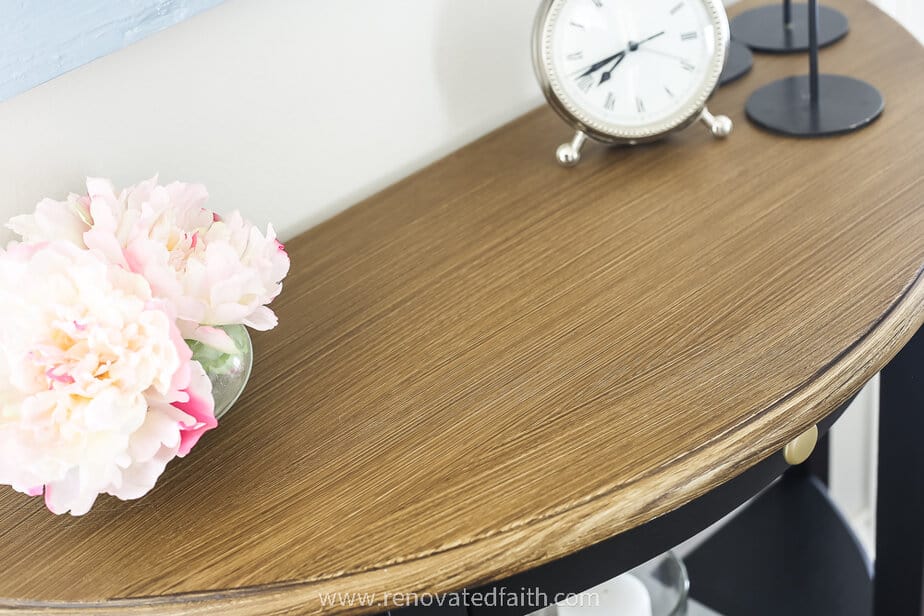
5. Easy Driftwood Finish With Paint
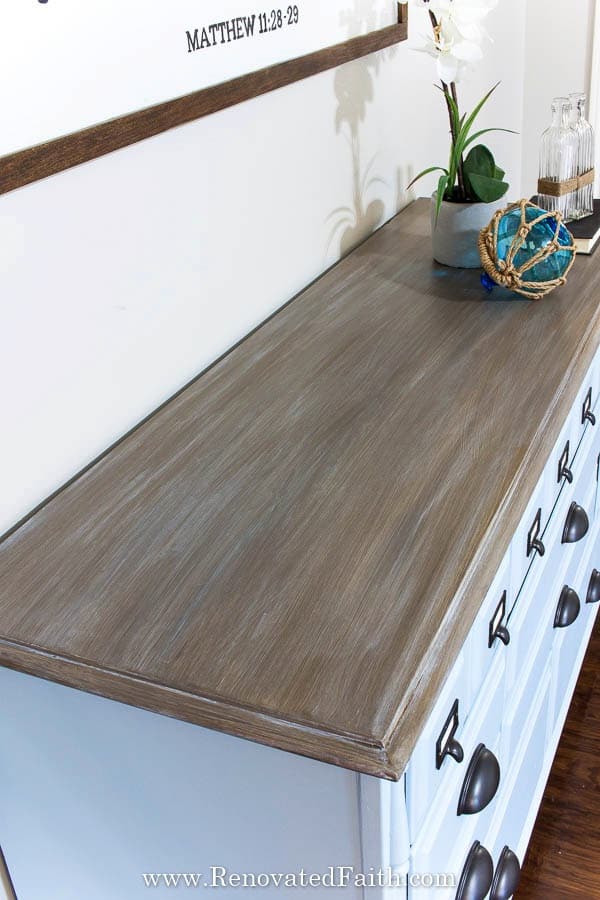
The driftwood finish was one of the first faux finishes I created and looks great with coastal decor. I love how it turned out on the top of the blue dresser:
Click here to get the full tutorial for the Driftwood finish: Easy Driftwood Faux Stain Tutorial
Traditional Faux Finishes with Paint
These finishes all use the same technique. They use a first coat of glaze and paint in one shade and a second coat of glaze and paint in another shade to simulate real wood grain.
1.Rustic Mahogany Faux Stain
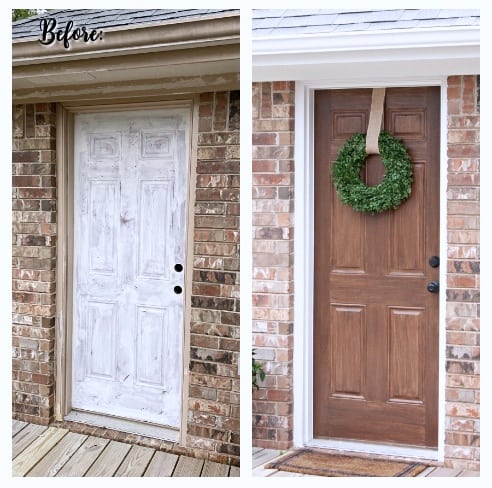
This is the warmest of my traditional faux stains and one of the most popular. To me, this looks a lot like Pottery Barn’s Mahogany finish. I painted my back door in this color.
See the full tutorial by clicking here: How to Paint Furniture So It Looks Stained
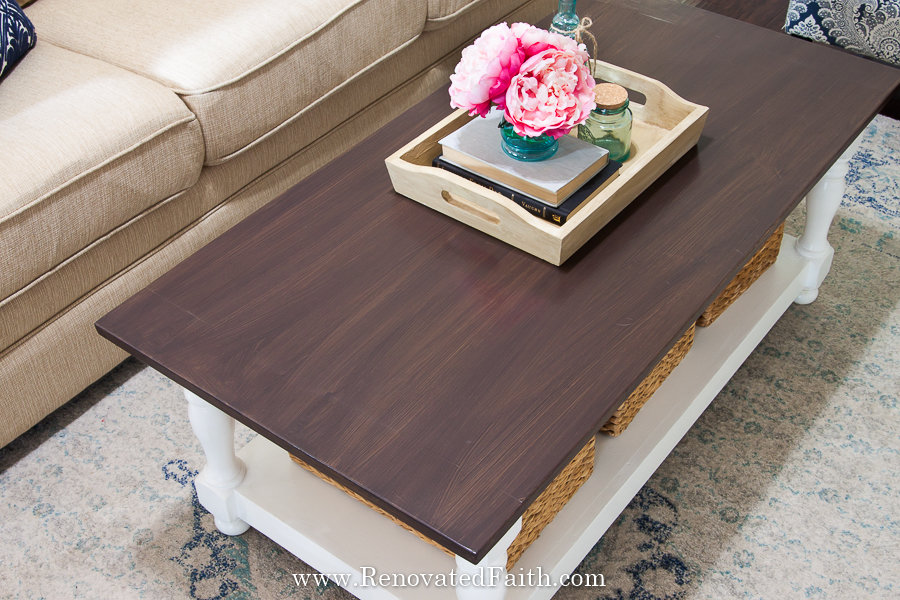
2. Dark Walnut Faux Stain
This finish is what I like to call an Espresso finish because it’s a dark stain finish. I’ve used this faux stain on my coffee table and breakfast table, as you can see below:
Click here to see how to do a Rustic Mahagony Finish on Furniture: How to Paint Furniture So It Looks Stained

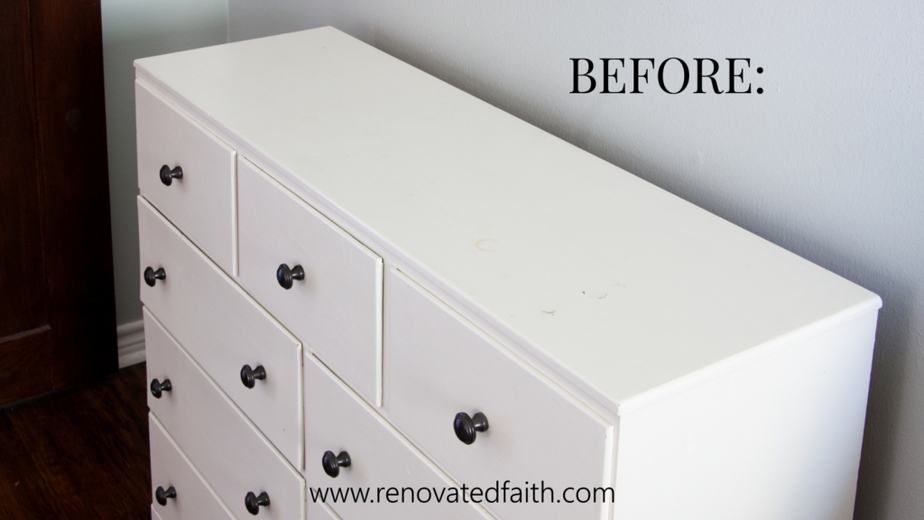
3. Brown Oak Faux Stain
This faux stain works well to give you a modern farmhouse style while still being on the medium to dark side. This is one of the original faux stains I started with and you can see how it looks on my dresser below:
Click here to see how to do a Brown Oak Finish: How to Paint Furniture So It Looks Stained

4. Early American Faux Stain
If you want something warmer than Brown Oak, then the Early American Faux stain is for you.
Click here to see how to apply an Early American faux stain finish: How to Paint Furniture Like It’s Stained
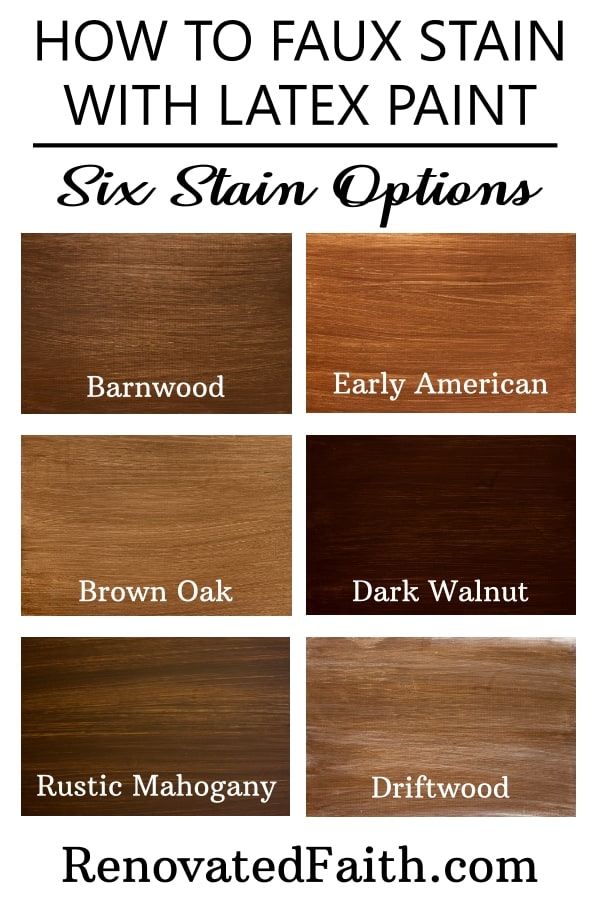
Above you can see a comparison of several of the more traditional stains to help you decide which is best for your project!
5. Using Gel Stain As a Faux Finish
If you want a dark finish, a gel stain is another great option. Gel stain has a jelly-like consistency and stays wet for a long time, so you have time to work with it.
Here’s how to use gel stain on your next furniture project: How to Faux Finish With Gel Stain
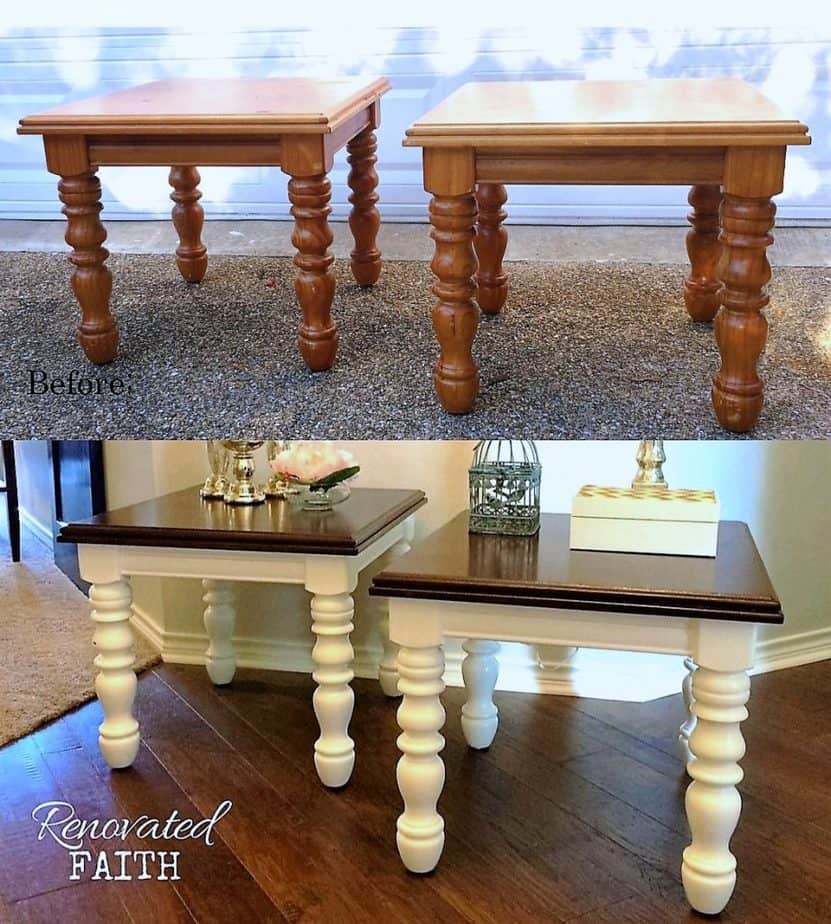
How to Paint Laminate Furniture To Look Like Wood
Did you know that you can use the same faux stains above on laminate furniture. The only difference in painting wood furniture is that you need to sand laminate furniture a little more just to ensure the primer adheres well. Laminate furniture is made of medium-density fiberboard with a laminate top layer, and it’s often very slick.
To see the full tutorial on how to prep and faux stain laminate furniture, click here: How to Faux Stain Laminate Furniture with Paint
How to Paint Furniture to Look Like Wood (Step-By-Step Guide)
Once you pick your faux stain shade from above, be sure to click on that specific tutorial to get that exact finish, but the process below will give you an idea of what is involved in most of the faux finish tutorials:
Step 1 – Pre Your Surface by Lightly Sanding:
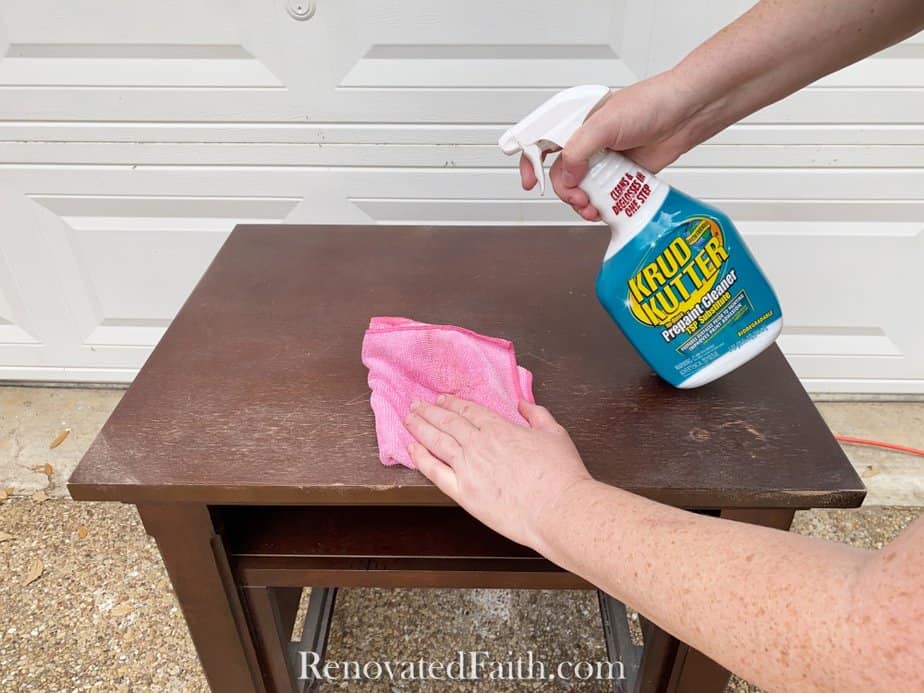
The first step is to do a little prep work so that you get the best finish possible when you are done. Wipe down your furniture piece to give it a good cleaning.
Krud Kutter Pre-Paint cleaner is great for wood products and you can find online or at hardware stores. If your piece isn’t really dirty, just wipe it down with a little water and some dish soap to remove any oils from the surface.
Next, lightly sand the entire surface, just enough to scuff the finish – you don’t have to remove the previous finish unless you have paint layers that are actively peeling. If so, just scrape or sand off the loose pieces of paint.
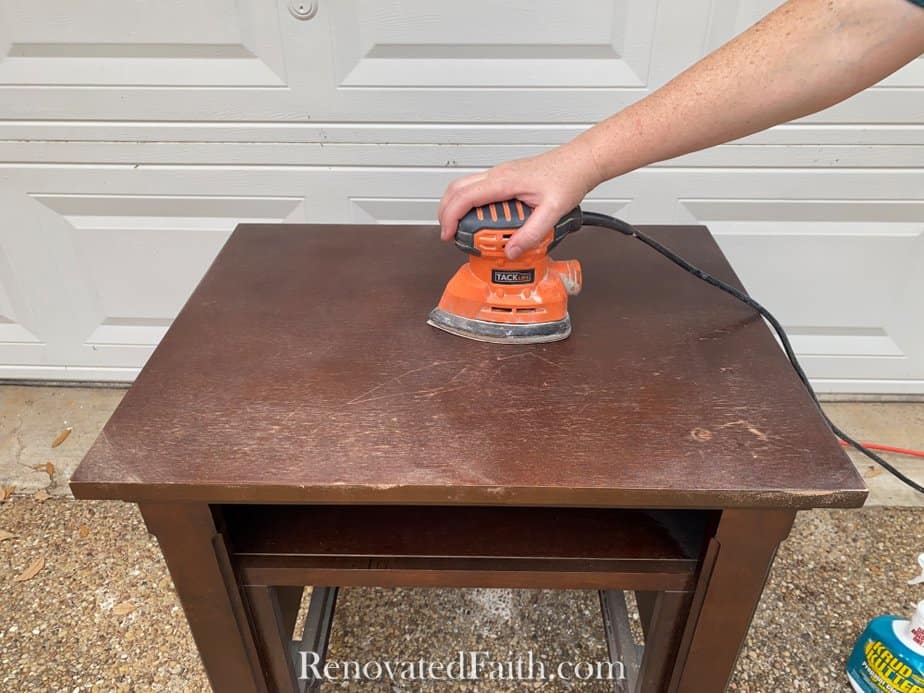
I like to use an electric sander but sanding sponges are also a great option. Sand over the surface lightly in a circular motion and then wipe off any sanding dust with a tack cloth or wet paper towel.
RELATED: How to Sand Furniture in Less Than 5 Minutes | The Best Sander for Furniture
Step 2 – Prime Your Furniture Piece:
It’s a good idea to prime your furniture with a coat of primer. I prefer an oil-based primer because it keeps the furniture piece from soaking up too much of the glaze. Water-based primers tend to soak up too much paint, making it harder to keep the glaze movable to get the look you want.
When painting diy projects, I normally use a roller on large flat surfaces to get a really smooth surface without brush strokes.
However, with faux stains, I always apply the primer and base coat with a brush, brushing in the direction of the grain. The texture of the brush strokes will give your furniture surface the feel of wood grain.
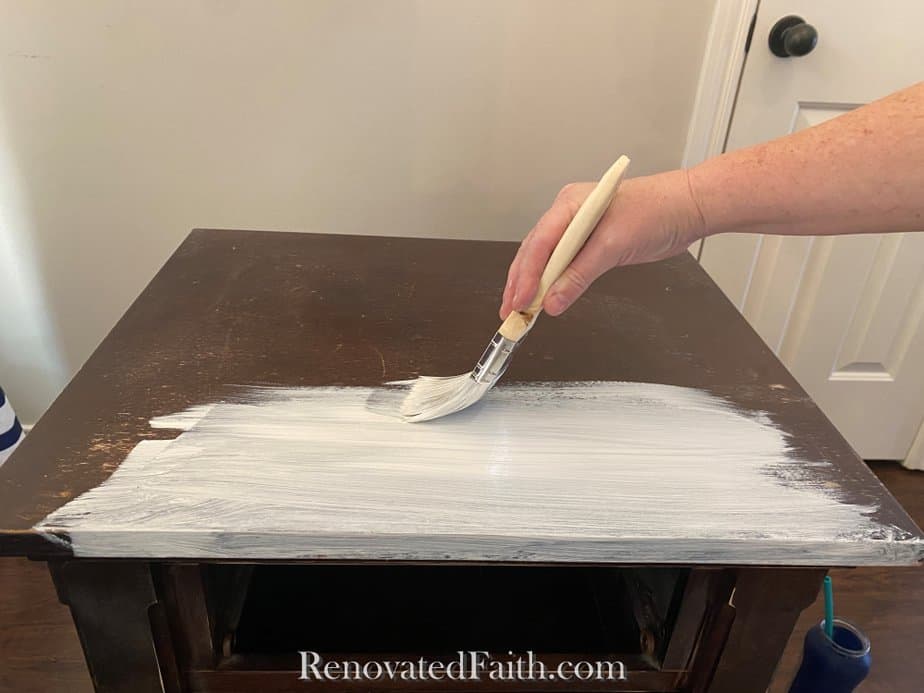
A thin layer of primer is enough. It might look splotchy, but that’s fine. The base coat will cover it.
Step 3 – Apply a Base Coat of Paint
Apply the base coat with a brush in the direction of the grain. Your faux stain’s tutorial will tell you what shade is best for your finish.
The base coat is a solid color, but the glaze coat is slightly transparent. This is on purpose so the base coat peeks through the glaze layer and gives the impression of a real wood stain.
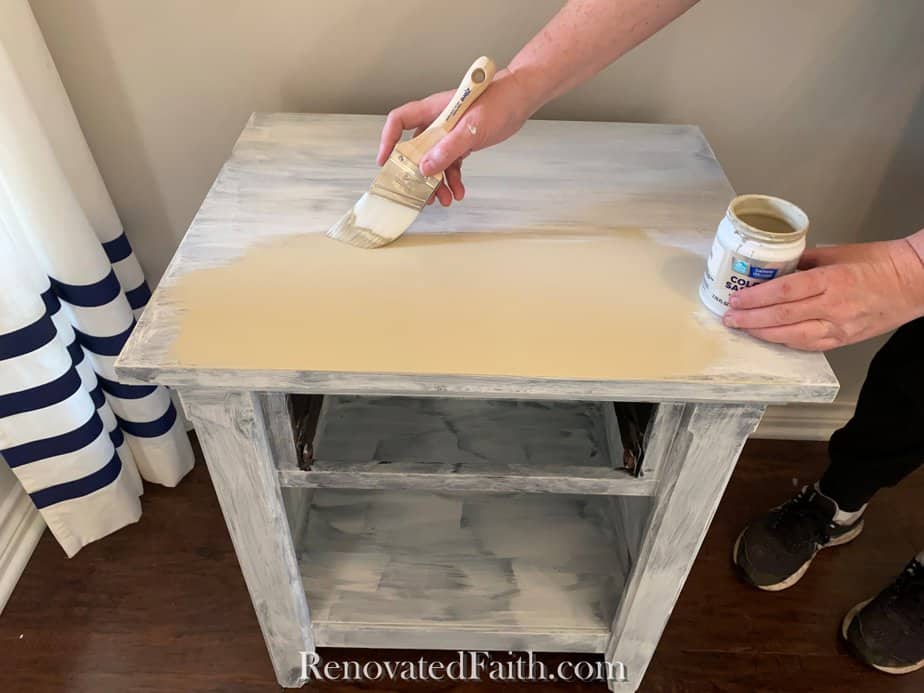
Let the glaze coat dry overnight or at least 4 hours.
Step 4 – Use a Glaze To Make Furniture Look Like WoOD
The Seadrift Finish tutorial uses a pre-mixed glaze that you can see in the full tutorial here: Easy Seadrift Faux Finish
In the other tutorials, you make your glaze by adding Valspar’s Clear Mixing Glaze to dark paint. If you don’t use a glaze, you will have a hard time creating a stain effect before the paint dries up on you.
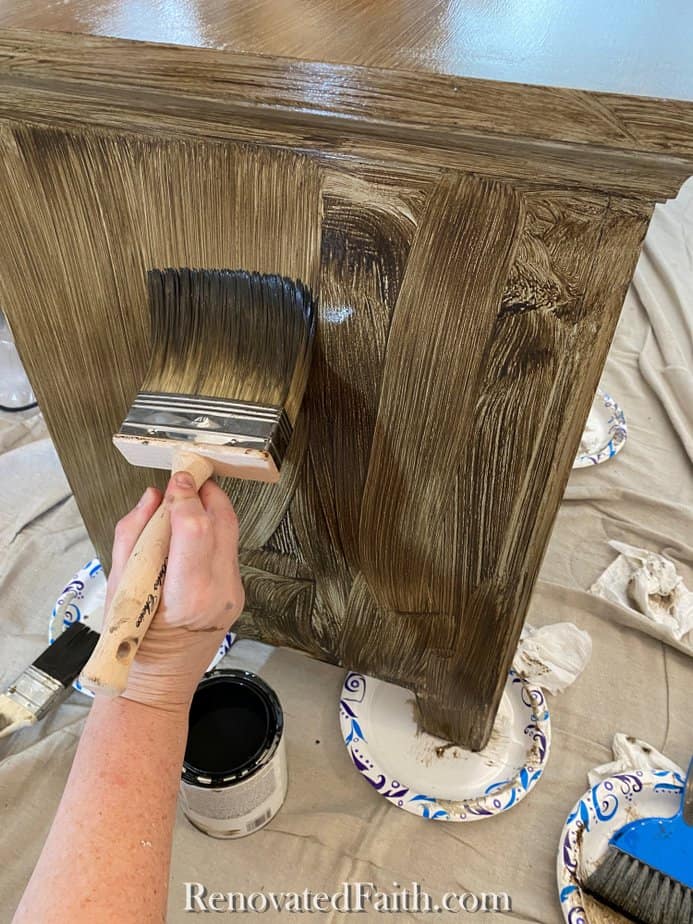
The glaze makes the final finish somewhat translucent, but it also keeps the finish wet longer, so you have time to get the look you want.
Want to Get the Look of Wood Planks?
In my tutorial on how to do a Restoration Hardware faux finish, I show you how I tape off small sections with painter’s tape to get the look of individual wood planks: Easy Restoration Hardware Finish on Furniture
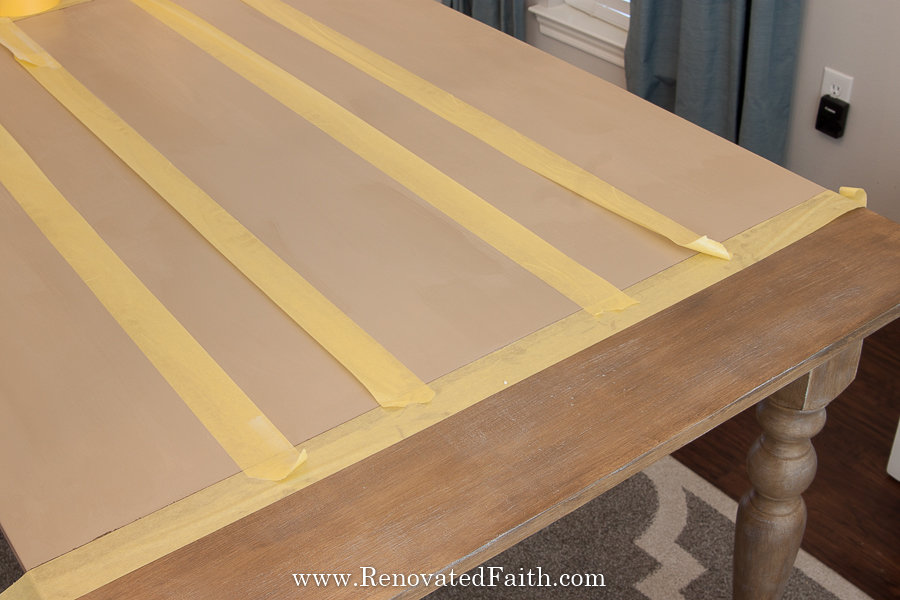
Step 5 – Use a Clear Coat to Protect Your Faux Finish
The one thing all of these different faux finishes have in common is that they require a clear coat and after testing several top coats, I like Varathane Waterbased Polyurethane in Satin or Matte finish.
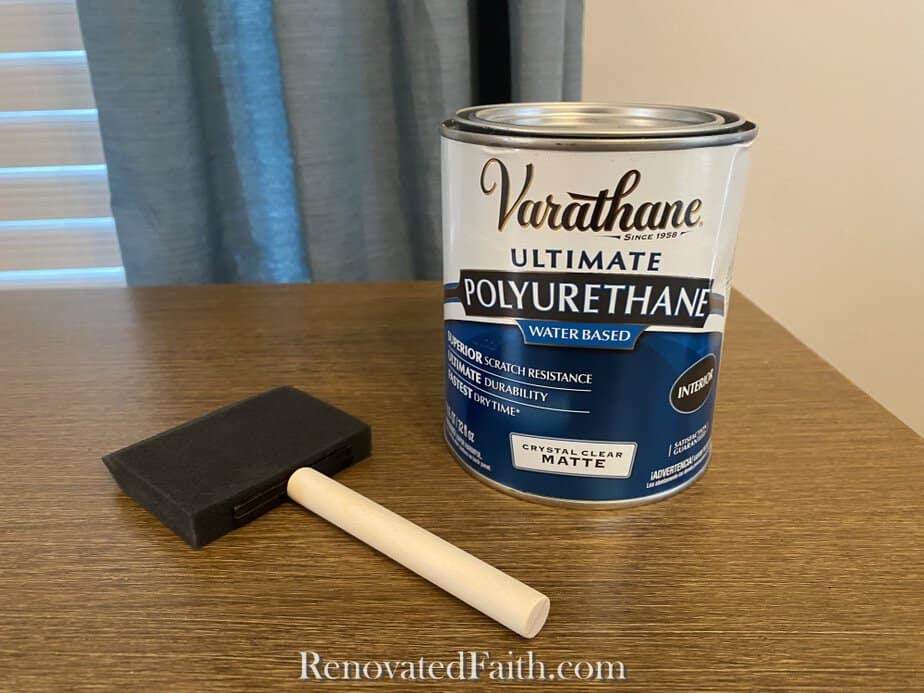
I like to add three thin coats with a foam brush to give me a super smooth finish. Apply a thin coat and then wait an hour or two before the next coat.
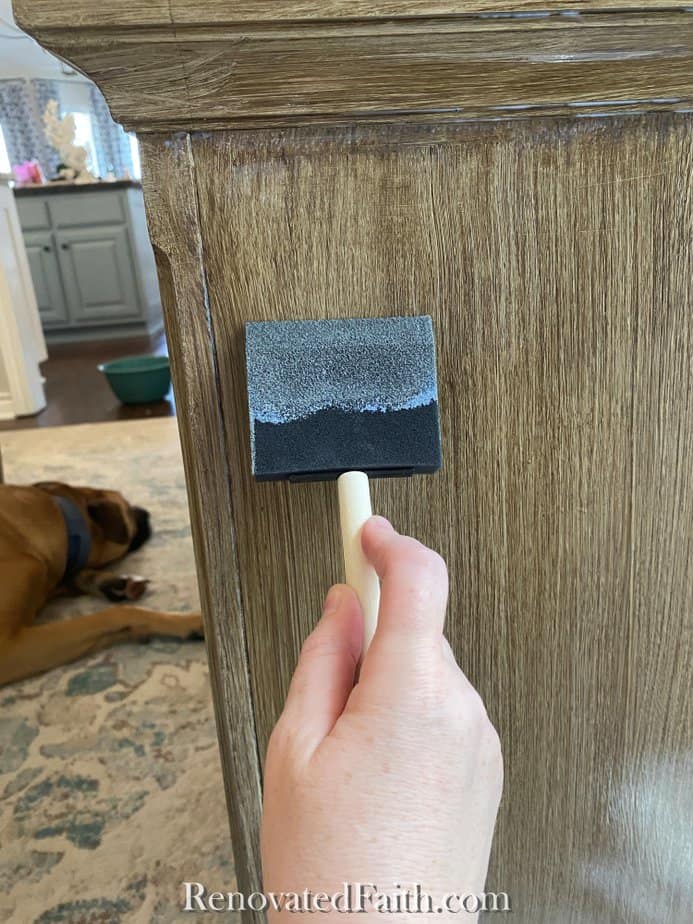
Brush on the clear coat in the direction of the grain in long strokes with your foam brush. Also, the can might say to sand in between but don’t do this because you might risk scratching your faux finish.
Renovate Your Faith: What to Do When You’re Overwhelmed
Do you ever feel overwhelmed with all that’s on your to-do list? Does it seem that as soon as one item is knocked off, five other tasks rear their ugly head?
It’s like being on a hamster wheel of frustration – always moving but never making true progress.
As I walked into my office from the living room, my thoughts were filled with overwhelm. As I did, my eye caught a glimpse of a magazine on the coffee table entitled “DIY…something”.
For some reason, it hit me. The concept of “do it yourself” is one that is highly esteemed as a very American, ‘pull yourself up by the bootstraps’ way to live in today’s world of hustle.
But as someone that loves to DIY home projects and writes a DIY blog, I became starkly aware of the contrast in this concept and God’s ideal for how we are to live. READ MORE HERE
FAQ – How to Paint Furniture to Look Like Wood
How Do You Paint The Illusion of Wood?
Unfortunately, there’s no way to use regular paint on a project and have it look like wood. You’ll have to use a faux technique since true wood grain has multiple shades. All of these tutorials include using a base coat and then applying a translucent glaze coat. The glaze coat allows the base coat to peek through the surface and gives the finish the appearance of wood grain.
How Do You Paint Furniture To Look Like Weathered Wood?
Depending on the look you want, you want to use a base coat and a glaze coat on top to get the look of stain. Dry brushing with white or gray can make the top look weathered, as I have shown you in my Driftwood Finish Tutorial.
How to Paint Furniture to Look Like Wood With Chalk Paint
What is the Best Type of Paint for Furniture?
After testing over 24 kinds of white paint, including latex paint, oil-based paint, mineral paint, chalk paint, and professional brands, I found that the best paint is Benjamin Moore Advance.
But for these faux finishes, you only need a little bit of paint for the base coat and to mix with the clear glaze. So, the sample containers of Sherwin Williams at Lowe’s and Behr at Home Depot are perfectly fine for this application.
Do you need a wood grain tool to make furniture look like wood?
You can absolutely use a wood graining tool, but most of the stains I’m trying to replicate don’t have a large curvy grain, so I skip this step. You can still get the look of wood grain without a tool, but if you want to match the look of pine or oak, you might need one.
RELATED Posts to Paint That Looks Like Wood Stain Finish
Exterior Paint That Looks Like Wood
How to Build a Farmhouse Kitchen Table – The Easy Way
How to Make Fabric Paint With Acrylic Paints
How to Build a Turned-Leg Coffee Table
The Best Chalk Paint and Dark Wax Alternative
Final Thoughts
With a little hard work and this step-by-step tutorial, you can turn even the ugliest Facebook marketplace find into a piece you can be proud of. It’s truly amazing how a faux stain can impart such a classy look and give your old furniture a new lease on life.
Have any questions or just want to say hello? Be sure to comment below, and I’ll get back to you!

Karin Peters is a DIY expert and the creator of Renovated Faith. She is a furniture painter, a home design consultant, and a tenacious problem solver determined to help you transform your house into a home. With 17 years of experience with DIY home improvement, she researches and analyses professional processes to adapt them to be easy and cost-effective for DIYers. She then tests every project and product before it appears on the site in a detailed, step-by-step format. After attending Texas A&M University, she received her Master of Divinity with Biblical Languages at Southwestern Baptist Theology Seminary. Her passions unite in Renovated Faith, which shows readers how to create a home that serves them so they can pursue their God-given purposes. About Renovated Faith | Editorial Policy | Facebook | Twitter | LinkedIn

I looked at this so many times and the popups interrupt so often, i can’t follow. It just loops around when I tried to sign up to get free lists / template I just want to read how to make paint mimic wood in a shade of sage green or a little darker green. The amish said they could create brand new kitchen cabinets and paint them sage green but it’s solid paint they spray on and it has a hard candy coating sort of. I just wanted a little more character, depth, transparency or faux wood grain. if you could tell me what
primer, paint, and gel, etc. I would appreciate it.
timberpklawn@gmail.com
Hey Carolyn, The pop ups are gone! 🙂 I was experimenting with my settings and I agree. It was just too much. I don’t have any simple answers for you as far as a green stain. I think it would just take some experimenting. My best guess would be to brownish green base coat and then do a slightly darker browning green mixed with glaze over that base layer after it dries. I hope this helps!
I dont see the colors to make Rustic Mahogany
Hi! Thanks for this detailed step by step! It definitely makes my upcoming reno project seem manageable. I’m planning to paint my metal garage door to look like wood, and am wondering if you have a place that shows all the different colors with the paint color/stain color listed alongside? I am still debating wood color finish, so would love to see some side by side comparisons of colors you use.
Hey Brenda, This post is the closest I’ve gotten to a side by side comparison but you’re right, I need something with the samples right next to each other. You might check out this post: https://renovatedfaith.com/paint-that-looks-like-stain/