The Best Way to Spray Paint Door Knobs (That Last!), 2025
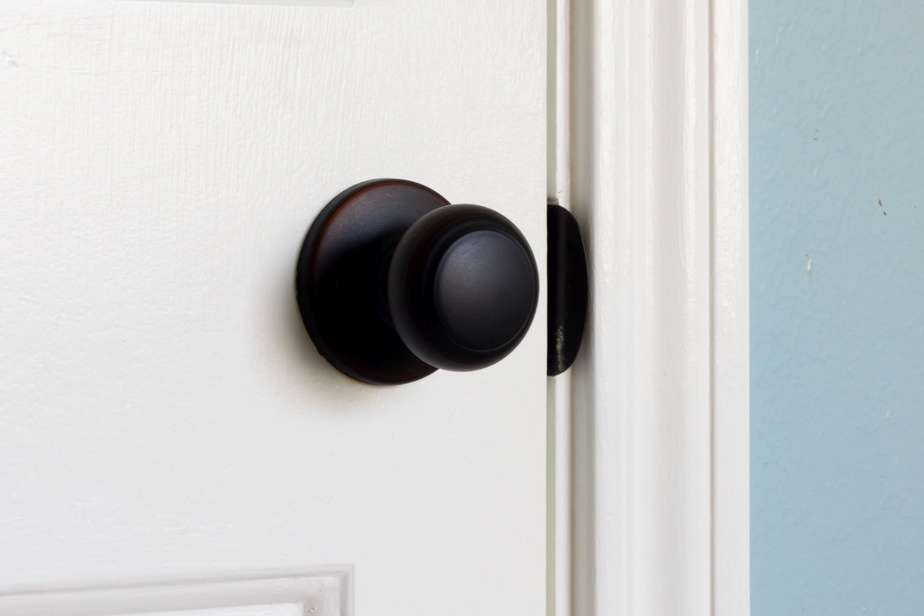
Spray Painting Door Knobs on a Budget
Does spray painting door knobs last? With this easy tutorial, you’ll learn how to spray paint door knobs that are so durable they outlast the house!
What if you had an extra $200 to spend on your home? Would you rather spend it on doorknobs or something more exciting like shiplap or farmhouse wall art? Refinishing old door hardware with paint is a simple way to update the look and feel of your home. It’s amazing what a fresh coat of paint can do to update the look of your doors!
With this tutorial and video, I show you how to spray paint door knobs that last, and the best part is that they instantly save you money!
Quick Links to Information in this Post
- 1 Spray Painting Door Knobs on a Budget
- 2 Does Spray Painting Door Knobs Last?
- 3 Does Spray Painting Door Knobs Last?
- 4 How to Spray Paint Hardware on Doors and Cabinets – Supplies Needed:
- 5 Refinishing Old Door Hardware with Spray Paint
- 6 RENOVATE YOUR FAITH: God Delights in YOU
- 7 FAQ’s: Refinishing Old Door Hardware
- 8 Related Posts to Spray Painting Door Knobs
- 9 Final Thoughts About Spray Painting Door Handles and Knobs
- 10 Final Thoughts on Painting Door Hardware
- 11 How To Spray Paint Door Knobs, YouTube Video
- 12 How to Spray Paint Door Knobs That Last (Best Tips for Refinishing Old Door Hardware)
Does Spray Painting Door Knobs Last?
One of the questions I’m asked the most when it comes to painting door hardware is, “can you spray paint door knobs so they last?”

It can be pretty frustrating to go through the whole process of a DIY project only to have the results fall short of your expectations. However, this process for painting ugly brass door knobs will work as long as you follow the directions below.
I’m updating this post two years later and every single doorknob looks the same as the day it was painted, EXCEPT FOR 1 that started to peel last year.
As I was making the video for this post, I was showing how to spray on the automotive primer. In doing so, I got focused on making the video out and only primed half the doorknob. I went on to put the regular spray paint on it and then realized how important the automotive spray primer is to this door hardware makeover.
That door know was the one for my daughter’s room and the same half that did not get primed has started to peel.
But like I said, all of the others that were primed properly have held up just fine. SO, that goes to show how important the primer step is for better paint adhesion as that’s the only thing I did differently!
To DIY or Not to DIY: Spray Paint Door Knobs….or Buy New?
When we first moved into our house a few years ago, I looked into buying new hardware for the whole house to replace the nasty brass doorknobs. At that point, I wasn’t sold on the idea of painting door hardware.
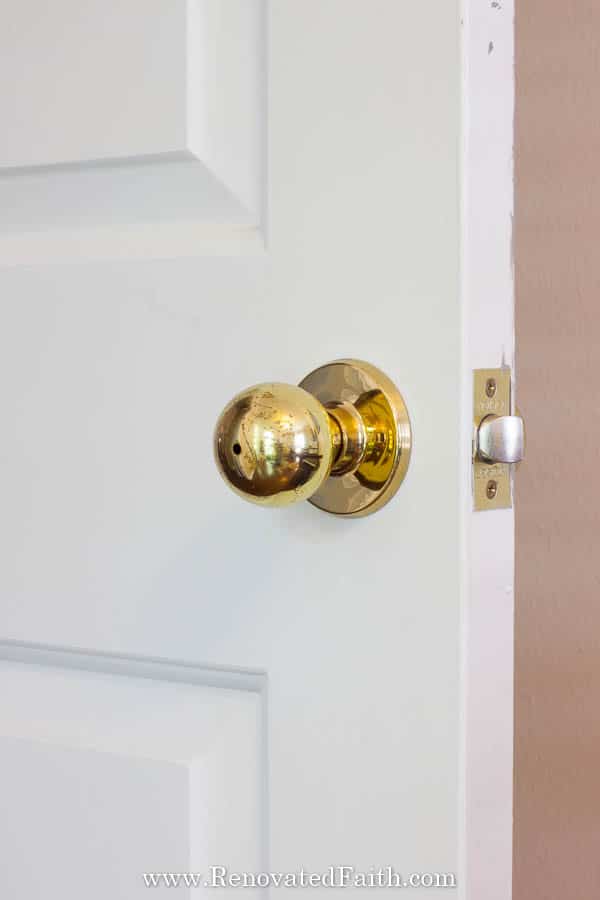
I compiled my list and went to Home Depot only to realize that new door knobs, hinges, and latch strike plates would cost me well over $200 – money that could be better spent elsewhere in our tight home budget.
There are definitely those projects where it’s smarter to buy instead of DIY, but this wasn’t one of them!
It was then I decided the best option would be to spray paint door handles and knobs throughout the whole house. To cut costs and stay on budget, I opted to spray paint the doorknobs on the exterior doors using this same process a few years ago. They still look great so I’ll be using the same process in refinishing our old, ugly door hardware through the rest of the home!
It’s truly amazing what you can accomplish with a can of spray paint!
How Much You Save By Painting Door Knobs Yourself
Here is the cost comparison of buying interior door knobs versus refinishing old door hardware for our whole house (2000 sq. ft):
Cost to Buy Door Knobs: $12 a set x 18 = $216
Cost to Spray paint Door Knobs: $13
COST SAVINGS: $213
That’s significant savings and money I’d much rather put toward more exciting items on our home to-do list.
Does Spray Painting Door Knobs Last?
As I mentioned, I spray painted the entry door hardware in our house when we first moved in a few years ago, because those were in the worst shape. In those few years, they have held up beautifully, and now that I’ve tested out this process, I recently finished refinishing the old door hardware in the rest of the house!
There is one step in this process that is critical – spray priming the door hardware with automotive primer. There was one doorknob that I partially sprayed with primer because it was the one I was painting for one of the photos below.
Somehow in the process of taking photos and videoing, I never finished priming it and went on to spray paint it. What’s interesting is that is the only doorknob that hasn’t help up. It’s the knob to my daughter’s room and one half is peeling – the same half I forgot to prime.
That’s why priming with automotive primer is such a critical step in this process: Click here to buy on Amazon
This post contains affiliate links. As an Amazon affiliate, I only use affiliate links for products I use and love.
Why I Opted Out of Painting Door Hinges
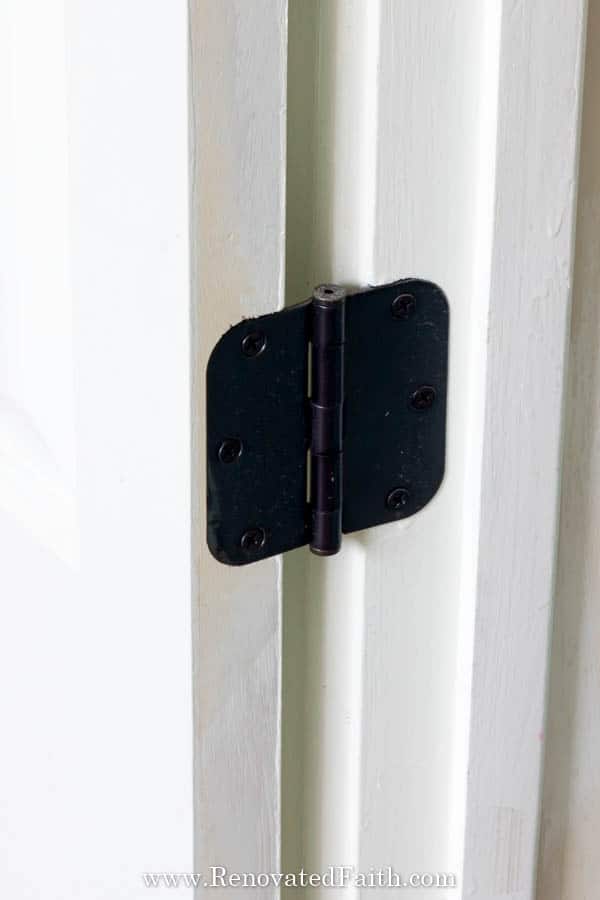
A couple of you have asked me this question and while you probably can, I don’t think I’d recommend painting hinges on doors. I would be concerned about the constant forceful motion of the hinges eventually rubbing the paint off. So since hinges are cheap (if you get them in a set here), I opted to buy those, and I’m so glad I did!
This saved me from some extra work and the possibility of having to repaint or replace them later on if the paint chipped! Also, I decided to buy new strike plates that were already oil-rubbed bronze because I knew they would be much more likely to get scratched – hence the name! These were very cheap online: Oil Rubbed Bronze Strike Plates
Can You Spray Paint Door Hinges on Doors of Cabinets and Furniture?
If you have a piece of furniture like my china cabinet, that won’t get a ton of use you can get away with spray painting the hinges. Also, replacement hinges for vintage pieces can be hard to come by. For kitchen cabinets, I recommend replacing them since they will get a lot of abrasive use and there’s a good chance the paint will peel eventually.
RELATED: How to Paint Cabinets Like A Pro
To spray paint door hinges on furniture, you can use the same process I use with the doorknobs and handles.
How to Spray Paint Kitchen Handles and Drawer Pulls on Cabinets
When painting cabinet knobs, you can absolutely use this same process to help protect knobs and drawer pulls from everyday wear and tear. The added step of the automotive primer gives lots of protection for door hardware in high-traffic areas.
RELATED: How To Install New Hardware On Cabinets, 23 Budget-Friendly Tips for Decorating Your Living Room
How to Spray Paint Hardware on Doors and Cabinets – Supplies Needed:
Sander or Sandpaper – Here’s the sander I recommend.
Black or Gray Automotive Primer – You want a dark color of automotive primer like black or dark gray to spray hardware oil-rubbed bronze like this automotive primer.
Rustoleum Universal Oil Rubbed Bronze Spray Paint – This is my favorite brand and I’ve used this Rustoleum spray paint on dozens of painting projects. You will need a couple cans of spray paint.
Krud Kutter Prepaint Cleaner – I keep this on hand for furniture projects
Oil-Rubbed Bronze Hinges – These are the standard size that fit most doors and have had a good experience with them.
Oil-Rubbed Bronze Strike Plates – This is a really good deal.
Painter’s Tape – Get the wider size
FREE Spray Painting Tips & Tricks – This free printable is available in my resource library. Get access to it and all my other free printables, templates, and wall art by filling out the form at the bottom of this post or click here
Refinishing Old Door Hardware with Spray Paint
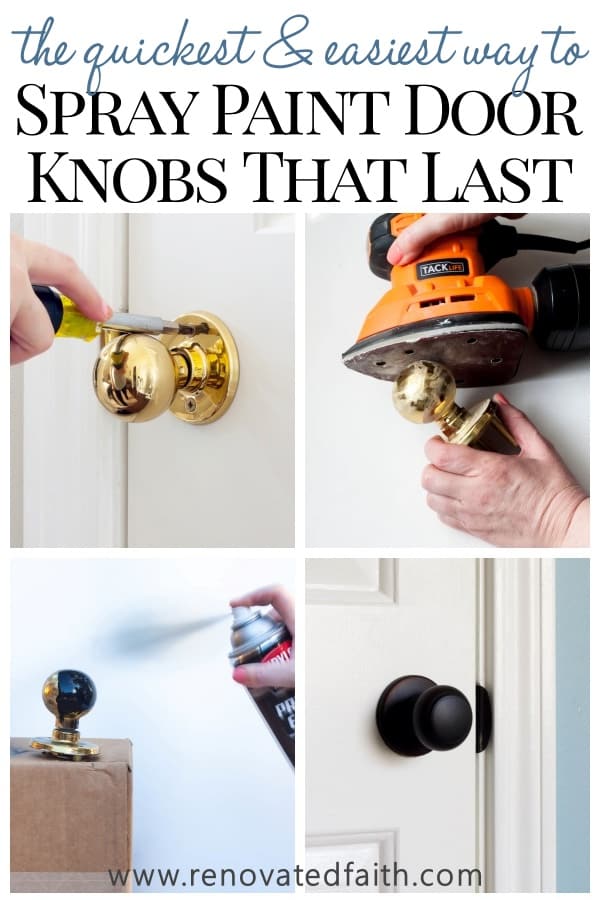
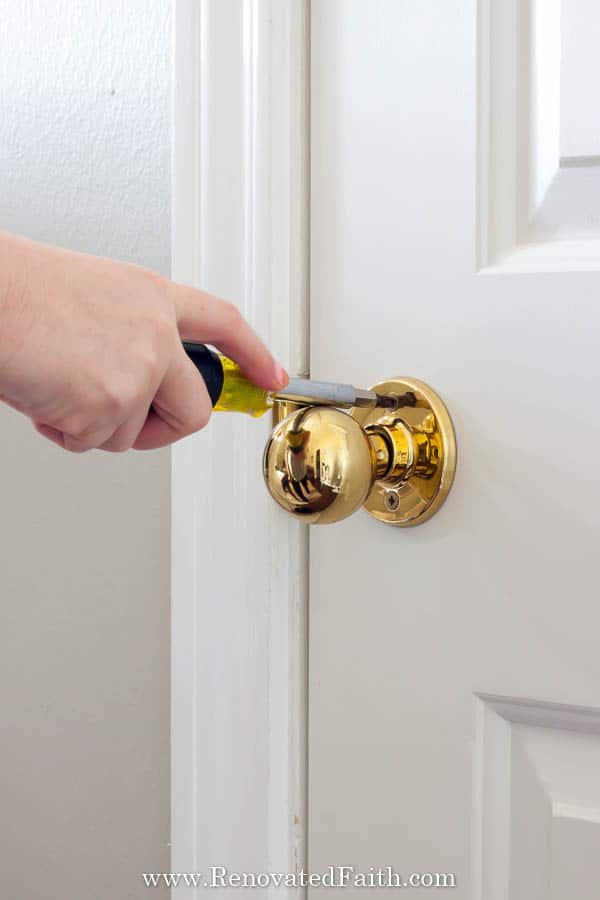
Step 1: Remove the Door Hardware
Remove the hardware from the base of the knob with a screwdriver. One of the first things I like to do is use a piece of painter’s tape to label which set of knobs went with which door.
Removing the doorknobs will take a little while so I used the time to listen to one of my favorite podcasts (see the list here).
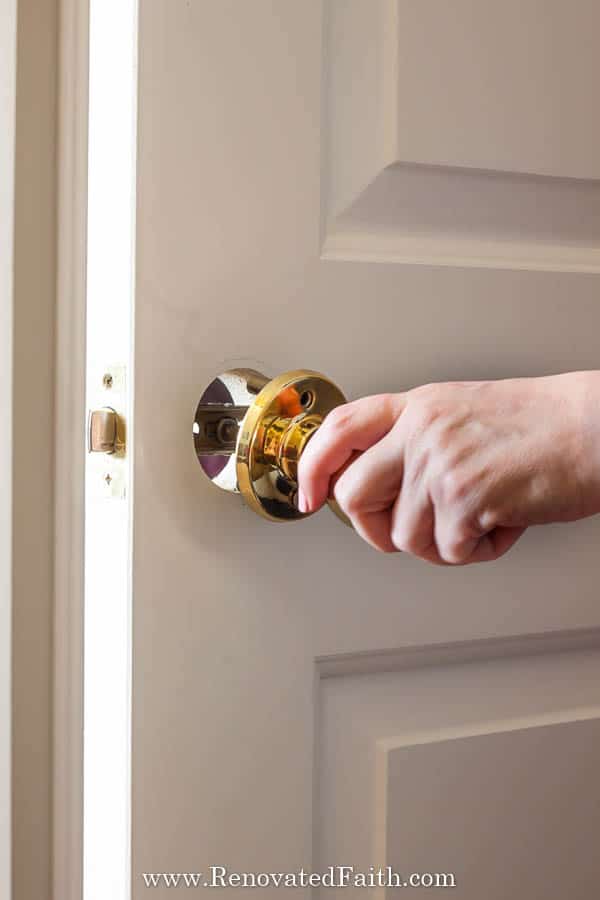
Can you Spray Paint Door Knobs Without Removing Them?
A reader asked if you can spray paint door knobs without removing them and while it is tempting, just take them all off to spray paint!
You can see here where I spray painted my shower using the same process and the results were amazing but even though I taped off every bit off our bathroom, there was still over-spray on our master closet shelves over 12 feet away. Just don’t risk it!
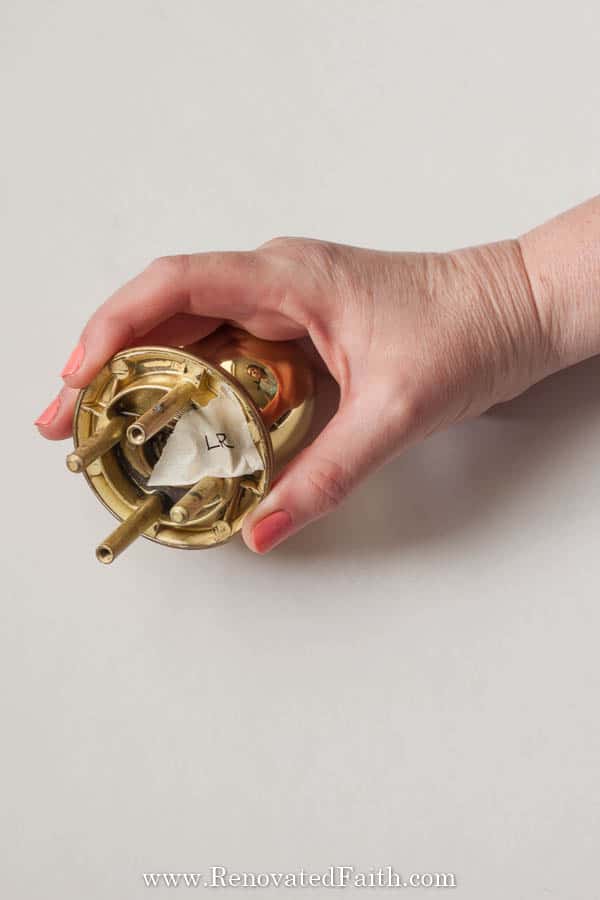
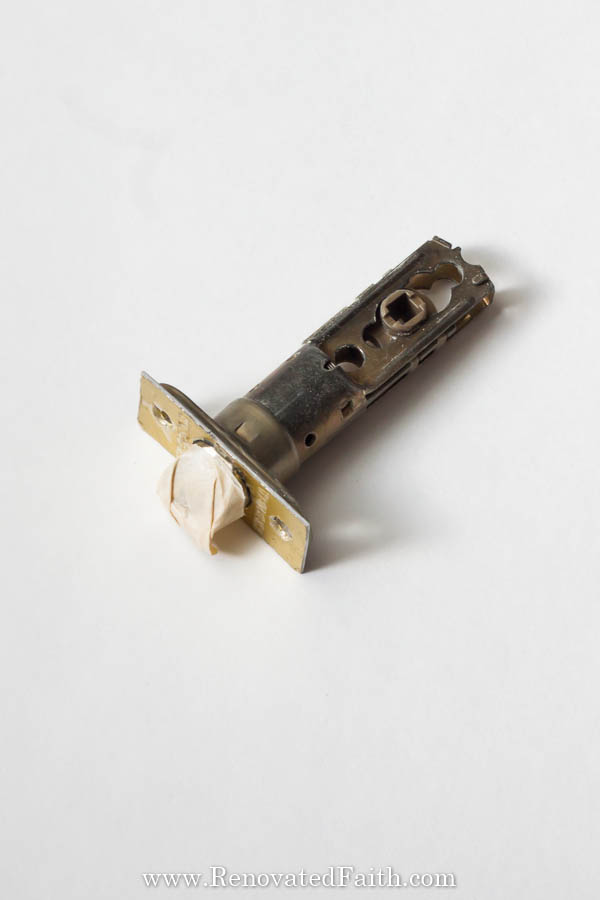
Notice I taped the part that goes into the wall because it will more than likely get scratched up anyway. That part is called the throw latch and yes, I had to look that up!

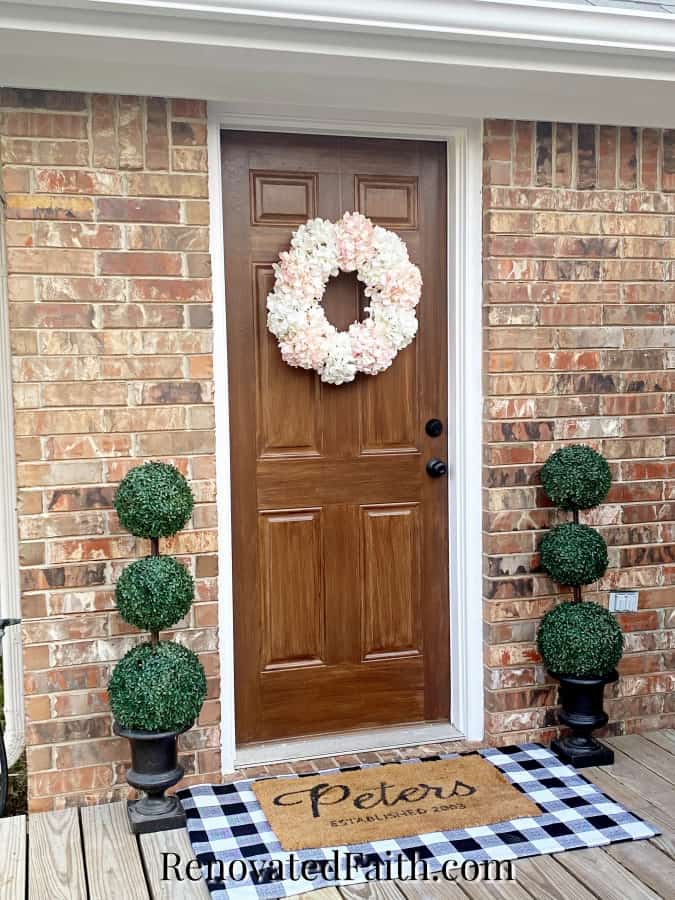
How To Paint Metal Doors to Look Like Wood
Did you know you can use any faux stain on metal surfaces to make them look like they are made out of real hardwood? Whether you use this project on your front door or garage door, this is a creative way to beautify your home’s exterior on a budget. To see how I painted my metal back door, click here: The Easiest Way To Paint Any Door To Look Like Wood
Step 2: How to Paint Door Knobs (Prep Work)
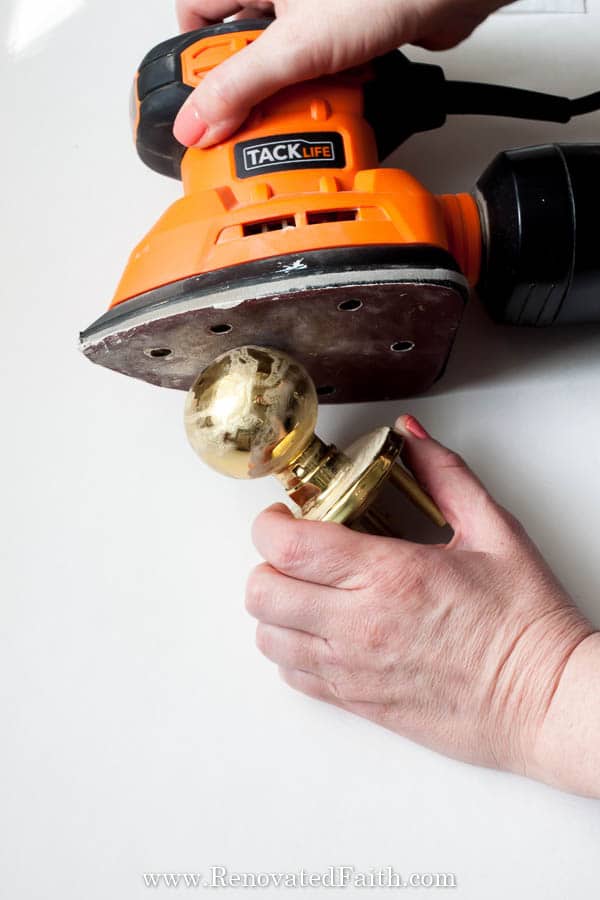
Sanding is probably the most important step in preparing to spray paint door knobs but here is my tip to make it easy and quick:
I used my sander to sand down the doorknobs with a fine (higher number) sanding pad as you see in the video. I believe I used a 220 grit sandpaper or you could use steel wool. This is to rough up the surface so the slick metal adheres to the paint. It only took a few minutes with my sander and was so much more effective than sandpaper alone. (Click here to see my post on how to sand furniture in less than 5 minutes.)
You’ll notice some etched places on the doorknob. These marks are not deep so the surface will still be smooth after they are spray painted.
Step 3: How to Clean Old Metal Hardware to Spray Paint Door Knobs
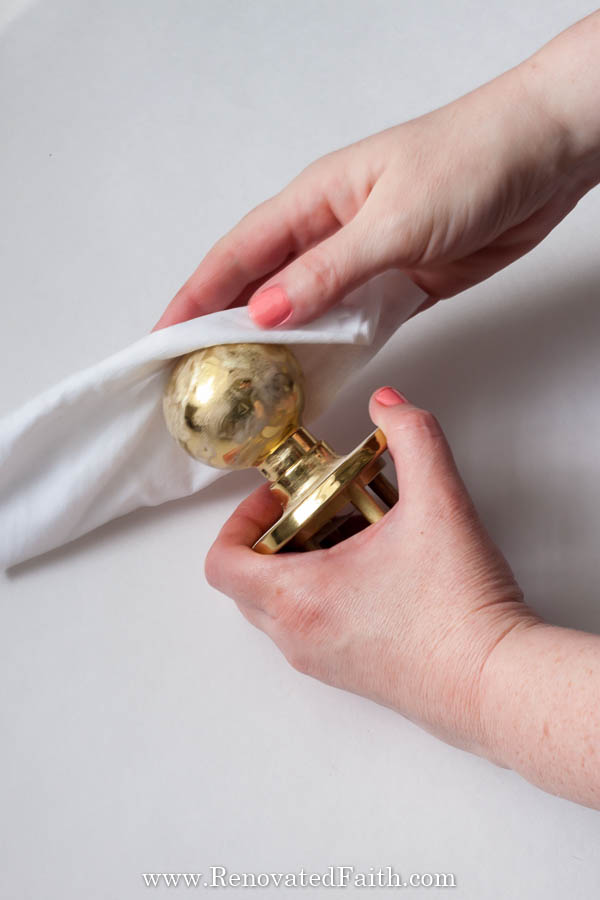
You are going to wipe off the hardware after sanding anyway, so you might as well wipe it off with something that will remove any grease, grime or leftover oils that would prevent the paint from sticking.
I mixed some TSP (click here for the current price) with water in a spray bottle according to the package directions and just wiped them clean. This step is optional but it will definitely help to ensure your paint sticks.
Getting Ready to Sell Your House?
If you are refinishing old door hardware as a means to update your house for a quick sell, you can check out one of my most popular posts. In it, I describe 25+ updates for selling your entire house fast and a printable home staging checklist.
Step 4: Painting Brass Hardware by Priming First
Whether your hardware is brass or coated aluminum, we want MAXIMUM adhesion so you want to take the extra step of using an automotive primer (check the current price here) so the paint really sticks to the doorknob.
“Can you spray paint door knobs that last?”
The automotive primer is a much more heavy-duty version of regular primer and is the key to make your door knobs’ finish last for years to come. As you see in the video, be sure to shake the can well and spray the surface lightly. This is one of the few times that a little is better than a lot. For my BEST spray painting tips for a flawless finish every time, check out the form below.
I used cardboard boxes and some egg crate material I had on-hand to hold the doorknobs in place. (You can get egg crate material at Home Depot or Lowe’s but styrofoam or a big piece of cardboard is a cheaper option). Also, if you are painting in your garage with the door open, be sure to put down drop clothes because spray paint kind of spreads.
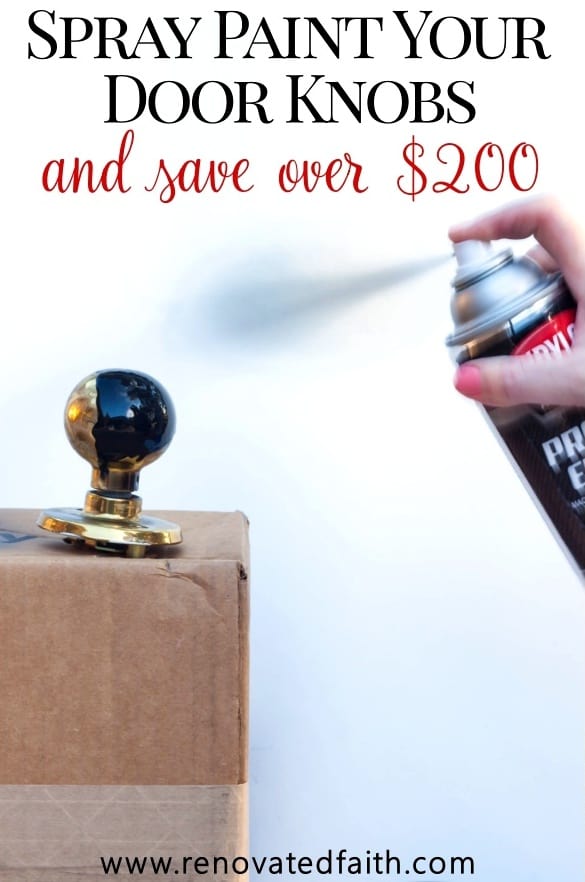
Don’t forget to spray the underside part of the knob.
Check the back of your can for the re-coat time. Mine said to re-coat in less than 2 hours or to wait past 48 hours. So, I waited about 30 minutes to spray paint the doorknobs. (I did all the priming and spray painting the same day.)
Step 5: Spray Paint Door Knobs with Oil Rubbed Bronze Spray Paint
After a few hours of drying time for the primer, I started to paint the doorknobs.
The Best Spray Paint for Door Knobs
The best spray paint for doorknobs or cabinets is Rustoleum Universal Metallics (Check the current price here). They have a really nice durable finish and I’ve used this brand time after time with no complaints – even on a shower frame.
I chose the Oil-Rubbed Bronze paint finish but you could also do matte black, satin nickel, or champagne gold or other metallic paint options. Whatever paint color you choose the Rustoleum Universal Metallics paint above is a better option.
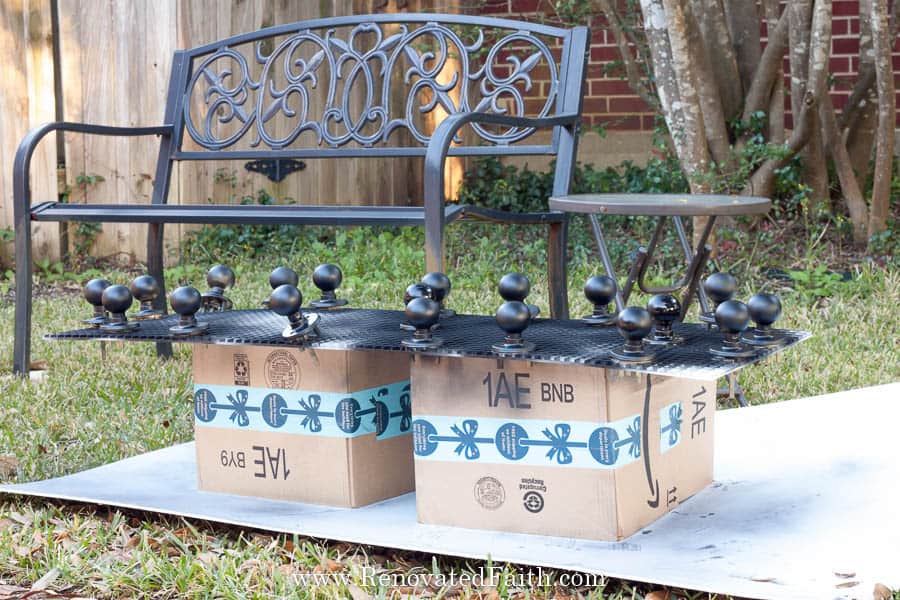
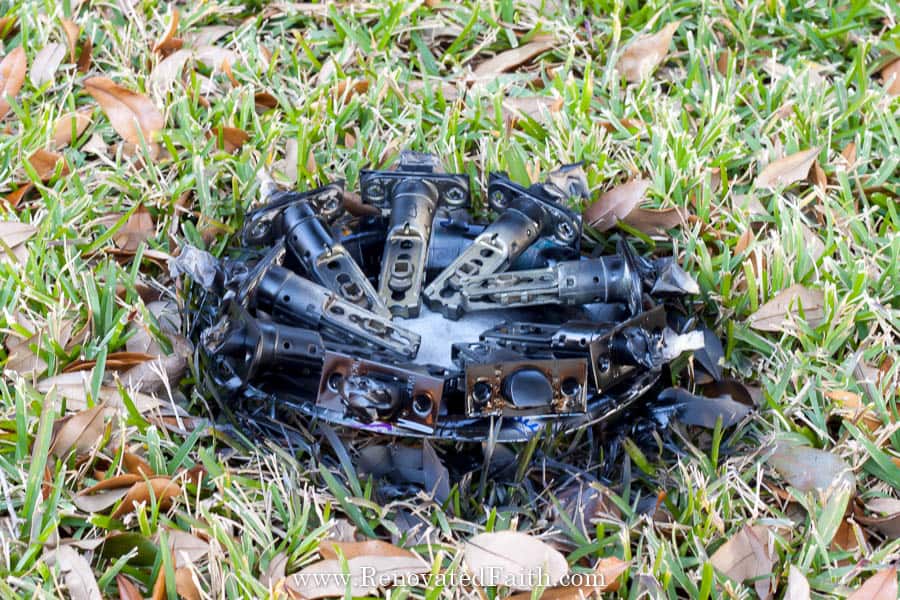
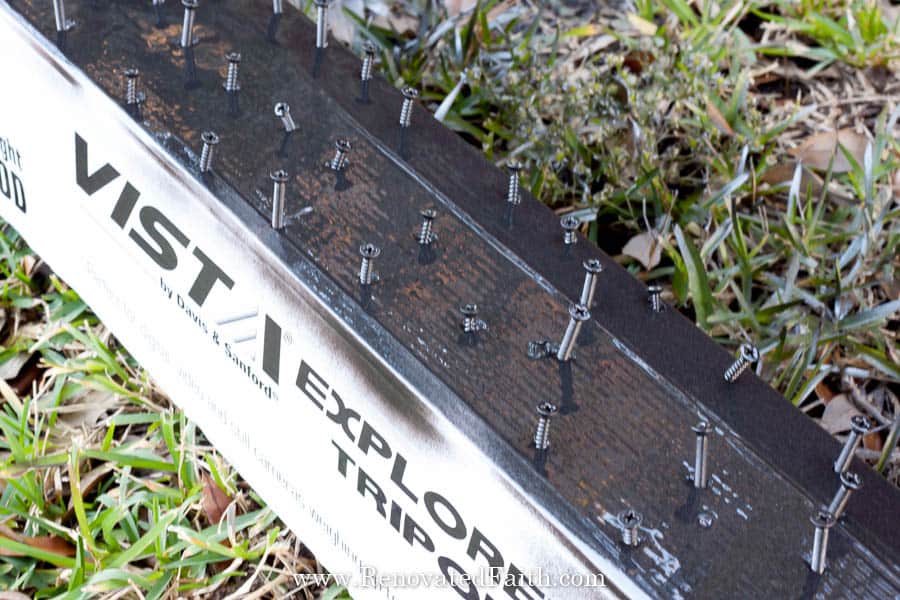
If you are new to spray paint, no worries, my friend! You can download my free spray painting checklist that will help you spray paint like a pro in no time. See the form below!
Just spray on a light coat and then wait about 30 minutes and do another light coat to finish up. Spray enough coats to get full coverage but do thin coats. The first coat or two will not cover well and that’s ok! Using thin coats of spray paint is the key to a smooth finish.
Let them dry for 3 days. Trust me, it will be worth it!
In the meantime…
Replacing Hinges and Strike Plates
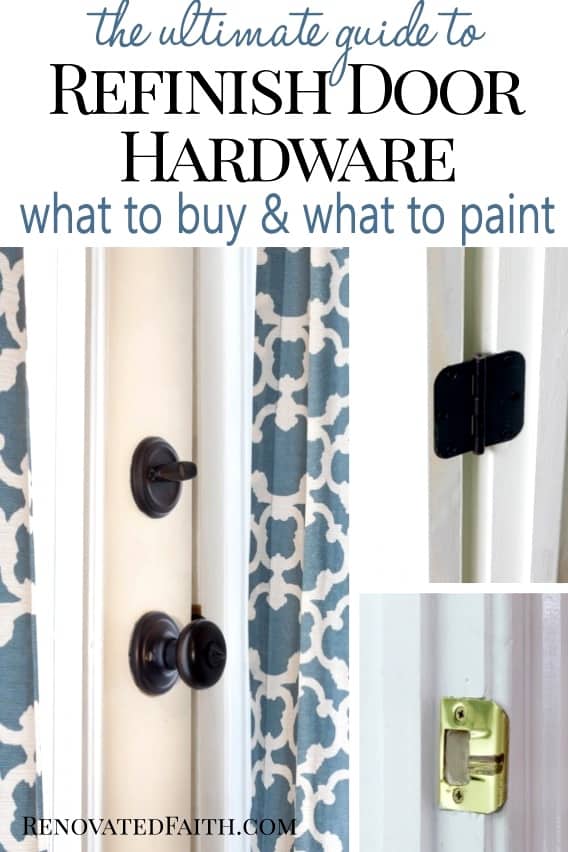
Now is a good time to replace your old hinges and strike plates while waiting for the doorknobs to dry. As I mentioned earlier in the post, these are parts of the hardware that are far more likely to be scratched. Since strike plates and hinges are both cheap, we are going to buy new ones.
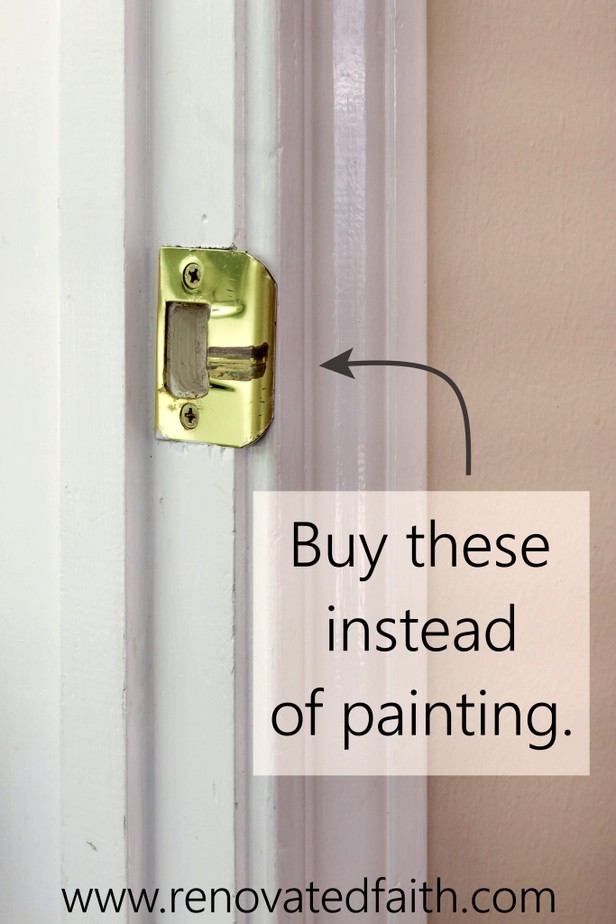
For the hinges, you want to be sure to replace one at a time. Take one off, replace it, tighten it, and then replace the others one at a time. During our master bedroom makeover, I took off the door to paint, and taking all the hinges off at once made them unbalanced when I went to reinstall them. So, it would stay half-open until I took the time to adjust them.
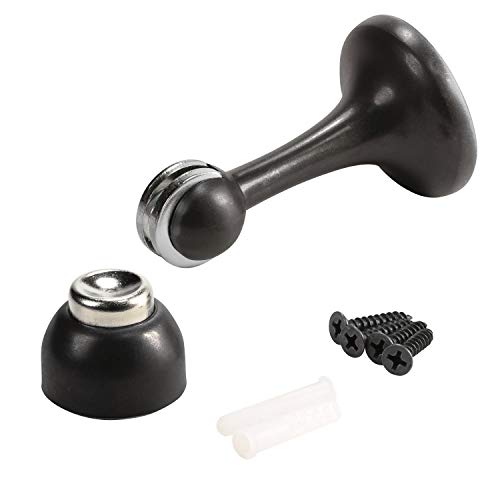
If any of your interior doors are out of balance and have a tendency to stay half-closed, then these magnetic doorstops will offer a solution without readjusting the hinges.
Step 6: Reinstall the Door Hardware
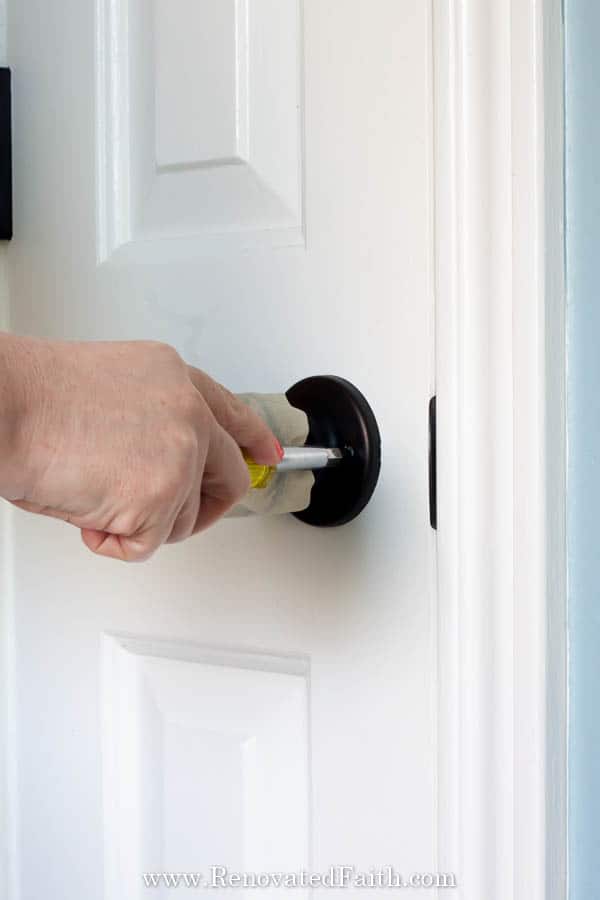
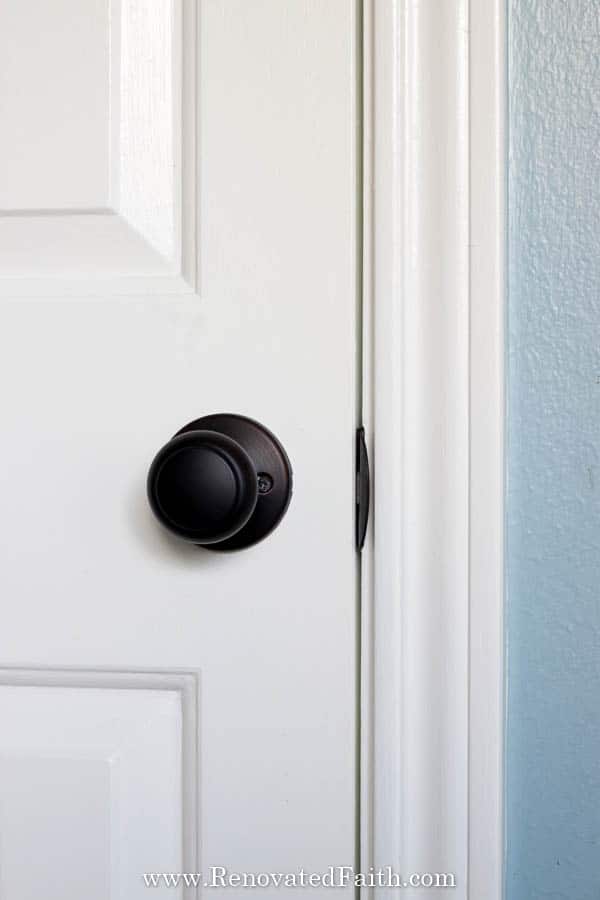
After painting the door hardware, I reinstalled it being careful to not scratch the knobs as I screwed them in. I put a piece of painter’s tape around each knob to ensure this wouldn’t happen.
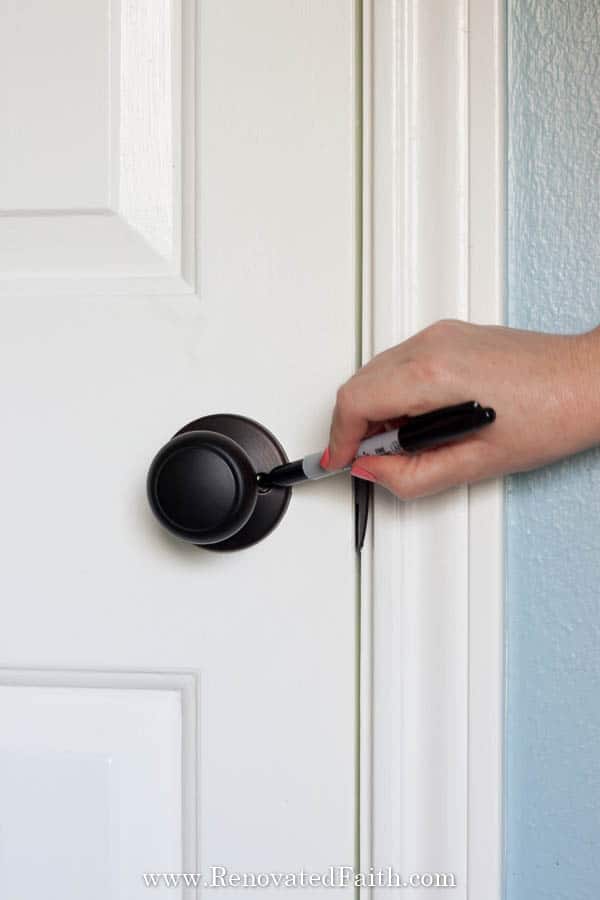
After refinishing your old door hardware, you might notice that some of the paint in the middle of the screw heads might have come off when you installed them. The last thing you can do is touch up those centers with a black sharpie!
RENOVATE YOUR FAITH: God Delights in YOU
This week, I’ve thought a lot about my blog’s purpose and audience. When I started this journey of blogging, I had every intention of being a faith blog with an occasional DIY or home decor post to keep things interesting.
However, I realized that what energized me the most and what made my heart the happiest was the DIY posts. With these projects, I could be creative, work with my hands, and help people by finding a better way to improve some aspect of their home.
I felt some false guilt about this. Part of me felt like a sell-out for no longer doing posts with only devotional content.
Then something interesting happened.
I start getting emails saying “I found your post about refinishing my side tables and came away with encouragement in my faith.” Or the email I got just a few minutes ago, “I was reading about tips to sell my home and the part at the end about God’s plans brought tears to my eyes.”
I realized that this little blog was not only the documentation of DIY and home decor projects, but it was a way to help people by showing them God can transform ANY life circumstance. In the same way, you take a curb-side find and restore it into a beautiful showpiece with new purpose and new life, God can repair and renew you and me.
God loves it when we use the very gifts and talents He gave us. He has given them to us for a reason and He delights in watching us enjoy them. Like a daddy watching his daughter play softball, He watches you intently saying “Atta girl (your name here)!”
Whatever you do, work at it with all your heart, as working for the Lord, not for human masters. Colossians 3:23
So whether you are cleaning up spit-up, teaching middle schoolers, caring for your elderly parents, or spray painting door knobs, know that the God of all creation takes pleasure in watching you use your gifts and calling to serve Him.
He has not forgotten about you. And He sees you, my friend.
He knows you and takes delight in watching His children enjoy the very gifts He gave them.
For more spiritual encouragement, click here for the rest of my project posts that also include Renovate Your Faith devotionals.
FAQ’s: Refinishing Old Door Hardware
What is the most important step in painting door hardware?
You absolutely need to prime them with automotive primer. The only door knob that I didn’t prime started to peel. But 2 years later, all of the others look as good as they did when they were first painted!
Can you spray paint door handles?
You can absolutely use this same process to spray paint door handles. Just follow the instructions above for paingint door knobs but with one tiny change. When you go to prime and also spray paint the door knobs, you need to lay them face down at first. Spray them at intervals of 15-20 minutes until the underside of the handle is covered. Then, carefully flip them over and continue spraying light coats until the handles are cover with paint.
Can You Add A Clear Coat?
If you want extra protection for your door hardwares you can spray on a top coat within 24 hours after the last paint coat. This might be helpful where you get a lot of moisture like a bathroom door. Also, it’s added step when painting exterior door knobs. I recommend this Rustoleum Clear Coat (click here for the current price).
Can you paint brass hardware?
Most of the hardware on our doors is metal with a synthetic brass coating. However, someone asked me if you can paint brass hardware. You can absolutely use this same process for refinishing brass doorknobs but I would still buy new hinges.
How To Spray Paint Door Knobs In Other Colors
You can spray paint door knobs in any metallic color you choose. They look great in a brushed nickel finish or even gold. I would just recommend using a metallic color, specifically from this line: Rustoleum Universal Metallics Spray Paint (Click HERE for the Current Price.)
Should Door Knobs Match Hinges?
I asked this same question when refinishing my door hardware and it is really up to you. There is no hard and fast rule that door knobs should match hinges but it does look nice. Some door hinges are hardly noticeable so you might choose to leave those and replace the ones that are more noticeable.
Does Spray Painting Door Hinges Last?
Like I said, spray paint door hinges doesn’t usually last as I’ve seen this on the kitchen cabinet hinges from our old house. Just bite the bullet and replace them with new. Fortunately, they are cheap with the link above!
Can You Paint Door Knobs With a Brush? Can You Chalk Paint Hardware?
Someone asked me if they could chalk paint hardware. As you may know, I have some strong feelings about chalk paint (grin) but I wouldn’t paint hardware with chalk paint unless it was furniture knobs that you cleaned well, before chalk painting. Then spray paint the cabinet knobs with a clear matte sealant or some other spray-on clear coat.
Can You Spray Paint Interior Door Knobs Without Removing Them?
I wouldn’t spray paint interior doorknobs without removing them. But for exterior doors, as long as you taped over and covered all of the surrounding area (and I mean all of it), I don’t see why you couldn’t spray paint exterior door knobs or handles without removing them from the door.
What About Other Colors? “Can You Change Gold Door Knobs to Silver?”
A reader asked about other colors instead of just oil-rubbed bronze. Particularly she was wondering about changing shiny brass or gold door knobs to silver. I really like Rustoleum Universal’s Satin Nickel as it is a really nice silver that is not too shiny. Just follow the same process above but with a gray automotive primer (like this one) and the silver spray paint. You can get it here: Rustoleum Metallics Matte Silver
How To Paint Around Door Knobs
If you need to paint around your door knobs without removing them, simply wrap them with my favorite painter’s tape : FrogTape for Delicate Surfaces
Now that you know the best process to ensure your hardware finish outlasts your house, go grab a screwdriver and start removing those old brass door handles and doorknobs!
Related Posts to Spray Painting Door Knobs
How to Spray Paint Patio Furniture
5 Ways to Update Light Fixtures with Spray Paint
The Best Paint for Oak Cabinets – 24 Brands Tested & Reviewed
The Ultimate Guide to Painting Kitchen Cabinets Without The Grain Showing
Easy Patio Furniture Restoration
Why I Stopped Using Chalk Paint on Furniture
How to Install Beadboard Wallpaper so It Looks Like the Real Thing
Easy DIY Curtain Rods on a Budget
How to Upcycle a Chandelier Into a Hummingbird Feeder
Best Spray Painting Tips for a Flawless Finish Every Time
My Favorite Greige Paint Color
Benjamin Moore Hale Navy Review
How To Build a Farmhouse Table (A Beginner’s Guide!)
Final Thoughts About Spray Painting Door Handles and Knobs
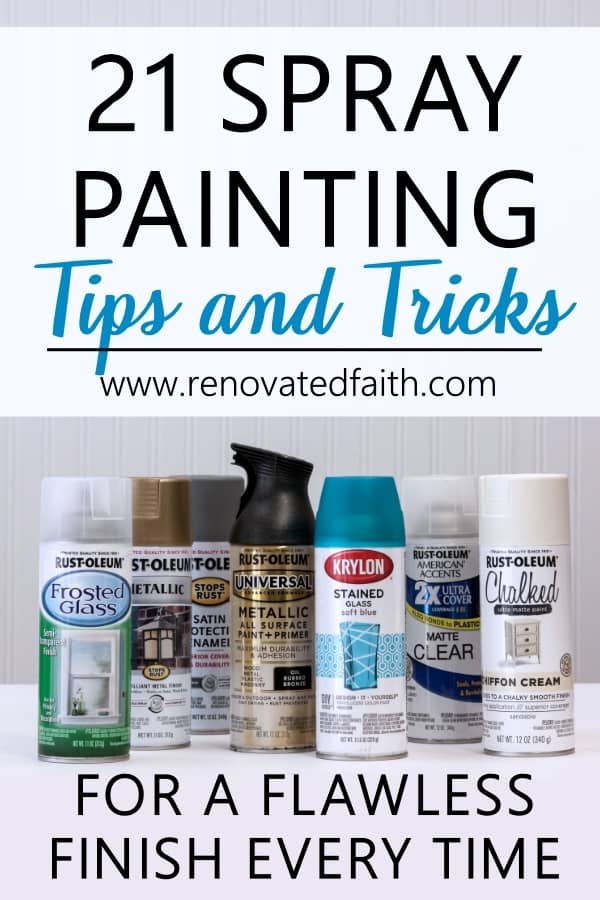
Don’t forget to download my FREE Spray Painting Tips and Tricks. To get your printable, sign up for my weekly newsletter which also grants you free access to my resource library full of wall art printables, checklists, and project plans!
Before this post, you may not have realized how much money you can save by spray painting door handles and knobs instead of buying new. Considering you will have to put in the work to replace them even if you buy, it’s not that much extra effort to give them a paint job. This tutorial gives you a fail-proof way to spray paint your doorknobs fast so you can use your home renovation budget on more exciting details!
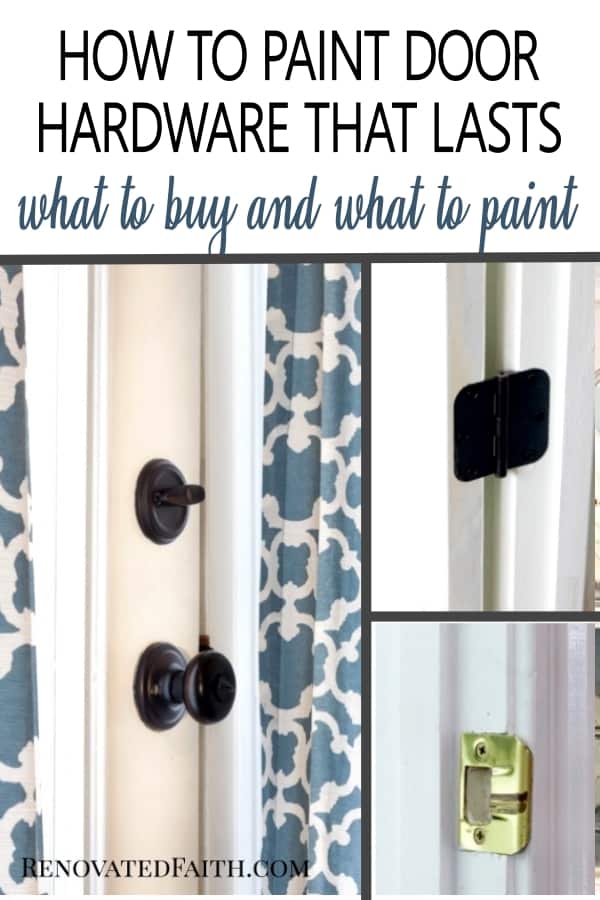
I love to hear your thoughts and questions regarding how to paint doorknobs! Scroll down to leave a comment and I WILL reply! ❤️
Final Thoughts on Painting Door Hardware
There are some home decor projects that you don’t mind spending some money on but less-exciting items like doorknobs, handles, and curtain rods are not where you want to blow your budget. This tutorial will show you how to paint the doorknobs so they last a long time. Not only does thefinal product looks as good as brand new doorknobs, but this is one of the best projects for saving money without a lot of effort. Don’t forget to download your free spray painting tips above that will make the process of spray painting your doorknobs quick and painless. With all the money you have saved by spray painting door hardware the easy way, you now have more room in your budget for more exciting home decor!
Blessings,

Be sure to follow the fun here!
Email Subscription | Instagram | Pinterest | Facebook | Twitter
How To Spray Paint Door Knobs, YouTube Video
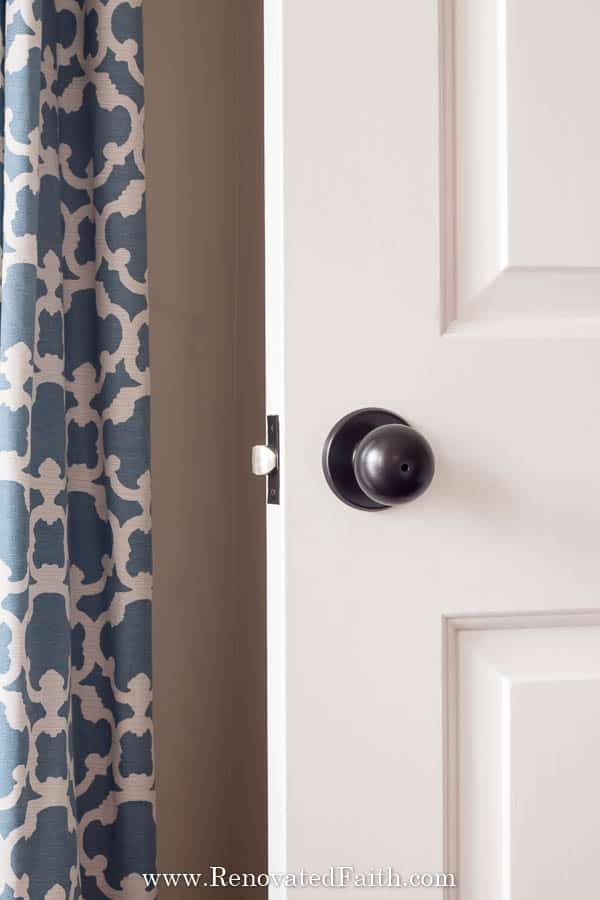
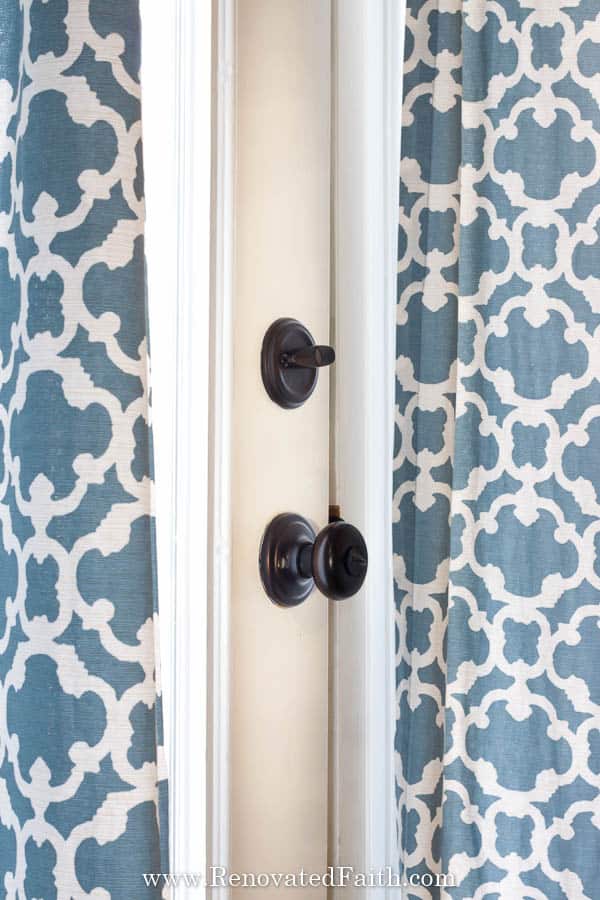
How to Spray Paint Door Knobs That Last (Best Tips for Refinishing Old Door Hardware)

Karin Peters is a DIY expert and the creator of Renovated Faith. She is a furniture painter, a home design consultant, and a tenacious problem solver determined to help you transform your house into a home. With 17 years of experience with DIY home improvement, she researches and analyses professional processes to adapt them to be easy and cost-effective for DIYers. She then tests every project and product before it appears on the site in a detailed, step-by-step format. After attending Texas A&M University, she received her Master of Divinity with Biblical Languages at Southwestern Baptist Theology Seminary. Her passions unite in Renovated Faith, which shows readers how to create a home that serves them so they can pursue their God-given purposes. About Renovated Faith | Editorial Policy | Facebook | Twitter | LinkedIn



I’ve been wanting to do mine for ages but have been warned that there is usually some kind of poly coating which seems to invisible to the eye but needs to be removed using denatured alcohol. That’s not available where I live so I’ve been trying to find an alternative.
If I sand them maybe it doesn’t matter if I remove the film/coating?
As long as you sand and use the primer, you don’t have to use denatured alcohol. Let me know if you have any other questions!
Hi Karin, Do you have any advice on painting ‘exterior’ doorknobs.
Thanks, Marsha
Hi Marsha, I would follow the tutorial the same way, but I might also consider adding a spray on clear coat. Rustoleum matte, clear coats are usually your best bet.
Did you paint the actual door latches?
There should be a pic further down in the post of how I taped off the latches. I bought new strike plates. I hope this helps. Have a great day Lisa!
You have given me the courage to begin eliminating all those shiny gold colored doorknobs as well as my shower enclosure! I have been practicing on several different backplates of old doorknobs. I first simply spray my Rustoleum Metallics Champagne Bronze on them just to see if I liked the color; I did! I then practiced on another by spraying on the black automotive primer, then my champagne Bronze. The color changed to darker, muddier goldfish color. I then used the gray primer, tried the white primer and then finally found a clear primer in the Duplicolor brand. None of the pieces are as beautiful as the first piece w/no primer. The primer seems to be affecting the outcome of my lighter (than yours) color coat. I want to do my shower frame where primer is an absolute must, even more so than the doorknobs. Any advice you can provide would be very much appreciated! Thank you.
It makes me wonder if the primer needs to completely cure first before the champagne color. Experiment with spraying the paint 48 hours after the primer. Another suggestion would be to put a second coat of paint to see how it looks. Please let me know if any of this helps. Thank you Robin!
The color and sheen of brushed nickel paint are exquisite and resemble those of stainless steel. Imagine a soft metal surface that is neither too glossy nor too matte and can provide a subtle yet stunning appearance.
Hi there,
Did you also paint your deadbolts on the exterior doors? Any tips besides what was mentioned?
Thanks,
Rose
Hey Rose, Thank you so much! For a grayer tone, try this post:https://renovatedfaith.com/diy-driftwood-finish/
Hi Karin, Great post! I bought the supplies listed on your Amazon link and painted my first set of knobs. They are rough and the color isn’t like the color in your photo (which I Love!). The link to primer under step 3 is a Krylon fillable and sandable (gray) option but I bought the one in your other links, Rustoleum sandable (black). The primer has a rough finish that I don’t like. The Rustoeleum oil rubbed bronze is very dark…almost black but your photos show a color with more of a brown tone. I’d like to know if the knob in your photo was done with different paint and primer and if so what you used. Thanks!
Hey Susan,
All the knobs were painted the same. The Rustoleum oil rubbed bronze is nearly black and in different lighting you can see a little of the bronze. Did you shake the primer cans a lot? I didn’t have any problems with either primers coming out rough but I have had this problem with paint cans I didn’t shake enough. Let me know how I can help! – Karin
Hello Karin,
I also noticed a rough finish with mine but I shook my cans really well before spraying. Should I continue to do very light layers and see what happens?
Would love to hear if someone else had this happen. I would really like a smooth finish when done.
Thanks! Abby
If you have a rough finish, try lighter coats. Resist the temptation to get good coverage in each coat. You want to do several really light coats in order to get a smooth finish. I hope this helps!
Karin,
I am about ready to start this process. I’m shopping for all the supplies and came up with a couple of questions. My door strike plates are Schlage 10-058 1 3/4″ Diameter Circular Replacement Strike Plate with 1 7/32″ Li. I searched and the price ranges from $7.61-$17.61 EACH. I’d need 7 just for my interior doors. Do you think I can remove these and paint as well? Or can they be replaced with other strike plates that are cheaper?
It’s best to buy replacement strike plates instead of painting them so you don’t scratch the paint off the existing ones after painting them.
Good Morning Karin: I am so glad a came across your site on painting door knobs. I have looked really hard for new doors knobs to replace the ugly gold ones we have had for over 3 decades. I went with the Rustoleum flat Antique Nickel and I painted one knob over the weekend, BEFORE finding your blog. It came out sooo terribly “metallicy” that it would look horrible on all our doors. Does the Rustoleum Automotive Primer “tame all that metallic stuff down”? (I’m thinking that it won’t) Or is the Metallic Satin Nickel that you suggest in your blog just not have as much “metallicy” look to it? You suggest Metallic Satin Nickel in your blog and something that is pretty and nice. I don’t want to keep buying different cans if they are all going to have that look. I appreciate you taking the time to respond to my questions and have a great day.
Thanks, Julie
Hey Julie,
If you want something that is more of a brushed nickel look instead of the flashy, shiny metallic silver, look for SATIN nickel. That would be your best bet I think. Let me know if you have any other questions! Blessings, Karin
Hi Karin,
Thank you for this post. I just googled how to paint metal door handles then your blog came up. You have no idea how much those word of encouragement meant to me. I’m just finishing off the unfinished pieces of work that my ex husband left behind 10 years ago of our house. I have no idea why I was so prompted to finish off the projects and re-do some other areas that have been left behind since he left us and our 2 children. But your word – “God never leaves a project half-done” explains everything to me, why I been having a spirit of completion. I’m a finisher and I like to get things done. These projects is really freeing me.
Thanks so much for all the spray paint tips. And keep up the great work!
God bless,
Nina
Nina, Thank you so much for taking time to tell me that. It blesses me to hear how God used the blog to encourage you. I just prayed that God will continue to fill you up with His love as you finish these projects. I wish you ALL the best Nina! Blessings, Karin
Karin,
Thank you for sharing this tutorial – very informative. Have you used this technique on any other metal bits around home? I am curious if it would be effective on the ugly metal floor transition strips. Based on your experience, do you think they would hold up to this? Thanks again for sharing your ideas 🙂
Karen H