The Ultimate Guide to Repairing Scratches on Wood Furniture, 2025

Wood Furniture Repair DIY Tutorial
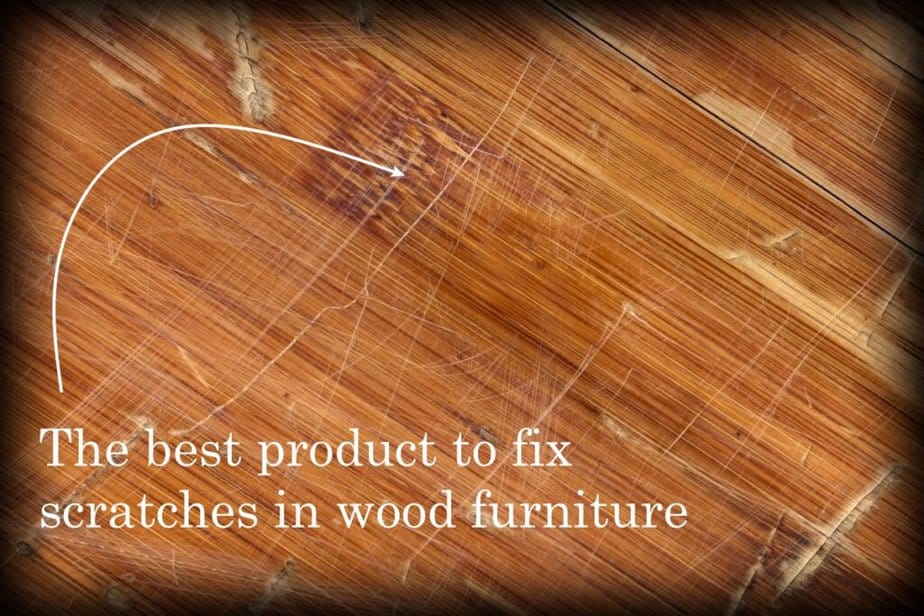
Whether you are dealing with a tiny scratch or a huge gouge, this ultimate guide to repairing scratches on wood furniture will give you a beautiful finish in no time!
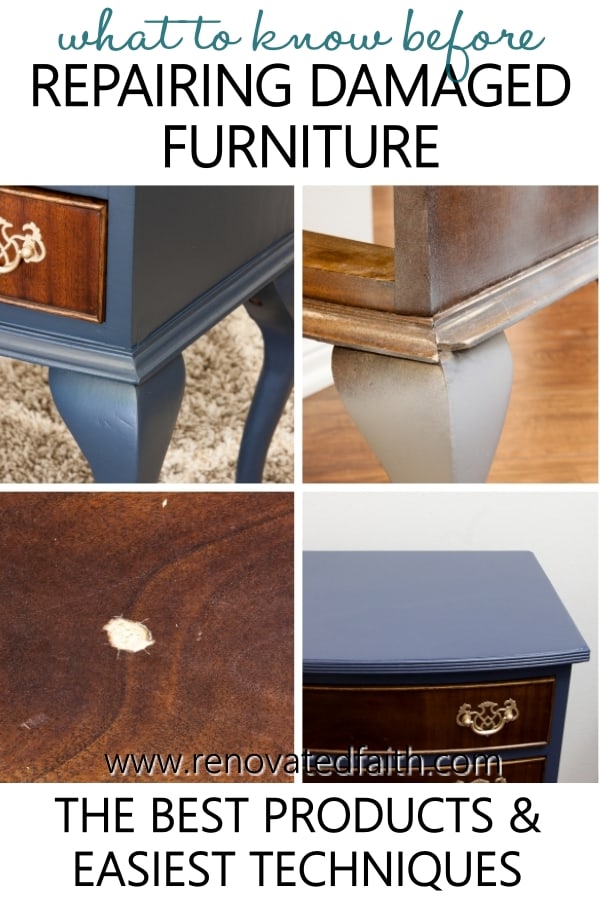
Whether it’s a deep scratch, gouge, or lots of tiny scratches, repairing furniture is easy if you know the right product and technique. Otherwise, you could make it look worse than it did when you started.
Fortunately, this post and video will explain how easy it is to fix any damage to wood furniture in no time. I also show you my favorite tried-and-true products that will give you a smooth and durable finish so you can enjoy your peace for years to come.
LET ME SHOW YOU:
- How to fix major surface damage to wood furniture
- The easy way to remove water rings and restore faded wood
- How to touch up surface scratches to your furniture piece
- A fool-proof way to replace large chunks of furniture so it looks like new
(As an Amazon affiliate I earn a small commission from qualifying purchases. Please see my full disclosure HERE).
Quick Links to Information in this Post
- 1 Wood Furniture Repair DIY Tutorial
- 2 The Ultimate Guide to Repairing Scratches on Wood Furniture
- 3 The Trick to Repairing Scratches on Wood Furniture: Minor Damage
- 4 How to Touch Up Scratched Wood Furniture Edges
- 5 How to Fix Severely Damaged Wood: Caulk, Wood Filler, or Epoxy?
- 6 A Guide TO Repairing Cracks in Wood Furniture with Caulk (Not Wood Filler)
- 7 The Difference Between Caulk and Wood Filler
- 8 How to Fix a Missing Chunk of Wood in Furniture
- 9 How to Fix Water-Damaged Wood and Heat Rings
- 10 RENOVATE YOUR FAITH: God Wants to Do More Than Just Fix Your Brokenness
- 11
- 12 Wood Furniture Repair FAQ’s: Epoxy for Wood, Caulk and Wood Filler
- 13 More Posts Related to DIY Furniture Repair
- 14 Final Thoughts on REpairing Scratches on Wood Furniture
- 15 How To Fix Scratches on Wood Tables & Furniture, YouTube Video
- 16 How to Fix Furniture Before Refinishing
The Ultimate Guide to Repairing Scratches on Wood Furniture
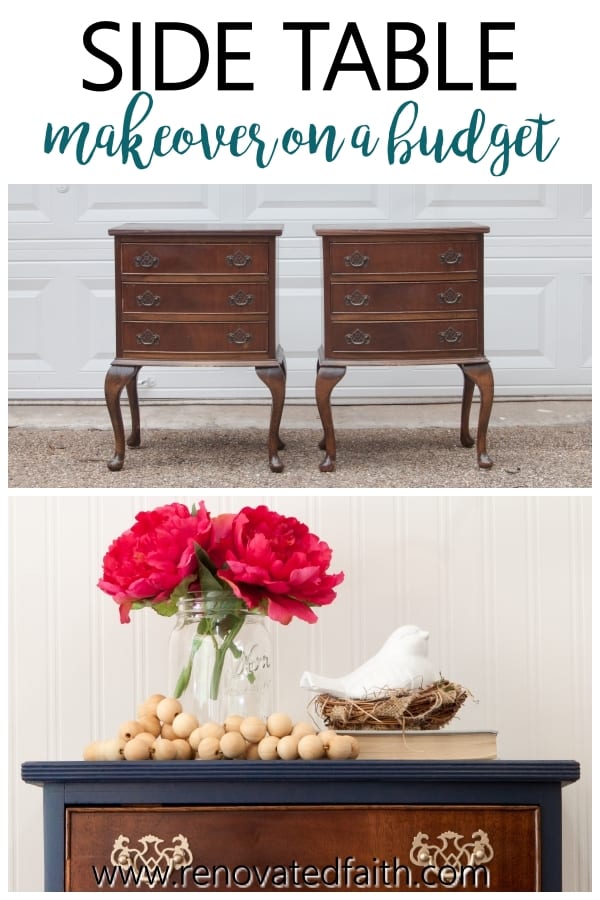
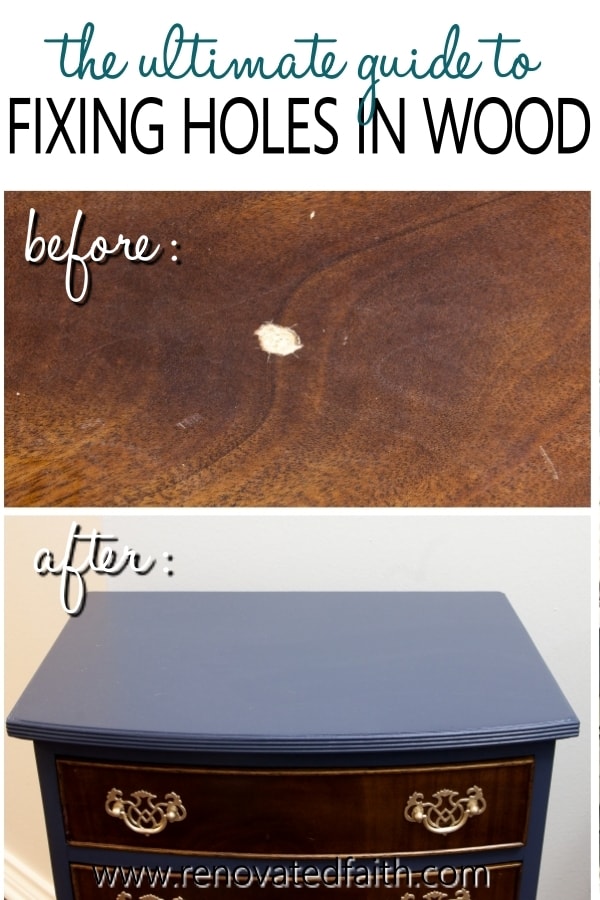
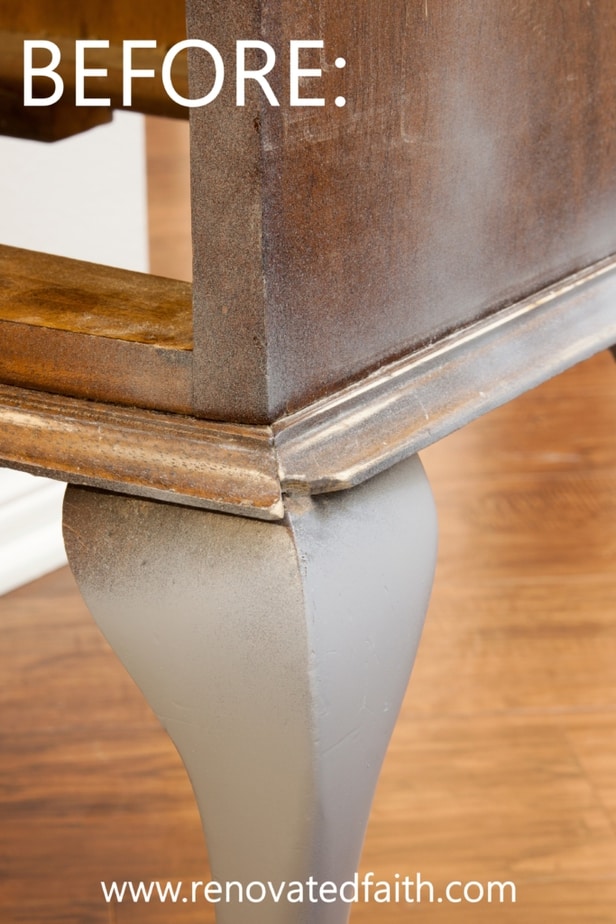
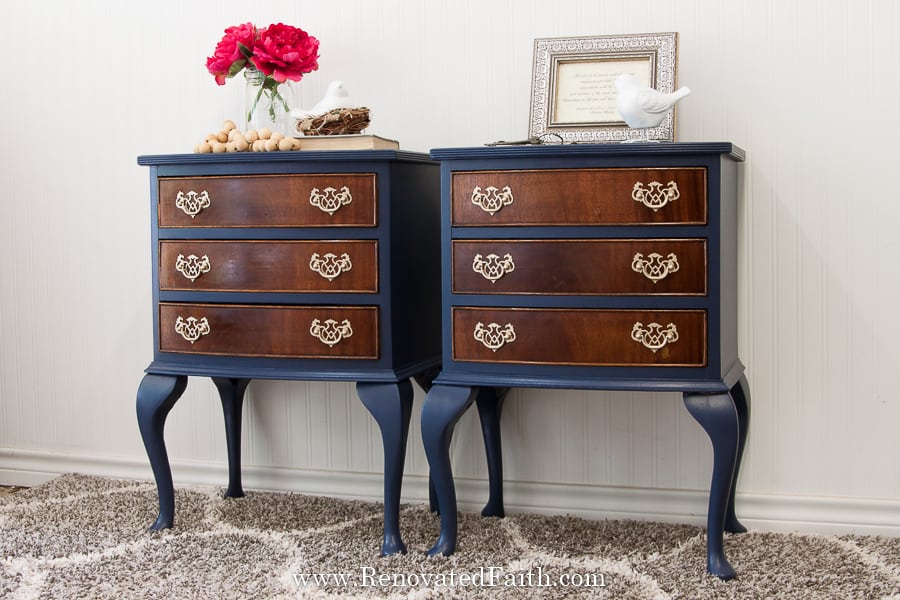
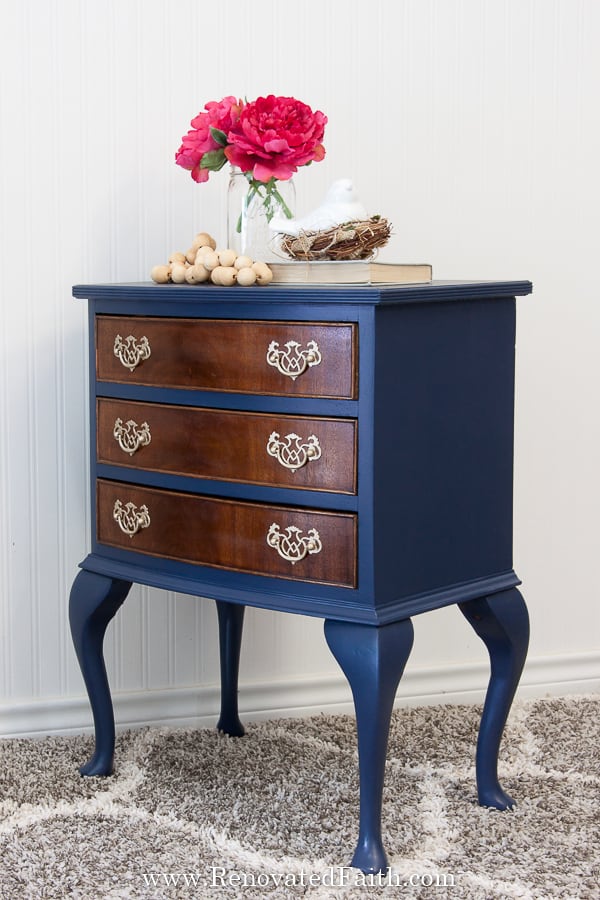
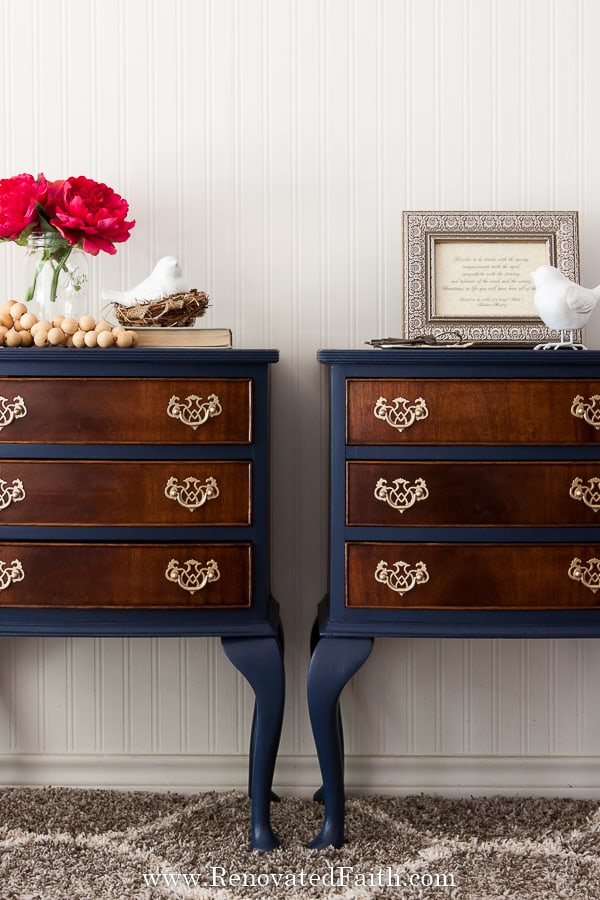
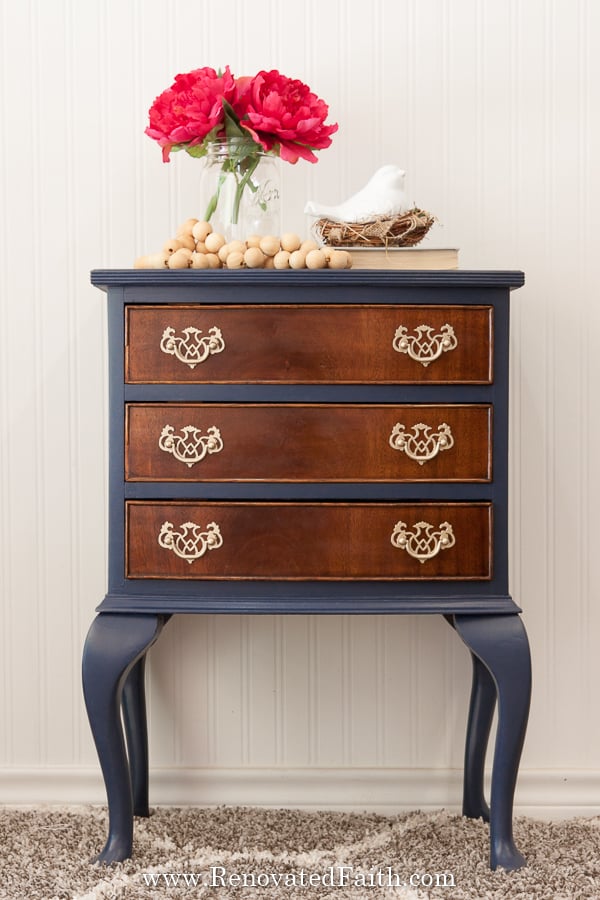
Most of these repairs are done on these two side tables I am refinishing for my mother-in-law. Here you can see the before pics:
Related: The Ultimate Guide to Refinishing Furniture (The ONLY Guide You’ll Ever Need!)
You see a stunning vintage antique dresser and find yourself daydreaming about working on it one beautiful Saturday afternoon. The weather is gorgeous, you are wearing your comfiest clothes and watching The Office reruns as you slather paint on your masterpiece.
Before Jim tells Pam her mixed berry yogurt is expired, you are done with your creation and relieved at how easy it was to refinish.
A hiccup-free makeover is always our goal when refinishing furniture, or any DIY project for that matter. But often, old pieces of furniture have little surprises that must be dealt with before you get started painting.
The Trick to Repairing Scratches on Wood Furniture: Minor Damage
If you are wondering how to remove light scratches, water rings, or scuff marks the process is the same. Simply add Restore-A-Finish (Click here for the current price) to a clean rag and liberally wipe it onto the scratched area. I like to let it sit for about 15 minutes before wiping off the excess.
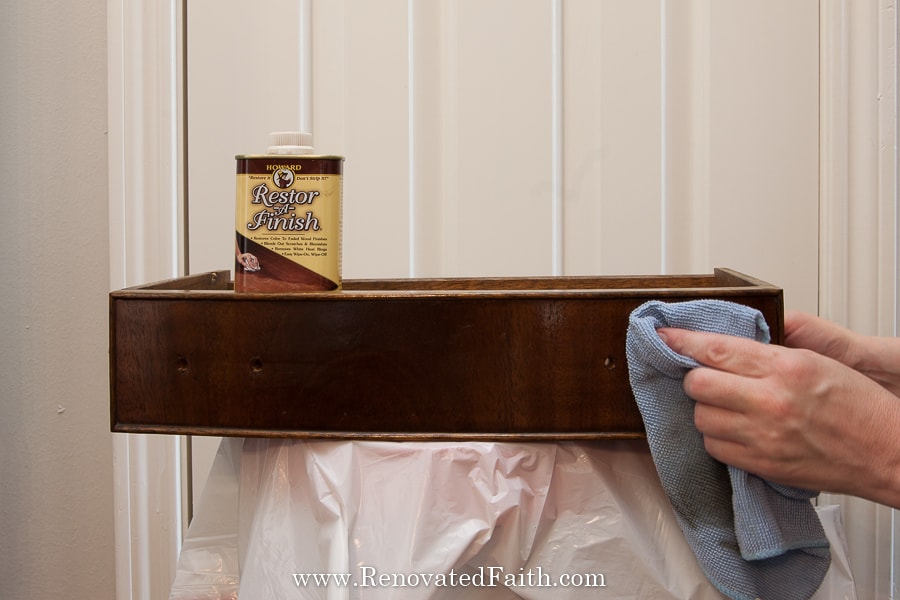
I’ve had a really good experience with using Restore-A Finish for small wood scratches as long as they aren’t very deep.
Part of understanding how to repair wood furniture is knowing when to refinish or just polish the surface. I feel like a commercial saying this but I’ve had good results with Restore-A-Finish in removing scuff marks from wooden furniture pieces as well.
You will have to use a little more elbow grease to polish the wood back to its original finish with a soft cloth but it will look better than ever.
Click here to pick The Right Color for Your Project and see the current price: Restore-A Finish
Renovated Faith: What’s in a Name?
God never leaves a project half-done…He continually works on each one of us, as a lavish expression of His amazing love and grace. So many of my DIY projects remind me of how God renovates our hearts. If you are a work-in-progress, just like I am, check out the Renovate Your Faith Devotional at the bottom of this post. Click here to get a weekly reminder of new posts by email.
How to Touch Up Scratched Wood Furniture Edges
On furniture that is used heavily like your coffee table or dining table, the edges and corners are usually the first part to get scratched up although the rest still looks great. Furniture repair markers are best for these scratches. There are several on the market, but I’ve recently found some I’m really happy with.
Varathane Wood Furniture & Floor Repair Markers
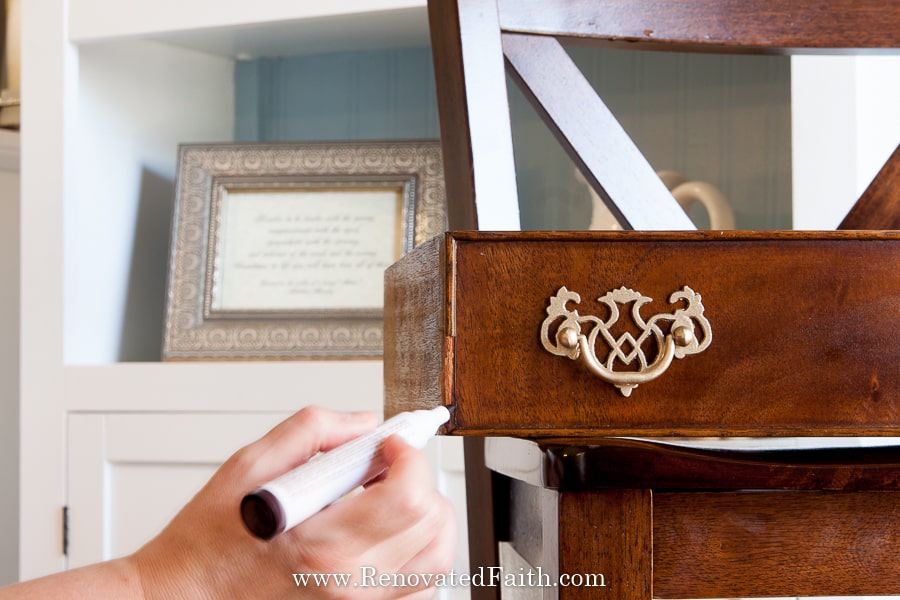
After experimenting with a lot of products, I like the Varathane Wood Furniture Repair Markers the most. Unlike some furniture repair markers, the stain in each pen does absorb into the scratch instead of just fading into the wood.
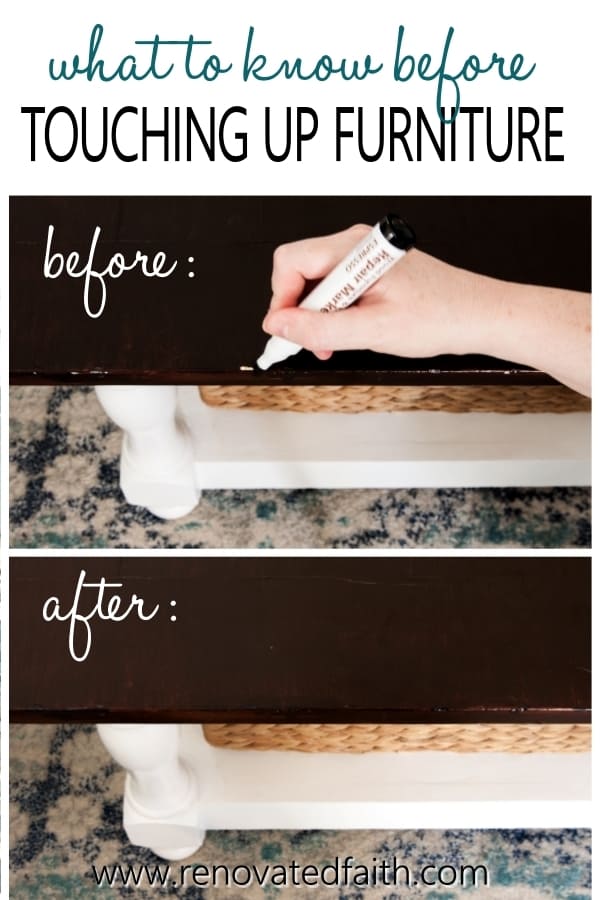
These markers come in a pack of 6 different colors so you can use them to get a good match for multiple furniture pieces in your home and even wood floors. Here are scratches on our coffee table before using the Varathane Wood Repair Markers.
How to Fix Furniture Scratches with Varathane Wood Furniture & Floor Repair Markers
Varathane Furniture Repair Markers are a set of markers filled with a stain instead of ink. Pick the stain color that is slightly darker than the stain on your furniture piece. Mark over the scratches and use a paper towel to remove any excess on either side of the scratch. Let the stain from the marker dry for at least 20 minutes. If you have deeper scratches, use the wood filler I mention below.
How to Fix Severely Damaged Wood: Caulk, Wood Filler, or Epoxy?
How To Repair Deep Scratches in Wood Furniture
If you have a deep scratch, gouge or large hole in a wood tabletop, you will have to refinish the top of the table. But fortunately, you have easy options for doing this. First, we have to fill and level the hole in your wood furniture and wood filler is the best product for this.
The Best Product to Fix Gouges and Deep Scratches in Furniture: DAP Plastic Latex-Based Wood Filler
One important aspect of knowing how to fix scratches is knowing which product to use. Wood filler is made of a binding agent and a filling substance. It can be used for any deep scratch, hole or gauge where the height of the wood in that area is no longer level with the rest of the surface.
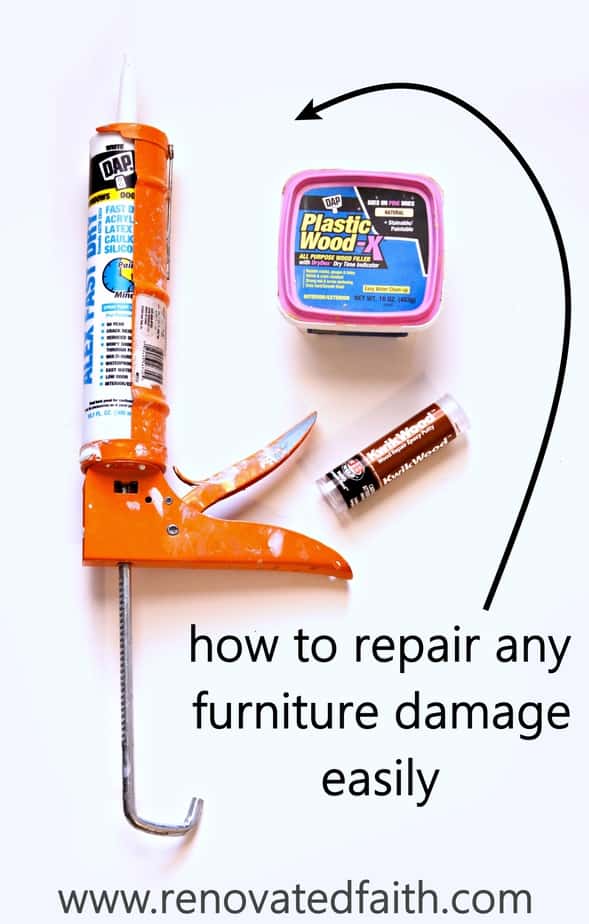
The filling substance is usually a type of wood shaving or even tiny particles of plastic. After experimenting with LOTS of wood fillers, I like the one with the smallest particles of filling substance – DAP Plastic Latex-Based Wood Filler (click here for the current price). I’ve used it time and time again to get a flawless surface on furniture surfaces where a huge hole used to exist.
How to Use Wood Filler to Fix Large Holes in Furniture
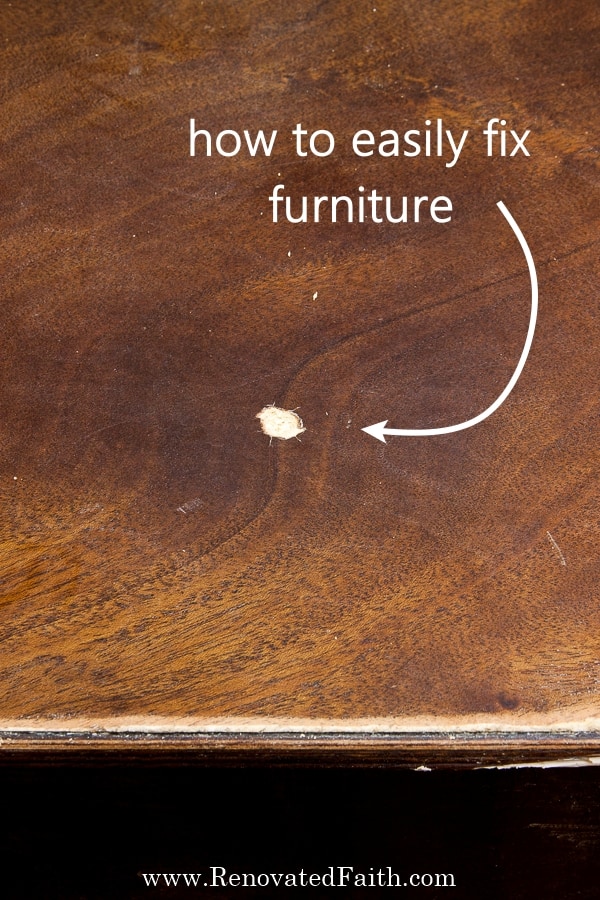
Below you can see a hole in the surface of one of the end tables I am refinishing for my mother-in-law. Ok, ok…full disclosure! I actually made a hole in the top to show you how to fill it. Check out the video to see this process in more detail.
SUPPLIES:
- DAP Plastic Latex-Based Wood Filler (click here for the current price)
- Putty Knife (click here for a low-priced set or find one at any local hardware stores)
- Sander – Here’s a link to my favorite sanders: Best Sanders for Wood Furniture You can also use fine-grit sandpaper or steel wool
- Don’t forget to check out my guide on Furniture Painting for Beginners!
STEP 1: Sand the Hole or Deep Gouge in Furniture
Sometimes a hole will have raised edges and you want those to be level with the rest of the furniture piece, so be sure to sand the hole before you start. I like to use my sander with a rougher (60-grit) sanding pad. (Related Post: How to Install Hardware Handles and Knobs on Cabinets and Furniture)
If you aren’t sure how to use a sander, they are super inexpensive and you can find out how to use one here: How to Sand Furniture in Less Than 5 Minutes If you can iron clothes, you can sand furniture but sanding is a lot more fun!
STEP 2: Repairing Scratches on Wood Furniture with Wood Filler
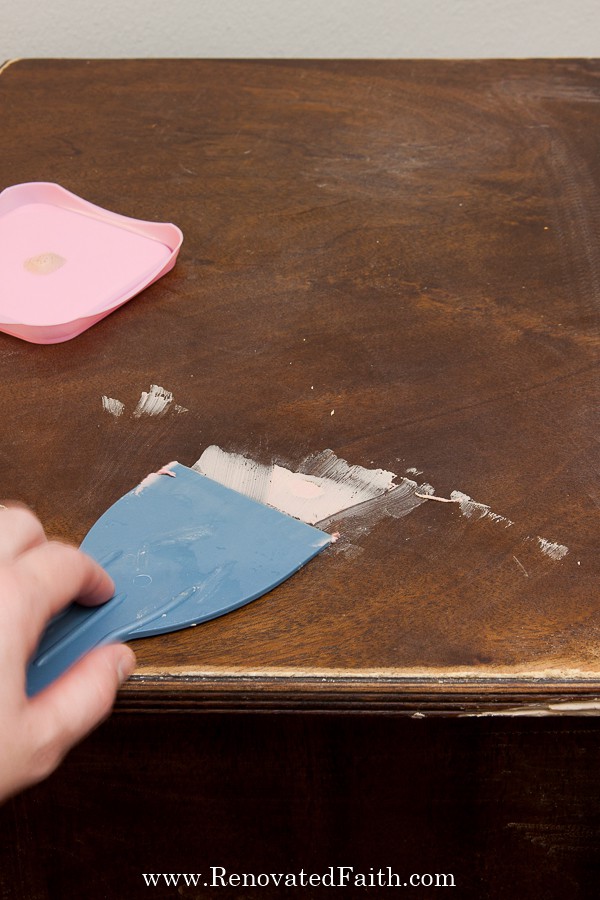
After wiping the surface with a dry cloth to remove sanding dust, use a putty knife* to scoop out a little wood filler. Smear it onto the damaged area you are filling. Keep scraping the putty knife in a horizontal direction over the top of the hole. The important thing is that you don’t want to leave a ton of excess BUT you have to leave enough excess that it is higher than the surface of the rest of the table. You don’t want to scrape it exactly level in case the wood filler shrinks a little when drying so leaving some excess filler is a good thing.
This brand usually doesn’t shrink but just make sure your wood filler is higher than the level of the rest of the table when you look at it from the side. You can see how I do this in the video.
STEP 3: Let Your Wood Filler Dry and Sand
Read the directions on the back of the wood filler as far as dry time. I like to let it dry overnight in most cases. (If you have a huge hole larger than an inch wide and half an inch deep, you might want to add a little wood filler, let that dry and then add the rest so it takes less time to dry overall.)
Once your wood filler is dry, it is time to sand. Now, you can get your sander out again (CLICK HERE for my FAVORITE sanders for furniture), but with a finer sanding pad (180 grit or higher).
As you can see in the video, sand a little with one hand and feel the top of the hole with the other hand. Keep checking the surface as you sand.
Sand enough that the new surface is level with the rest of the table but don’t sand so much that the level of the dried wood filler is slightly lower than the rest of the surface. That will be a tale-tale sign in your final painted finish that there was a hole there.
What happens if you sand too much? This is no big deal! Just add a little more wood filler to the top, let it dry a few hours and sand again. Easy Peasy!
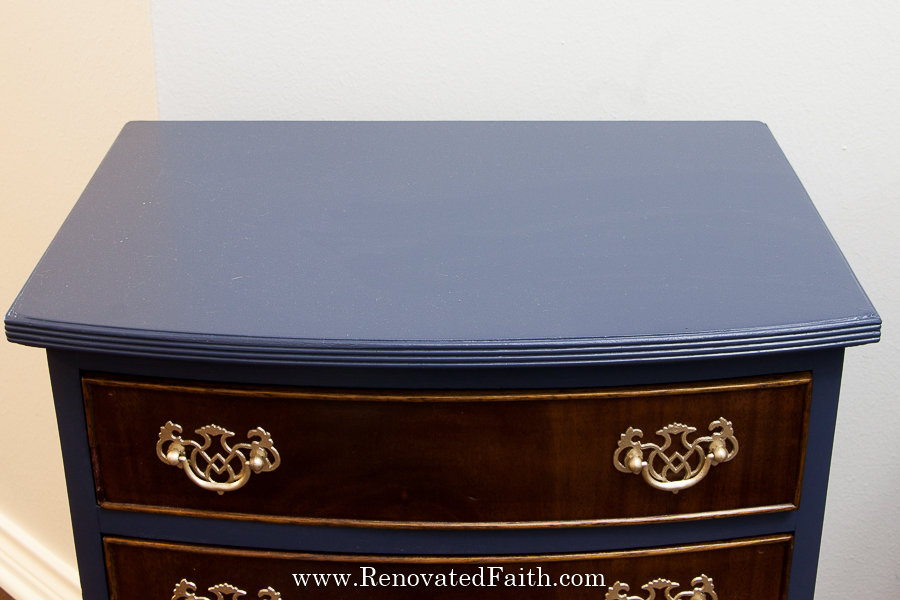
Now that you are done, you have two options as far as refinishing your surface:
- You can paint the surface. Don’t forget to download my FREE Furniture Painting Cheat Sheet at the bottom of this post!
- You can do a faux stain over the surface with any of these tutorials: Barnwood Faux Stain with Latex, How to Do an Easy Driftwood Finish on Furniture, How to Re-Stain Furniture with Gel Stain
Filling Knotholes in Wood Furniture
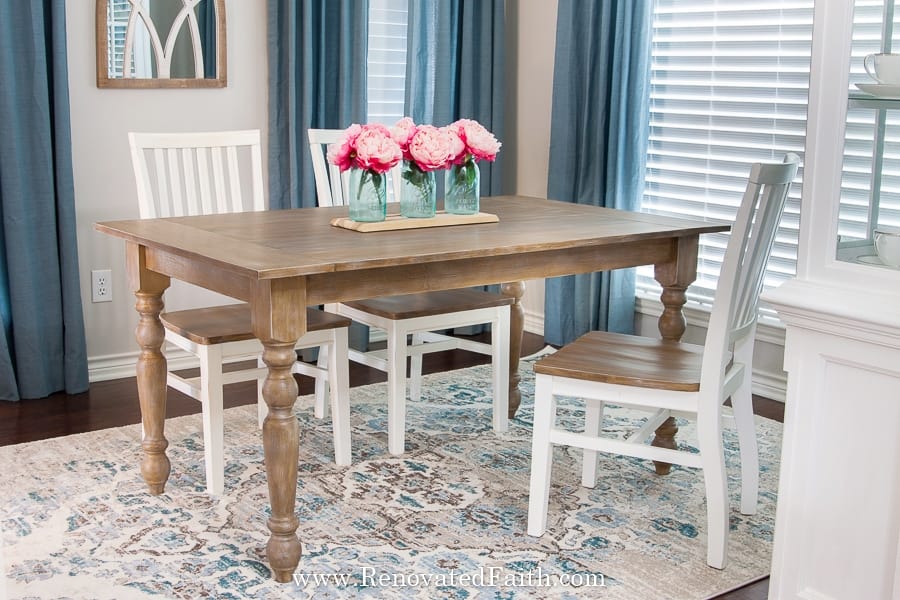
I used the same process above to fill the knotholes in our farmhouse table. You can see how to build your own farmhouse table here and how to do a Restoration Hardware finish with paint here.
How to Repair Damaged Veneer on a Table Top
DAP Plastic Latex-Based Wood Filler is also the best thing to fix damaged veneer on furniture. Before you start adding wood filler, be sure to use your putty knife to check to see if any of the veneer is loose. If it is, break this piece off. Now, fill the remaining “hole” with wood filler as I show you above. If most of the veneer on the tabletop is coming up, then, loosen it with your putty knife and pull up all of the veneer. Be sure to wear safety glasses. Once all the veneer is removed, sand the top and you have a whole new tabletop to refinish.
How to Fix Deep Scratches in a Wood TableTop
Fixing a deep scratch can easily be accomplished with wood filler as well, with one small change to the process. When you are filling the deep scratch, add the wood filler with your putty knife against the direction of the scratch. This will ensure that you can get enough filler into the scratch so that it is higher than the surface of the furniture piece. Follow the rest of the instructions above as normal.
How to Remove Scratches From A Laminate TableTop
For laminate furniture, you would use the same process as you do above with wood filler. The only difference is that you will want to sand the hole or scratch more this time. Laminate is smoother so you want to sand around the hole or scratch to make sure the wood filler adheres. For a full tutorial on painting laminate furniture, click here: How to Paint IKEA Furniture Easily
How to Keep Wood Filler From Drying Out
Wood filler is a product you always want to have on-hand to easily fix furniture pieces. Unfortunately, it can dry out easily if you don’t use this simple hack. When you are done with your wood filler for the time being, take a small plastic baggie or piece of saran wrap and lay it flush against the entire surface of the wood filler. This will ensure there is no air in between the plastic and wood filler which would dry it out. Add the lid and store as usual.
Do You Need A Wood Grain Filler?
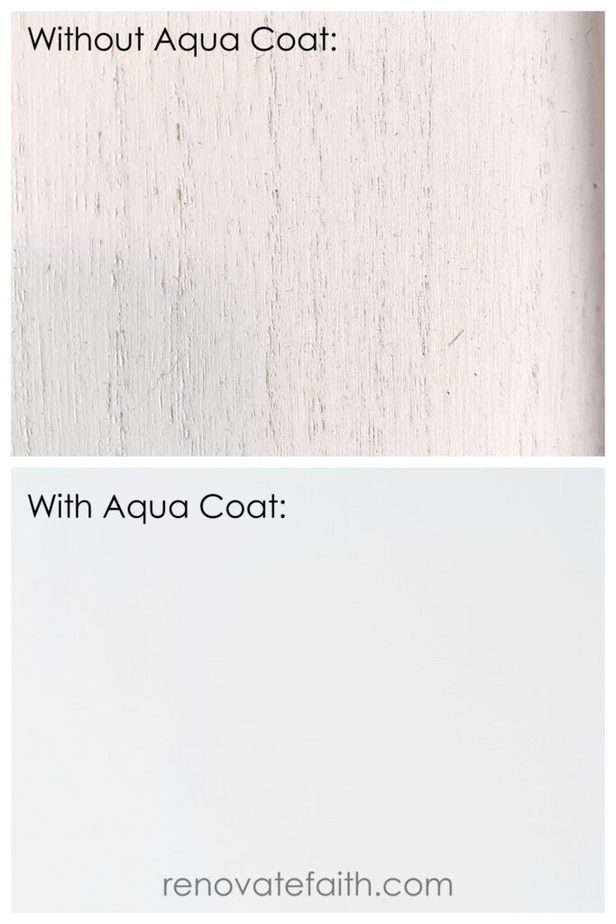
A wood grain filler is a little different than a traditional wood filler. Sometimes different types of hardwood like oak have a very deep grain that leaves little divets instead of a nice flat surface. To smooth out the finish, not just any filler material will work. Instead, apply Aquacoat wood grain filler in the direction of the grain of the wood to get a professional finish. Here is everything you need to get a smooth finish on furniture with a deep wood grain: How To Remove Wood Grain on Furniture (Aquacoat Review)
A Guide TO Repairing Cracks in Wood Furniture with Caulk (Not Wood Filler)
Both wood filler and caulk are useful in repairing damaged wood furniture but both have specific uses. While wood filler is best for any deep scratch, gouge or hole, caulk is very useful for internal gaps or cracks. By this, I mean a gap on an inside corner.
Often, antique furniture pieces will warp over time and gaps will before between joints. You want to fill these gaps with caulk as it will make the appearance of the final product look seamless! It’s hard to believe the difference that caulked gaps can make to the final look of your furniture piece. Trust me, it’s well worth it!
If there is a very tiny scratch or crack on the surface of the wood, I’d still use wood filler. Also, for any gaps on an outside corner, I’d use wood filler. Caulk is perfect for inside corners because it can be wiped smooth with your finger to make a smooth, filled-in gap.
Best Caulk for Wood: DAP Alex Plus Acrylic Latex Caulk
There are several different kinds of caulk on the market and some are better for furniture than others. For wood furniture, I like to use Dap Alex Plus Acrylic Latex Caulk because it is waterproof but also dries pretty fast on the wood surface. You can clean it up with baby wipes or a clean cloth easily and it is also paintable. I have used it time and time again on furniture products and have always been pleased with my results.
The process below shows images of how I caulked the edges of my mother-in-law’s side tables but the video shows caulking gaps in furniture in better detail so be sure to check it out!
Step-by-Step Guide to Caulking Wood Furniture
SUPPLIES:
- DAP Alex Acrylic Latex Caulk: If using a caulk gun, use these links – DAP Alex Acrylic Caulk and you can find a great caulking gun here. If you don’t have a caulk gun, no worries! Use this link for the tube of DAP Alex Acrylic Caulk. If you want to learn to use a caulk gun, it’s super easy and these instructions will show you how: How to Use a Caulk Gun
- Baby Wipes or Pre-moistened Paper Towels
- A Trash Can with a Liner
- Click here to see my post on the Best Paint for Furniture (24 Brands Blind-Tested and Reviewed)
STEP 1: Have Your Supplies Ready
Have baby wipes and a trash can with a liner nearby. You don’t want to drop a baby wipe and get caulk on the floor. If it dries, it’s really hard to get off. Ask me how I know!
STEP 2: Repairing Cracks and Seams in Wood Furniture with Caulk
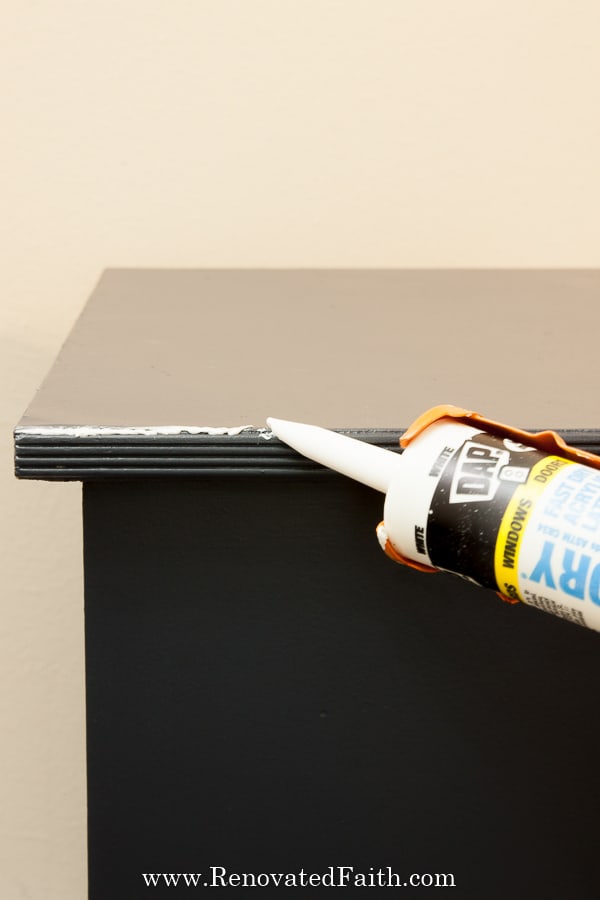
Add a thin bead of caulk over the crack or gap you are filling. You want to air on the side of adding less than you think you might need rather than way too much. Your line of caulk will be messy and that is absolutely fine!!! We are going to wipe most of it off anyway. (Be sure to check out the video to see how this process in detail!)
STEP 3: Wipe Off the Excess Caulk
As you can see in the video, wet your index finger with a baby wipe and smooth out the caulk. Then, wipe the excess caulk off your finger before wiping it smooth again. Keep wetting, smoothing, and wiping until the caulk is smoothed out. You won’t believe how great your piece of furniture will look after completing this step!
STEP 4: Let it Dry Overnight
The caulk says on the tube that you can paint over it in 20 minutes but if you have a large gap, there might be a lot of caulk in there that needs more time to dry. Then, you go to paint and the brush messes up your beautiful caulk line. For this reason, always let your caulk dry overnight just to be sure it has set up.
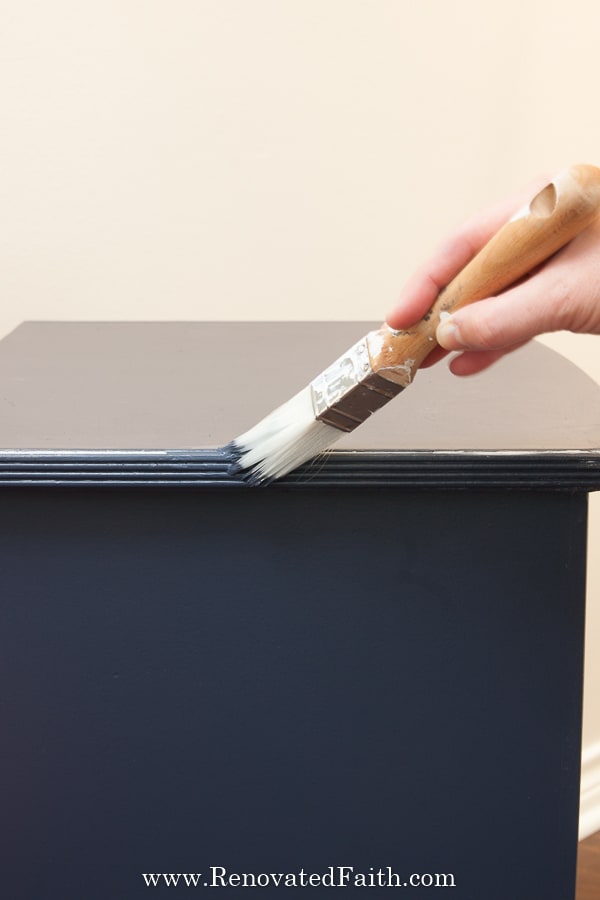
Repairing scratches on wood furniture is not just about using the right product but when to use it. You want to caulk as one of your last steps because you can’t sand caulk. As I mentioned in my post A Beginner’s Guide to Furniture Painting, be sure to touch up the paint over your caulk. Because of the silicon in the caulk, it does attract and grab dust, but the paint prevents this.
The Difference Between Caulk and Wood Filler
As I mentioned before, caulk and wood filler have important uses when it comes to repairing damaged wood furniture. But if you don’t use the right product for the specific job you have, your damage could end up looking even worse than it did in the first place.
Wood filler is made of a resin and a substrate to fill holes and dry to a hardness that is sandable. Caulk is extruded out of a tube and has a toothpaste consistency. Caulk is not sandable so that’s why you want to use it for gaps that are on inside corners. It is quick and easy for making gaps disappear but would make a mess out of a large hole.
How to Fix a Missing Chunk of Wood in Furniture
If you are wanting to fix a chipped wood corner or replace a large amount of wood, you will need something stronger than caulk or wood filler. This is when you need to bring out the big guns: wood epoxy and tiny nails!
I learned this technique by accident with a large dresser I refinished. I had been eyeing the picture on FB Marketplace and finally decided to meet the owner at her storage facility to take a closer look. As my then 7-year-old daughter Morgan and I left for the storage facility, I sat down in the garage and quickly put on my tennis shoes.
We jumped in the car and were ready to meet my husband there since He was bringing a work truck to transport it. On the way there, I felt something move in the tip of my shoe! I thought it was my imagination…I was so hoping it was my imagination…
I felt it again and kicked off my right shoe while driving to find that a frog had jumped out of my shoe and was now jumping all over the floorboard. Naturally, I started freaking out and pulled over. Then, Morgan started shrieking in the back seat. We got out of the car and tried to find the frog but never could. With much apprehension, we got back in the car to head to the storage facility.
By that time, we were late to the storage facility and Jeremy already had the dresser in the back of the work truck. Although I hadn’t gotten a chance to look at it up-close, the dresser was paid for and it was now ours…
When we got the dresser home to take a look at it, I was overwhelmed by a smell I can only imagine was a combination of stale rose-scented air freshener and a whole lot of cigarette smoke. It REEKED!!! I smelled so bad I wrote a post about it: How to Get the Smell Out of Old Furniture
The smell…that’s something I knew I could work with. But what I wasn’t sure how to fix was a massive chip in one of the drawers. See exhibit A:
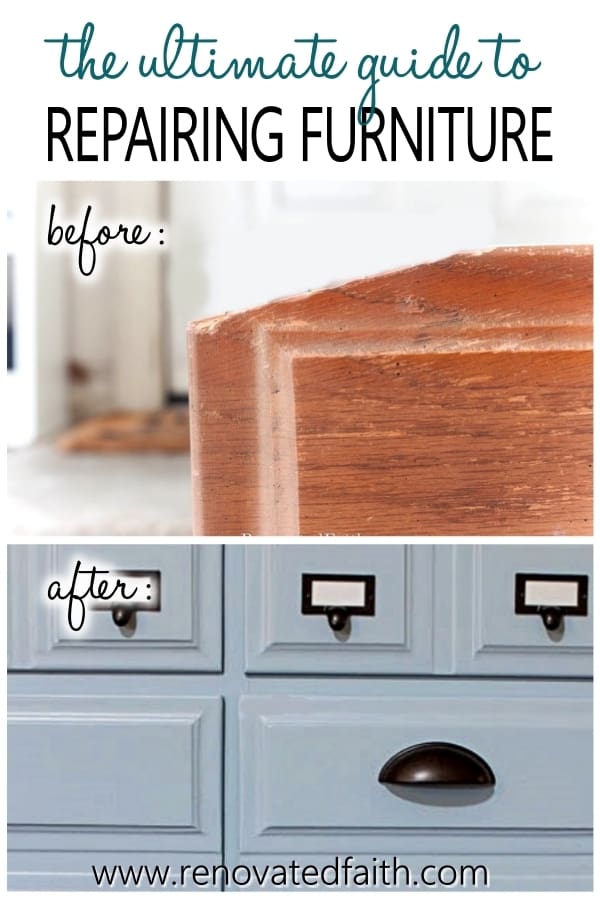
You can see exactly how I fixed the drawer here along with the full coastal dresser transformation.
But after lots of experimenting, I found a fail-proof way to fix large chips in furniture, so that they look as good as new. Who knew so much good would come out of a frog jumping in my shoe?!? Here is that very same process:
The Best Product to Fix a Chipped Wood Corner: JB Weld KwikWood Epoxy Putty and Wire Nails
Epoxy is a magical substance that is made by two chemicals being mixed together and when they dry the final substance has incredible strength. Epoxy wood putty comes in a cylinder of putty and you’ll notice that the inside is gray and the outside is light brown. It looks kind of like a cannoli.
Once you combine these two different putties they dry into an incredibly-hard wood-like substance that is even sandable. To make sure that it adhered well to the furniture piece and has structural integrity, I also use some tiny wire nails. The nails work as a structure for the epoxy wood putty kind of like rebar is for cement.
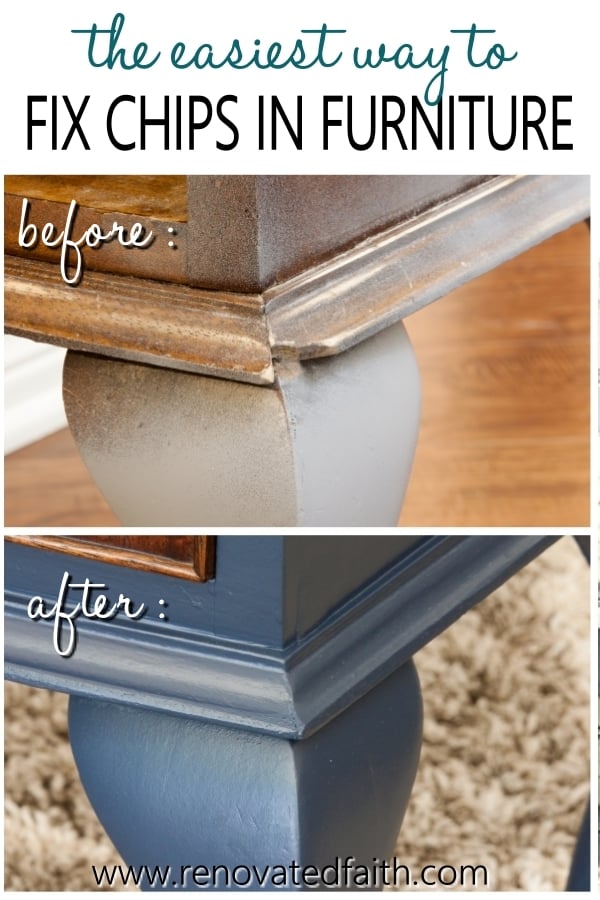
How to Fix a Chipped Wood Corner with Epoxy Wood Putty
SUPPLIES:
- Epoxy Wood Putty – I like JB Weld’s KwikWood Epoxy Putty (see the current price here)
- Wire Nails or Trim Nails – I used these wire nails but find the smallest nails you can.
- Hammer
- Sander or Sandpaper – You can check here for my favorite low-cost sanders: The Best Sanders for Wood Furniture
- Download my Best Tips for Painting Furniture HERE.
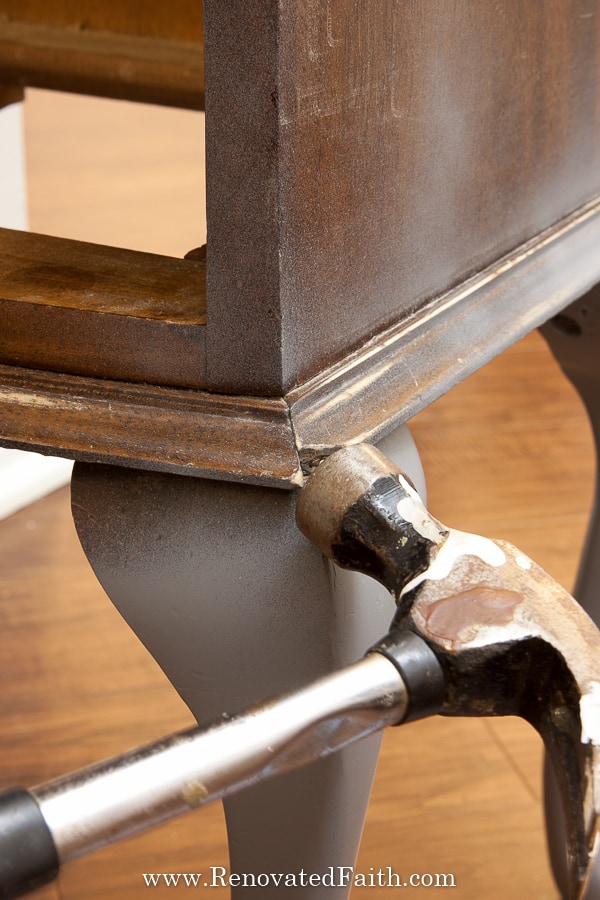
STEP 1: Add Wire Nails
When it comes to repairing scratches on wood furniture, this technique is my favorite! Hammer in wire nails or trim nails to provide a structure for the putty to adhere to. Hammer them in a line making their length a little shorter than the final corner of the furniture piece.
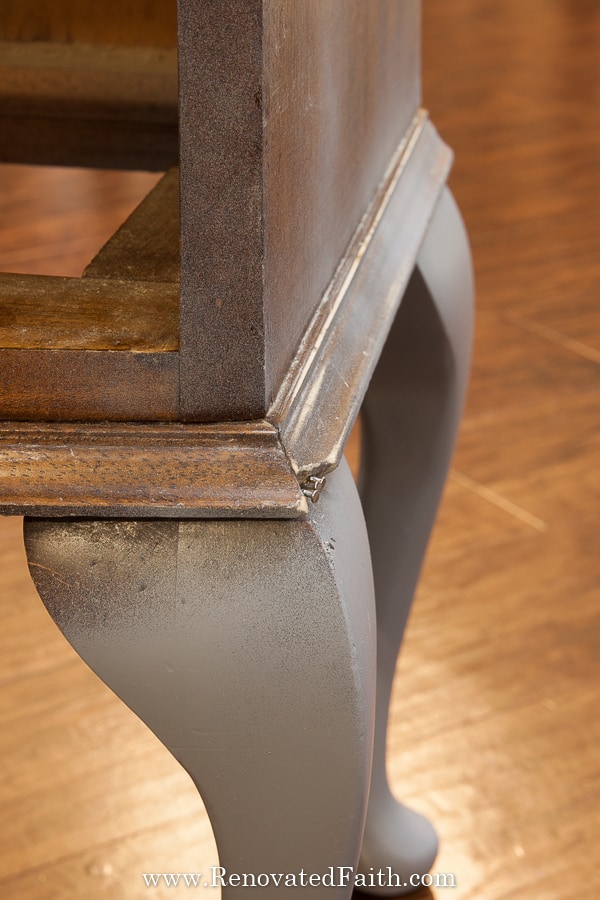
STEP 2: Prep the Epoxy Wood Putty
Take the Kwikwood Epoxy Wood Putty out of the package and pull off what amount you will need. Massage the putty together in your hands so that the gray and light brown colors combine until they are consistent. Be sure to see the video for this step as well as the next step.
STEP 3: How to Repair Broken Wood Furniture with Epoxy Wood Putty
As you see in the video, form the epoxy putty around the nails and in the general size of the corner or chunk of wood you are replacing. Make it a little bigger than the corner because you will sand it down when it dries.
STEP 4: Sand the Epoxy Wood Putty
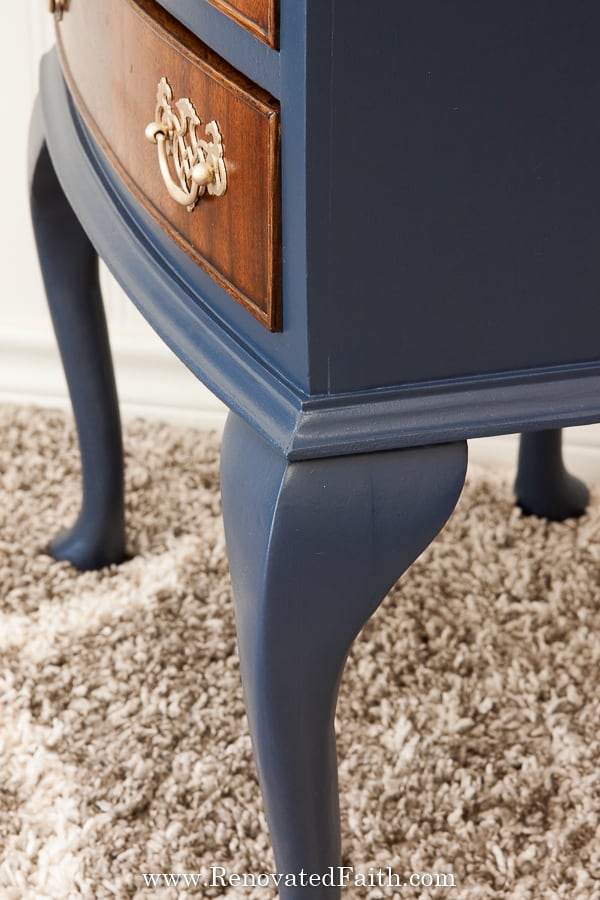
Let the wood putty dry for 24 hours so it reaches its full hardness. Now, you are going to sand down the corner with a fine sandpaper or sanding pad (180+) to refine the details of the corner. Sand a little and then look at the corner and repeat this process until it looks how it should. Just sand off a little at a time!
When you are done, wipe off the dust and paint. Also, you can use my Free Furniture Painting Cheat Sheet at the bottom of this post!
How to Fix Water-Damaged Wood and Heat Rings
Sometimes the condensation or heat from a glass can leave a ring on the surface of stained wood. The heat and moisture seep into the surface of the wood and make a faded circle in the finish.
Fortunately, this can often be remedied if you are using the right product – one that just doesn’t make the whole surface darker like a polish but one that fills in the damage from the water or heat.
Best Product for Removing Water Stains from Wood and Restoring Faded Furniture: Restore-A-Finish
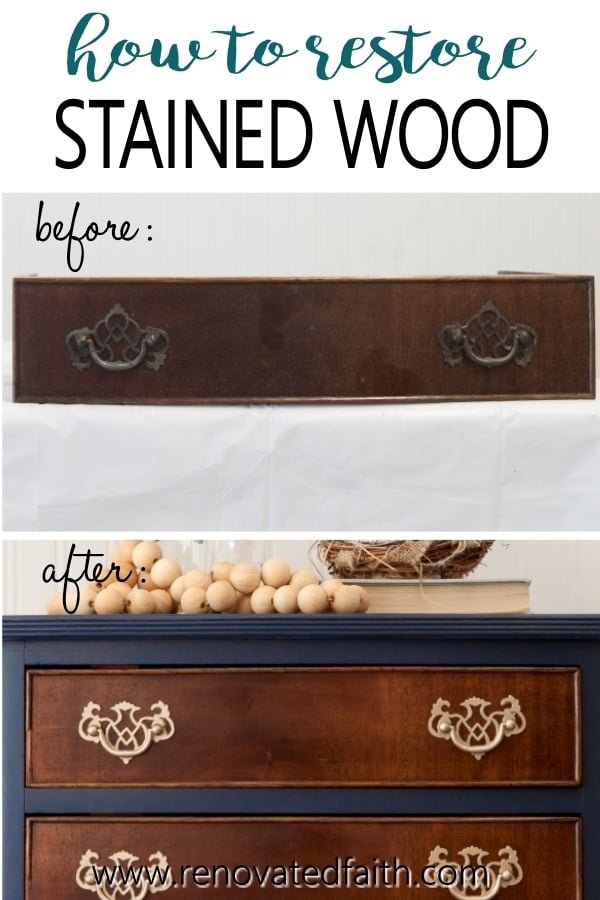
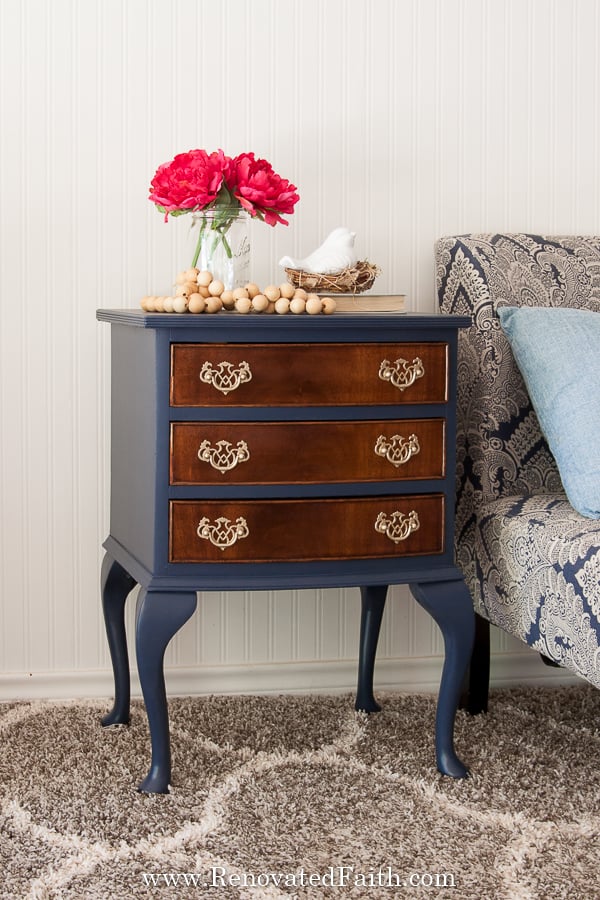
Restore-A-Finish is a wipe-on product that penetrates the surface of the wood to cover water damage and heat rings. I used it recently to restore faded drawers of two end tables I recently refinished for my mother-in-law. You can see how dull the drawers look initially.
However, the Restore-A-Finish did a great job brightening up the finish so they looked as good as new! Not only does it bring back the wood’s original color and luster, it even blended out some minor scratches and abrasions. It comes in eight different shades so you can customize the finish to your stain’s shade.
RENOVATE YOUR FAITH: God Wants to Do More Than Just Fix Your Brokenness
For more spiritual encouragement, click here for the rest of my project posts that also include Renovate Your Faith devotionals.
☑️ My All-Time Best Furniture Painting Tips & Tricks (FREE PRINTABLE)
Don’t forget to download the FREE step-by-step printable checklist that shows you the entire process I’ve used on dozens of furniture pieces while saving you time and money!
Wood Furniture Repair FAQ’s: Epoxy for Wood, Caulk and Wood Filler
How to Fix Furniture Legs
To repair furniture legs, it’s best to use wood filler or epoxy wood putty as mentioned above but if the legs have considerable scratches or damage, sometimes it’s just easier to replace them altogether. I show you how to do this easily here: How to Replace Furniture Legs
How to Repair Painted Wood Furniture
If you have a repair to a previously painted furniture piece, there’s a good chance you don’t have the original can of paint to paint over your repairs. If that’s the case you will need to either match it or repaint the whole piece. To match the piece, take some of the peeled paint to your local big box for them to color match. You probably won’t get a perfect match but it will be close enough. Then, paint just that surface of the table with the paint.
For example, if your nightstand’s top was damaged, paint only the top surface with the new paint and use a baby wipe to wipe any that gets on the sides. Any discrepancies in paint color will only look like they are due to the light reflecting off the different surfaces in different directions.
How to Fix a Crushed Corner of a Table Top: Epoxy for Wood, Caulk, or Wood Filler?
Sometimes repairing scratches on wood furniture involves a combination of products. For example, for repairing a crushed corner of a table, you would need to use wood filler, sand and refinish it. But then, for any rough edges, you might need to use some caulk to smooth out the look of those seams.
How to Repair Broken Wood Furniture with Loose Joints
One important aspect of knowing how to repair wood furniture is tightening loose joints. If legs or joints of furniture are loose, you want to make repairs before you get started refinishing. Be sure to get add wood glue (I like this brand) to the loose joints. Wipe the joints and then clamp them together overnight. After they are clamped, wipe off any excess glue.
HOw to Fix Dog Scratches on Wood Furniture
Dog scratches are a very common problem and usually aren’t very deep. Fortunately, Restore-A-Finish is usually enough to wipe away scuff scratches and fill shallow scratches in the affected area.
What is a Natural Way to Remove Scratches from Wood? Does Vinegar And Olie Oil Fix Wood Scratches
There are several claims online that common household items like white vinegar, black tea bags, and even coffee grounds can fix areas that need basic touch-ups. You can definitely try these items by applying them with a cotton ball or cotton swab but I’ve found Restore-A-Finish to be the most effective remedy for light scratches in wood furniture because it matches the color of the stain.
If you have a piece of stained furniture that just looks dull, you can easily freshen up the surface by applying olive oil or linseed oil to the surrounding area with a damp cloth. If you need a quick fix for a scratch and don’t have a professional wood refinisher on hand, you can use an eyebrow pencil in a lighter shade or darker color depending on the color of your wood. Wipe off the excess on the surrounding wood with a soft microfiber cloth.
Should You Use A Clear Coat on Furniture?
To prevent furniture damage, you can add a fresh new coat of clear coat. First, use a lint-free cloth to wipe off any excess wax buildup from the surface. Then apply a coat of clear coat with a sponge brush working with the grain in long brush strokes. Let it dry at least 30 minutes and apply at least one more coat.
More Posts Related to DIY Furniture Repair
A Beginner’s Guide to Refinishing Furniture (Vintage Vanity Makeover)
The Absolute Best Type of Paint for Furniture (24 Brands Blind-Tested & Reviewed)
How to Paint Furniture White (The Right Way)
Tips for Painting Furniture in Dark Colors
Must-Have Cheat Sheet for Furniture Painting
How to Get Smells Out of Old Furniture
How to Build A Farmhouse Dining Room Table
Blue Dresser Makeover with a Faux Driftwood Finish Top
How to Apply Paint That Looks Like Stain (A Variety of Colors To Choose From)
The Best Clear Coat for Wood Tabletops
How To Get a Dark Woof Finish With Gel Stain
Final Thoughts on REpairing Scratches on Wood Furniture
Don’t forget to download my Free Furniture Painting Cheat Sheet. To get your printable, sign up for my weekly newsletter which also grants you free access to my resource library full of wall art printables, checklists, and project plans!
Before this post, you might not have realized how easy it is to repair furniture. This wood furniture repair DIY tutorial shows you the exact product and process to use so you get a flawless finish on your furniture piece. Now, your next furniture project can be the therapeutic, Netflix-binging activity you dreamed it would be!

I love to hear your thoughts and questions! Scroll down to leave a comment and I WILL reply! ❤️
Blessings,

Be sure to follow the fun here!
Email Subscription | Instagram | Pinterest | Facebook | Twitter
How To Fix Scratches on Wood Tables & Furniture, YouTube Video
How to Fix Furniture Before Refinishing

Karin Peters is a DIY expert and the creator of Renovated Faith. She is a furniture painter, a home design consultant, and a tenacious problem solver determined to help you transform your house into a home. With 17 years of experience with DIY home improvement, she researches and analyses professional processes to adapt them to be easy and cost-effective for DIYers. She then tests every project and product before it appears on the site in a detailed, step-by-step format. After attending Texas A&M University, she received her Master of Divinity with Biblical Languages at Southwestern Baptist Theology Seminary. Her passions unite in Renovated Faith, which shows readers how to create a home that serves them so they can pursue their God-given purposes. About Renovated Faith | Editorial Policy | Facebook | Twitter | LinkedIn



Karin, I believe divine intervention caused me to stumble upon your website. I love how you are humbley honest (the struggle is real), and so uplifting and encouraging! Thank you for sharing your helpful and creative projects/tips, and thank you for sharing your love for God!! You are a true blessing!
Thank you so much Melody! I couldn’t plan His divine interventions with this blog if I tried. It’s all Him. Thank you so much for yoru encourging words and I hope you have a great rest of the week!
Hi Karen! I love the transformation of the end tables! Could you tell me the name of the navy blue you used on them? I’ve been looking for a color combo that would work with a dark wood stain and this is it! Thanks so much!
So glad you like them Cindy! They are Benjamin Moore Hale Navy. It’s a great color because it’s definitely navy without being too bold.
Just read your best paint article. Wish I had read it sooner before painting my cart with fusion paint. Paint job is rough and don’t know how to fix it without starting over. Ugh.
Hey Cecilia, I’m so so sorry. Is it peeling at all or just really rough? If you were to sand it just barely to get it smoother without removing paint, wipe it down with a cloth to remove dust and then apply Varathane water-based Polyurethane to give it protection and a smoother finish. That’s what I would do but try it on a board first to make sure you get the final product you want. I’m so sorry and let me know if I can help in ANY way!
I love how detailed this tutorial is and I’m thrilled that I unknowingly stumbled on a way to repair an antique sideboard id been fretting over. Thanks so much! I’d love to know what color blue you used for the side tables in the tutorial.
I love that you mentioned how learning which substance to use is a crucial part of knowing how to mend damaged wood furniture. I can use this piece of information to my advantage but I just don’t have the time for it! I think it’d be best and most efficient to have furniture repair experts have a go at my broken furniture caused by the flood.
Hi Karin, Thank you for sharing all this wonderful information with all. I have an old hooser (looks like a golden oak stain on it)that is damaged and will be using your info to repair the sides. I would like to paint the body of the piece to match/blend with another cabinet that is shabby-chic/distressed (it looks like it has dark base like walnut, with a creamy white(maybe it also has a glaze over the creamy colour also??) The doors I would like to leave stained, however since they are the golden oak colour would I be able to lightly sand them and stain them darker? (All my furniture is dark)Also do you recommend the Restofinisher(it’s one of your advertisers)my Grandma’s mahogany furniture has white rings etc so I would like to restore them. Thank you for letting me ask questions and many blessings to you, Janice
Hey Janice, Yes, try the Restofinisher for the rings and see if that helps. To go from a lighter stain to a darker one easily, see this post where I use gel stain: Let me know if you have any more questions Janice! https://renovatedfaith.com/gelstainwood/
This guide to fixing damaged furniture caulk is sublime, and there’s so much great information here. After reading this, I know how to differentiate between wood filler and epoxy, which is essential for me.
Additionally to my previous comment I wanted to add that I loved your T-shirt. 😊
ha ha, thank you! I try to use my powers of overthinking for good and not evil.
Hi Karin !
I look forward to your emails every week. You are so talented and yet so humble. I have learned so much with you. I hope I can achieve the quality of your work one day as I continue learning from you . As I mentioned to you before , we share the same passion for restoring / painting furniture but most importantly the passion for our Lord and Savior Jesus ! Thank you for sharing your experience and your faith WITH US .i pray that you stay healthy and confident that all of the current situation we are under, is under the perfect will of our redeemer. I do need to remind my self the same every day .
I just noticed the phone won’t allow me to write capitals 😆🤔.
Dios te bendiga mucho !!! God bless you ! Thank you
I’m humbled by your very sweet note. I so appreciate your encouragement. I pray that you stay healthy and confident as well! This too shall pass. Thank you again Lia and have a great day! – Karin